Keto Brazilian Cheese Bread
I make this easy Brazilian Cheese Bread (Pão de Queijo) with tapioca flour and plenty of cheese for a perfectly crisp, golden exterior and a soft, chewy center. These naturally gluten-free, low-carb cheese puffs come together quickly and bake up light, airy, and irresistibly cheesy. It’s my go-to Brazilian snack when I want something simple, foolproof, and packed with flavor.

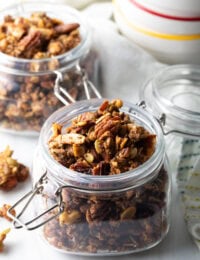
Pao de Queijo
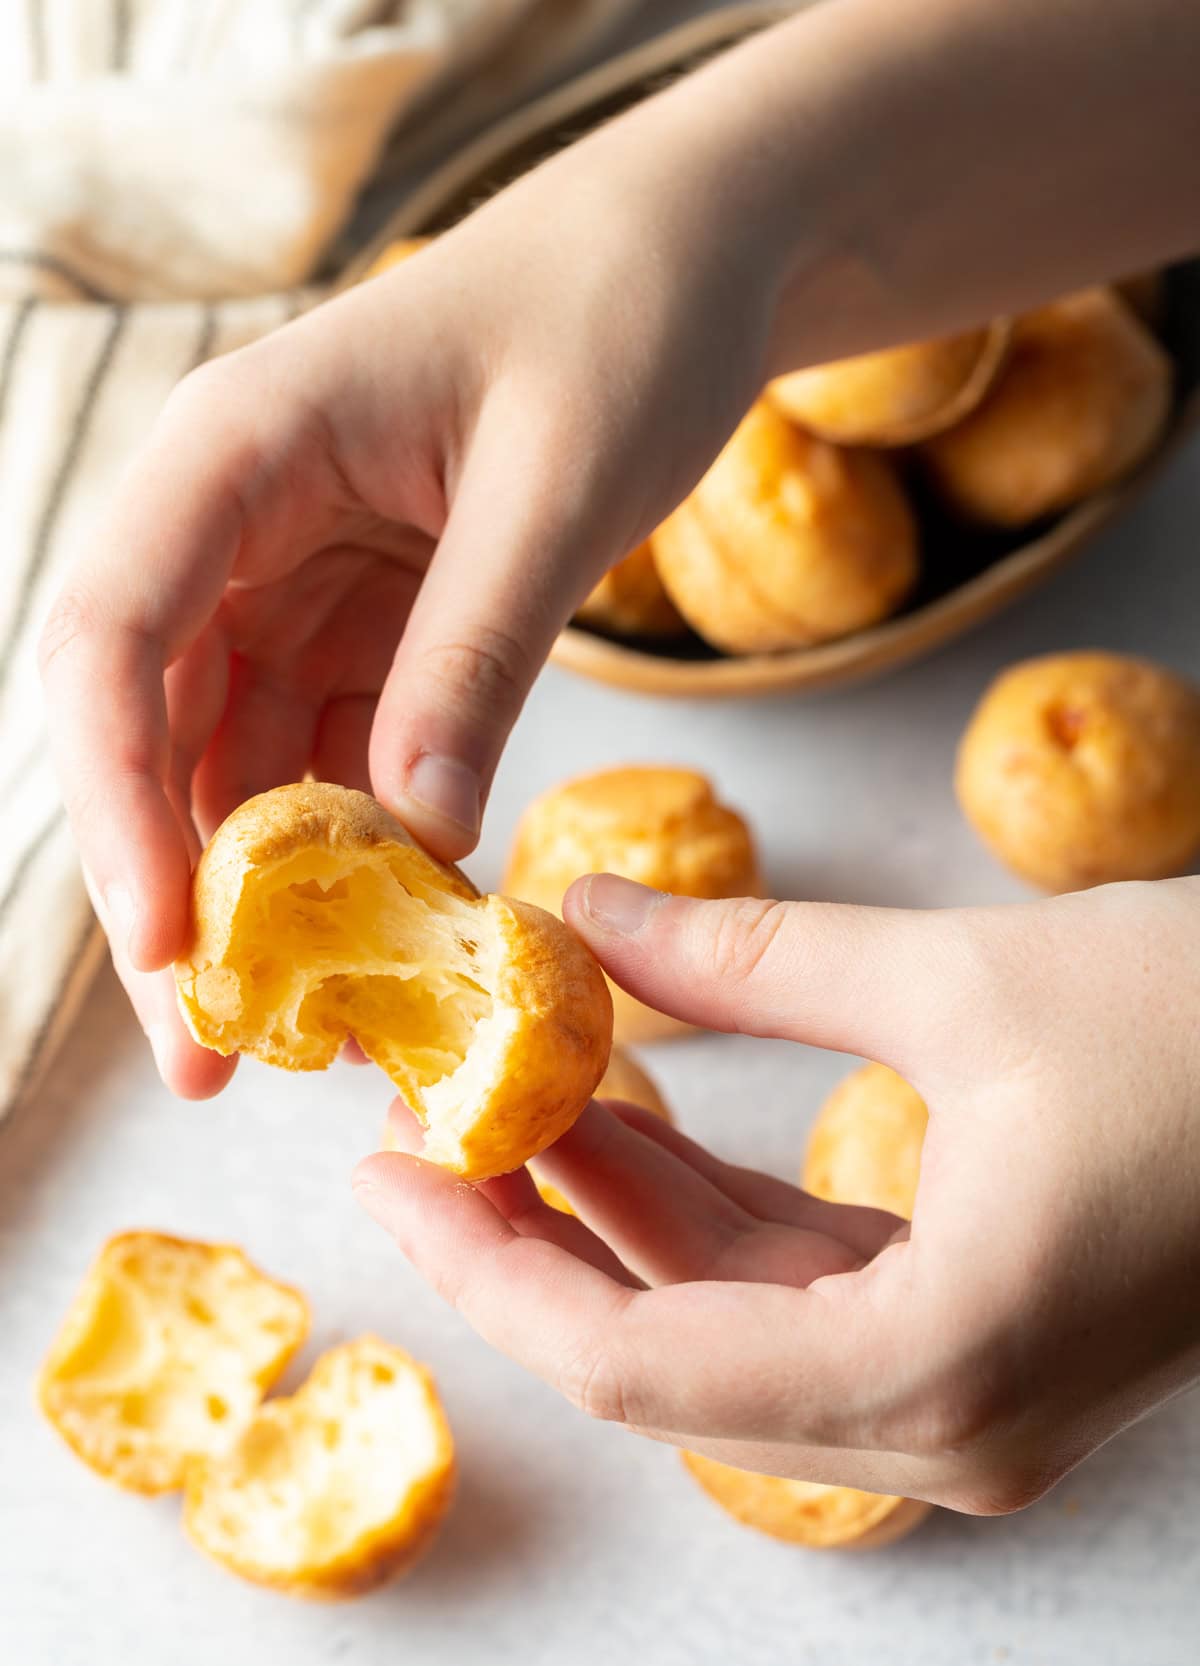
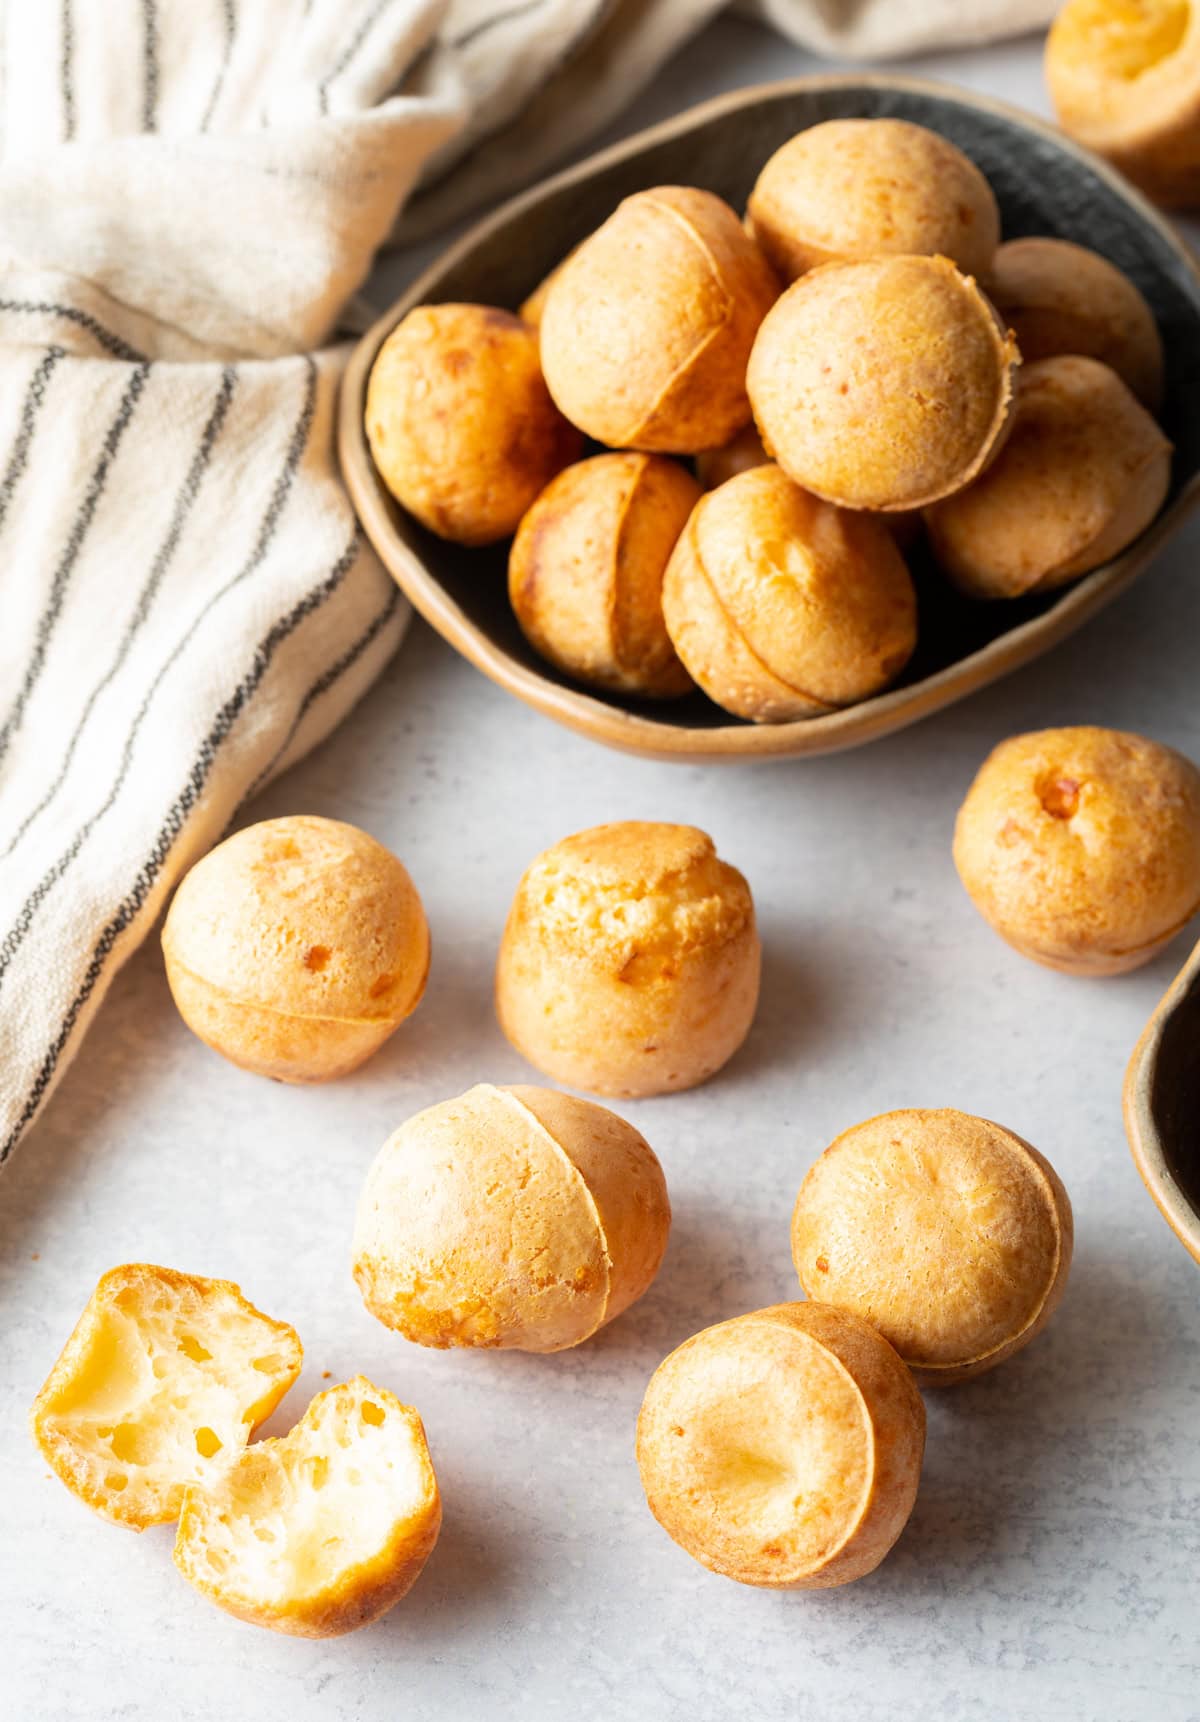
If you’ve been around here for a while, you know we love our comforting, carb-filled dinners and decadent desserts. That’s just how I roll. But I also really value balance, so in between those indulgent meals, I like to make snacks that feel just as satisfying, only a little better-for-you. (Kind of like my cloud bread!) That’s where Pão de Queijo, or Brazilian Cheese Bread, comes in. These little cheese puffs are popular in Brazil, especially as street food, and the moment you bite into one, it’s easy to see why. They’re lightly crisp on the outside, soft and chewy in the center, with an irresistible quality that makes you immediately reach for another. The texture reminds me of a savory beignet… Tender, airy, and rich without feeling heavy.
Julia – ⭐⭐⭐⭐⭐ Our family is obsessed with these cheesy bread balls! Super simple to make and they are gone in a flash!
Table of Contents

Sommer’s Recipe Highlights
Trim and Tasty – I love popping these little cheesy orbs with my morning coffee, for an afternoon snacking, or even as a side to dinner when I want something warm and comforting that won’t totally tip the scale into full carb overload. They’re naturally gluten-free thanks to tapioca flour, infact, all the ingredients are low(er) carb, keto-friendly, and gluten-free. So while Pao de Queijo tastes incredibly rich and naughty, they actually fall into my “good and good-for-you” category, just like my magic mug bread.
Easy to Make – These little guys require only 8 ingredients and 30 minutes to make. I use a blender to quickly whip up the batter, then I simply pour it into mini muffin tins and bake to perfection.
Large Batch Make-Ahead – These fluffy cheese balls are fantastic to make in a large batch and keep on hand for those snack attacks. I double the recipe to make a bunch of these little beauties, and freeze half to serve at parties or as enjoy as a reheat-and-go breakfast or anytime snack.
Veratile – Sometimes I keep them simple and cheesy. Other times I’ll dress them up with a savory filling or even serve them with a little fruity jam. Either way, they prove that a healthier snack can still be rich, cheesy, and completely crave-worthy, and that’s exactly the kind of balance I’m always aiming for.
Key Ingredients and Tips
- Tapioca flour – This is a GF flour that gives the bread a light, crisp texture. It is not exactly low-carb, but in small amounts can be enjoyed on a keto diet.
- Whole milk – I use this full-fat milk for the best, richest flavor. Half-and-half can be used, but do not reduce the fat content to 2%.
- Eggs – Eggs act as the binder, the lifting agent, and a protein source, a real triple-threat!
- Vegetable oil – Or I often swap olive oil here, but use a flavorless oil if you prefer.
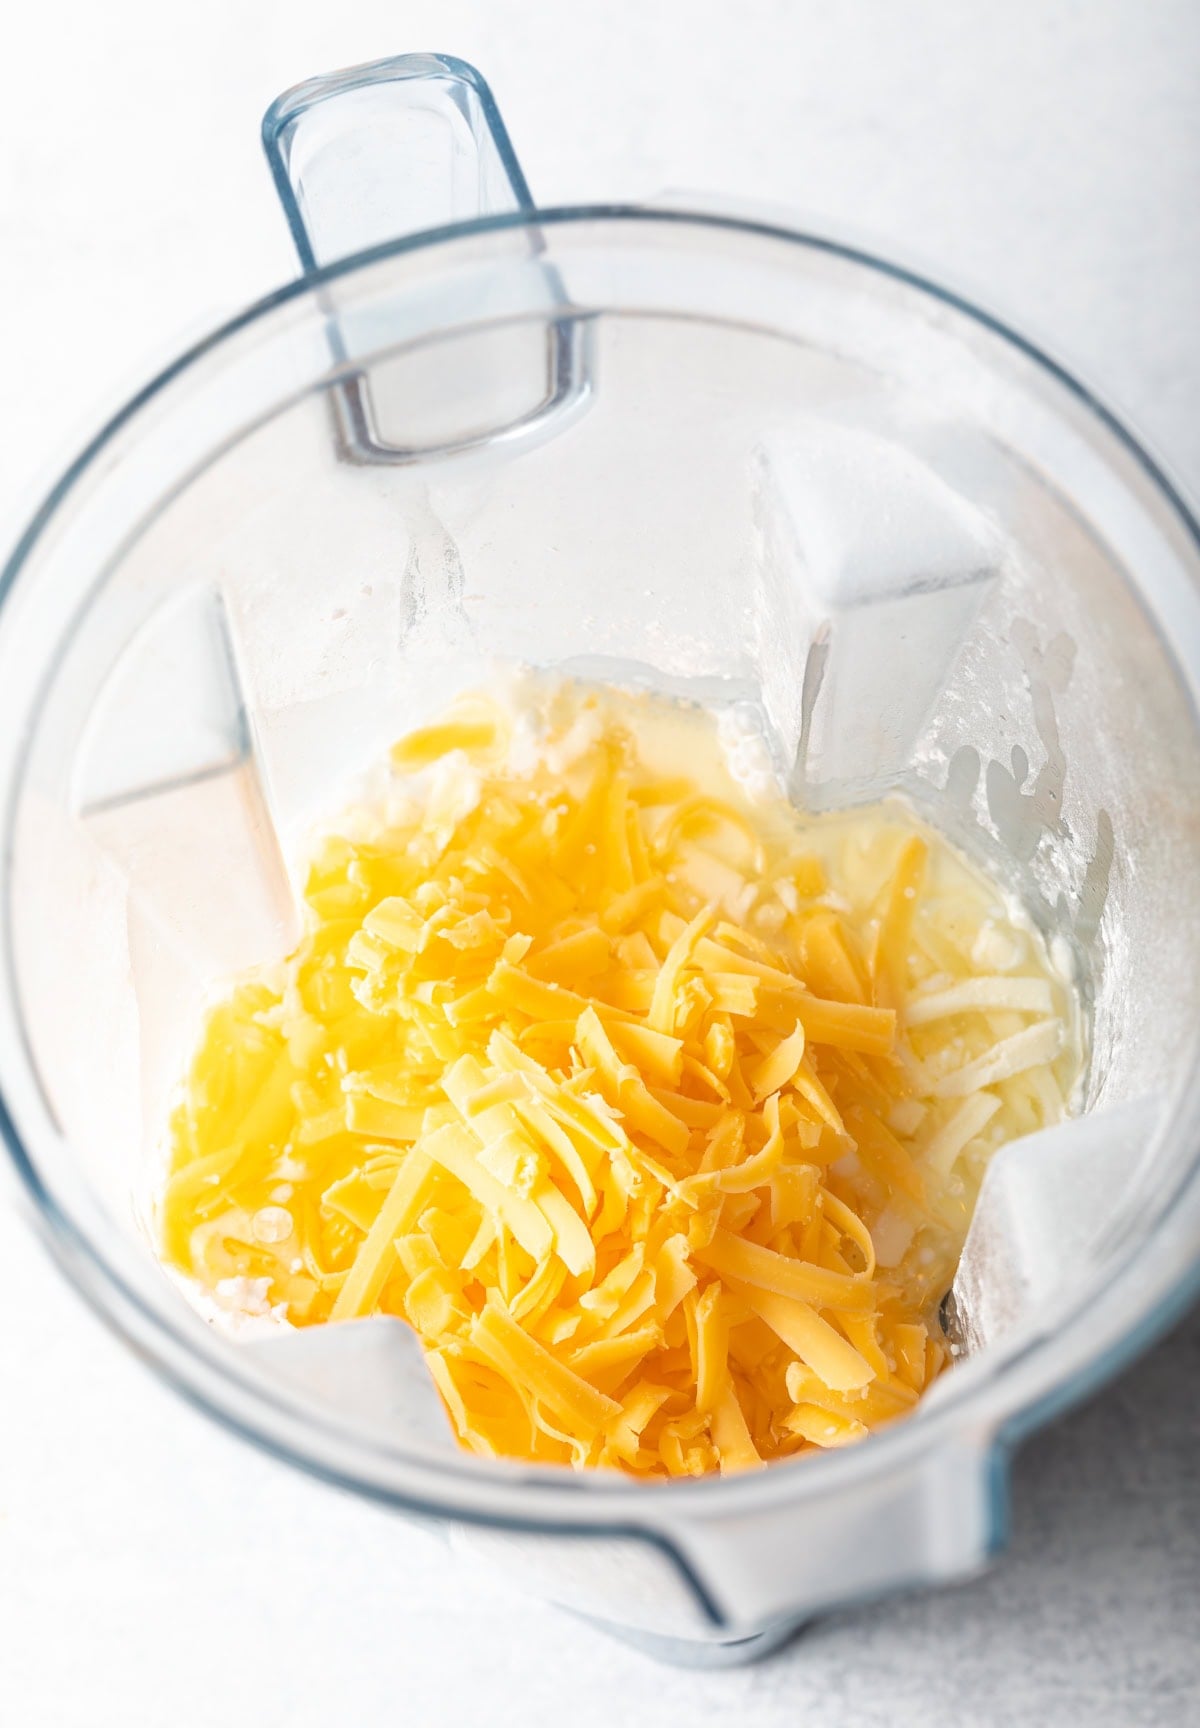
- Cheese – Specifically, sharp cheddar cheese and mozzarella cheese. I always grate it off the block for the best texture.
- Seasoning – I am using simply salt and garlic powder here, but I give more options below to make it your own!
How to Make
Find the full recipe with ingredient proportions, detailed instructions, and a video tutorial in the printable form at the bottom of the post.
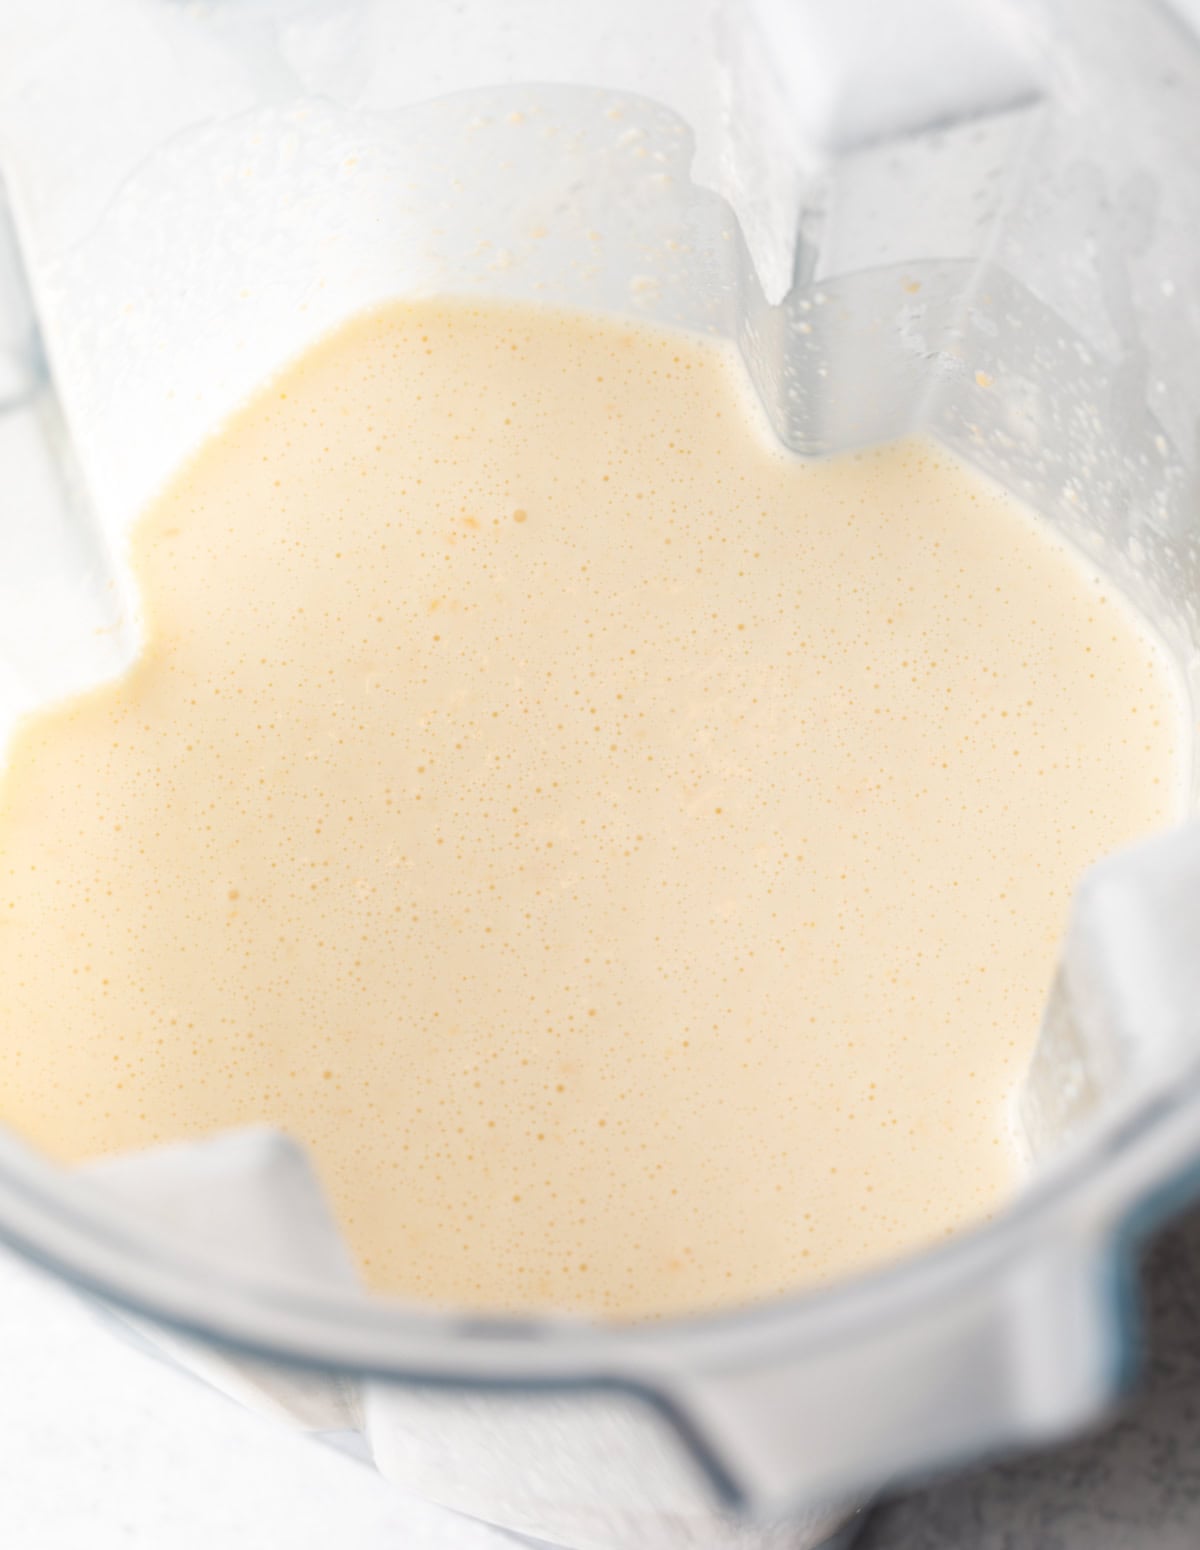
I love making this recipe in the blender because it’s basically foolproof. The blender does all the heavy lifting, whipping everything together into a frothy batter. That smooth texture is the secret to getting that perfect combo of crisp edges and gooey, cheesy centers.
First, I preheat the oven to 400°F so it’s nice and hot by the time the batter’s ready. Then I set out my mini muffin pans and give them a very generous coating of nonstick spray (don’t be shy!) or brush them well with oil. Those little bites love to stick, and extra grease means easy release and golden edges.
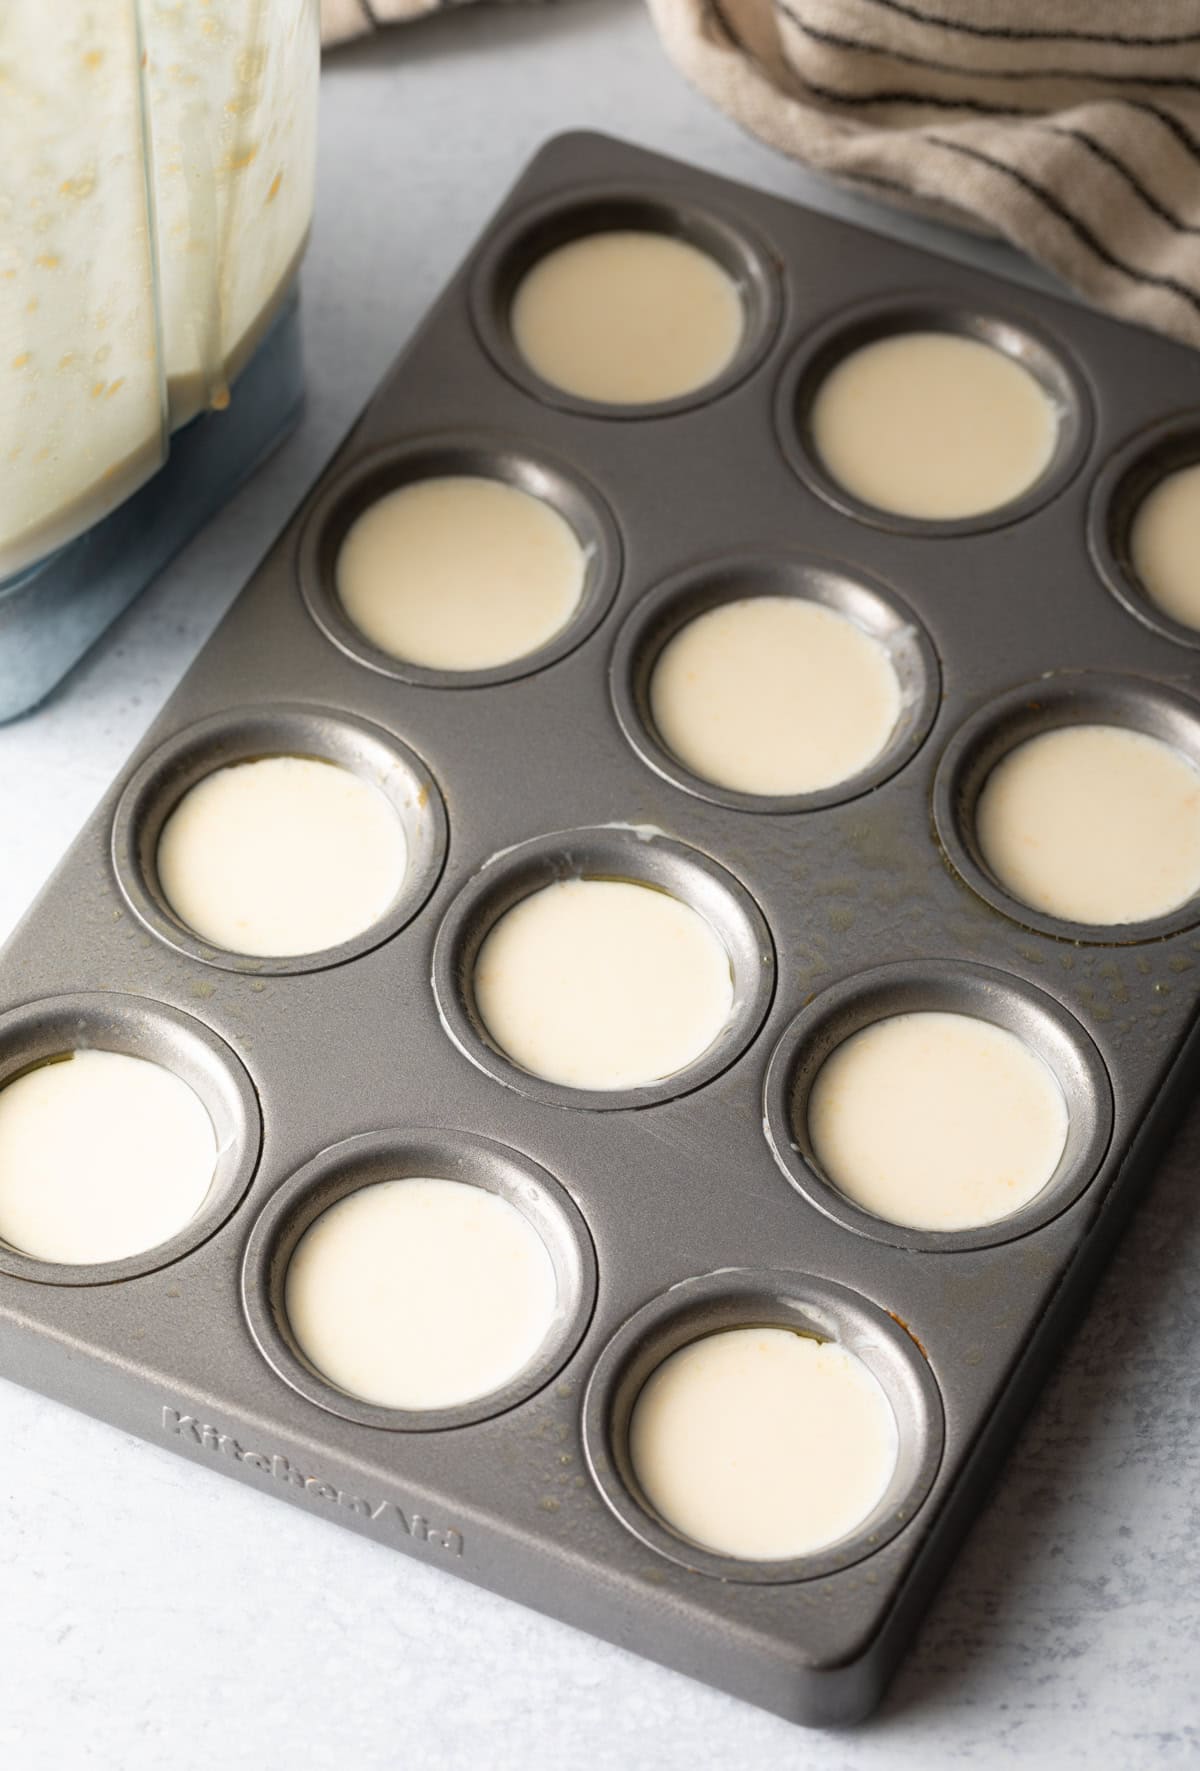
Next, I toss all the ingredients straight into the blender. I pop on the lid and blend until the batter is completely smooth and a little frothy on top. If I see any bits clinging to the sides, I stop and scrape down the blender once, then give it one more quick whirl.
I use a spoon (or a small cookie scoop if I’m feeling efficient) to portion the batter into the muffin pans, filling each well about ¾ full. They’ll puff up beautifully as they bake, so giving them a little room at the top helps them form a dome instead of spilling over.
Pro Tip: This recipe makes about 48 cheese puffs, so I just bake in batches if I’m working with one or two mini muffin pans. The batter can sit at room temperature while the first round bakes. Just give it a quick stir before refilling.
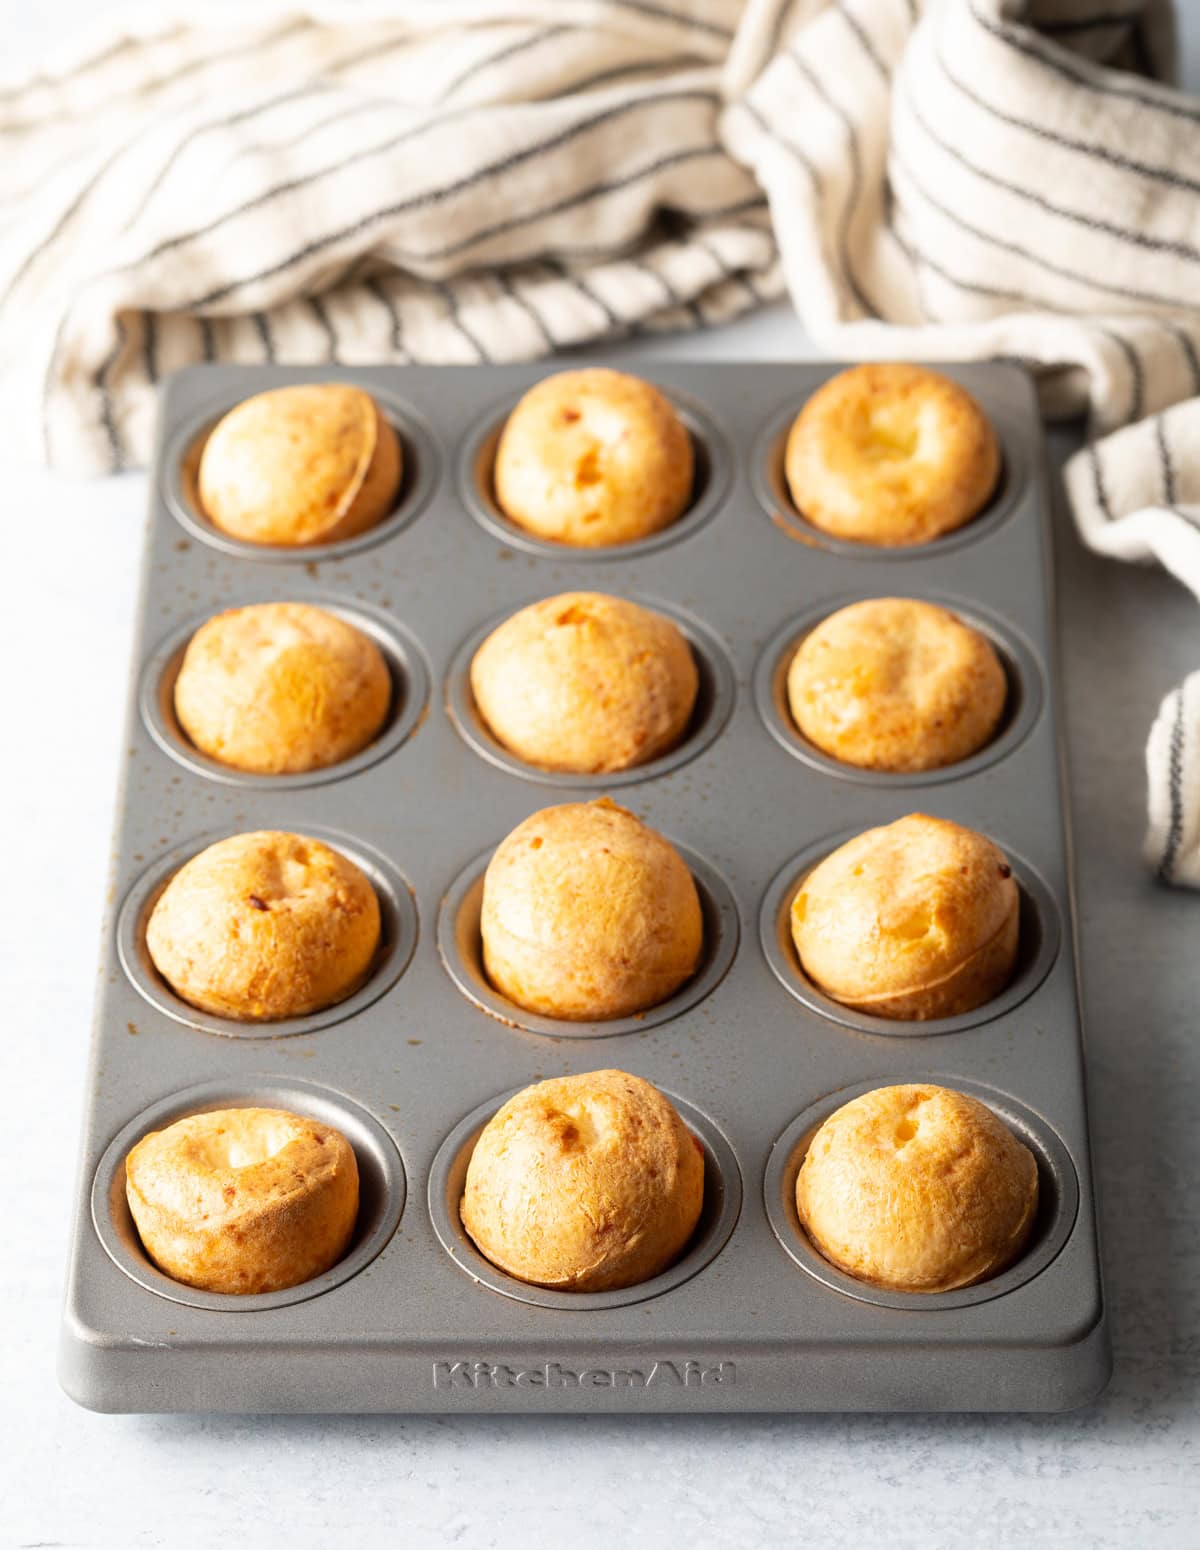
I slide the pans into the oven and let them bake undisturbed for 19–20 minutes, until they’re puffed and lightly golden on top. Resist the urge to open the oven door too early. Those little cheese puffs need steady heat to rise properly.
I start checking right around the 18-minute mark. I’m looking for a golden exterior with slightly deeper color around the edges. Keep a close eye on them at the end, because they can go from perfectly golden to overly browned pretty quickly.
If I’m baking in batches, I give the remaining batter another quick 30-second blend to whip a little more froth back into it. That extra air helps keep the next round just as light and puffy as the first. Then I re-spray the pans generously and refill them ¾ full before popping them back in the oven.
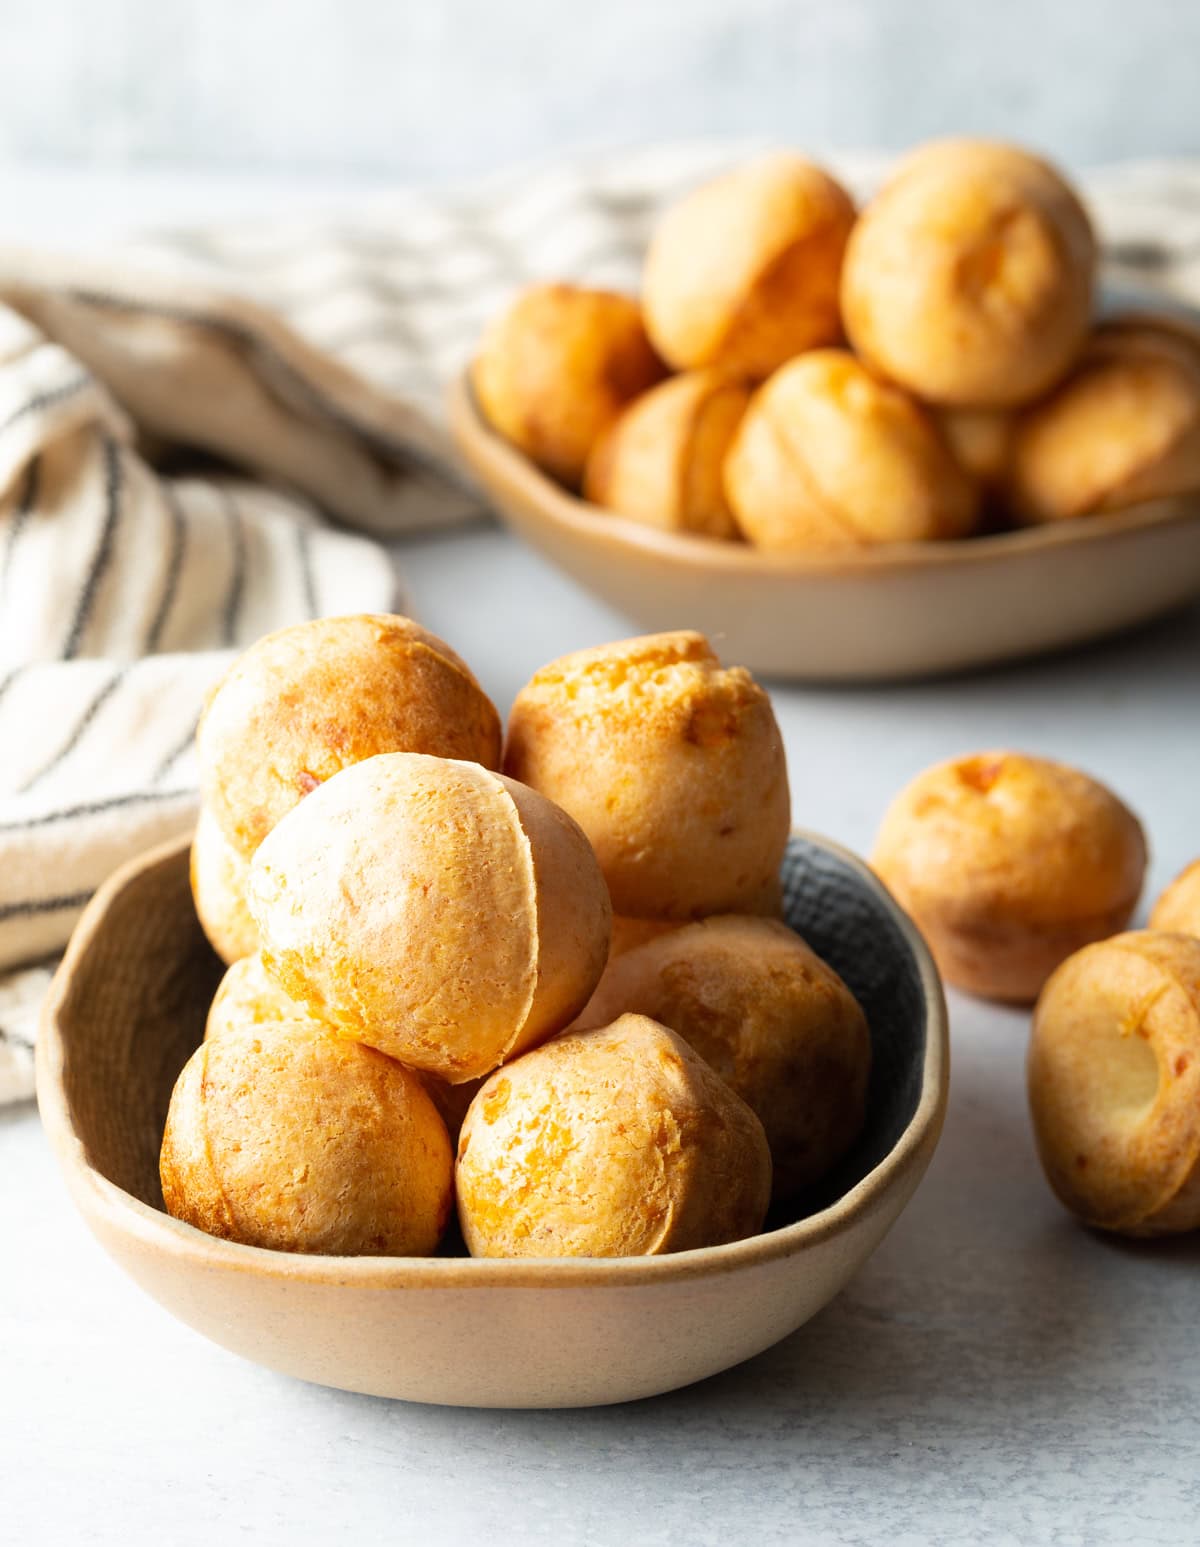
I always serve these warm when they’re at their absolute best… Crisp on the outside and irresistibly cheesy in the center. If I’m making them ahead, I let the puffs cool completely before storing. That keeps condensation from forming and prevents them from getting soggy. A quick reheat in the oven brings them right back to life!
Recipe Variations
- Cheese – Make these tiny puffs with different cheeses: Any good “melting cheese” will work. Pepper jack, Monterey jack gouda, and fontina are all great options.
- Fillings – Stuff the Brazilian cheese bread with savory fillings, like cooked sausage or chorizo, or even herbs (like rosemary). Make the filling in advance and cool slightly. Once you’ve poured the batter into the muffin tins, add one teaspoon of the savory filling to the center of each muffin cup.
- The More the Merrier – As-is, this recipe makes approximately 48 cheese puffs. Double the ingredients to make 96 bites for a crowd or to freeze for later. Scrape the sides of the blender with a soft spatula to get more of the wet dough mixture.
Serving Suggestions
While these yummy cheese balls are great to eat on their own, they also pair wonderfully with savory dips, hot sauce, and/or fruity jams. I personally love them with my ranchero sauce and tomato jam recipe.
Storage and Reheating
These Brazilian snack puffs will keep well for up to 4 days. Store them in an airtight container and keep them at room temperature, away from moisture.
Place them in an airtight container and freeze them for up to 4 months! When ready to use, I suggest thawing them in the fridge overnight. To reheat, place the puffs on a baking sheet and bake for 5 minutes in a 350-degree preheated oven. Or I like to reheat them in the air fryer!

Frequently Asked Questions
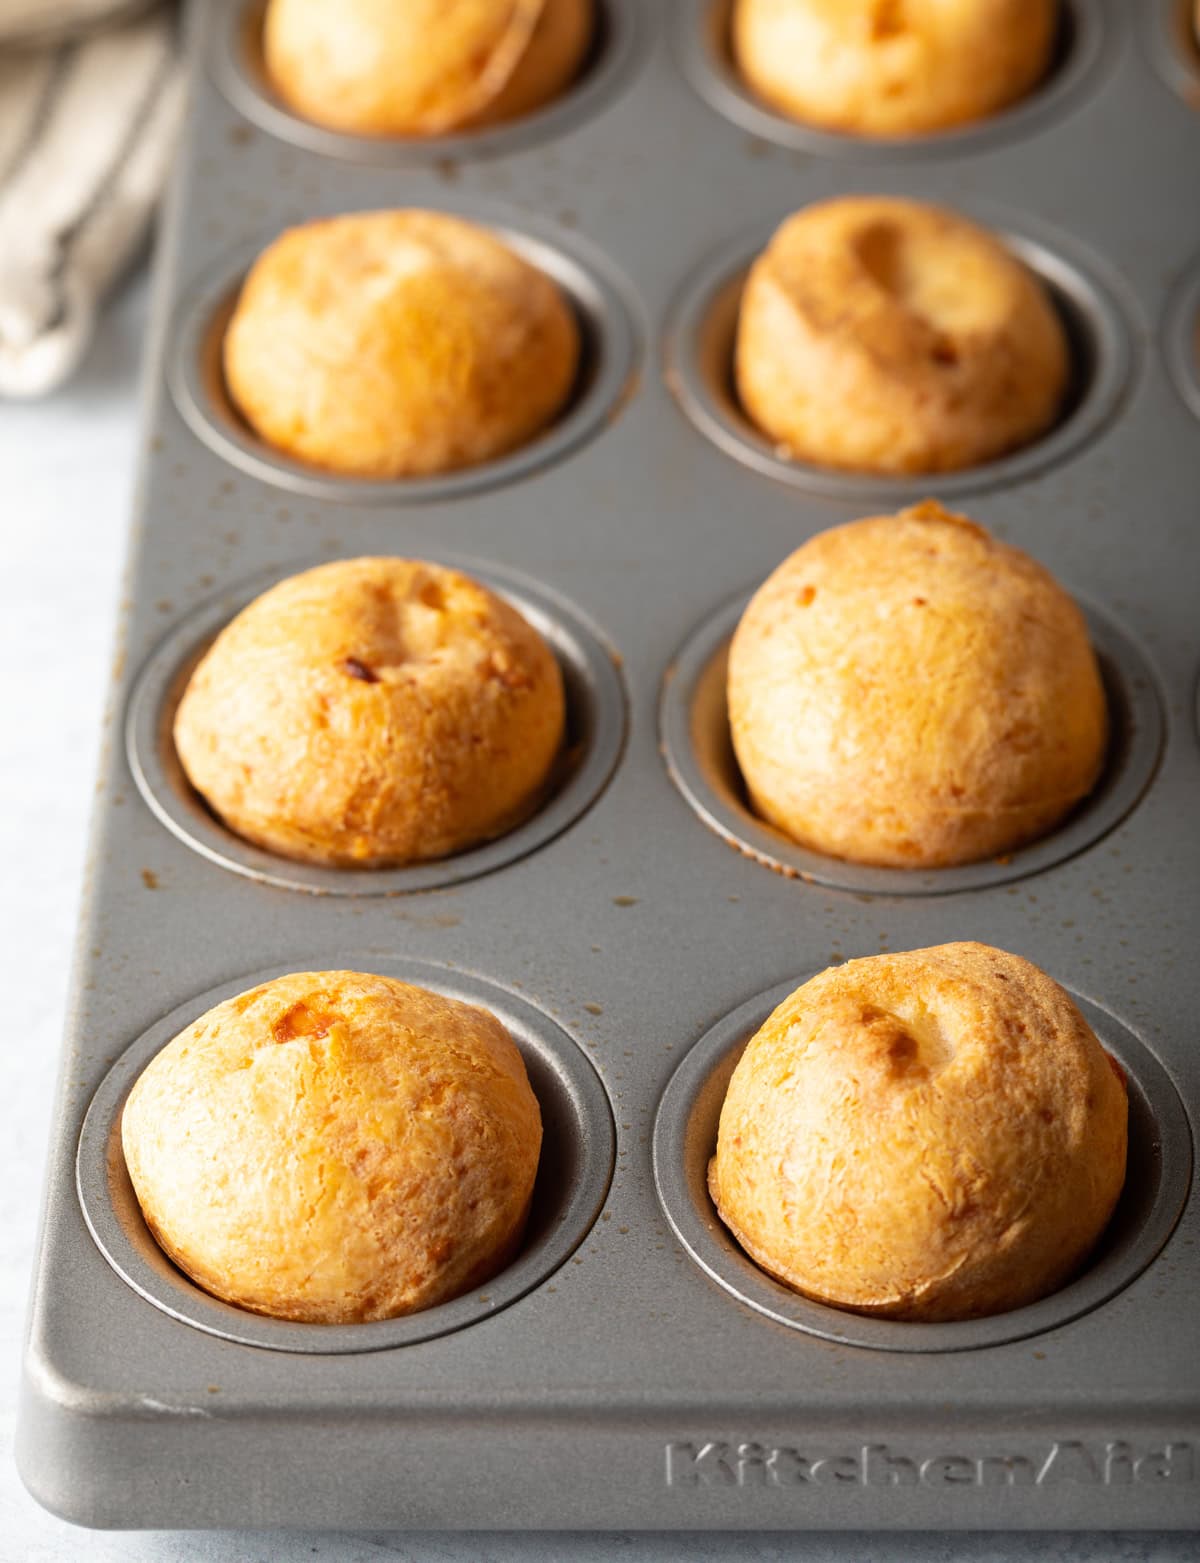
When they’re done, they should be fully puffed on top, and feel lightly crisp on the outside but still soft and springy in the center. That’s the sweet spot!
Sure, you can! Although I’m only adding salt and garlic powder, feel free to add Italian seasoning, a pinch of cayenne pepper and ground cumin, or a little thyme and lemon zest is a nice touch.
Yes and no. I’ve tried making these with almond flour and coconut flour. Although the puffs will bake with a slight dome, and do have lower carbs, the texture isn’t quite right. I suggest using tapioca flour, as in the traditional recipe.
Help Me Spread the Word about this Fabulous Free Recipe! Sharing this recipe link on Pinterest and Facebook is super impactful, and I greatly appreciate it! Find the share buttons below the recipe form.
More Healthy Snack Recipes


Keto Brazilian Cheese Bread
Video
Ingredients
- 2 cups tapioca flour
- 1 cup whole milk
- 2 large eggs
- 1/3 cup vegetable oil avocado oil or light olive oil
- ½ cup shredded sharp cheddar cheese
- ½ cups shredded mozzarella cheese
- 1 teaspoon salt
- ½ teaspoon garlic powder
Instructions
- Preheat the oven to 400 degrees F. Set out several mini muffin pans. Spray them generously with nonstick cooking spray. (Or brush generously with oil.)
- In a blender, combine all the ingredients. Cover and puree until smooth and frothy.
- Use a spoon to portion the batter into the muffin pans, filling the wells ¾ full.
- Bake undisturbed for 19-20 minutes until golden and puffed.
- If you needed to repeat with the remaining batter, puree the batter another 30 seconds to create additional froth before re-spraying and refilling the pans. Serve warm.

Can you substitute anything for the tapioca flour.
Hi Beth,
In theory yes, however, the tapioca flour is what give this recipe its taste and texture. If you use another type of flour you will have a completely different dish. If sourcing it is the problem, tapioca flour is easy to purchase on Amazon.
These turned out sooo good! Love the ease of preparation!! These are going to be a regular on my menu!!
This cheese bread is SO good!! We all loved this recipe and can’t wait to make it again!
Wonderful recipe – it really is crips on the onside and soft and chewy on the inside!
wow wow wow, this bread is amazing and super special to serve my guests! thank you for sharing
Our family is obsessed with these cheesy bread balls! Super simple to make and they are gone in a flash!
Not low carb, but delicious.
what a fun, different appetizer, would never have come up with this on my own, thank you, much appreciated!
We make this often! My kids love it!! This bread is so soft & cheesy, our favorite!
These were such a fun recipe to make. Loved that the whole family can enjoy this low carb recipe.
These are so incredibly yummy and not near as difficult as I thought they would. Thanks for the great recipe.
I love these so much! Its the best combination of the two things that I love the most – cheese and bread!