

Broasted Chicken Recipe
 by Sommer Collier — last updated on Jul 17, 2026
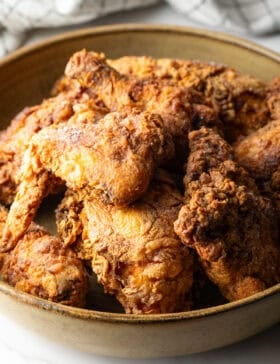
When I’m craving some seriously tender, juicy, and crunchy fried chicken, I like to make this easy broasted chicken recipe. This simple to follow method is a guaranteed finger-licking success, whether you’re “frying” up some drumsticks and wings in the Broaster, on the stovetop, or in the Instant Pot!
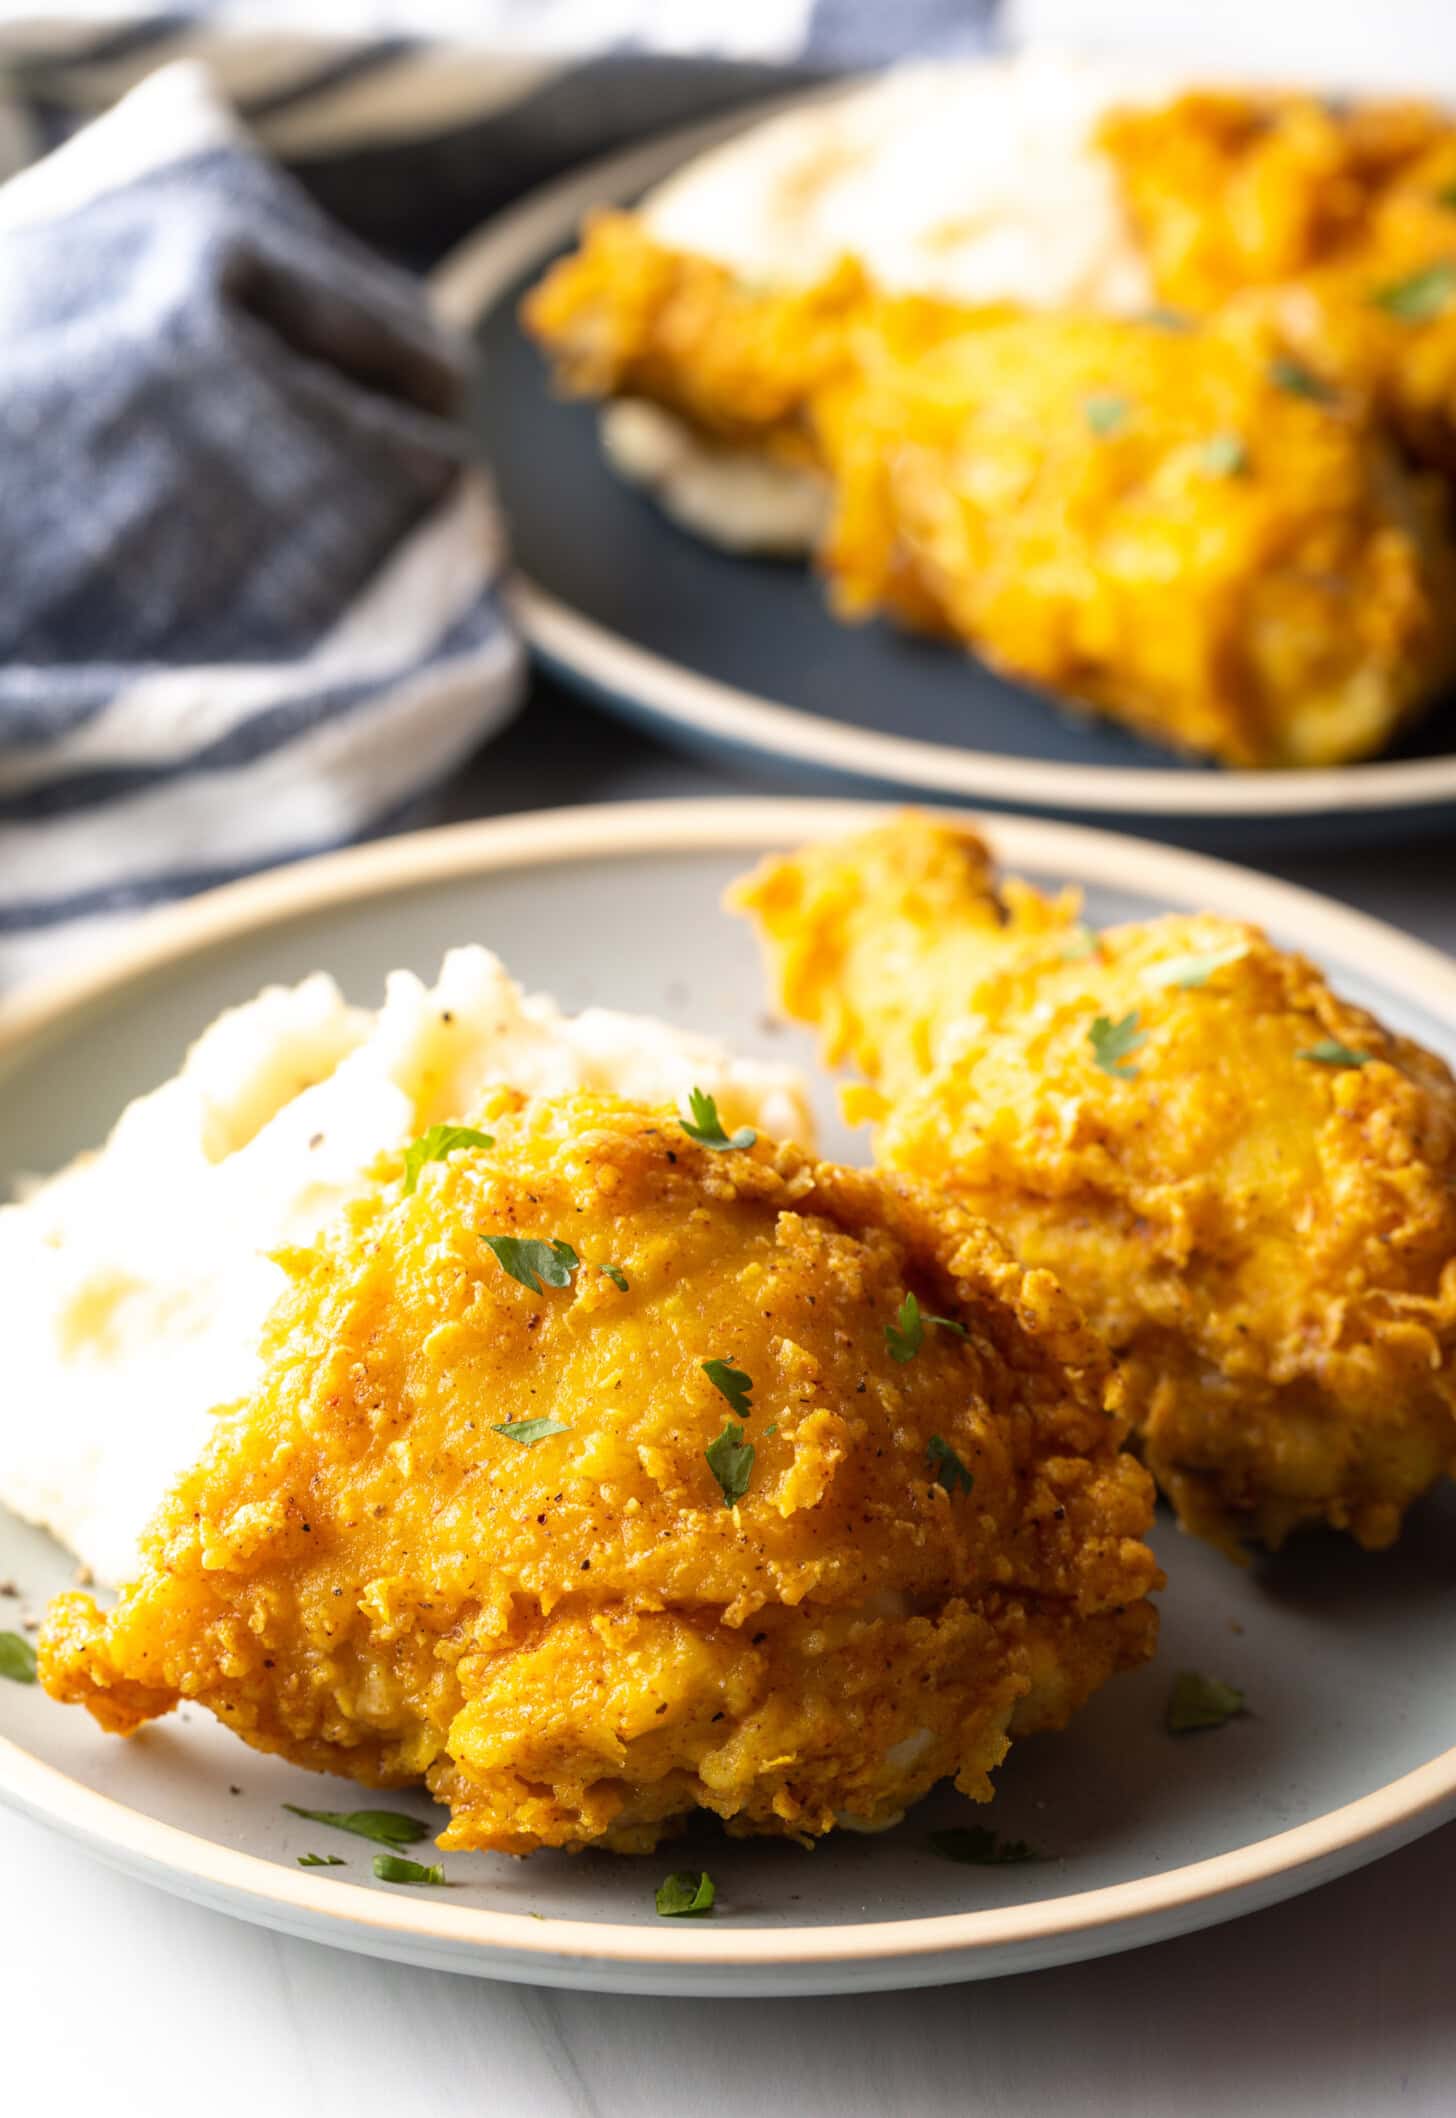
What’s more iconic and delicious than a ultra crispy and juicy piece of fried chicken? Mmm… That’s a hard one to beat! If you’ve tried my really spicy Nashville hot chicken recipe, then next you’ve got to make this fried chicken recipe to add to your chicken platter. My broasted chicken recipe is really special because not only does it make outstanding crunchy and tender fried chicken, but it uses a Broaster. Now, this isn’t a kitchen gadget you come across everywhere. It’s basically a pressure-fryer that deep fries and pressure cooks at the same time, and it’s really popular in the Midwest. For those of you without a Broaster (probably most of you), I’m also sharing how to “broast” these in an Instant Pot and on the stovetop, too! This chicken is a true crowd-pleaser, whether we’re hosting a family dinner or just craving a midweek indulgence, broasted chicken always hits the spot! PS, I love to serve these up with classic dipping sauces like ranch, blue cheese, and even a simple mayo-mustard combo.
Shar – ⭐⭐⭐⭐⭐ I was amazed at this broasted chicken! I thought the broaster method was hard to do, surprisingly, it is so easy and turned out so crispy, tender and juicy! Definitely using this method again!
Table of Contents

Sommer’s Recipe Highlights
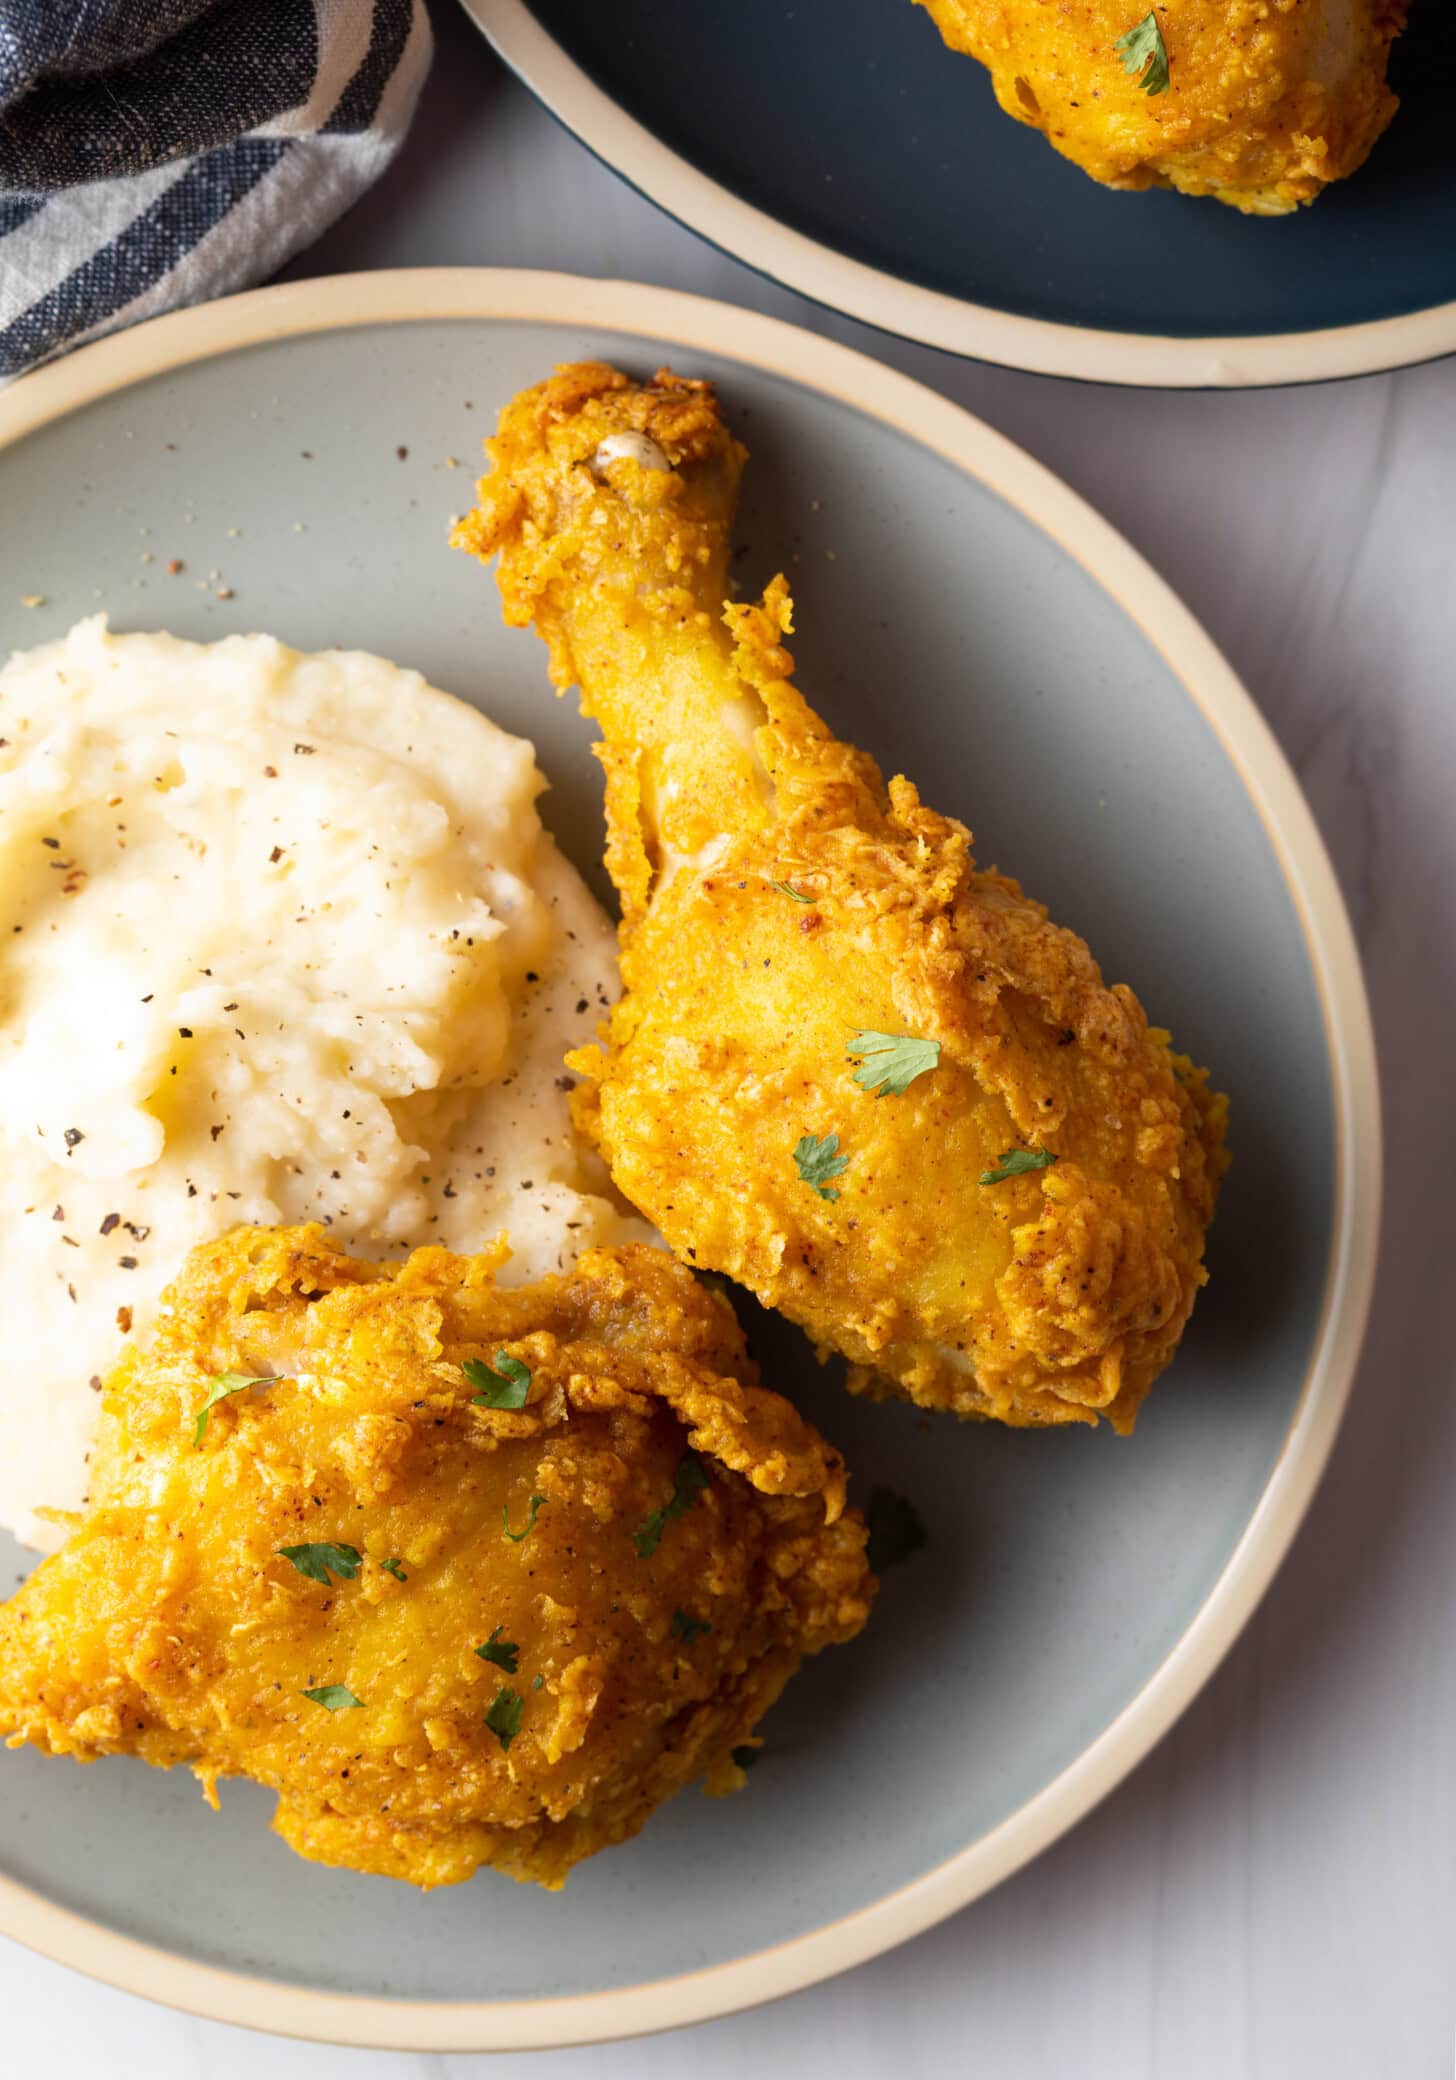
Ultra Crispy and Juicy – I’m totally obsessed with fried chicken (like most people), so when I find a recipe that actually makes crunchy and juicy chicken, I stick to it. I’ve made this broasted chicken recipe so many times, that I can honestly tell you it’s fool-proof and it delivers delicious results every single time.
Simple Ingredients – Like my best fried chicken recipe, this broasted version uses a handful of easy-to-find pantry staples like buttermilk, flour, and a few spices. So you can make a restaurant-style fried chicken dish even if you’re on a budget. That’s a win-win in my book!
Versatile Leftovers – I love how many offshoot dishes I can make using leftover fried chicken. That’s why I always make a lot of this at once. You can slice it up and use it as a topping on your favorite salad, or add it to a wrap for a chicken Caesar inspired twist. I even love to reheat it and turn it into a Tex-Mex chicken bowl with some refreshing guacamole and homemade salsa.
Key Ingredients and Tips
- Fryer pack of chicken – I always use a whole chicken cut up into eight pieces of breasts, wings, thighs and drumsticks for versatility. This way, you get the lean nature of the breast and some of that gamey, juicier texture from the thighs. At most markets, you can find a whole chicken already cut for you; it’s called a fryer pack!
- Buttermilk – Throughout my years of cooking, I’ve found that using buttermilk as a brine really helps to make the chicken tender and juicy. I sometimes use the store-bought kind, but if you have extra time, definitely give my homemade buttermilk recipe a try! It takes just seconds to mix together.
- All-purpose flour – To get that crispy, golden brown coating all-purpose flour is a must.
- Spices – I love to use a blend of aromatic spices like turmeric, paprika, and chili powder. They each add a ton of warm, earthy flavors and a punch of color and heat!
- Frying oil – To fry this chicken up you’ll need to use a neutral oil like canola, peanut, or vegetable oil. All of these options make for a seriously crispy chicken without overpowering the rest of the flavors.
How to Make
Find the full recipe with ingredient proportions, detailed instructions, and a video tutorial in the printable form at the bottom of the post.
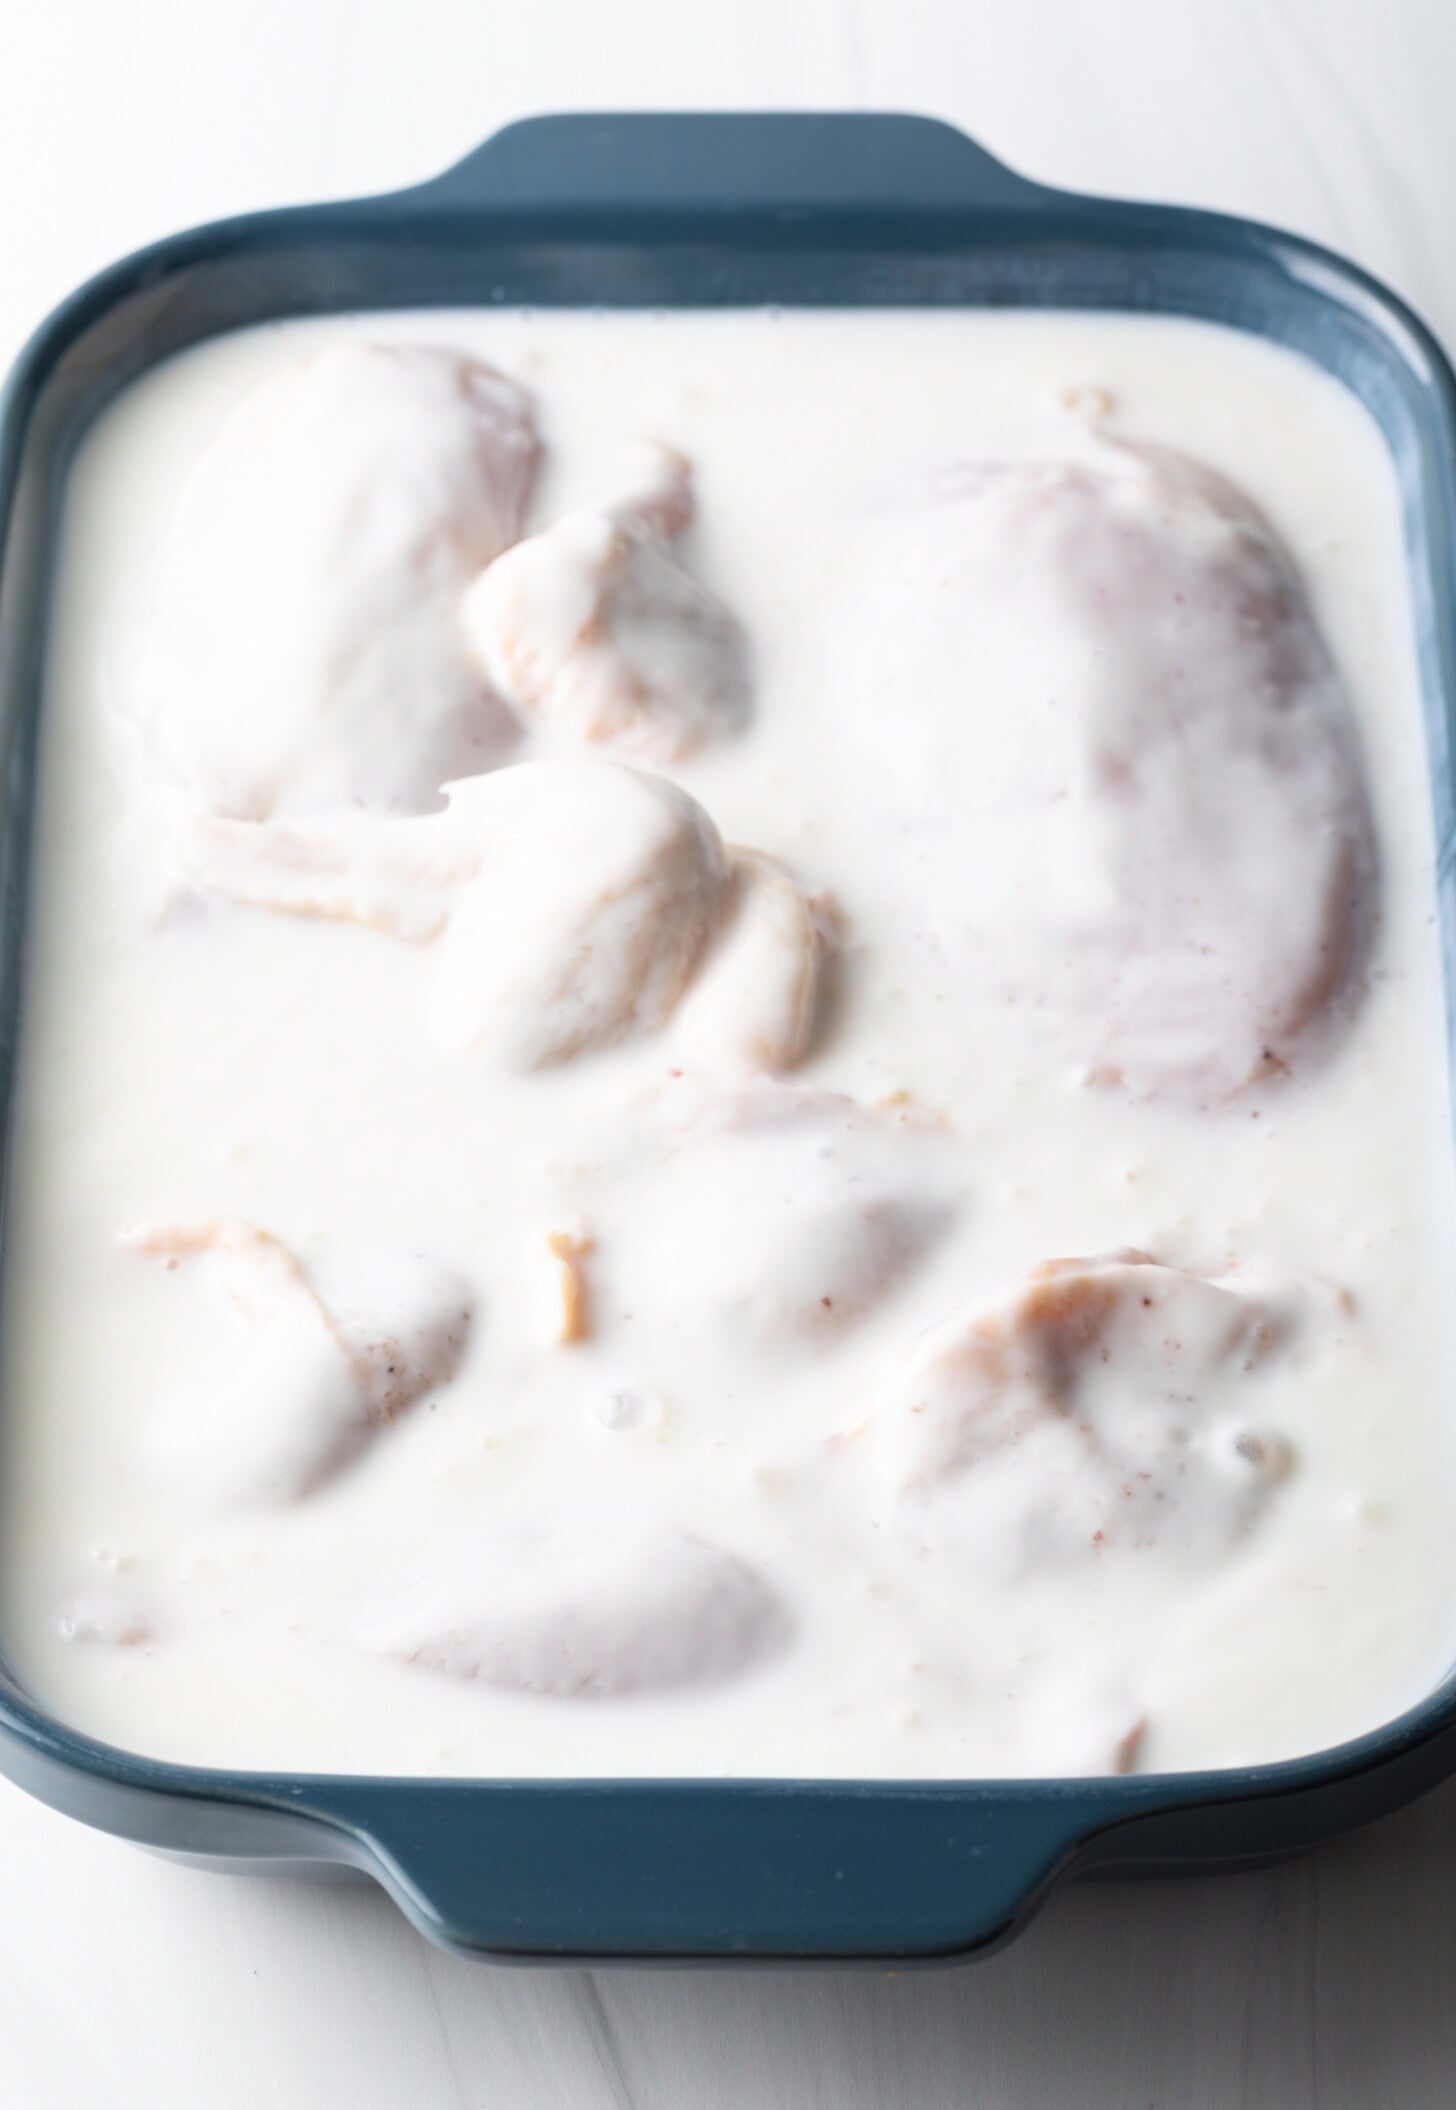
Brine the chicken – To make the ultimate crispy chicken, the key is in brining the pieces first. So, to make the brine, I pour the buttermilk into a ziploc bag and I add in some salt. Then, I add the chicken into the ziploc bag and I shake it around so that it gets coated all over. I place it in the refrigerator to marinade for a couple of hours, or even better, overnight. You can do this in a baking dish as well, like in my photo below.
Make the coating – Before I’m ready to “fry”, I make the coating by adding the flour, salt ,and spices into a baking dish and combining those all with a fork.
Dredge the chicken – I remove every piece of chicken from the buttermilk brine, and I place it into the flour mixture and roll it around. I make sure that every piece gets coated all over, and then I lightly shake off any excess coating before moving it onto another baking sheet. It’s best to dredge all the chicken pieces before you preheat the oil, so they have time to rest before broasting. If you prefer a thicker breading, you can double-dip the chicken back in the buttermilk and in the dredge again, but this is not traditional for Broaster Chicken.

Prep the Broaster or Instant Pot – If I’m cooking this chicken using the Broasting method, I need to fill it up with oil and preheat the Broaster to 360 degrees Fahrenheit.
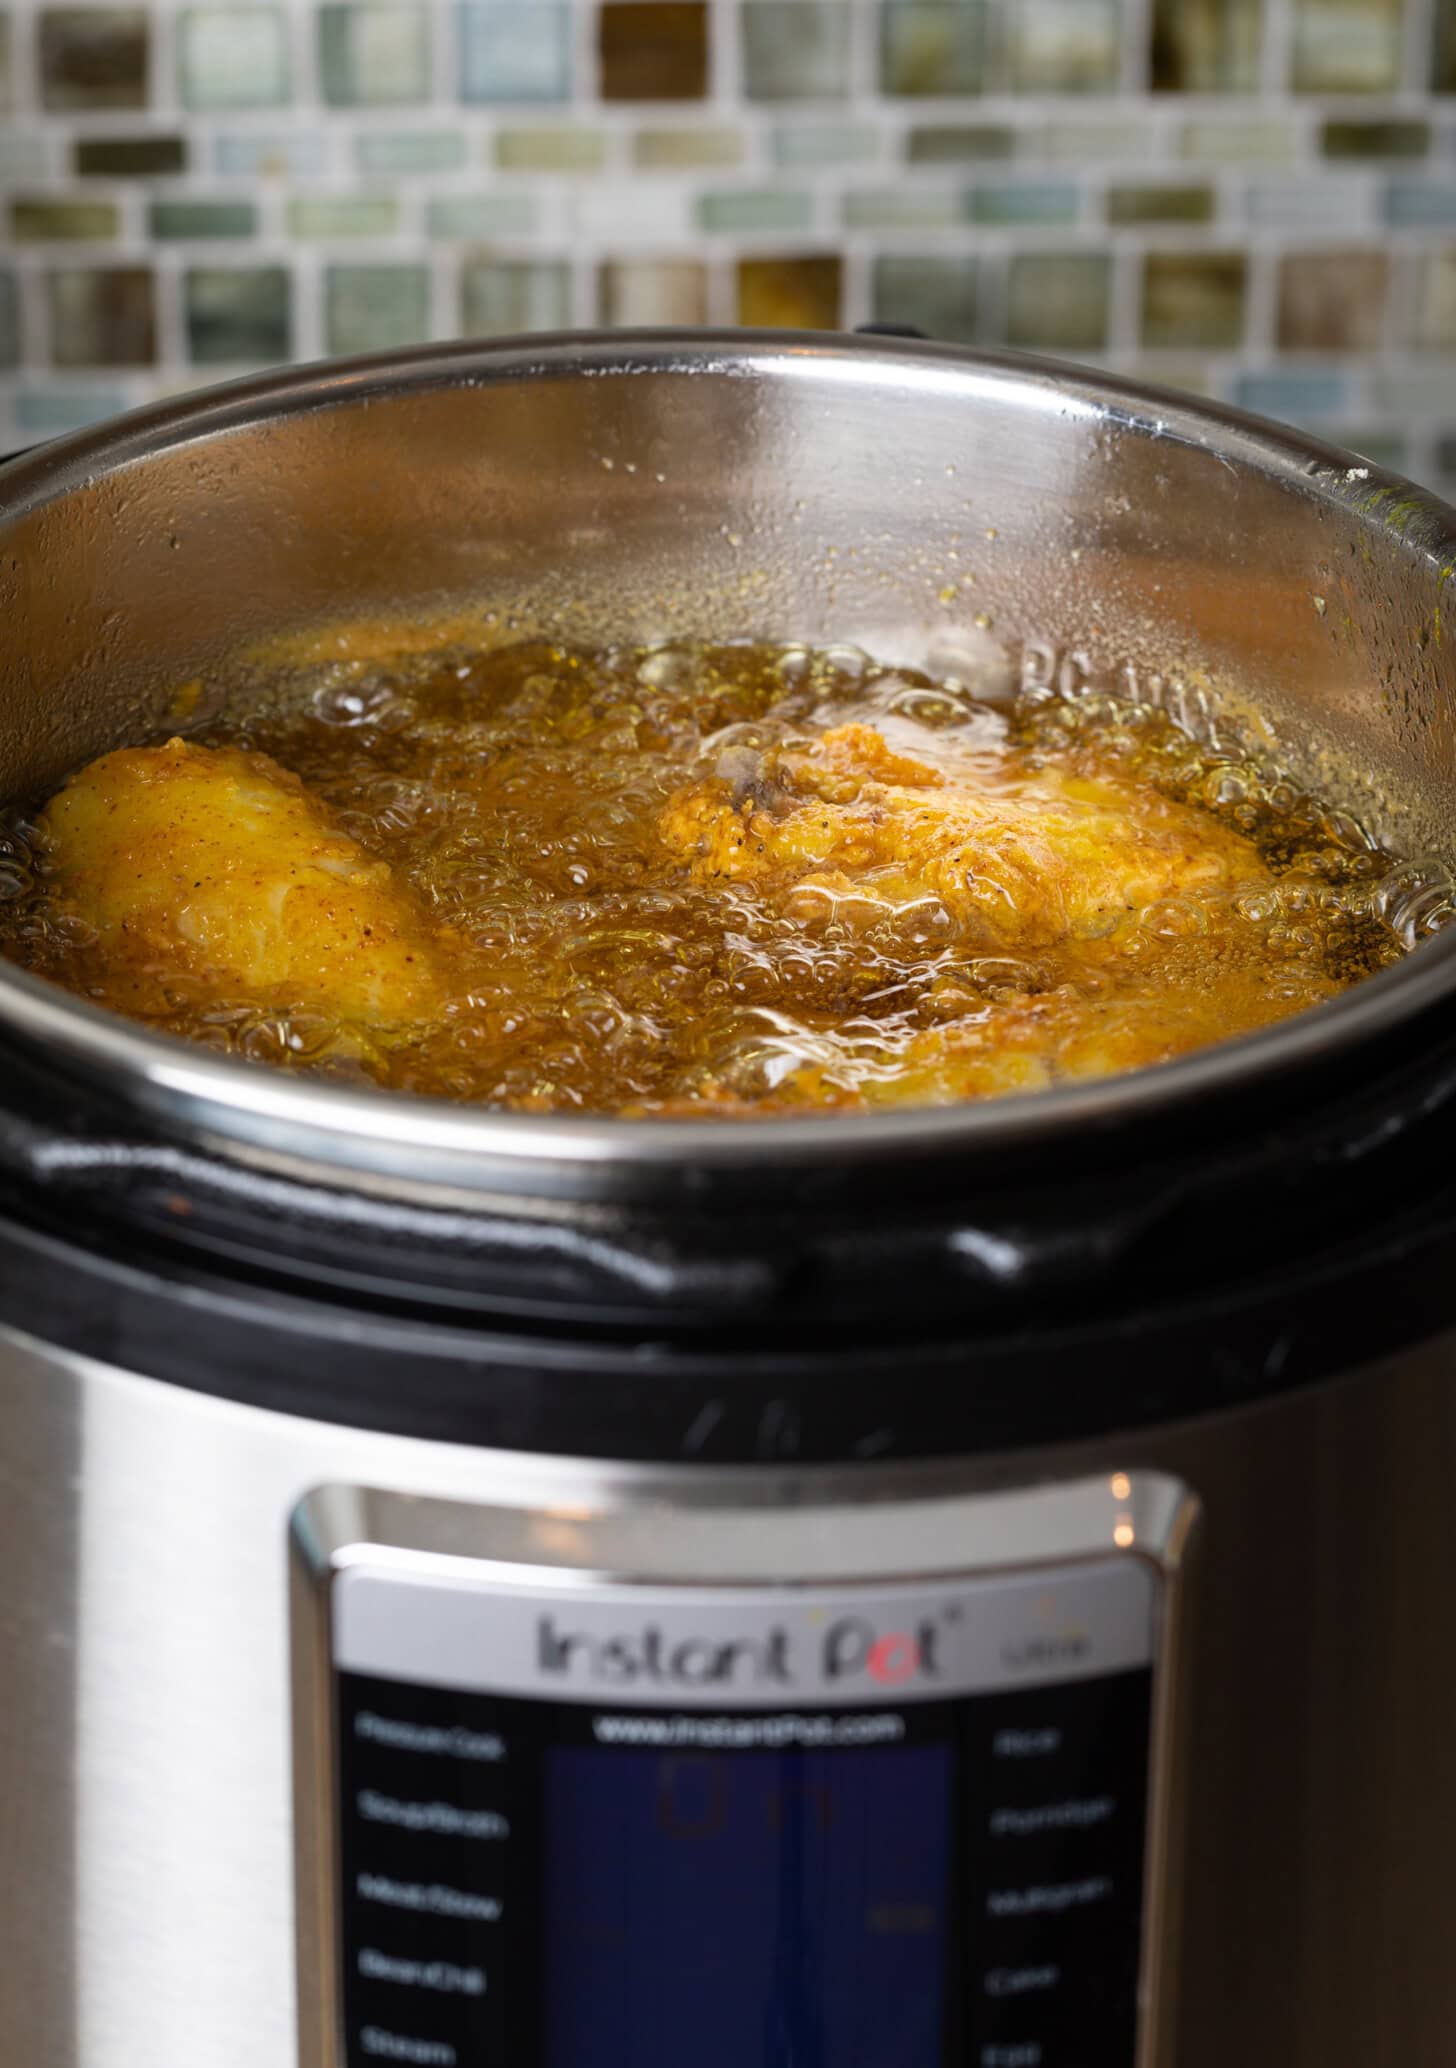
But, if I’m making the chicken in an Instant Pot, the first thing I need you to know is that this cooking method will ONLY work if your version allows you to set the temperature to 375 degrees Fahrenheit using the “saute” method. Once you’ve done that, pour in the oil.
Start cooking – I always use a thermometer to check that the oil has reached the necessary temperature before frying. Then, I start by adding the breasts first. Followed by the other smaller pieces
Cook – I close the lid and I let the chicken cook for about ten minutes, or closer to 15 minutes in the Instant Pot. I always use a meat thermometer to check that the internal temperature of the chicken has reached at least 165 degrees Fahrenheit. Pro Tip: IP users, just rest the lid on top, don’t lock it.
Or prep the stovetop – If I’m cooking the chicken on the stovetop, I start out by filling a Dutch oven with oil.
Fry – When the oil has reached around 375 degrees Fahrenheit, I toss in the dredged chicken one piece at a time. I let the chicken fry for about 15 minutes until it’s golden brown. Again, I use a meat thermometer to check that it’s cooked through.
Remove and drain – Once the chicken is done, use a pair of tongs to remove the pieces and then let them drain over a rack.

Recipe Variations
- Herbs – For some added savory flavors, add some dried thyme, oregano and onion powder into the flour mixture.
- Cornstarch – For an extra crispy coating, mix some cornstarch into the flour.
- Boneless chicken – To fry these up even faster, use boneless pieces of chicken, whether they’re breast, thigh or both.

Serving Suggestions
I love to chow down on these juicy pieces of broasted chicken. They’re delicious on their own, serve in a sandwich, over a salad or served with a bunch of my favorite sides.
You can pair them with classic southern veggies like collard greens, corn spoon bread, stewed okra and tomatoes, baked beans, and/or creamed corn. To “lighten” things up a bit you might consider serving with refreshing no-cook sides like marinated vegetable salad, fresh corn succotash, or traditional creamy coleslaw.
Crunchy pieces of juicy fried chicken are great with fluffy mashed potatoes, homemade mac and cheese, dressing, air fryer potato wedges, or just about any starchy side dishes.
If you love dipping sauces, try serving pressure-fried chicken with my buttermilk ranch dressing recipe, blue cheese dressing recipe, southern comeback sauce, or garlic parmesan sauce.
Storing
To store leftover chicken, cool the chicken completely and transfer it to an airtight container. Store leftover fried chicken in the fridge for up to 3-4 days.
Reheat leftover fried chicken in the oven or air fryer. For crunchy skin, I recommend that you do not microwave.
Frequently Asked Questions
Traditional fried chicken is made by dredging pieces of chicken in a flour mixture, and then deep frying them in hot oil. Broasting, on the other hand, includes both pressure cooking and deep frying the dredged chicken. The result is chicken that is super moist on the inside and crunchy on the outside.
Yes, the chicken is soaked in buttermilk and coated in a combination of flour and spices before cooking.
Help Me Spread the Word about this Fabulous Free Recipe! Sharing this recipe link on Pinterest and Facebook is super impactful, and I greatly appreciate it! Find the share buttons below the recipe form.
More Fried Chicken Recipes



Broasted Chicken Recipe
Video
Ingredients
- 3-4 pound fryer pack of chicken whole chicken cut into 2 breasts, 2 wings, 2 thighs, 2 drumsticks
- 1 quart buttermilk
- 3 tablespoons salt + 1 teaspoon for breading
- 1 cup all-purpose flour
- 1 teaspoon turmeric
- ½ teaspoon paprika or smoked paprika!
- ½ teaspoon chili powder
- ½ teaspoon black pepper
- 2 quarts oil for frying canola, peanut, vegetable
Instructions
Brine in Buttermilk –
- Pour the buttermilk in a large baking dish, or in a large zip bag. Add 3 tablespoons of salt and mix well. Then place the chicken pieces into the buttermilk brine. If using a baking dish, cover with plastic and place in the refrigerator. If using a zip bag, zip it tight so it does not leak and place it in the refrigerator. Brine the chicken in the buttermilk for at least 4 hours, or overnight.
- When ready to cook, set out another baking dish. Combine the flour and 1 teaspoon of salt, with the turmeric, paprika, chili powder, and black pepper. Mix well so the seasonings are thoroughly blended into the flour.
- Then set out a tray for the chicken. One piece at a time, remove the chicken from the buttermilk brine and place it in the flour mixture. Roll it around in the flour and gently tap it off so the breading coat is light. Place them on the prepared baking sheet.
- Dredge all the chicken pieces before you preheat the oil, so they have time to rest before broasting.
Broaster Method –
- Pour the fry oil into the broaster. Preheat to 360°F.
- Once the oil comes to temperature, gently place each chicken piece in the hot oil, starting with the breasts.
- Close the lid and cook the chicken for 8 to 10 minutes, until golden brown. The internal temperature of the chicken should be 165°F. Make sure to have a meat thermometer on hand.
Stovetop Method –
- Set a large 6-8 quart dutch oven on the stovetop. Attach a cooking thermometer to the side of the pot. Pour the oil into the pot and set the burner on medium-high.
- When the oil reaches 375°F, gently place the pieces of dredged chicken in the fry oil, one at a time. Gently stir the chicken pieces around the pot. Check the temperature and adjust the heat if needed to keep the temperature between 350-360°F.
- Once the temperature is steady, remove the thermometer and place a lid on top of the pot. Fry the chicken for 12 to 15 minutes, until golden brown, with an internal temperature of 165°F.Note, when you place the lid on top of the pot, it may raise the heat up just a smidge, so it's OK to take off the lid and re-check the oil a few minutes in.
Instant Pot Method –
- Please note, you will only be able to use the pressure cooker method if you have an Instant Pot model that allows you to adjust the temperature to around 375°F. This will be done in the sauté setting, with the "more" option. Preheat the Instant Pot on the sauté setting to between 360 and 375°F and pour in the oil.
- Once the oil is hot, place the breasts down in the bottom of the pot, followed by all remaining pieces.
- Set the lid back on the top of the instant pot. If your instant pot automatically shuts off when the lid is on, turn the lid to the side so that it's covering the chicken but it's not setting off the default functions. Fry the chicken for 14 to 16 minutes, until it is golden and the internal temperature reads 165°F on a meat thermometer.
- Once the chicken is cooked, carefully remove it from the hot oil with tongs, and place it on a baking rack to drain and dry.
- Serve warm with your favorite comfort food sides!



I was amazed at this broasted chicken! I thought the broaster method was hard to do, surprisingly, it is so easy and turned out so crispy, tender and juicy! Definitely using this method again!
This is one of the best recipes. My kids loved it. Turned out really crispy. Thanks for sharing!
Super good recipe – my family is asking when can I make this again! Its safe to say everyone loved it!
ive been looking at broasters and this recipe makes me want to get it so badly! that chicken looks so crispy and juicy, thank you so much for sharing this amazing recipe!