

Fried Chicken Recipe (Without Buttermilk)
 by Sommer Collier — last updated on Jul 17, 2026
I make this Tavern Fried Chicken the Yankee way, without buttermilk, because I love how it creates a lighter, crispier crust that lets the juicy chicken take center stage. Each piece is coated in a perfectly seasoned flour mixture and fried until golden and crackly. It’s surprisingly easy to make at home and one of those comforting family favorites everyone requests again and again.

Like most of my best recipes, this winning fried chicken recipe without buttermilk was passed down from a family member that had been making the dish for years and years. This gem is a gift from Lt. Dan’s grandma, who was one of my all-time favorite people… We called her “Mo”. Many years ago, Mo and Papa used to own a tavern in Northern Indiana, right on the border of Michigan. Along with beer and basic cocktails, they served an assortment of what I would consider very “Northern” snacks and dishes, including this fried chicken, which was very different from the Nashville hot chicken recipe style I was used to. Instead of breading the chicken in the 3-step flour-buttermilk-flour method, Mo dunked her chicken in a dredge that was heavy on cornstarch. Then she dunked the chicken in pure egg whites right before dropping it into the hot oil. As Mo described it, this method makes a lighter, crispier crust on the chicken that is more delicate than the thicker, knobby breading on traditional southern fried chicken. After years of making this family heirloom recipe, I have to say, it’s definitely one of my favorite ways to eat chicken. Thank you, Mo, I miss you!
Vickie – ⭐⭐⭐⭐⭐ Best chicken I’ve ever made!! Thank you for posting this recipe! Btw i never leave comments, but I HAD to with this one!!
Table of Contents

Sommer’s Recipe Highlights
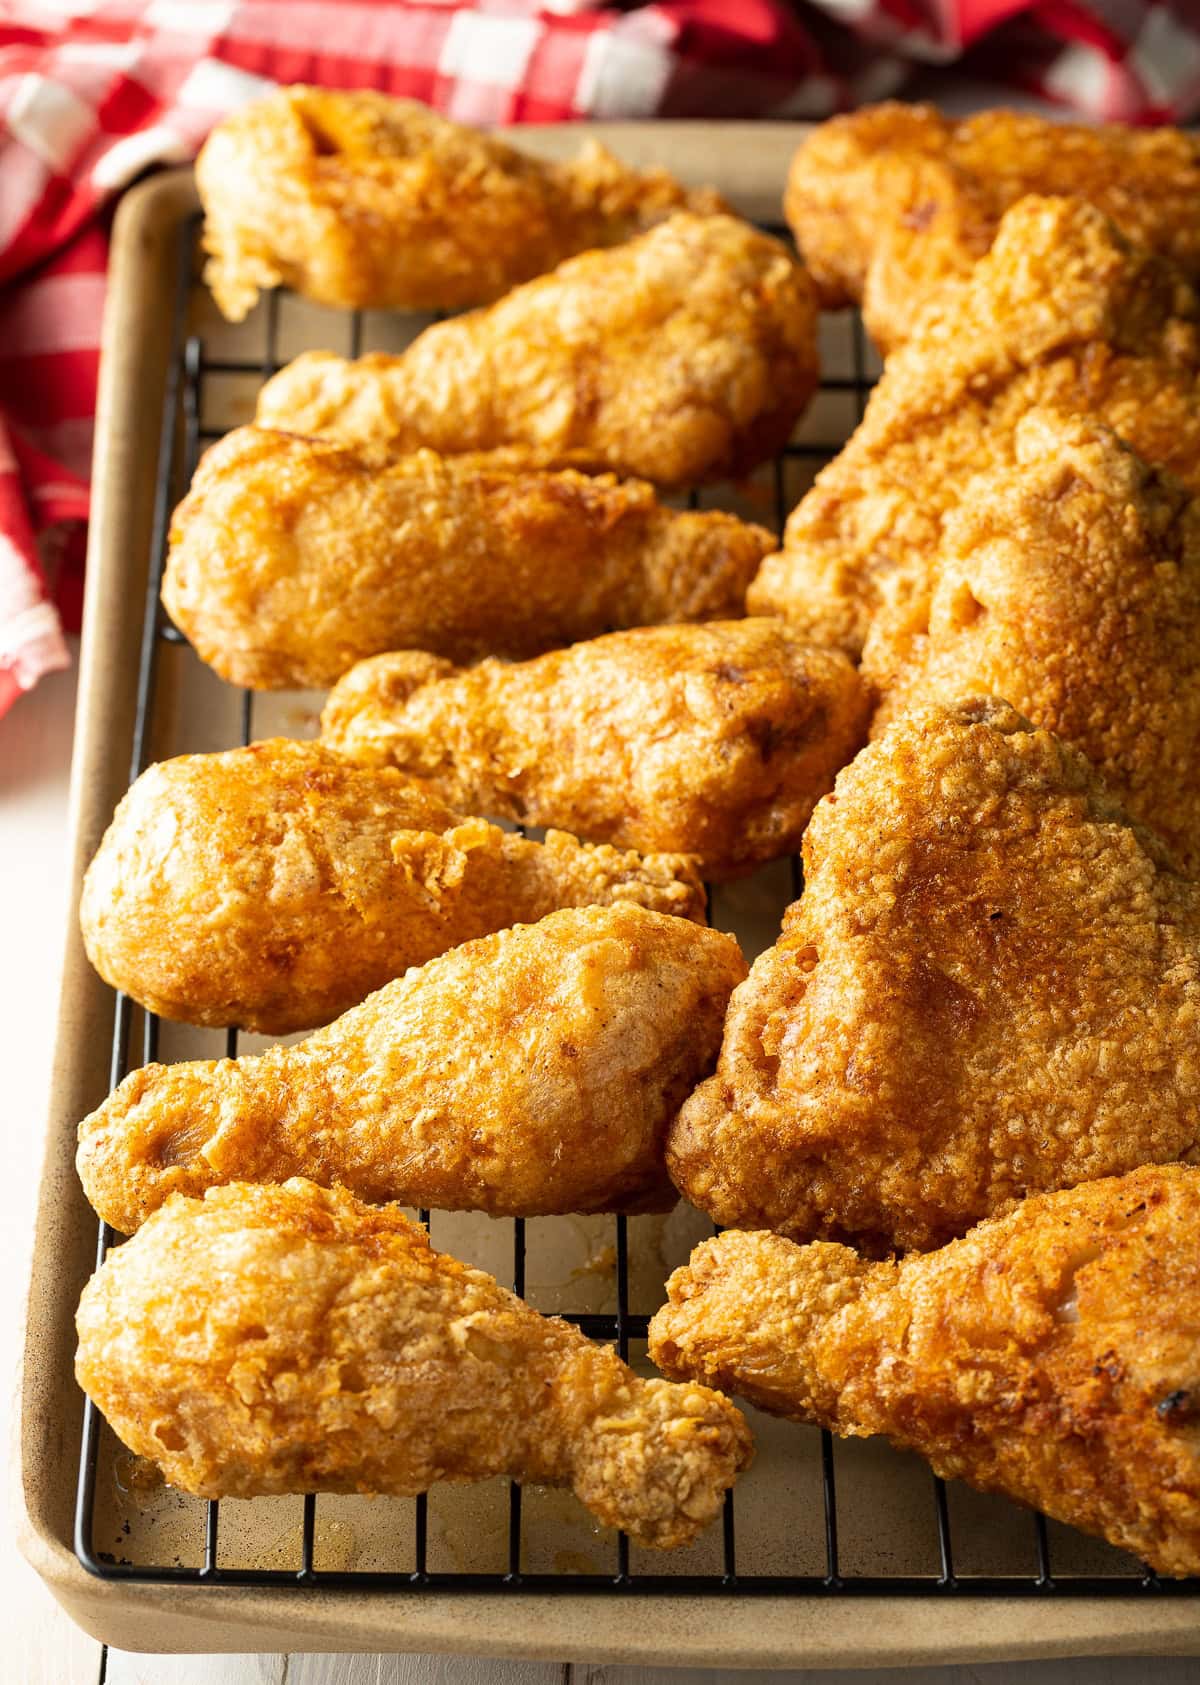
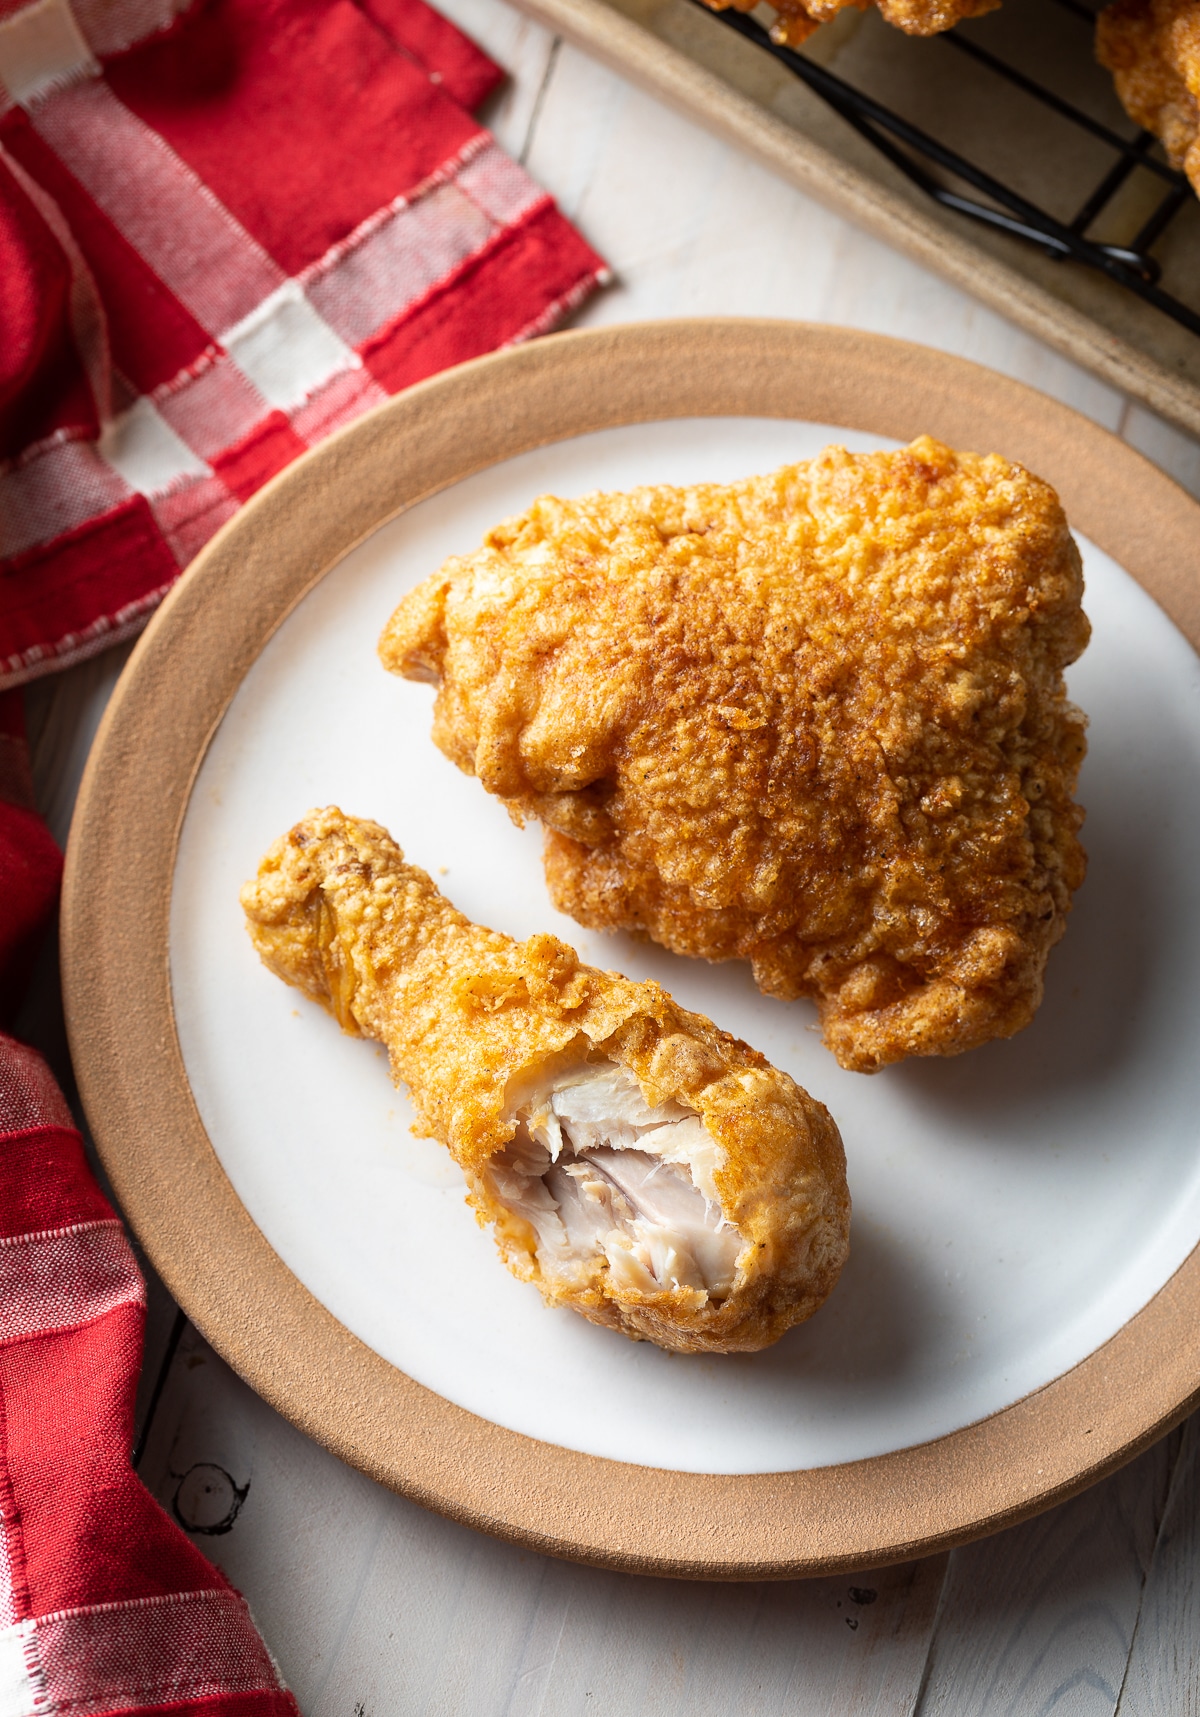
Extra Crispy and Juicy – Every bite of Mo’s fried chicken without buttermilk balances that tender juiciness of the meat with that seriously crispy coating. This fried chicken has an ethereal crunchy coating that is well seasoned. It does a better job of showing off the chicken inside, than traditional southern fried chicken… Although I love that as well!
Simple Ingredients – From the brine to the coating, this chicken dish uses simple and easy-to-find ingredients. The final result is restaurant-worthy fried chicken made right in the comfort of your own kitchen.
Versatile Leftovers – I always make sure to make a lot of fried chicken because I LOVE having it as leftovers. I chop it up and add it to wraps with some creamy avocado, on top of fresh salads, and over a fluffy bowl of rice or quinoa. There’s no wrong way to eat this crispy chickie!
Key Ingredients and Tips
- Bone-In Chicken Pieces – I like to use legs and chicken thighs, or a whole fryer pack will work as well. (Or you can use chicken tenders, like in my deep fried chicken tenders recipe!)
- Salt – For the brine and the breading use regular table salt or seas salt.
- Cornstarch – The coating should be heavier on cornstarch than flour, so it’s extra light.
- All-Purpose Flour – I like to use the traditional AP variety, but you can use a GF flour if needed.
- Paprika – I am obsessed with smoked paprika, but you can use sweet paprika or hot paprika if you like.
- Garlic and Onion Powder -For a bold zesty pop of flavor, I like to use a lot of garlic and onion powder.
- Black Pepper & Cayenne Pepper – A pinch of both add just the right amount of heat to every bite.
- Egg Whites – Egg whites make the crust puff up and they give the coating that signature golden brown color.
- Peanut Oil – For frying, I like to use peanut oil. You can also use lard, tallow, vegetable shortening, or another high-heat oil instead. (Ok, let’s all stop and imagine chicken fried in beef tallow… Heaven!)
How to Make
Find the full recipe with ingredient proportions, detailed instructions, and a video tutorial in the printable form at the bottom of the post.
Brine – The key to making juicy fried chicken is the brining process. To make the brine, I mix some salt and hot water into a bowl. Then, I add in cold water, the chicken, and some more water until all the meat is covered in liquid. I pop the bowl into the fridge for a couple of hours to let the poultry soak up the brine.
Dry the chicken – After a couple of hours have passed, I transfer the chicken from the bowl and onto a wire rack. I let the chicken drain and dry on its own, and before I’m ready to fry it up, I gently pat it with paper towels to remove excess moisture.
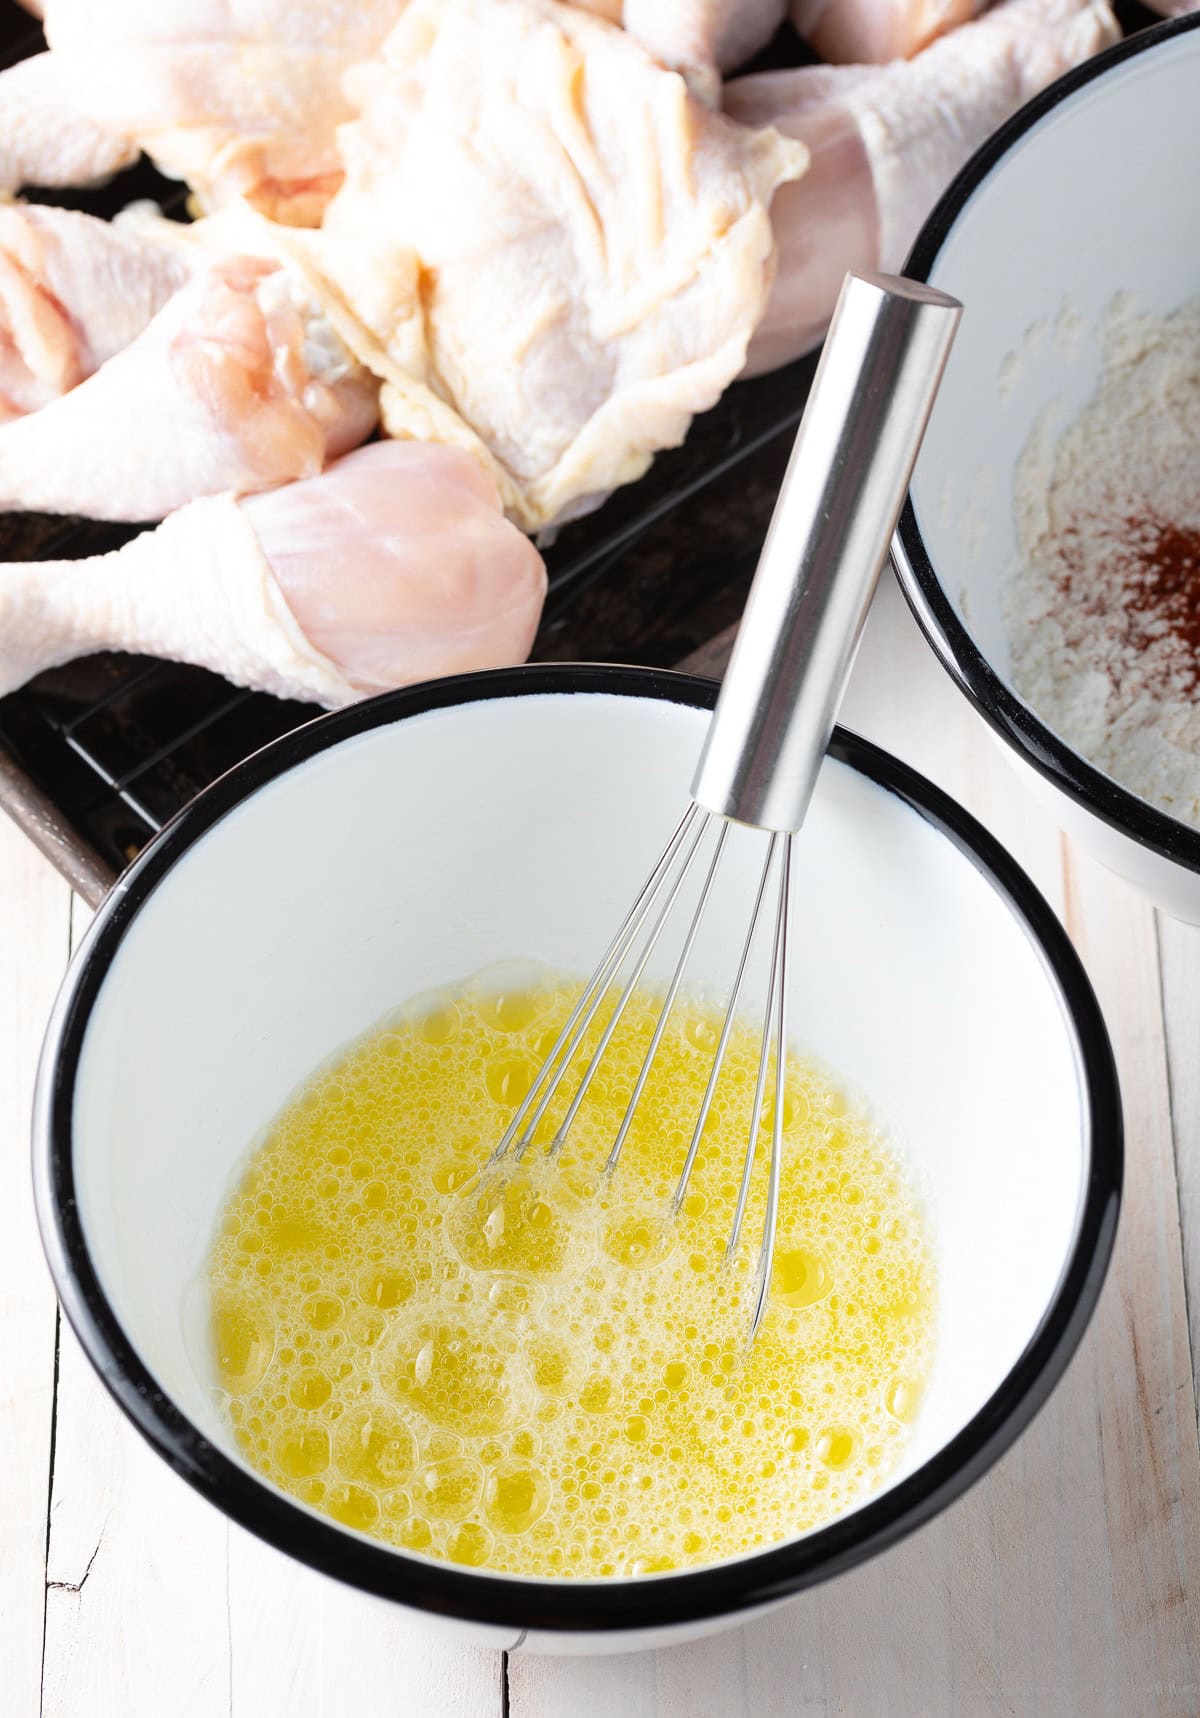
Make the breading – I grab a bowl and I add in the cornstarch, flour, salt, paprika, garlic and onion powder, black pepper, and cayenne. I mix that up. Then, I grab a second bowl and I whisk in egg whites.
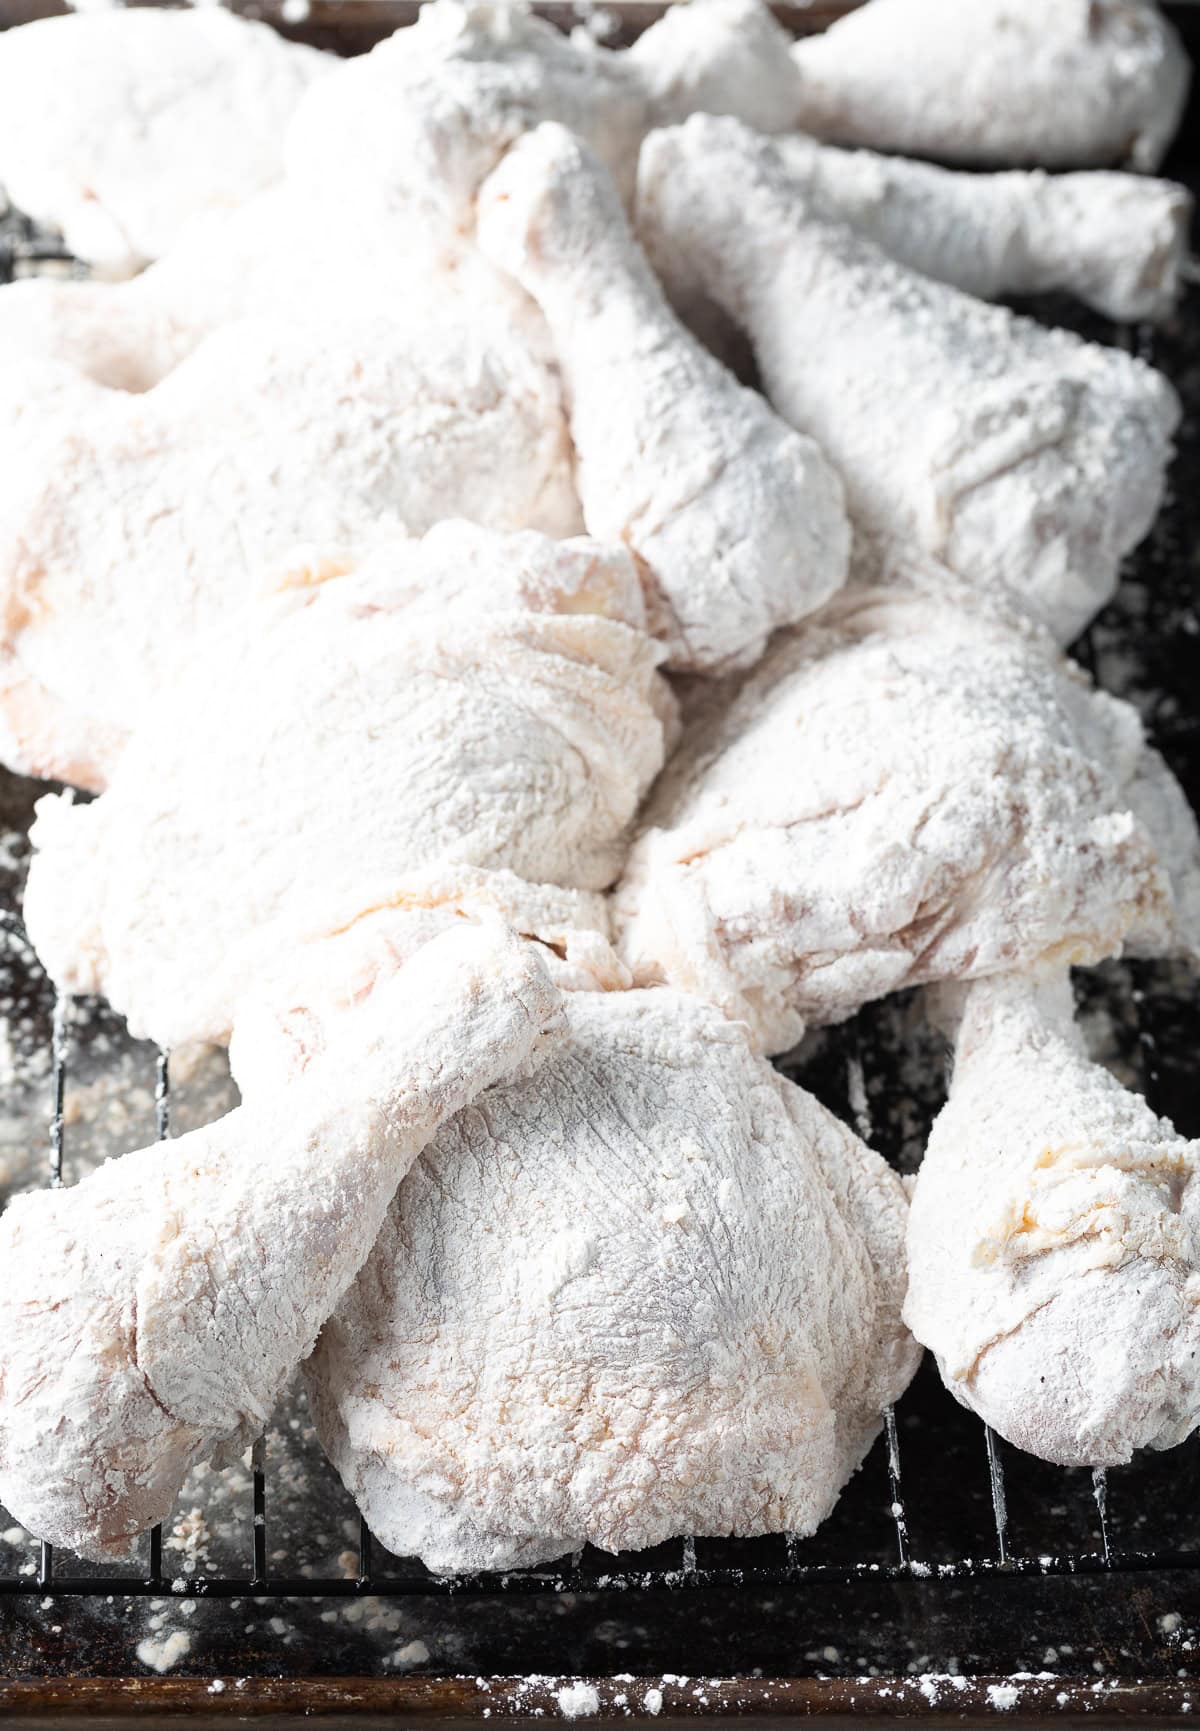
Bread the chicken – I toss the chicken into the cornstarch mixture and I make sure that it’s coated all over.
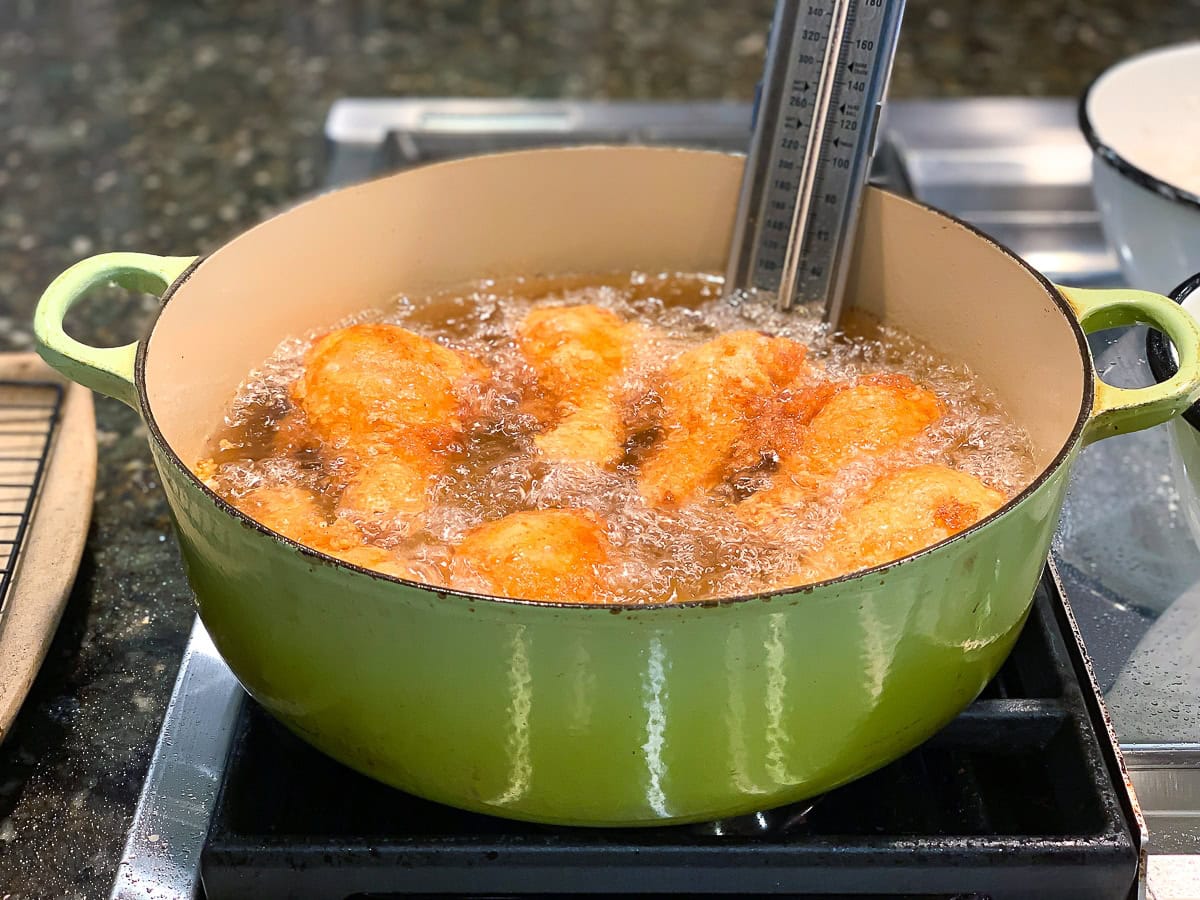
Prep the oil – I grab a large Dutch oven and I set it over medium-high heat. Then, I pour the oil into the pot and I wait until it reaches about 360 degrees Fahrenheit.
Coat again – I grab the coated chicken and I toss it into the egg white mixture. I shake each piece so that any excess coating comes off, and then I pop it into the hot pot carefully.
Fry – Fry the chicken for about 15 minutes making sure to flip over each piece every couple of minutes.
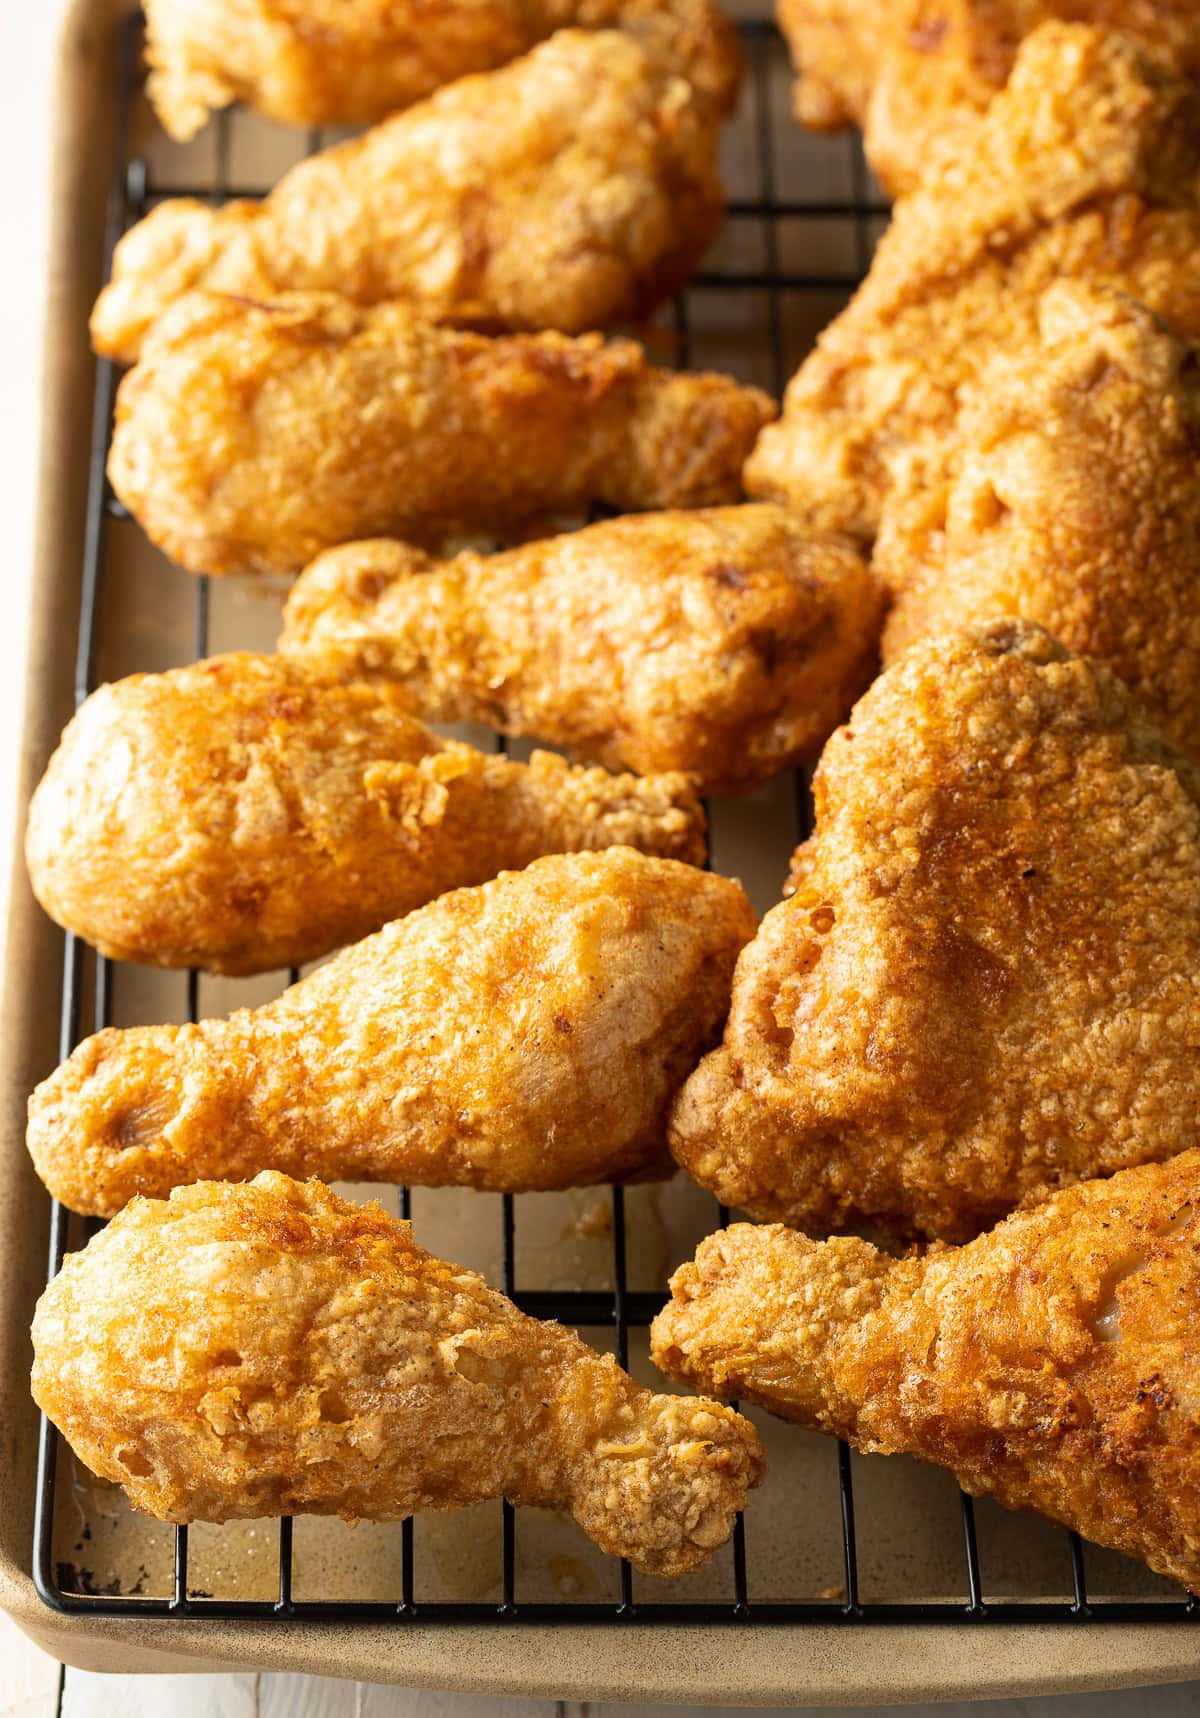
Remove – Once the chicken is ready, I set each piece onto a wire rack and let it drain of any excess oil. That’s it! See all the little bubbles and crispy pores in the breading?!
Recipe Variations
- Brine – Technically, you can skip the brine. However, I find brining poultry gives it the best flavor and increases the juiciness of the meat significantly. It’s worth the extra time! If you do skip this step, make sure to salt the chicken before rolling it in the cornstarch mixture.
- Whole bone-in chicken breasts – The breasts will fry in the same amount of time as the drumsticks (legs) and thighs. They just usually take up a lot more room in the pan.
- Boneless chicken – You can use boneless pieces to make this fried chicken without buttermilk recipe. Reduce the cook time to about 10 minutes and keep an eye on it to make sure the breading doesn’t burn.
- Gluten-free – Make sure the cornstarch you buy is pure corn (no additives) and then substitute Gluten Free 1-to-1 Baking Mix for the all-purpose flour.
Serving Suggestions
Fried chicken is an iconic American comfort food. And as such it goes well with all of your favorite cozy (AKA carb-y :)) and warm side dishes like mashed potatoes, mac and cheese, baked beans and creamed corn.
While this is a northern-style chicken recipe, it is also perfect to serve with classic Southern dishes! Enjoy with butter beans, collard greens, fried okra or stewed okra with tomatoes, jalapeno chedddar cornbread, and/or cheesy hominy casserole.
And even though the breading in this tavern chicken recipe is on the lighter side, it does still involve deep frying. So pair with refreshing cold dishes like southern coleslaw, deviled egg potato salad, or loaded potato salad to balance the heaviness of the chicken.
We also high recommend drizzling some homemade hot honey or your favorite hot sauce on the pieces of warm, crispy chicken for an extra kick of delicious heat!
Storing
If you do have leftovers, they can be stored in an airtight container and kept in the fridge for up to 3 days. Reheat in the air fryer or on a baking sheet in the oven for several minutes to slightly crisp up the skin; I do not recommend using a microwave to heat.
You technically can freeze pieces for up to 3 months in a sealed freezer-safe container. However, the breading will not reheat to be as crispy and delicious as freshly-fried chicken.
Frequently Asked Questions
No. That’s the beauty of using a cooking thermometer in the oil… If you have your oil at the right temperature and cook the chicken for at least 14 minutes, it will be fully cooked on the inside. However, if you just like using a meat thermometer, go for it… 165°F.
Old-timers would tell you to completely cool the frying oil before straining with cheesecloth to remove any debris. Then pour it back into its original bottle and refrigerate for later use. You can reuse fry oil 3-4 times before it should be discarded.
However, if you want to discard the oil right after making this recipe, wait until it’s fully cooled. Then pour it back into its original bottle, place the cap back on, and throw it away.
Here are a few key tips for how to safely get rid of used cooking oil:
Do not ever pour oil down your sink!
Do not try to pour it into a container while it’s still hot.
And it’s not a good idea to pour it into your compost pile. The oil will attract all kinds of pests.
Help Me Spread the Word about this Fabulous Free Recipe! Sharing this recipe link on Pinterest and Facebook is super impactful, and I greatly appreciate it! Find the share buttons below the recipe form.
More Amazing Chicken Recipes



Fried Chicken Recipe (Without Buttermilk)
Video
Ingredients
- 4 pounds chicken legs and bone-in thighs (about 16 pieces)
- 1/4 cup salt + 2 teaspoons, divided
- 1 1/2 cups cornstarch
- 1 cup all-purpose flour (could be gluten-free baking mix)
- 1 teaspoon paprika (I always use smoked paprika)
- 1 teaspoon garlic powder
- 1 teaspoon onion powder
- 1/2 teaspoon ground black pepper
- 1/4-1/2 teaspoon cayenne pepper
- 10 egg whites
- 48 ounce peanut oil (or another high-heat oil)
Instructions
For the Brine:
- Measure 1/4 cup salt into a large bowl, big enough to fit all the chicken. Add 1 cup hot tap water and stir until the salt dissolves into the water. Then fill the bowl 1/3 full with cold water. Add the chicken pieces to the bowl. Then add additional cold water to make sure all the chicken pieces are covered. Place the bowl in the refrigerator and brine for 1-2 hours.
- Set a wire rack over a large rimmed baking sheet and move the chicken pieces to the rack to dry out. They must be very dry before moving on. You can help them along by patting the chicken with paper towels. Air drying usually takes 30-60 minutes.
For the Breading:
- Set out two large clean bowls. In the first bowl, whisk the cornstarch, flour, 2 teaspoons salt, paprika, garlic powder, onion powder, black pepper, and cayenne together. In the second bowl, whisk the egg whites to break them up.
- Preheat the oven to 250 degrees F. Once the chicken is very dry, roll all the pieces in the cornstarch mixture and set back on the wire rack. Let the chicken rest while you prepare the oil.
To Fry:
- Place a large dutch oven (or wide deep saute pan) over medium-high heat. Attach a cooking thermometer to the side of the pan. Pour the oil into the pan and wait until it reaches 360 degrees F. Adjust the burner if needed to try to keep the heat at this temperature.
- Dunk one piece of chicken at a time into the egg whites. Let the excess drip off and carefully place the chicken into the hot oil. Roll the chicken over with tongs. Then repeat until you fill the pan.
- Fry the chicken for 14-15 minutes, flipping the pieces with tongs every 2 minutes. Keep an eye on the cooking thermometer and adjust the heat if the temperature dips below 350 or goes above 360 degrees F.
- Set a clean wire rack over another rimmed baking sheet, or line a tray with paper towels. Set the fried chicken on the rack (or paper towels) and place in the warm oven to keep crisp.
- Repeat with the remaining chicken in one to two more batches. Once all the chicken is cooked, serve warm.


I will have to try this recipe. I believe that it will be good.
Thank you for sharing this new concept of your late mother’s fried chicken, I am certainly going to try it now and hope to get it done as you described in your post. I am always and constantly seeking new ways to improve the food we cook here back home. Kind regards
Edward
I haven’t made this yet but I would love to know the name of the tavern because I live in Michigan City which is literally the last city before you get to the Michigan border. michiana shores kind of is but it’s not really a city so let me know. I used to get wonderful fried chicken at pumps on 12 until a new owner bought the property and ruined the restaurant.
Best chicken I’ve ever made!! Thank you for posting this recipe! Btw i never leave comments, but I HAD to with this one!!
Delicious! The whole family enjoyed this recipe and the flavor reminds me of Church’s Chicken.
Wow, I gobbled up three legs before dinner! So good! Excellent recipe.
This has got to be the crunchiest and crispiest fried chicken that I have ever been able to make in my home! So so so so good!
Made this chicken for dinner last night. My husband and kids absolutely loved it! Crunchy without being thick and heavy. It is juicy, and yummy just like the old fashioned tavern type fried chicken. So glad I found it! So glad you posted it! Thank you!!!
Delicious fried chicken. I’m from the south. I prefer a thin crispy crust on my chicken. This recipe was perfect for my tastebuds.
Amazingly crispy and juicy chicken recipe.