Southern Fried Chicken (Cast Iron Skillet)
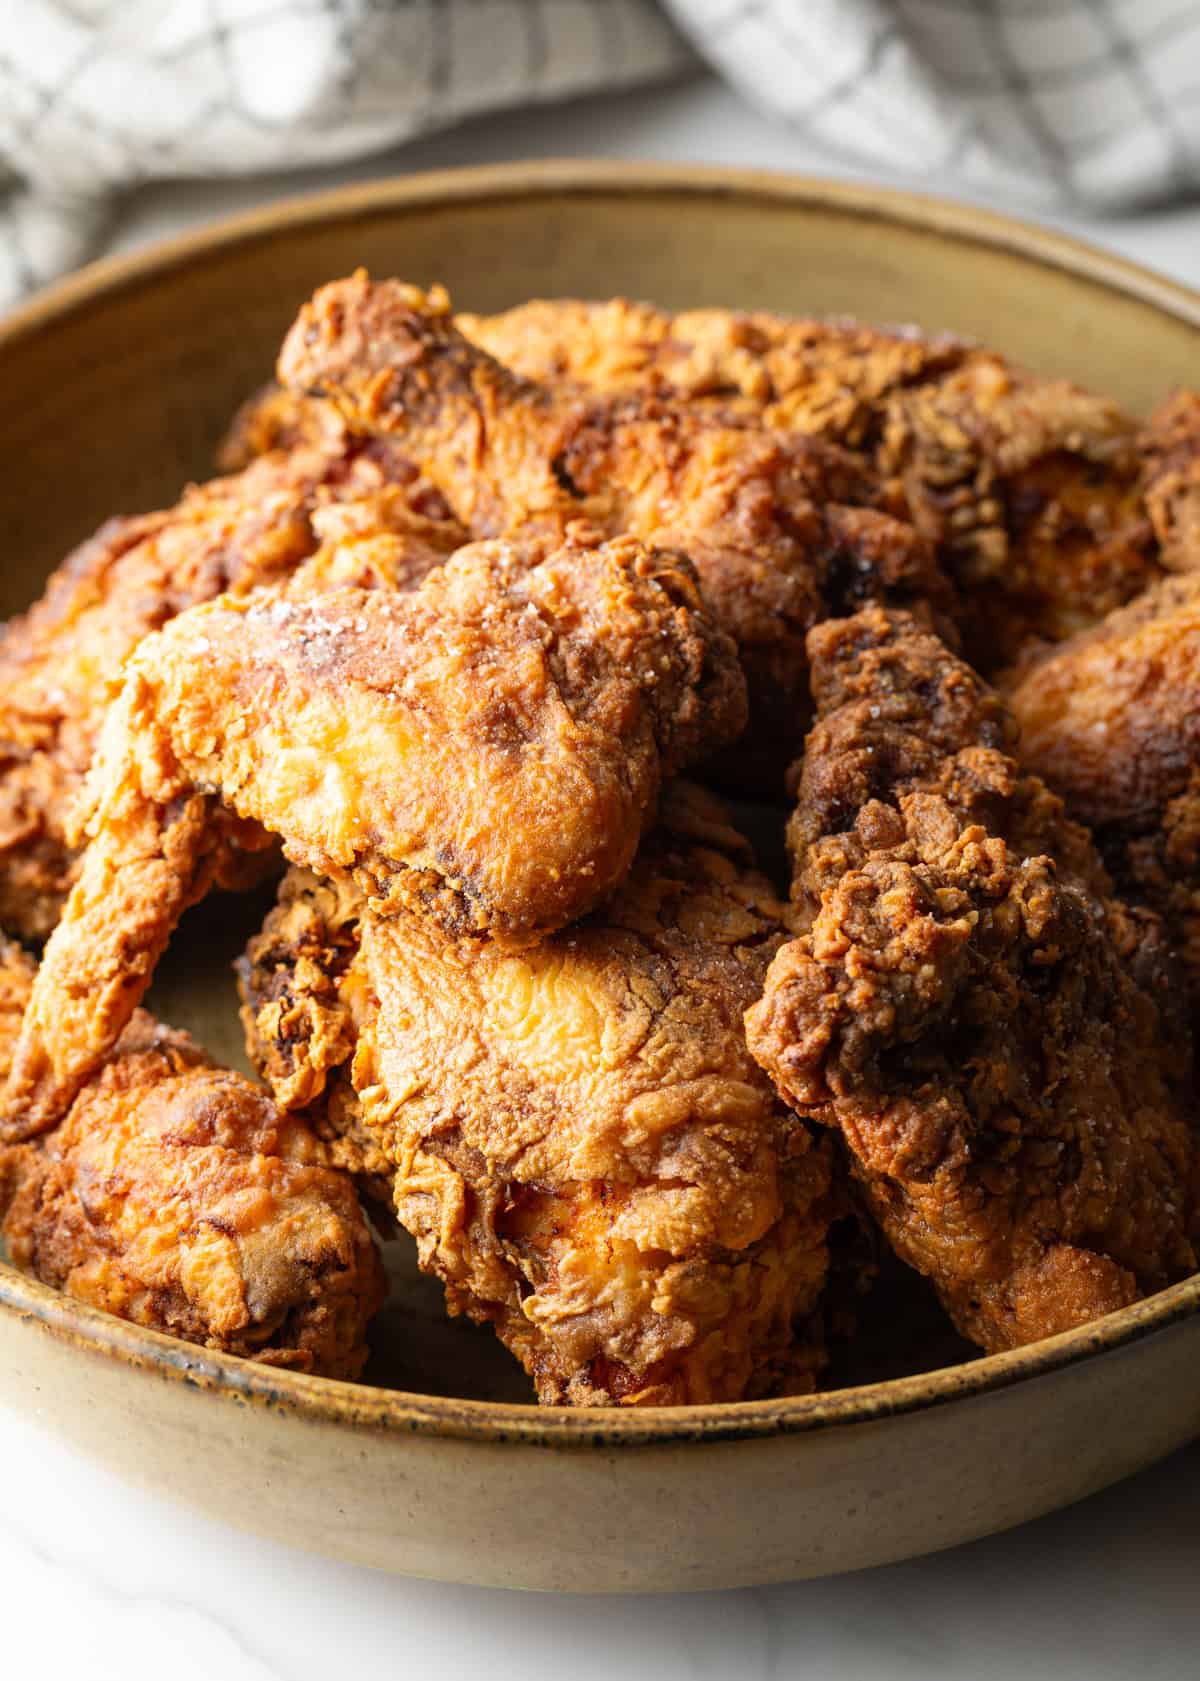
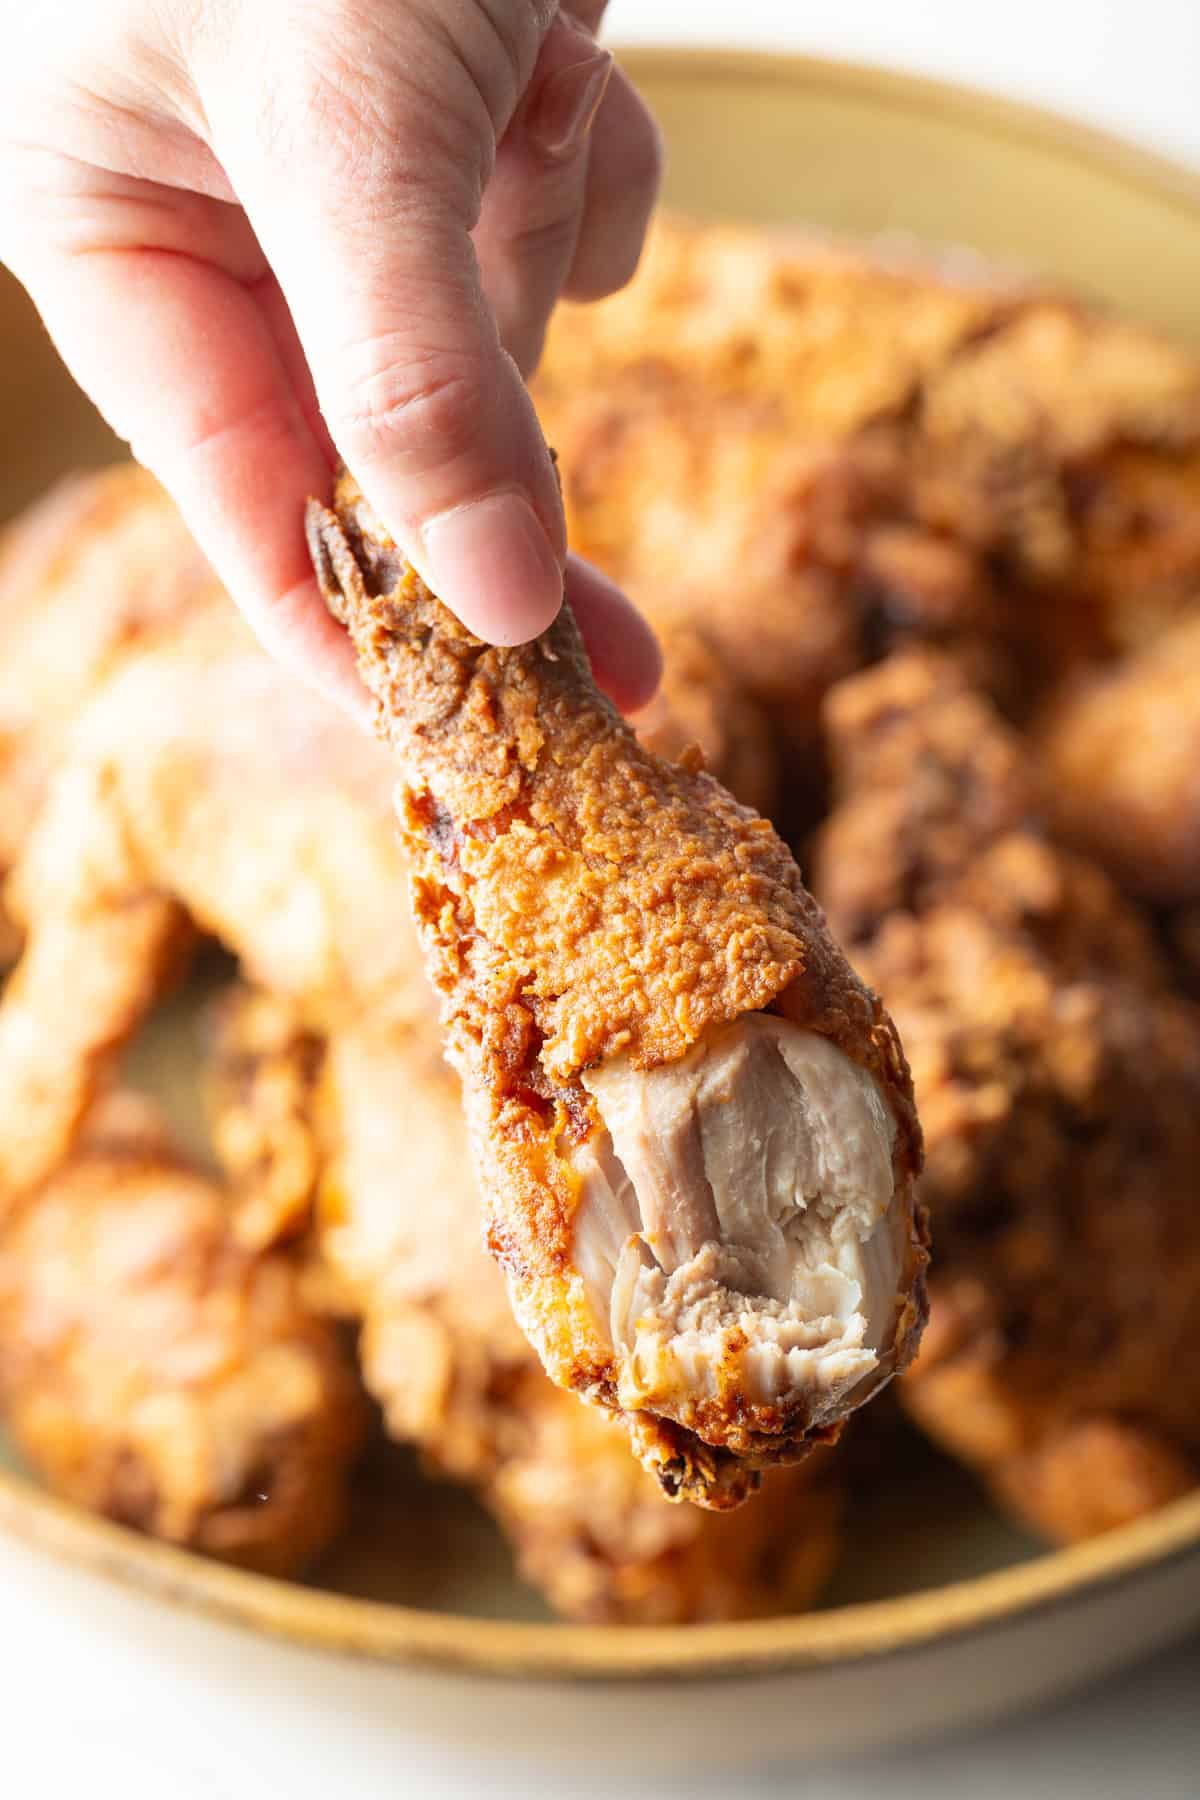
My cast iron skillet fried chicken is the ultimate Southern comfort food I love making at home. I use a classic buttermilk marinade and simple spices to create chicken that’s perfectly crispy on the outside and juicy on the inside. This easy, tried-and-true recipe comes with step-by-step tips for making golden, flavorful fried chicken that’s finger-lickin’ amazing, every time.
Even if you aren’t totally familiar with living in the south, you likely know at least these two things: 1) It’s ridiculously hot in the summer, and 2) we love and make the best fried chicken. So you won’t be the least surprised to hear that I have several really popular fried chicken recipes on the site! The most popular is our Nashville hot chicken, which features a spicy dunking sauce. Then we have a buttermilk-free Northern Tavern-style fried chicken, that my husband especially loves. I’ll link to other favorites below, but needless to say, I love fried chicken, and so today I wanted to offer you my most simple and classic southern fried chicken recipe prepared in a cast-iron skillet, like we do down here in the southland. It includes a fabulous buttermilk marinade that can be put together hours in advance, or even a whole day ahead of time, before frying up the crispiest chicken in 15 minutes or less. Plus, I’ll share expert step-by-step tips, so you get perfect results on your first try!
Table of Contents

Sommer’s Recipe Highlights
Why cast-iron? Using a cast-iron skillet when deep frying chicken does several remarkable things…
Keep it Hot – First, cast-iron is the absolute best cooking vessel for insulating and retaining heat. This helps the oil temperature not to drop so much when adding the cold chicken pieces.
Less Oil = Less Waste – Although I love my best fried chicken recipe without buttermilk, you end up with an entire pot of used oil to deal with after frying. In this recipe, I’m using a shallow skillet on the stovetop, so less oil is required, which also means less waste.
Best Crunchy Fried Chicken – Third, because you’re using a skillet, the chicken rests on the bottom of the pan a little bit, meaning the breading gets extra crispy without tasting burnt or greasy. (Also check out my deep fried chicken tenders recipe!)
Key Ingredients and Tips
- Bone-in and skin-on chicken – While I’m a big fan of lean boneless baked chicken cutlets, there really is nothing quite like picking up and eating a piece of fried chicken with your hands. And is it really fried chicken without crispy skin? I think not.
- Buttermilk – The acidity of buttermilk is what tenderizes the meat and is essential for getting the perfect taste and texture. It also acts as the “glue” that holds the breading to the skin. If you don’t have it available at your store, or simply don’t want to buy a whole bottle (you only need 1 1/2 cups), try my easy guide for how to make buttermilk with two simple ingredients you likely have in the kitchen right now.
- Spices – I use a simple combination of onion powder, garlic powder, a hint of cayenne pepper, and salt.
- Flour and cornstarch – Together, these two ingredients make an extra crispy coating without the breading being too heavy.
- Oil for frying – I think peanut oil is the best for frying for many reasons… It has a high smoke point, a pretty neutral taste that lets the spices shine, and is excellent at creating a crispy crust. Plus, peanut oil doesn’t retain the flavor of the food you’re frying as much as other oils, and it holds its structural integrity, meaning it can be used again before discarding. Southern cooks who fry often will strain the oil after cooking and reuse it multiple times. (For those with allergies, you can even find desensitized peanut oil!) But you could also high-heat canola oil if you prefer.
Suggested Equipment
- Baking dish – You need a standard 9×13 inch dish or other large dish to marinate the chicken pieces in buttermilk.
- Cast-iron skillet – Use a deep, large skillet that’s at least 12-14 inches. If you don’t have cast iron, use another large and deep skillet with a heavy bottom.
- Cooking thermometer – To get the temperature just right I suggest using a food-safe and high-heat thermometer than can be clipped to the side of the pot.
- Wire rack and rimmed baking sheet – Setting the southern fried chicken on a rack right after cooking is the best way to drain off any excess oil so the skin stays crisp.
- Meat thermometer probe – If you want to be 100% sure the chicken is cooked all the way, which you should, using a meat thermometer is way more accurate than trying to eyeball it.
How to Make
Find the full ingredient proportions, detailed instructions, storage tips, and a video tutorial in the printable form at the bottom of the post.
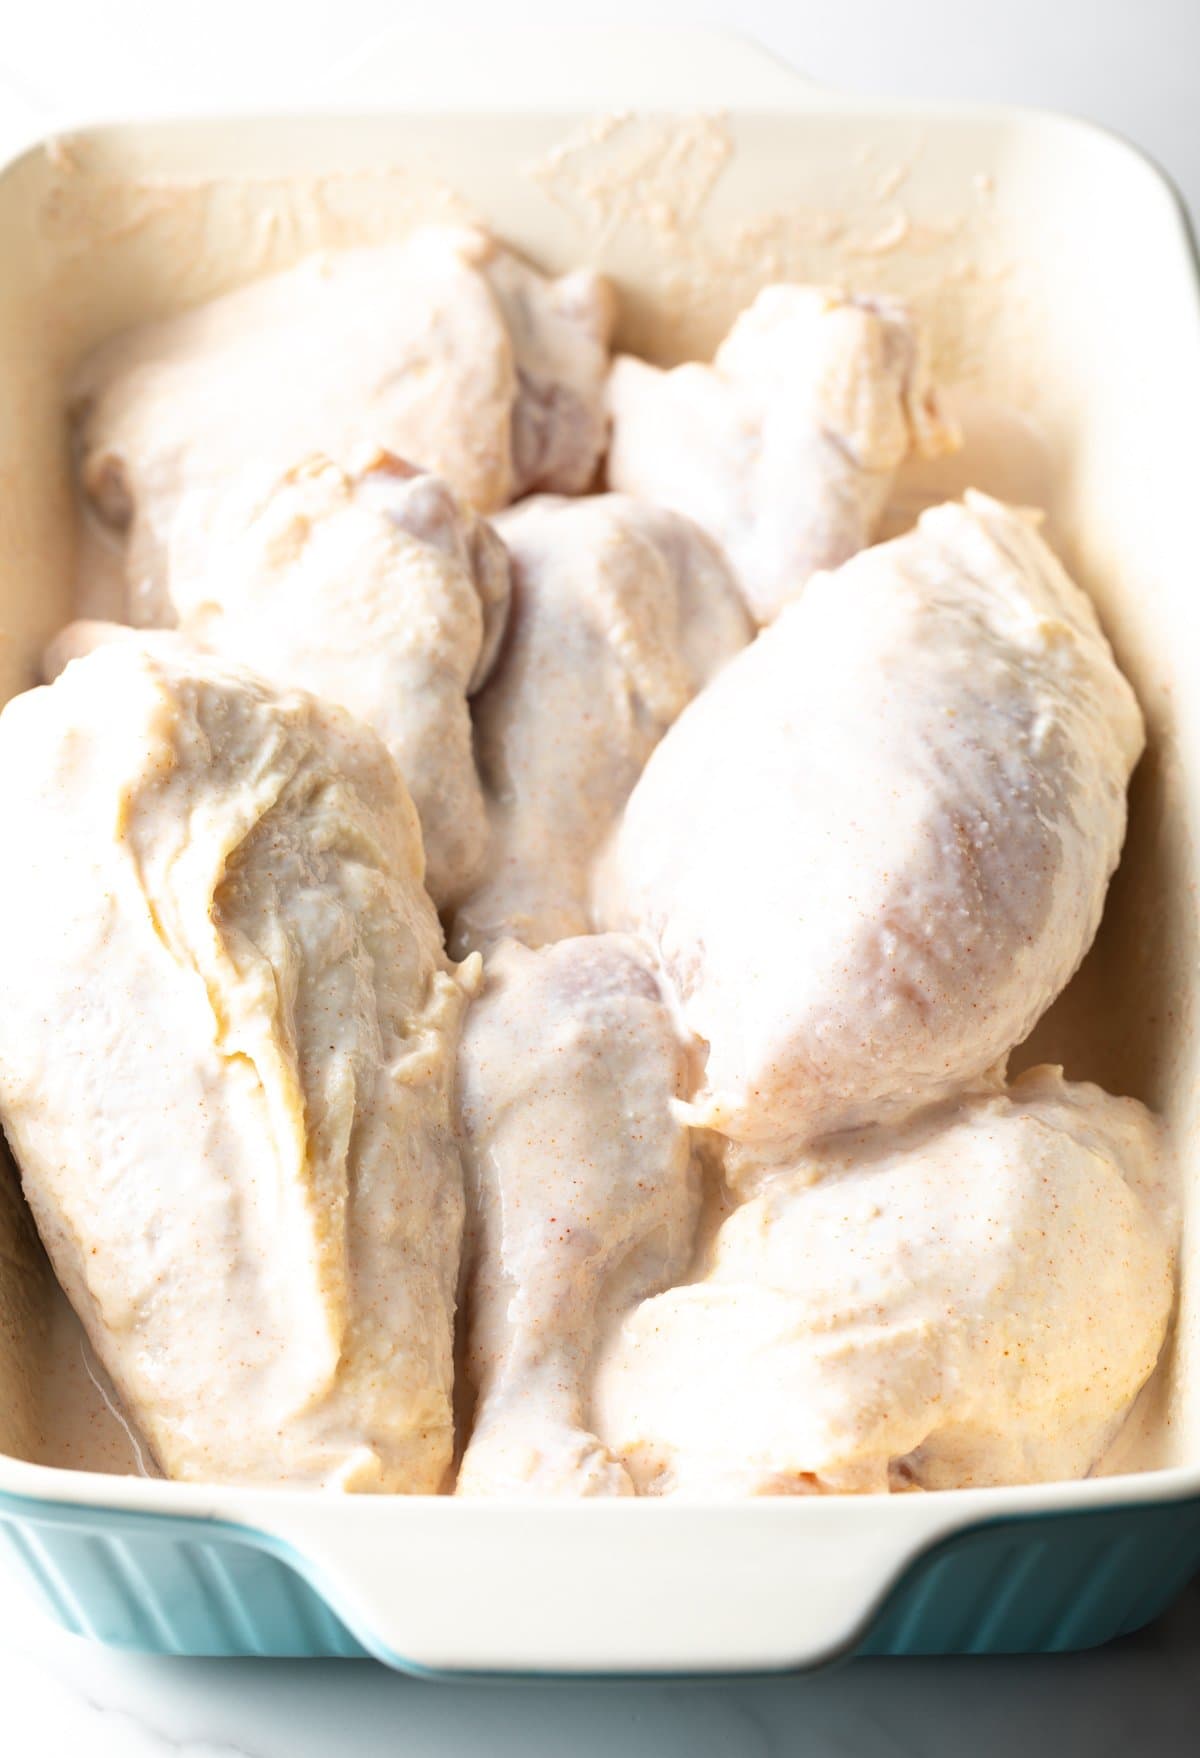
Marinate the Chicken – I start by marinating the chicken… Keep in mind the chicken needs to marinate for at least 2 hours, so plan ahead!
In a large baking dish, I combine the buttermilk and spices, then add the chicken. Use your hands or tongs to move the chicken pieces around so they get evenly coated in the marinade. Then wrap the pan with plastic wrap and pop into the fridge for 2 to 24 hours. When I’m ready to cook, I pull the dish out of the fridge and remove the plastic wrap.
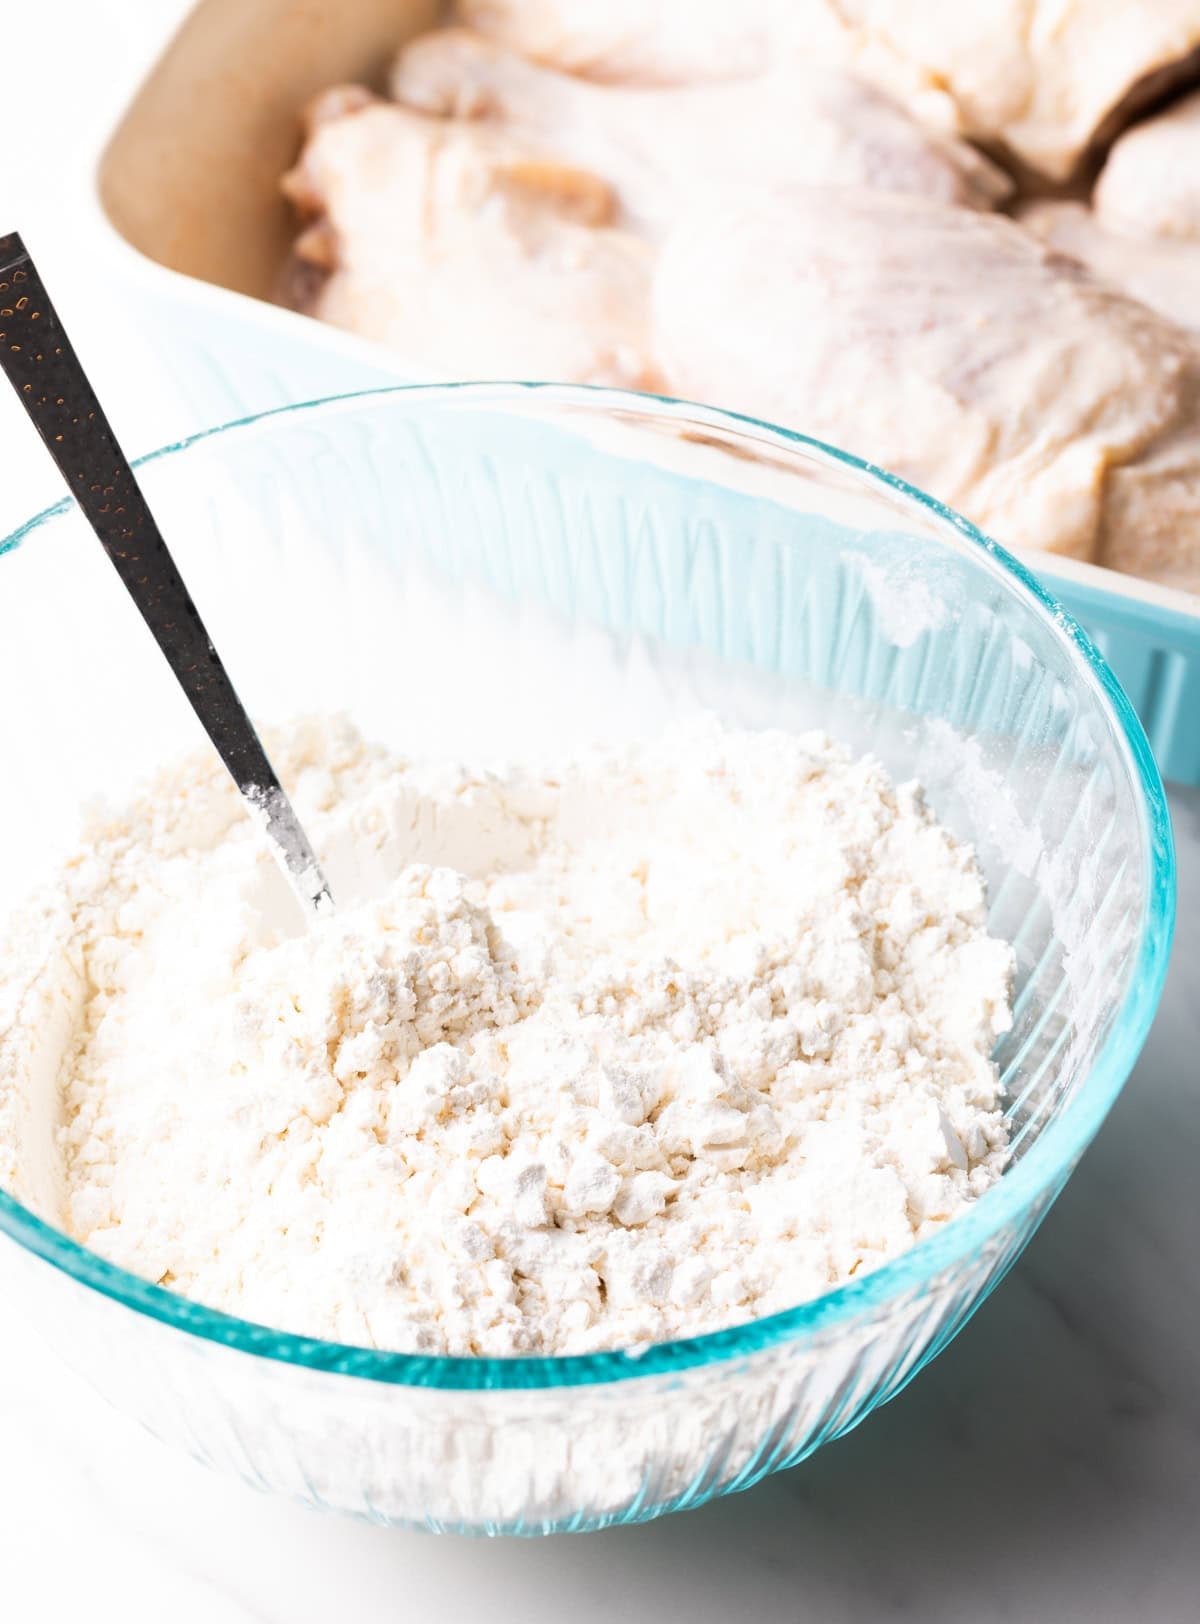
Make Breading Mixture – When I’m ready to get cooking, I start by combining the flour, cornstarch, and a bit of salt in a deep bowl. It doesn’t need to be super big, but deep enough that you can dredge large pieces of chicken.
Prep Skillet – To prep the skillet I first set it over medium heat on the stovetop. While it heats, I add the oil and clip the cooking thermometer to the side of the pan. The oil should only fill the skillet about halfway… When you add the chicken to the skillet the oil will rise up, and you still want there to be plenty of space so the oil doesn’t pour over the edges.
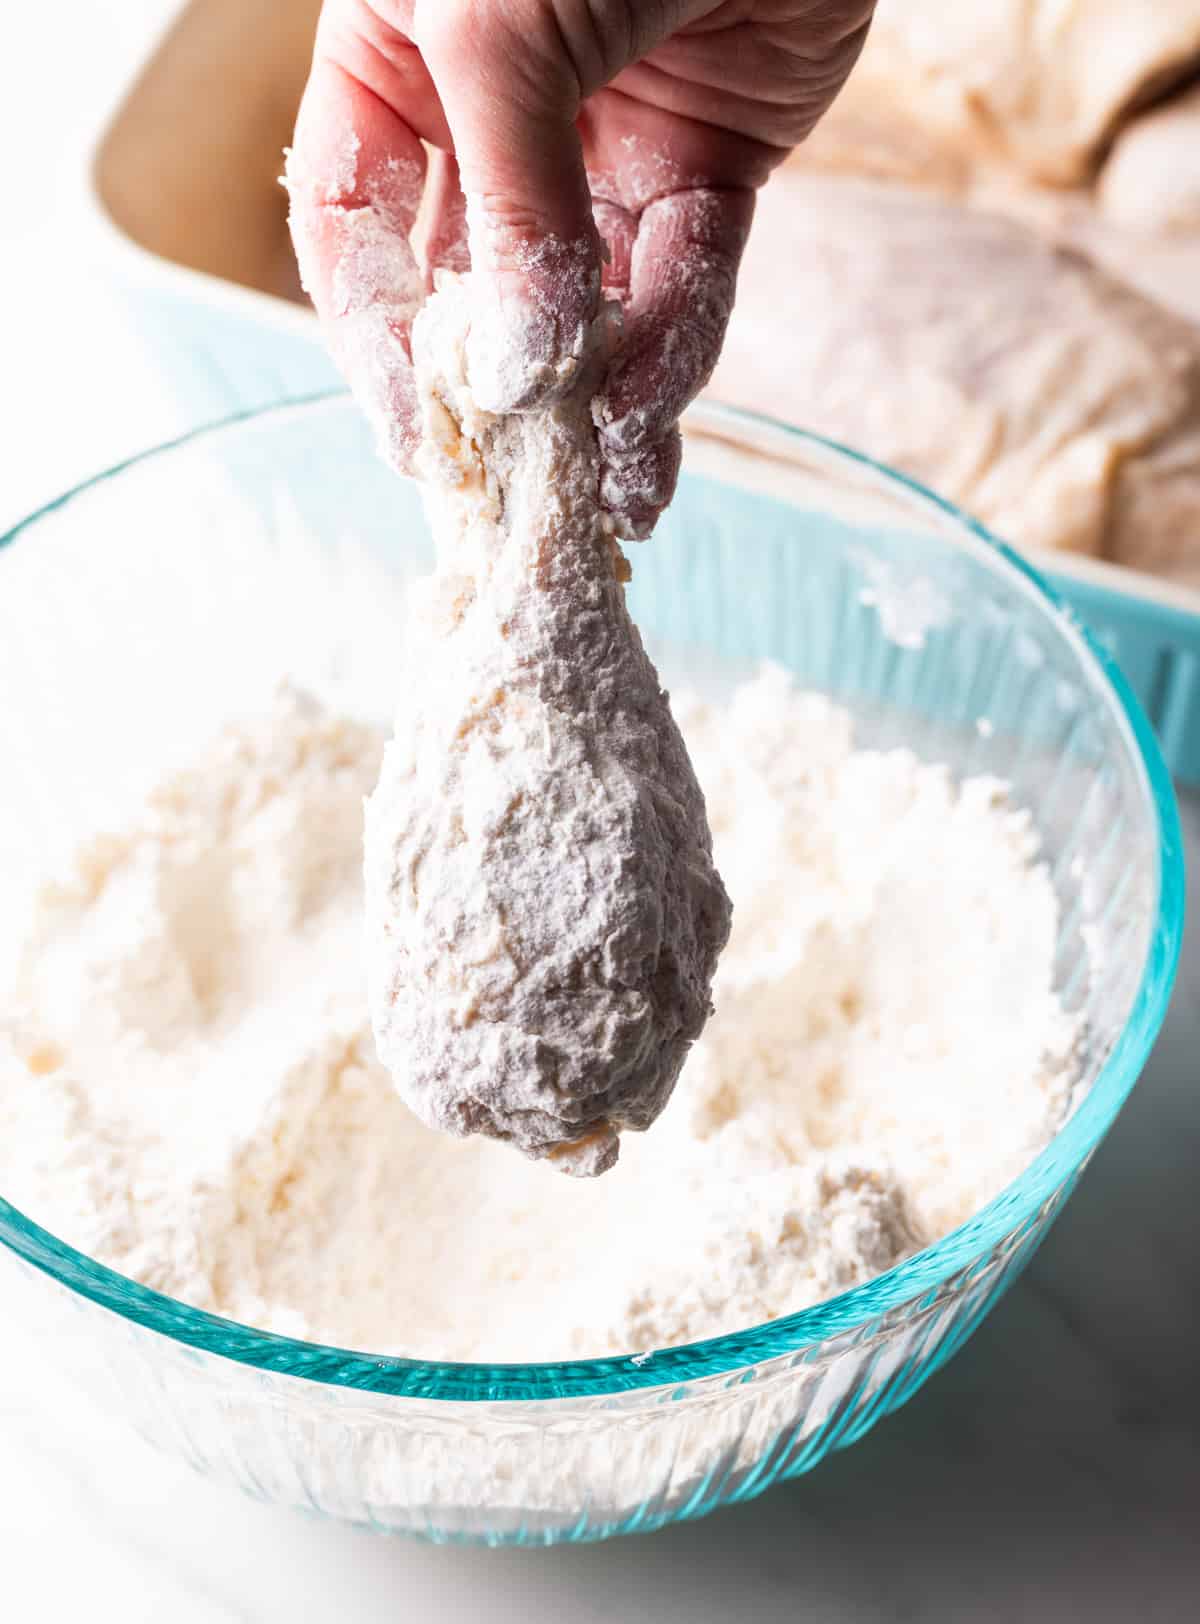
Dredge Chicken – As the oil starts to climb towards 300 degrees, I grab a piece of marinated chicken and roll it around in the flour mixture, until it’s well coated. But as is always the rule with battering or dredging, you want to have one hand as your designated messy hand, while keeping the other hand clean.
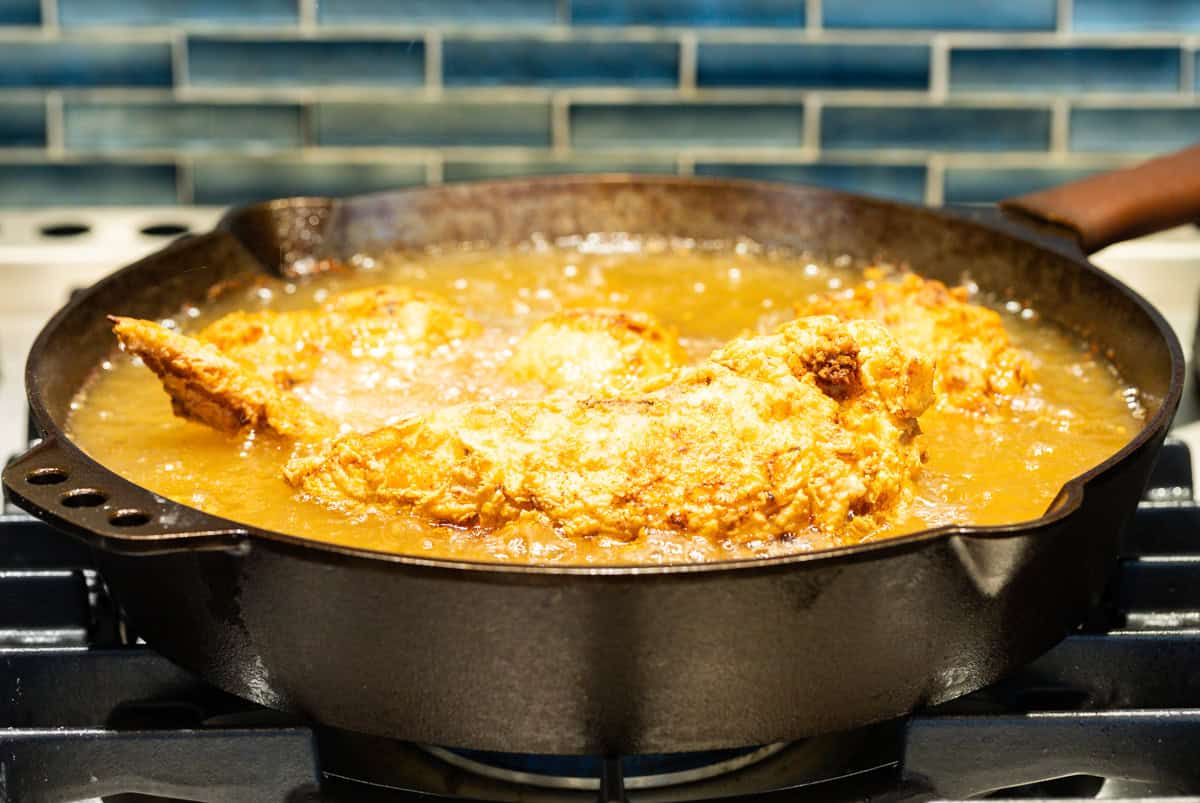
Time to Fry – Once the oil reaches 325 degrees, I very very carefully place the chicken in the skillet, one piece at a time. I can usually get 4 large pieces in there but you don’t want to overcrowd the pan, or the oil temperature might lower too much and not get the skin crispy.
The temperature will dip a bit down to the 300-310 degree range as the chicken fries. That’s ok! So long as it doesn’t go any lower. If it does, adjust the heat. Smaller pieces of white meat will take about 10 minutes, while larger dark meat portions can take up to 15 minutes to fry golden brown. Use tongs to flip the chicken once or twice as it fries.
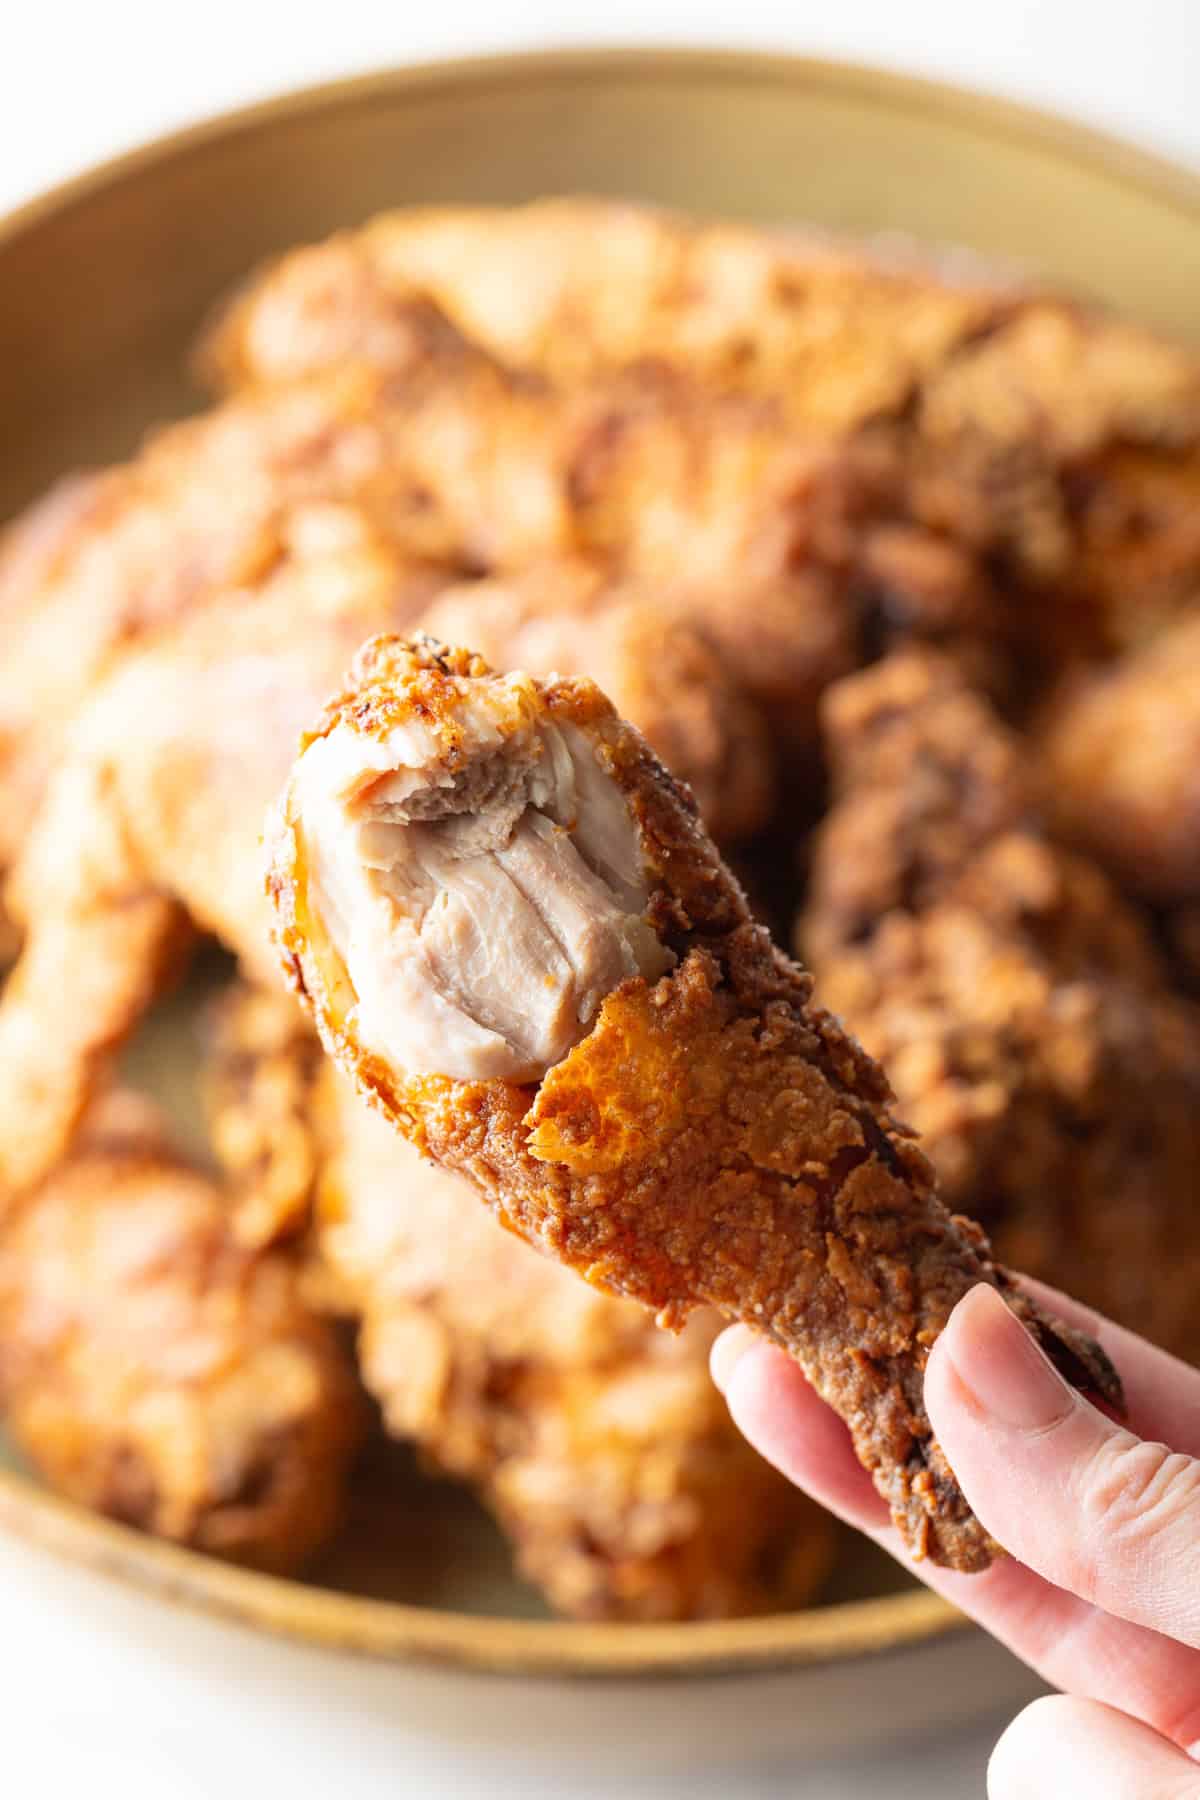
Check Temp and Dry – After about 8 minutes I use my internal meat thermometer to check the temperature. Lift up a piece of chicken (with tongs) and insert the thermometer almost to the bone, without it actually touching the bone. I know the chicken is cooked all the way when it reaches and internal temperature of 165 degrees.
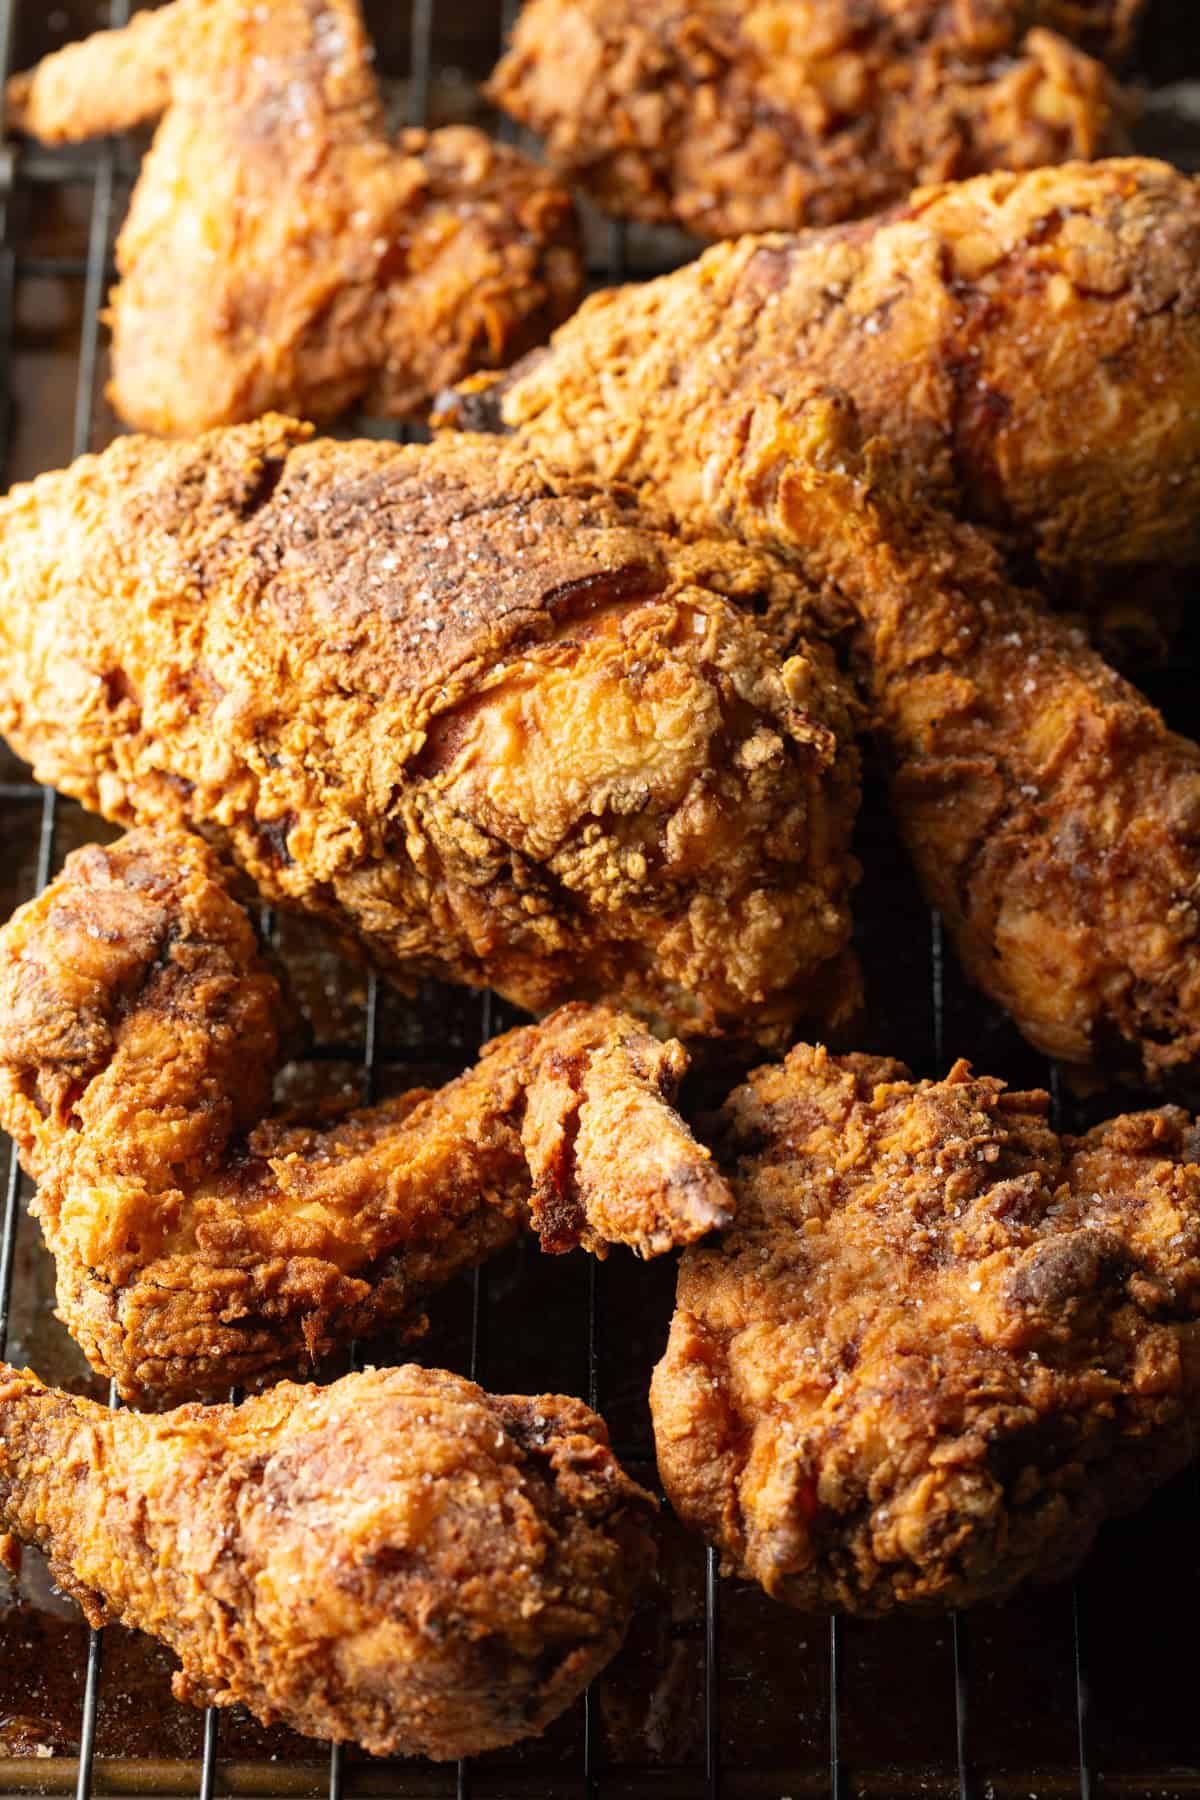
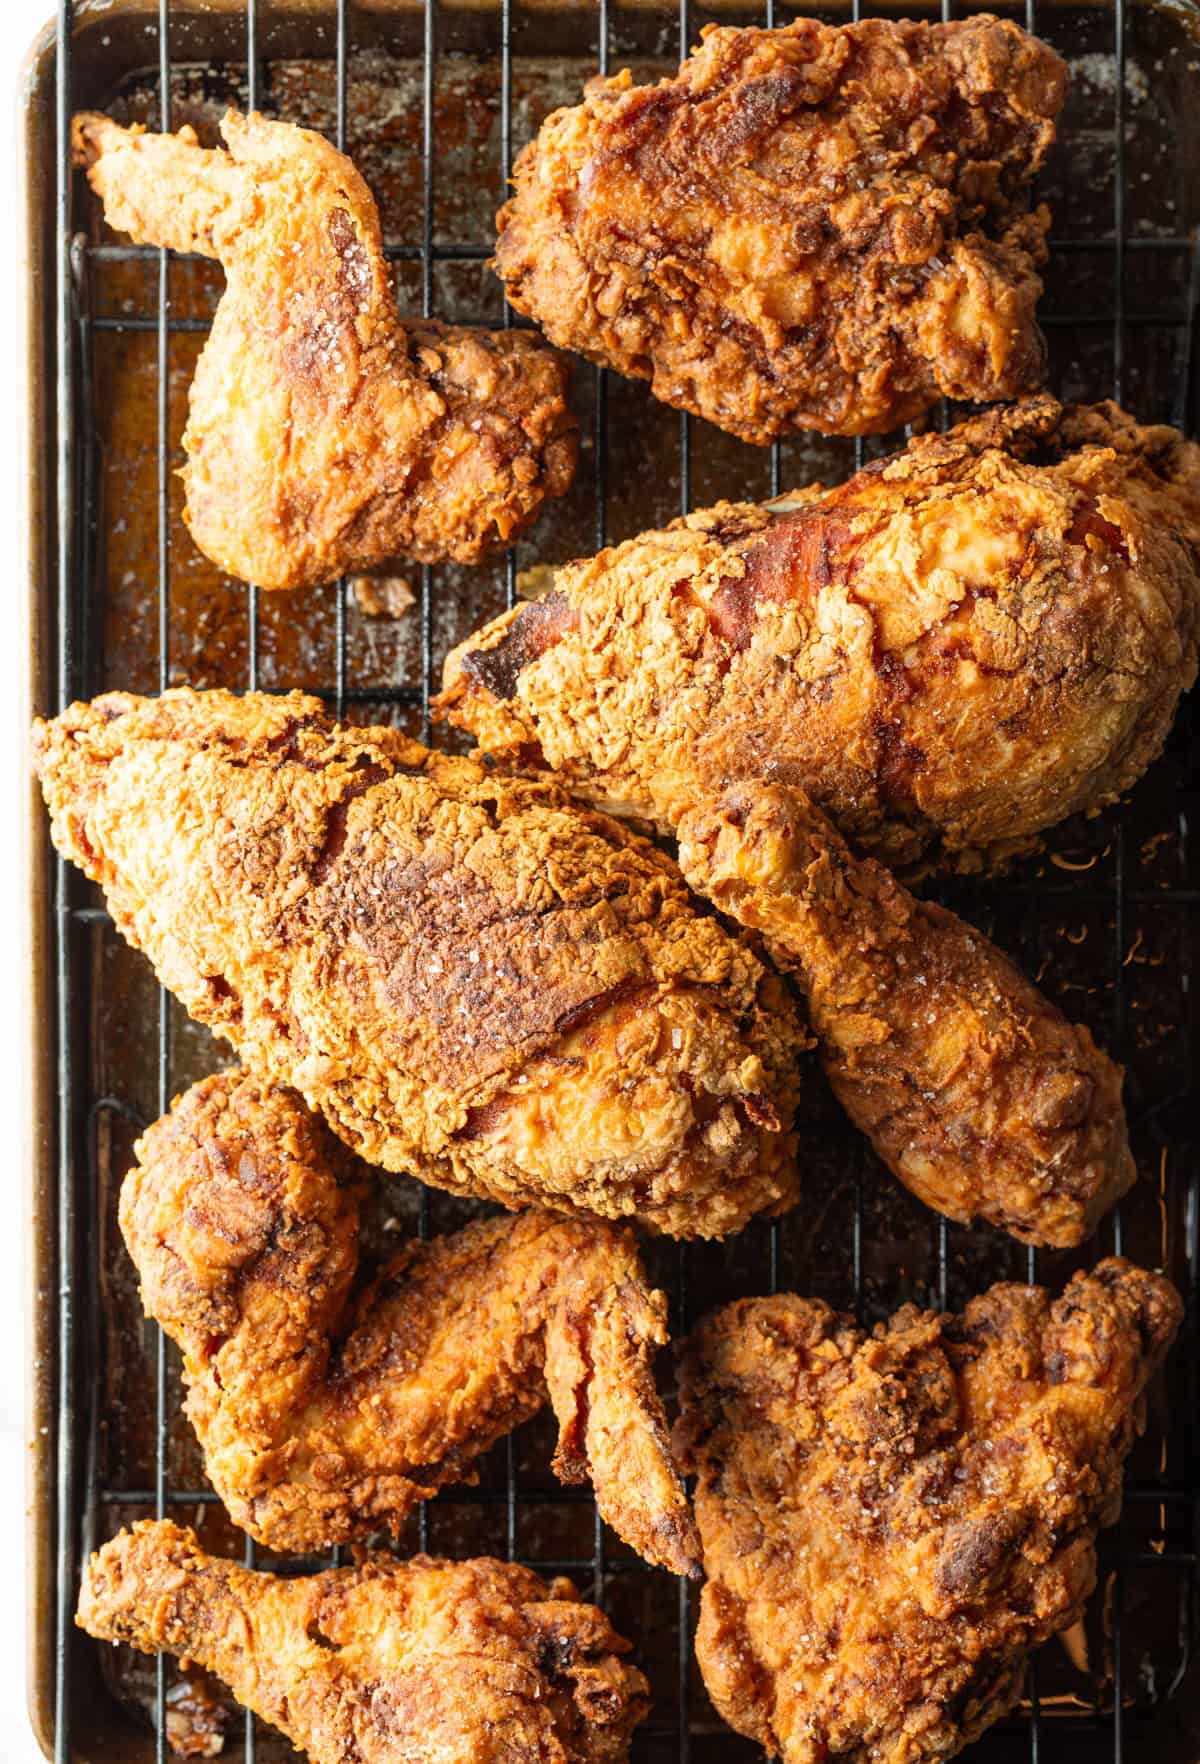
When the chicken is done, I use the tongs to transfer pieces of cast iron skillet fried chicken to a wire rack that’s placed on top of a rimmed baking sheet. This helps drain off extra oil without making a big mess!
Expert Tips
The key to making incredible crispy chicken is to first marinate the chicken in buttermilk and seasoning. The buttermilk tenderizes the chicken, helps the chicken to absorb all the flavors of the seasoning, and acts as the glue that holds the flour mixture to the chicken. So don’t skip this step! And actually, the long it marinates, the better. If you have time to do this step hours in advance, do it.
Second, it’s extremely important that the temperature is just right when frying chicken, so be sure to use a cooking thermometer in the cooking oil. You want to start by raising the oil to 325°F. But as the chicken pieces are added, the temp will drop. At this point you want to adjust the temperature to keep the fry oil at around 300 to 310°F so that chicken cooks all the way through without getting too dark before it’s done.
Serving Suggestions
If you’re going to go through the process of making authentic fried chicken, it only makes sense to serve it with classic southern-style fixins. Here a few of my favorite sides for the full down home experience –
- Deviled Egg Potato Salad
- Mashed Potatoes and Brown Gravy
- Instant Pot Baked Beans
- Mac and Cheese
- Red Cabbage Slaw
- Spicy Collard Greens with Turnips
- Sweet Cornbread
Storing and Reheating
Homemade fried chicken is always best freshly fried, when the skin is super crispy and the meat inside is moist. If you do have leftovers, you can store pieces in an airtight container and keep them in the refrigerator for up to 3 days.
Honestly, I love to eat leftover fried chicken cold right from the fridge. It’s not as crunchy, of course, but well-cooked chicken will still be juicy and flavorful. But for those times when I am reheating, I’ll either bake it in a 350 degree oven for 10 minutes or so, or air fry pieces for 4-5 minutes at 350 as well, until the skin is hot and crunchy again.
Frequently Asked Questions
If the frying oil isn’t hot enough, the coating will soak it up and make the chicken soggy. Also, you must drain the fried pieces on a wire rack. Trying to rest them just on paper towels won’t quite cut it.
This is usually a problem going in the other direction, where the oil is too hot. Keep a close eye on the thermometer to be sure the temperature doesn’t go above 325 degrees. Then pull the chicken from the oil as soon as it starts to get golden brown on the outside… Frying for even a minute or two too long can cause the chicken to burn.
No, I don’t use a lid when frying chicken. Covering the cast iron skillet will trap moisture in the pot and won’t allow the skin to crisp up. Not to mention, things can get dangerous when you’re combining oil with water and heat!

Help Me Spread the Word about this Fabulous Free Recipe! Sharing this recipe link on Pinterest and Facebook is super impactful, and I greatly appreciate it! Find the share buttons below the recipe form.
More Chicken Recipes


Southern Fried Chicken (Cast Iron Skillet)
Video
Ingredients
- 1 fryer pack of bone-in chicken (that’s 1 whole cut up chicken with 2 breasts, 2 thighs, 2 legs, and 2 wings)
- 1 ½ cup buttermilk
- 1 tablespoon salt + 1 tsp in breading
- 1 tablespoon onion powder
- 2 teaspoons garlic
- ½ teaspoon cayenne pepper
- 1 ½ cups all-purpose flour
- ¾ cup cornstarch
- 1 quart peanut oil or canola oil
Instructions
- Set up a 9×13-inch baking dish. Pour the buttermilk into the baking dish, and add 1 tablespoon salt, 1 tablespoon onion powder, 2 teaspoons garlic powder, and ½ teaspoon of cayenne pepper. Mix well. Then add the chicken pieces to the marinade and turn them to coat with buttermilk on all sides. Cover the pan with plastic wrap and place in the refrigerator for at least two hours, but up to 24 hours.
- When ready to cook, take the pan of chicken out of the fridge, remove the plastic wrap, and turn the chicken pieces to make sure they are still well coated.
- Set out a mixing bowl and combine the flour, cornstarch, and an extra teaspoon of salt. Whisk well to make sure the salt is evenly distributed throughout the mixture.
- Set a 12-14 inch cast-iron skillet over medium heat. Place a cooking thermometer in the skillet and pour in enough oil to fill the pan about halfway up. You need to make sure you leave plenty of room for the oil to rise as you add the chicken pieces.
- When the oil starts approaching 300°F, it’s time to dredge the chicken. Work in batches of four pieces, shake off any dripping buttermilk then roll the pieces of chicken in the flour mixture.
- When the oil reaches 325°F, gently and carefully place the four chicken pieces in the hot oil. Watch the thermometer, and adjust the heat to keep the temperature between 300-310°F. Fry the chicken pieces, at a consistent heat until the internal temperature reaches 165°F. (A meat thermometer probe is very useful here!) This generally takes about 8-10 minutes for white meat, and 12 to 15 minutes for dark meat. Use tongs to carefully flip the chicken pieces every 2 minutes so they don't get too dark on one side.
- When the chicken pieces reached the right internal temperature, carefully use tongs to move them to a drying rack. Repeat dredging and frying the second batch of chicken pieces. Allow the second batch to rest at least 5 minutes before serving. You can sprinkle the chicken with an extra bit of salt before serving if you like.

Made this for a big family gathering and every single piece was gone within minutes! The crust was shatteringly crispy and the meat inside was the juiciest fried chicken I’ve ever had!
I finally got fried chicken that’s golden and crispy all the way through without any burning! This recipe is now a permanent part of our Sunday dinner rotation.
I’ve tried so many fried chicken recipes over the years and this one is hands down the best! The buttermilk marinade makes the chicken so incredibly juicy and the crust is absolutely perfect!