

Chicago Deep Dish Pizza Recipe (Cast Iron)
 by Sommer Collier — last updated on Oct 27, 2026

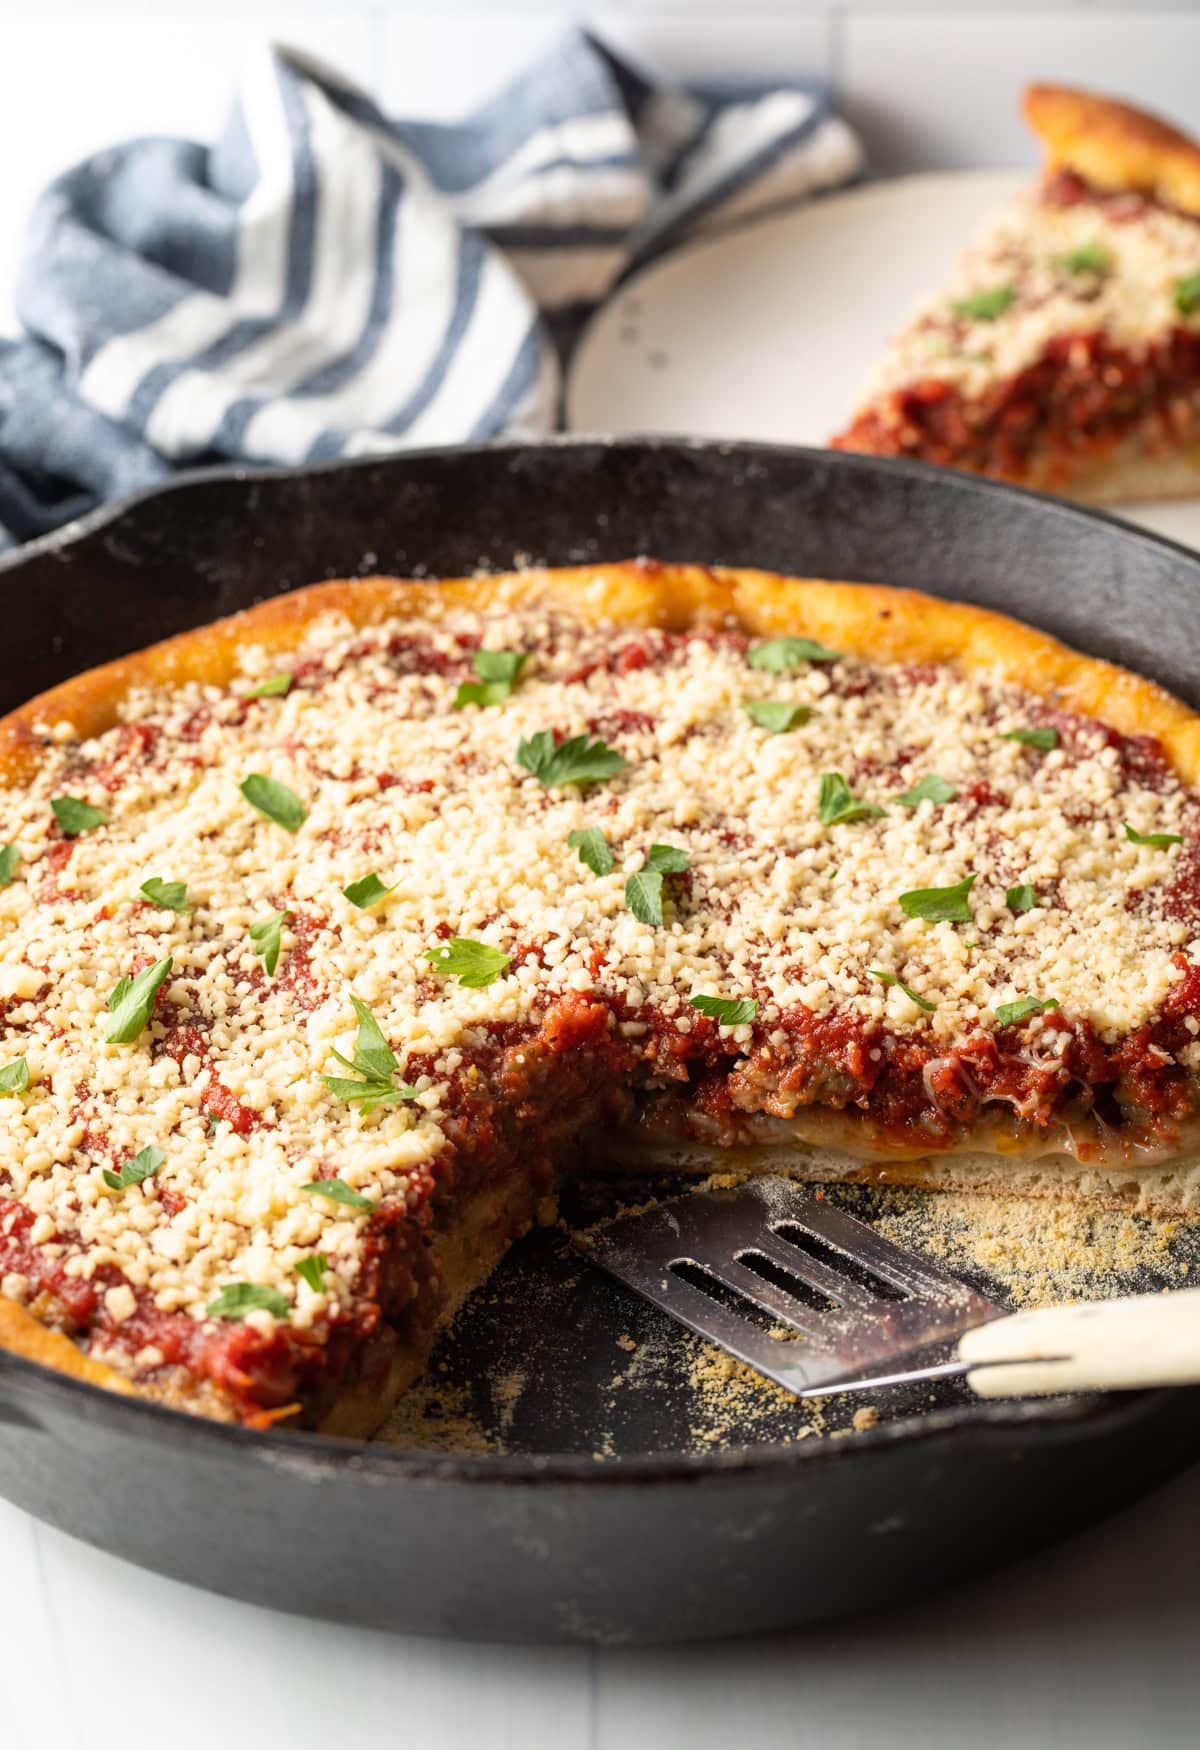
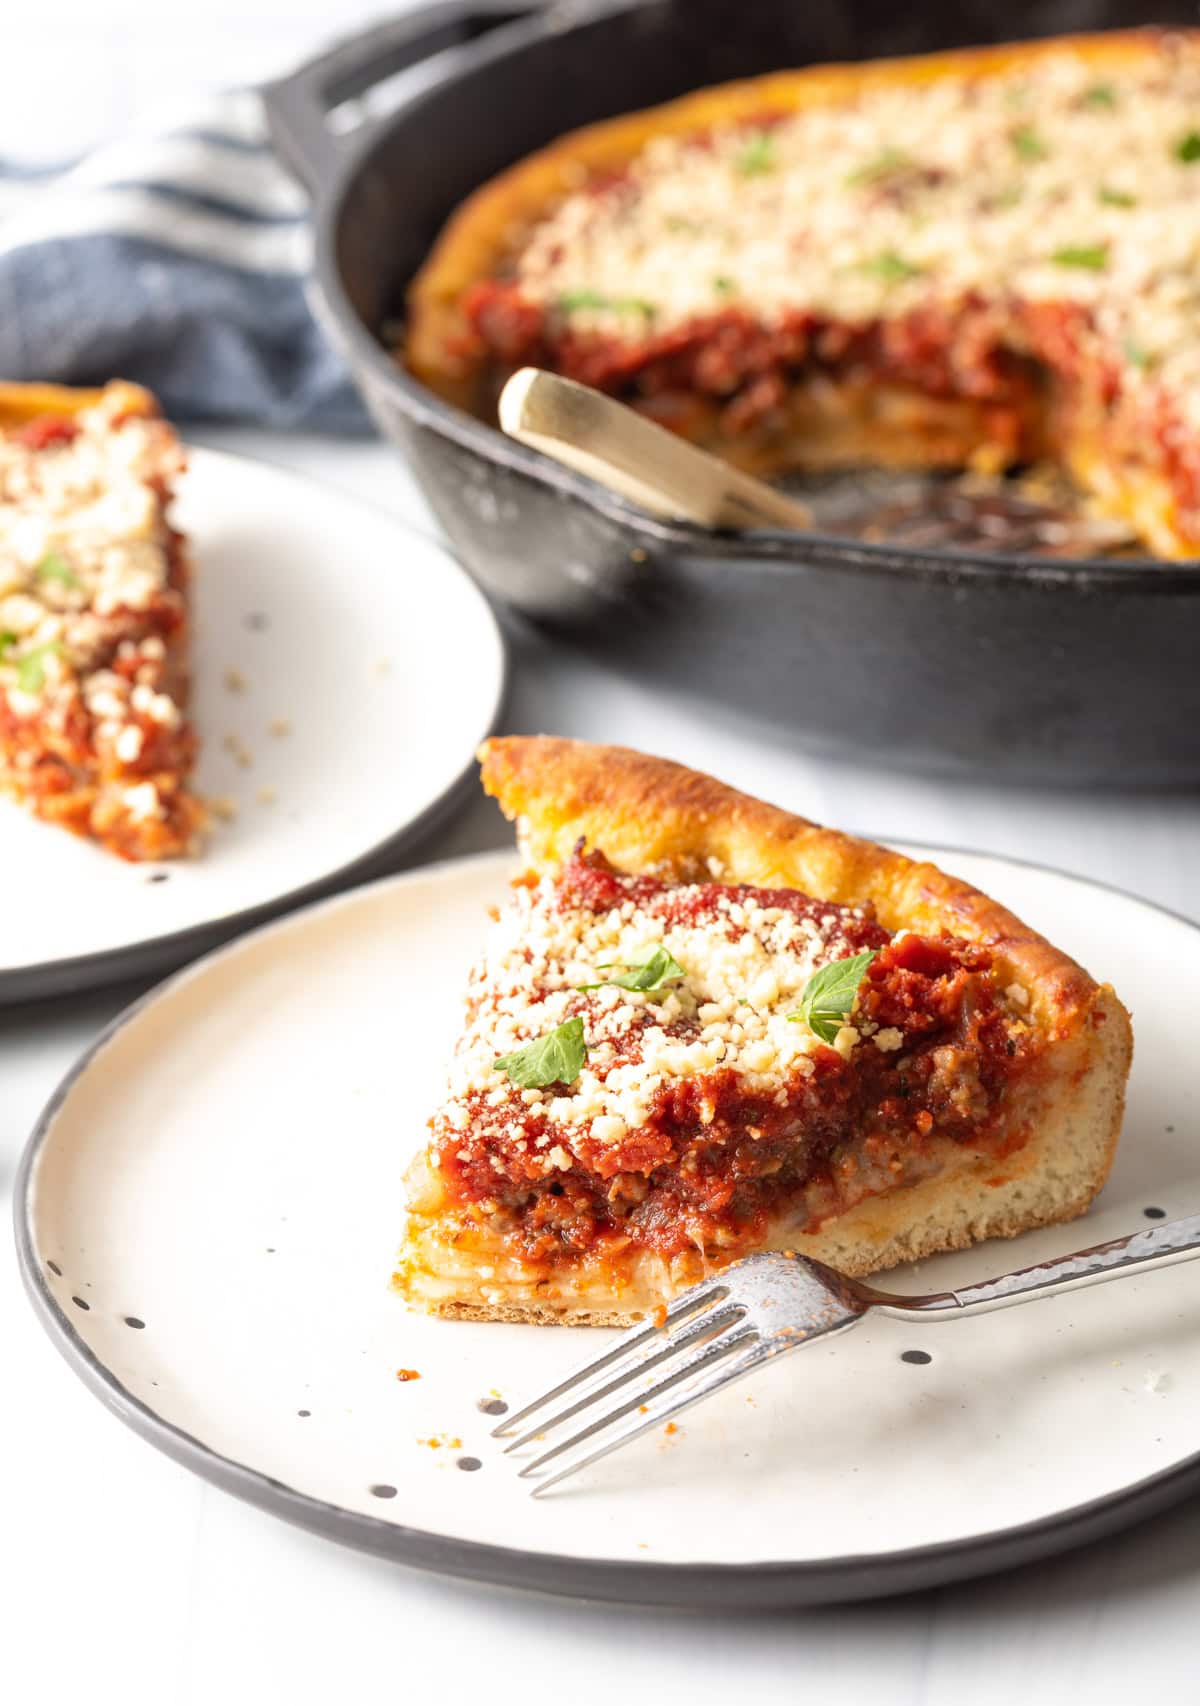
My cast iron skillet gets me a lot closer to Chicago when a deep dish pizza craving hits! I use it to make an easy Chicago-style deep dish pizza with a thick, crisp crust and a hearty sausage and tomato sauce filling. No specialty pan needed, and although I’m partial to sausage, you can fill yours with whatever pizza toppings you love.

Who doesn’t love a pizza night, especially when it features Chicago-style deep dish loaded up with cheese and sausage?! I appreciate all the different ways to make pizza, and one of my favorites is my slow cooker pizza (yep, you read that right) version of this recipe which is a reader favorite. However, this cast iron deep dish pizza recipe is way faster to make and gives you a crave-worthy crust that you just cannot get from the slow cooker. Making my version of Chicago deep dish pizza recipe in a cast iron skillet creates ultra-crisp edges with a crunchy golden bottom that is irresistible. You can add any toppings you like to this pan pizza! Feel free to include a variety of cooked meats to taste (like pepperoni and ham), or make as a vegetarian pizza recipe with lots of chopped veggies. Or do a combo of both! Even an all-cheese pizza is terrific if you prefer.
Trang – ⭐️⭐️⭐️⭐️⭐️ I always love finding delicious recipes for my cast iron. This pizza turned out great and is my go to when I am missing Chicago and want some deep dish pizza!
Table of Contents

Sommer’s Recipe Highlights
- The Secret to Success – I’ll go ahead and tell you right now that what makes my Chicago pizza work so well is that I sprinkle cornmeal over my oiled skillet before placing in the crust. This helps to prevent the dough sticking to the cast iron and to add crunch to the crust. I use the same technique on my bianca pizza recipe.
- Easy Family Fun:– I truly enjoy pizza nights as a family. It is a great opportunity to do something together, and then I get to enjoy our family’s work as well! And because this pizza recipe takes only about an hour to prepare and bake… So, any night of the week is great for a family pizza party!
- Familiar with a Twist – Unlike a traditional pizza I layer cheese first, then meat, then sauce… The traditional Chicago way!

Key Ingredients and Tips
- Pizza Dough – My homemade pizza dough recipe is fabulous to make in batches and keep in the freezer (or fridge) until ready to use If I use frozen dough, I thaw it in the refrigerator overnight before making the pizza. But you can absolutely use store bought packaged dough, if you’d like.
- Pizza sauce ingredients – This recipe includes an easy homemade tomato sauce. However, for faster prep, you can use a chunky store-bought pizza sauce. My (ahem, superior) homemade sauce includes butter, onion, garlic, crushed tomatoes, Italian seasoning, granulated sugar, and salt. The sugar helps balance the acidity of the tomatoes. The garlic, onion, and seasonings build that pizza sauce flavor that we all know and love! My homemade Italian seasoning is what I tend to lean towards when making this pizza. I also use a store-bought Italian seasoning blend, which works just as well.
- Italian sausage – I personally prefer cooked crumbled Italian sausage on my pizza. However, you can leave the meat off, or add other toppings you want. I have some great suggestions below!
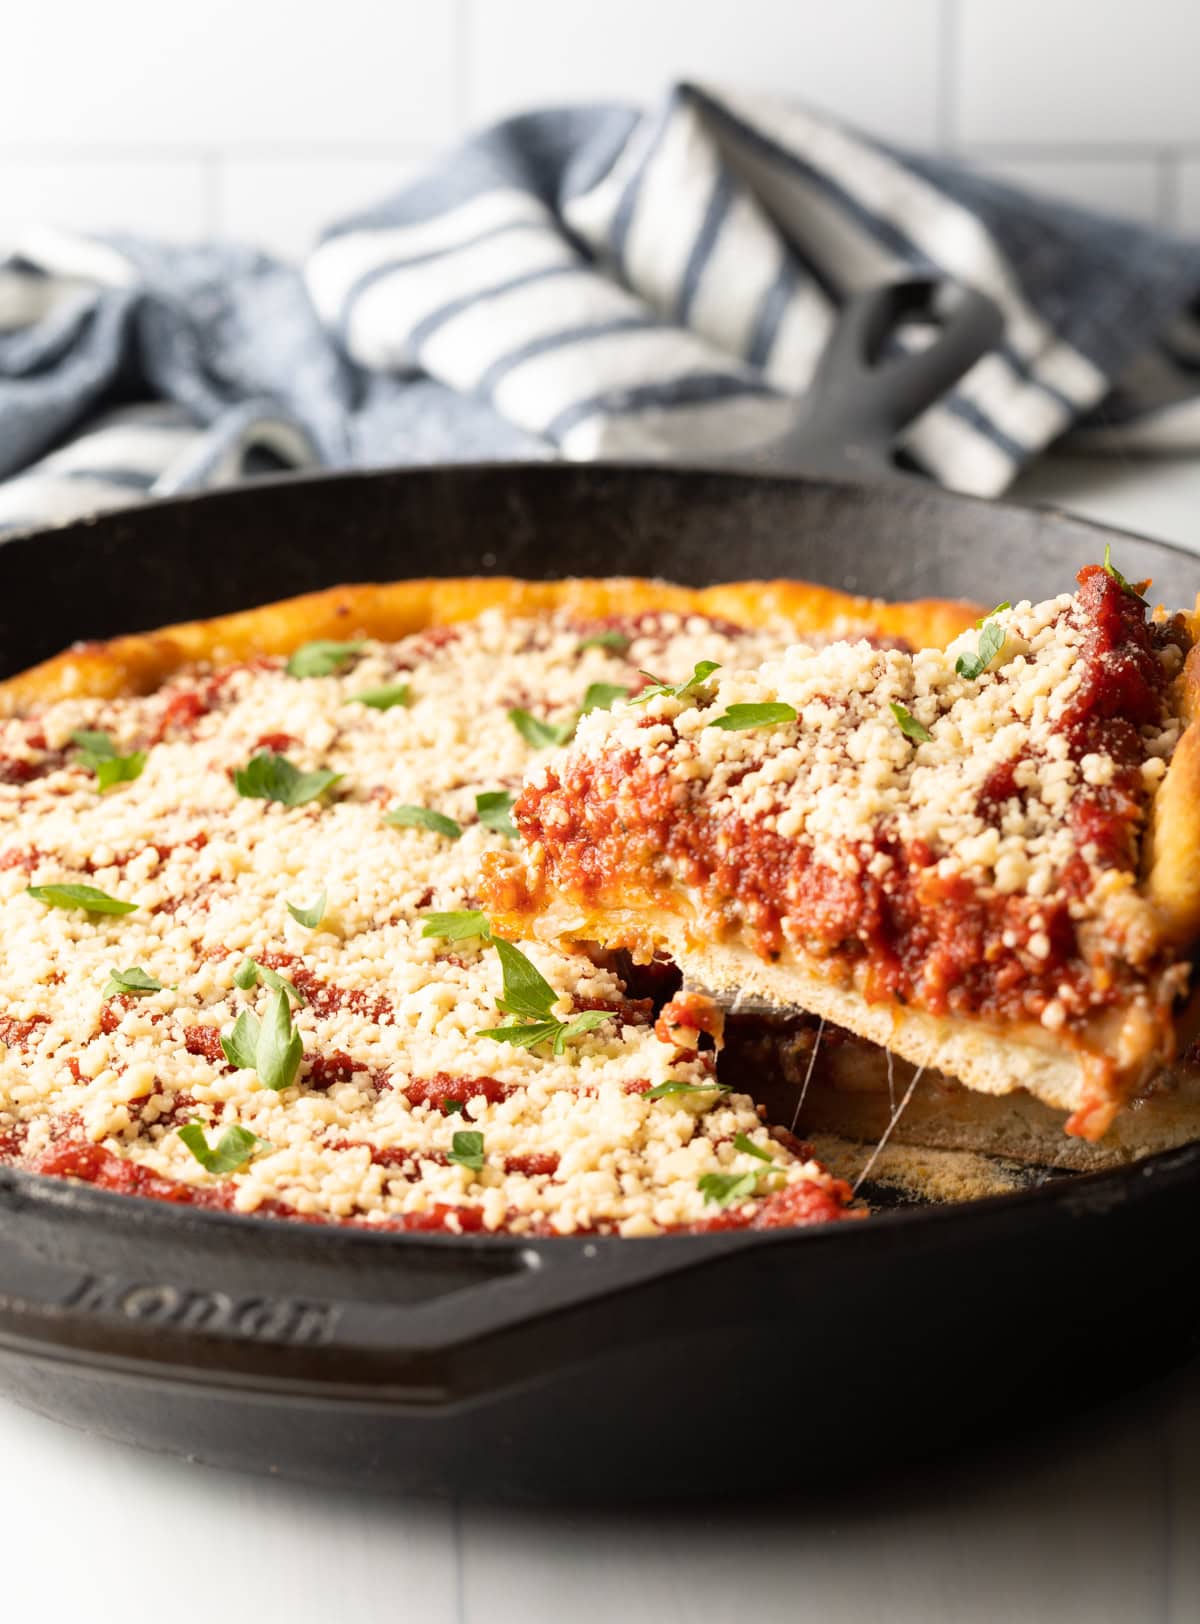
- Cheeses – I mean, is it even a pizza without a LOT of cheese loaded on there? (Ok yes, I know there are in deed cheese-less pizzas. But c’mon, that’s not what we’re aiming for here!) I layer on plenty of Italian cheese blend or mozzarella and finish off my pizza with grated Parmesan cheese. If I can get my pizza slice to drip cheese, that’s when I know I get it right.
How to Make
Find the full ingredient proportions, detailed instructions, storage tips, and a video tutorial in the printable form at the bottom of the post.
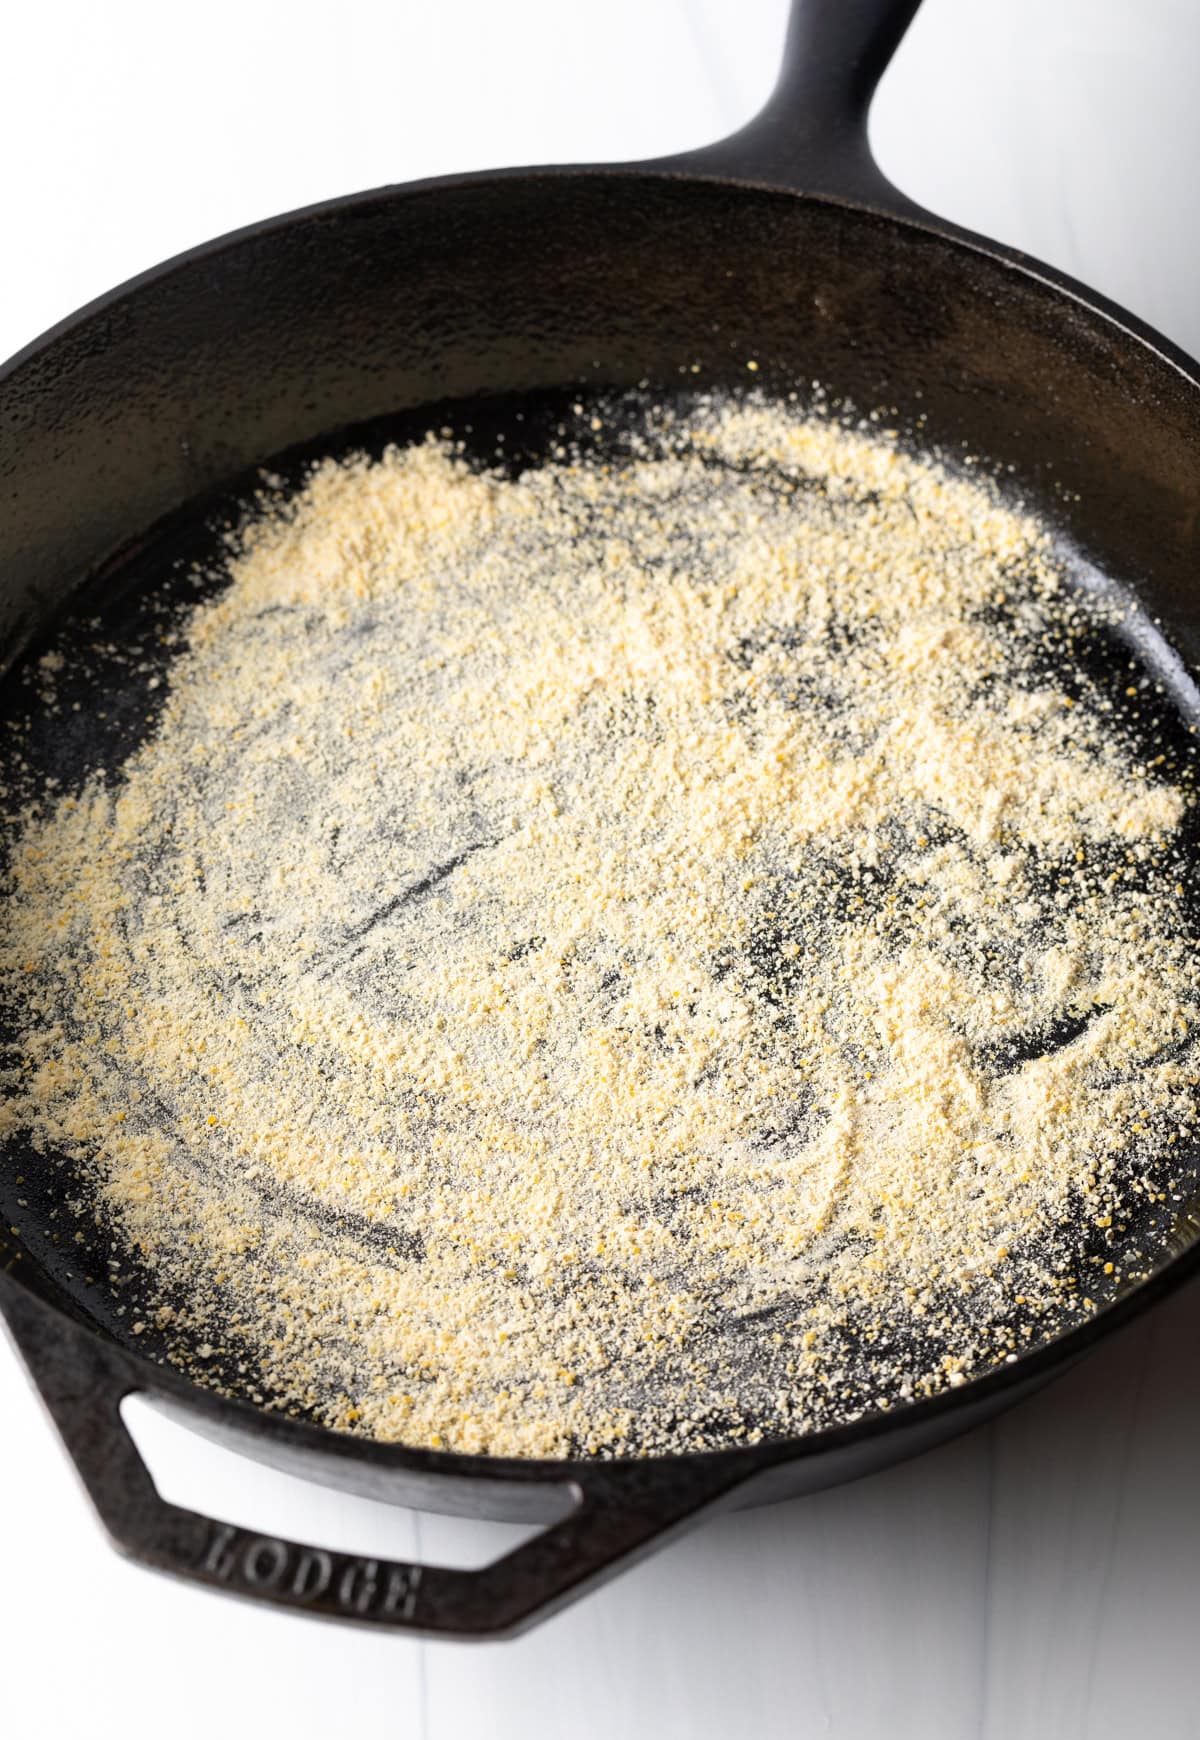
Prep – Before I get started with layering the pizza in the pan, I preheat the oven to 425°F, and I move one oven rack to the lowest position. Moving my pizza to the lowest rack in the oven helps my crust get crispier. Then I brush a 12–14-inch deep cast iron skillet with olive oil and I sprinkle cornmeal over the bottom. This helps prevent my crust from sticking to the bottom of my pan.
Here is the fun part: on a lightly floured surface, I roll the pizza dough into a circle about 2 inches wider than the base of my skillet (If it’s a family fun night you might see some pizza dough getting tossed in the air). Once the dough reaches the right diameter, I transfer it to the skillet and press the dough up along the sides. I like to aim for lining the entire inside of the cast iron. I let the dough rest in the skillet while I prepare the sausage and sauce.
Cook the Sausage – I set an additional skillet over medium heat and add my Italian sausage. I prefer to use a wooden spoon to help break up the sausage into smaller pieces as it browns. Once the sausage cooks through, I remove my skillet from the heat.
Make the Sauce – This is probably the best part: the homemade sauce. I melt the butter in a medium saucepan over medium heat, then I add in my chopped onion and garlic and saute for 3-4 minutes until they soften. I can tell my onions are soft when they become translucent. Next, I stir in crushed tomatoes, Italian seasoning, sugar, and salt and let the sauce simmer for about 5 minutes.
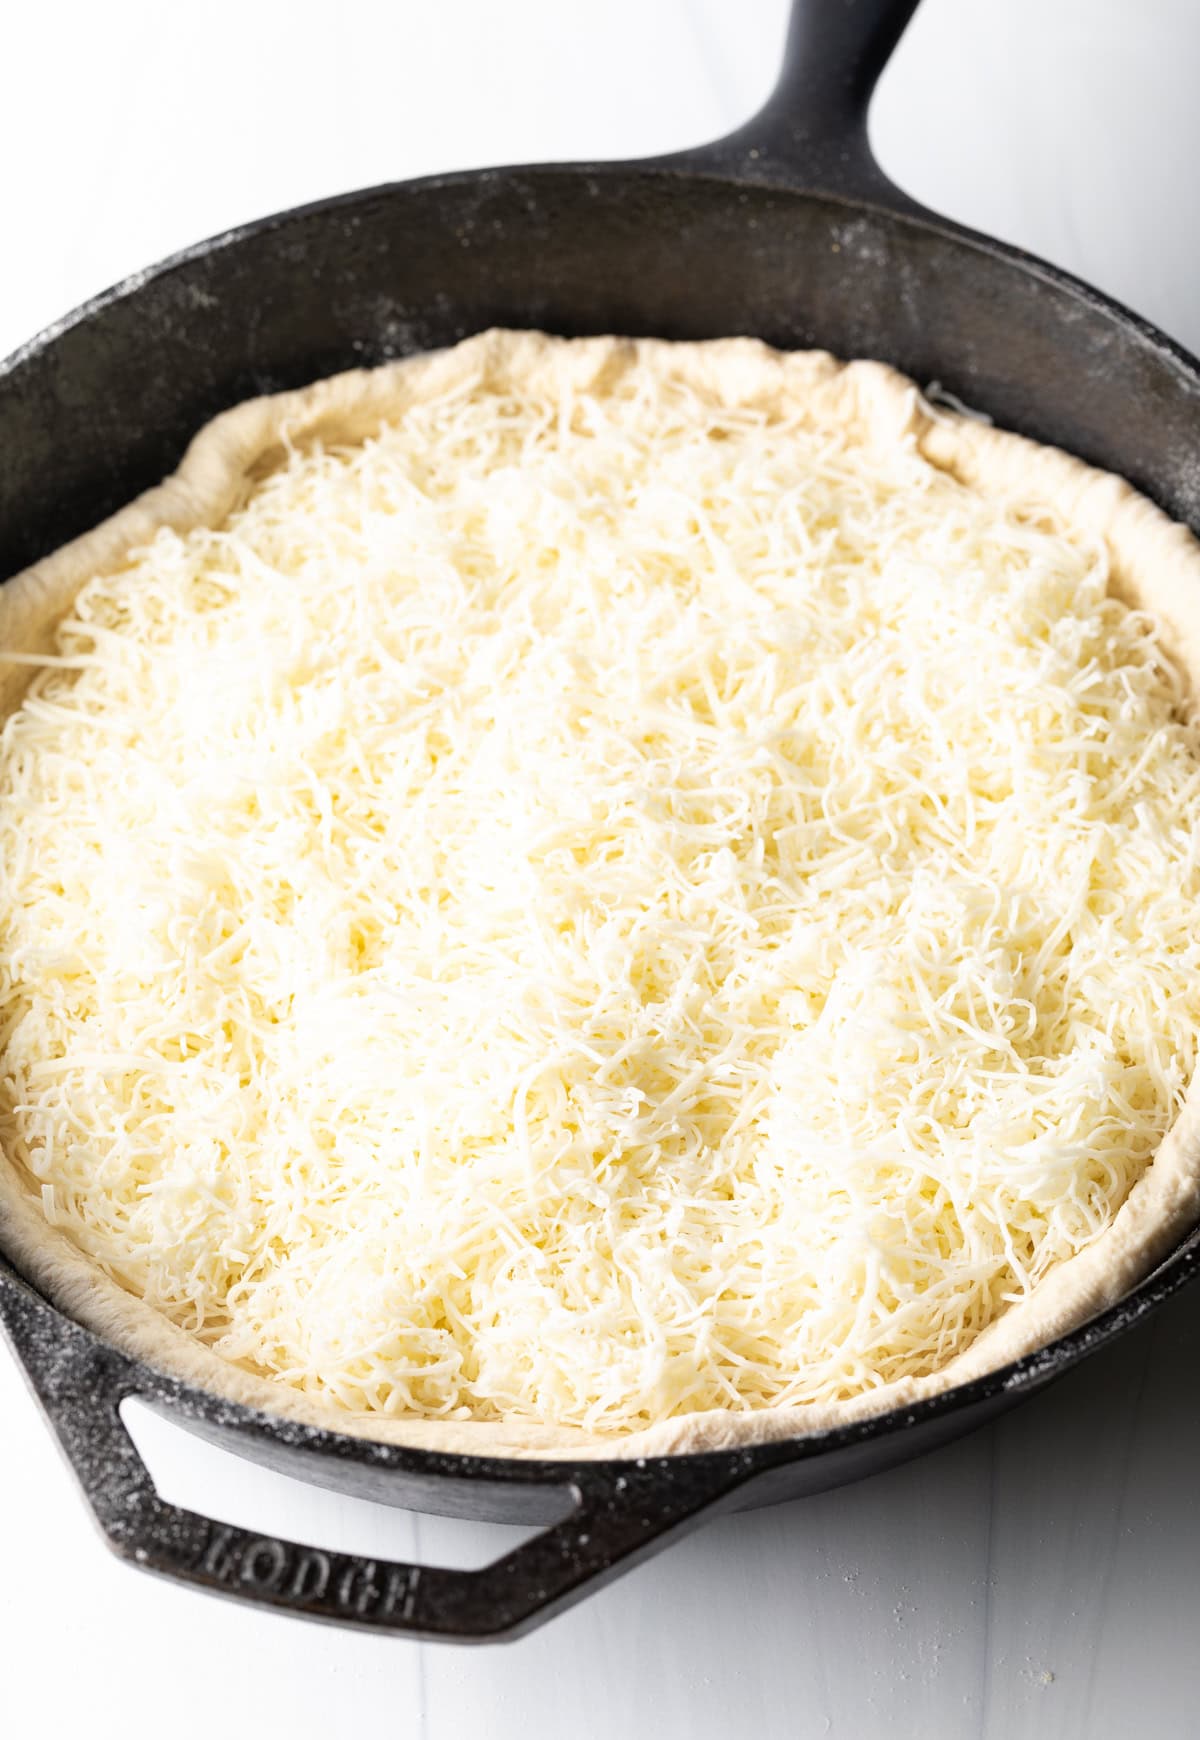
Cheese Layer – Now I can start building my deep dish pizza (eek!), and the cheese goes down first, which is different from building a normal pizza. I spread the shredded cheese over the bottom of the pizza crust, making sure I cover it from edge to edge. Starting with the cheese also helps me to create a barrier between the crust and the wetter layers that go on top, which also helps protect my crust from getting too wet.
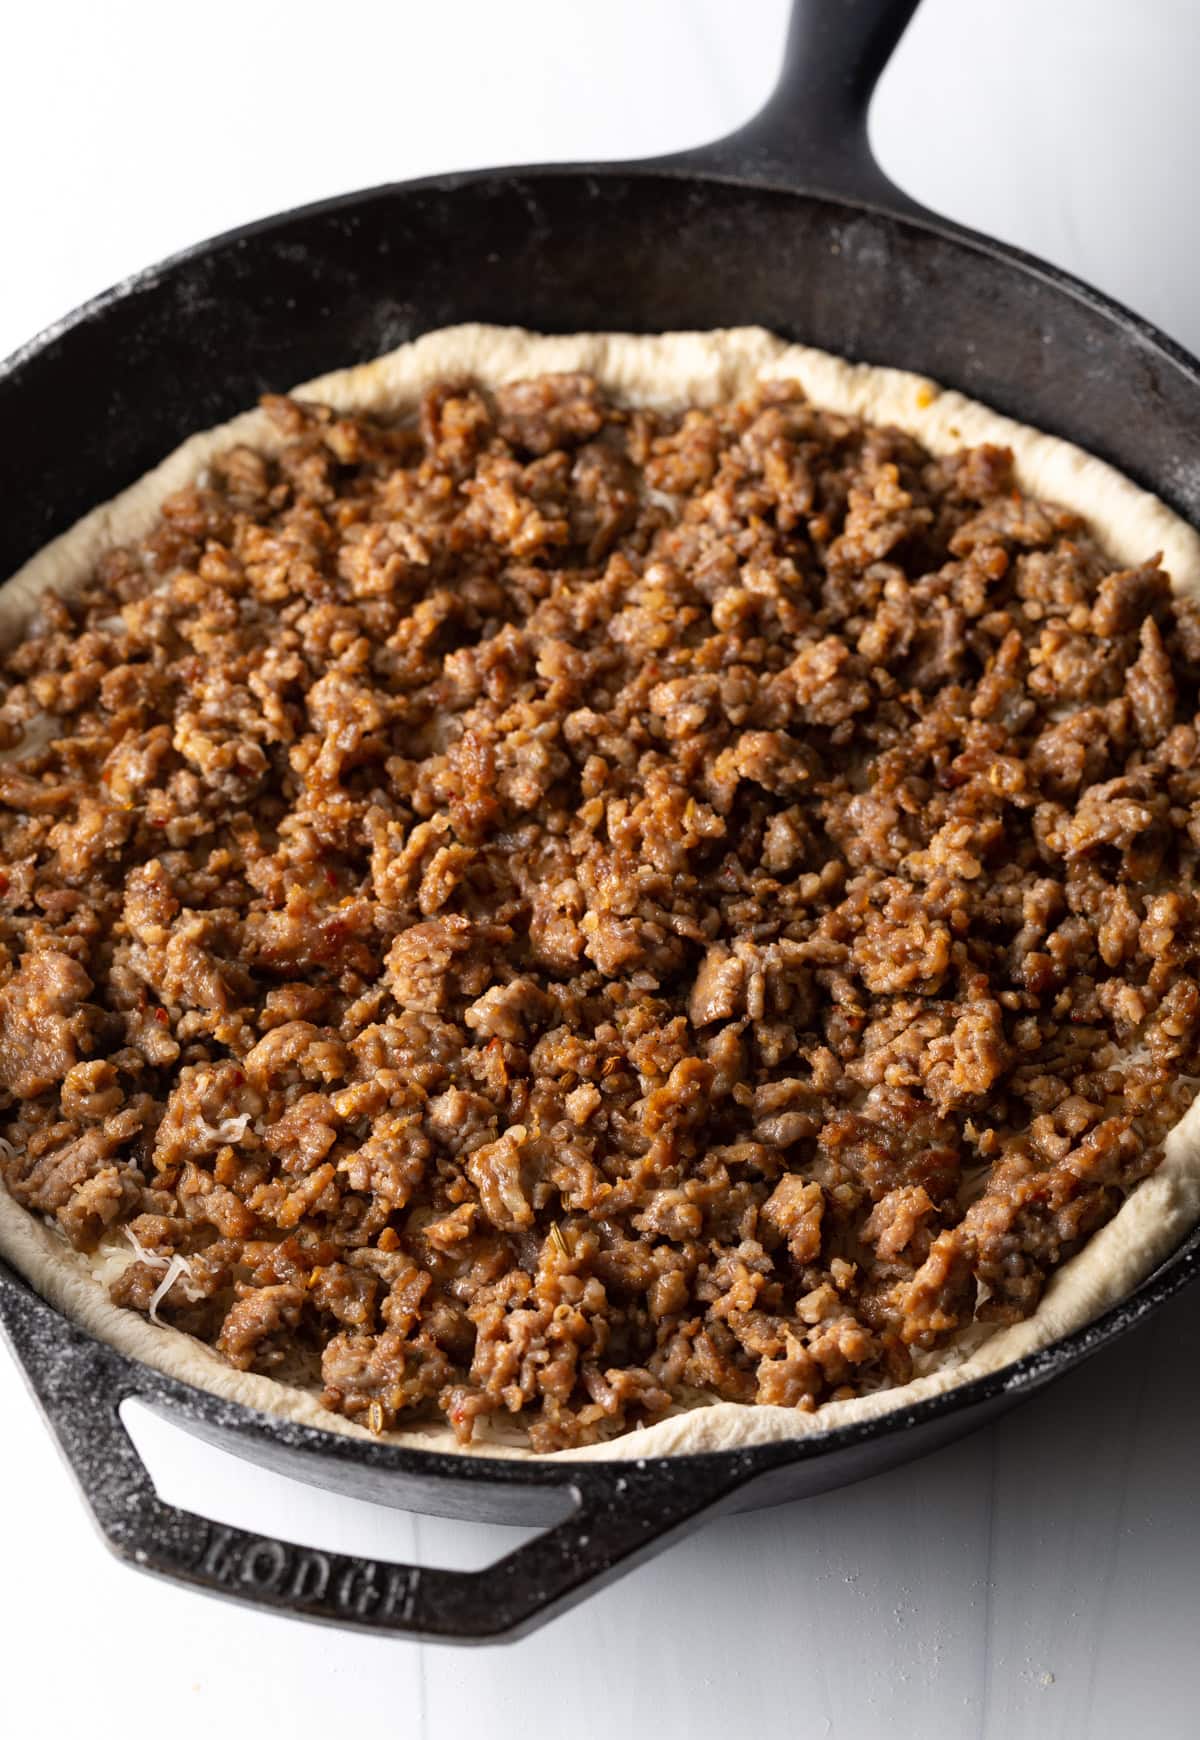
Meat Layer – Next, I spread the cooked sausage evenly over the cheese, almost all the way to the edges. Then I gently pull the edges of the pizza crust up to create a rim around the fillings.
Sauce Layer – Lastly, I spread the chunky tomato sauce evenly over the sausage. But again, leave a bit of a crust around the edges. Now my true Chicago-style deep dish pizza is ready for the oven.
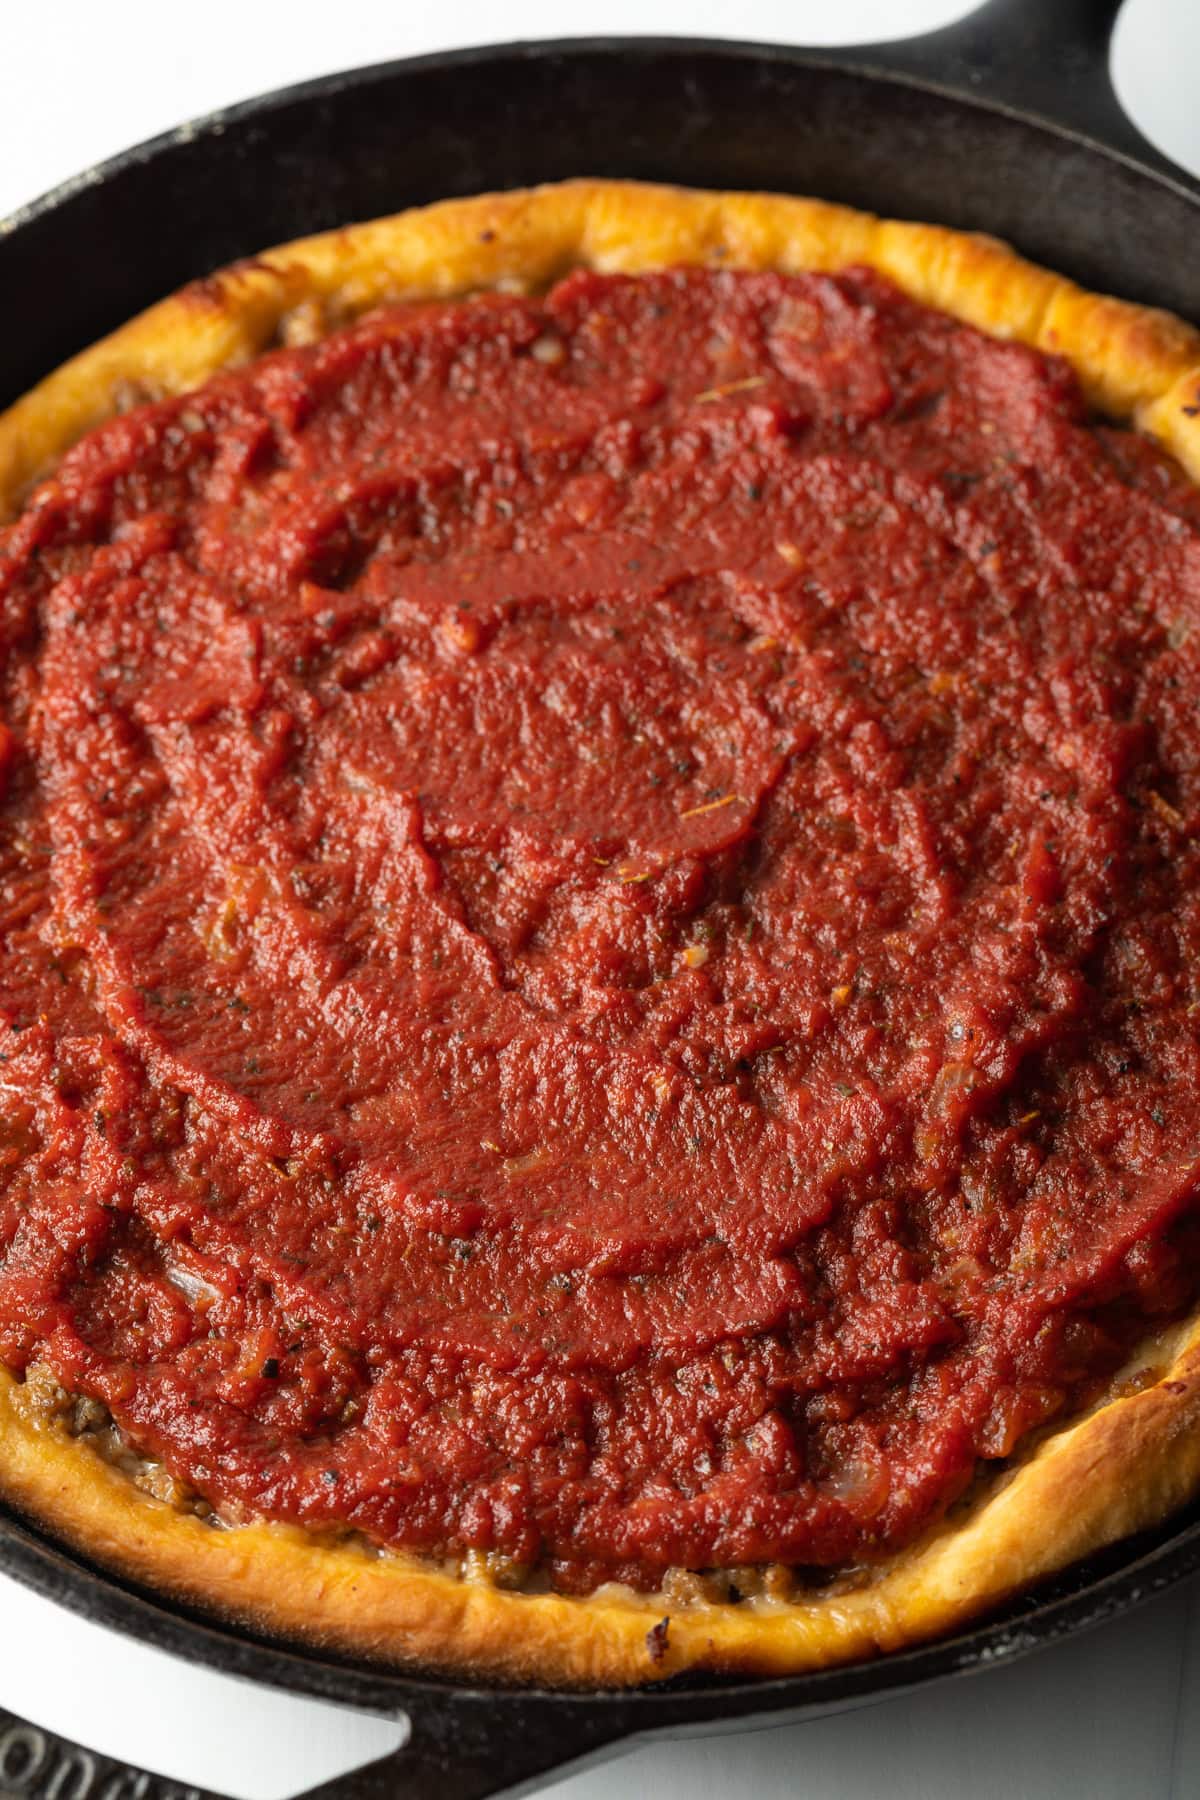
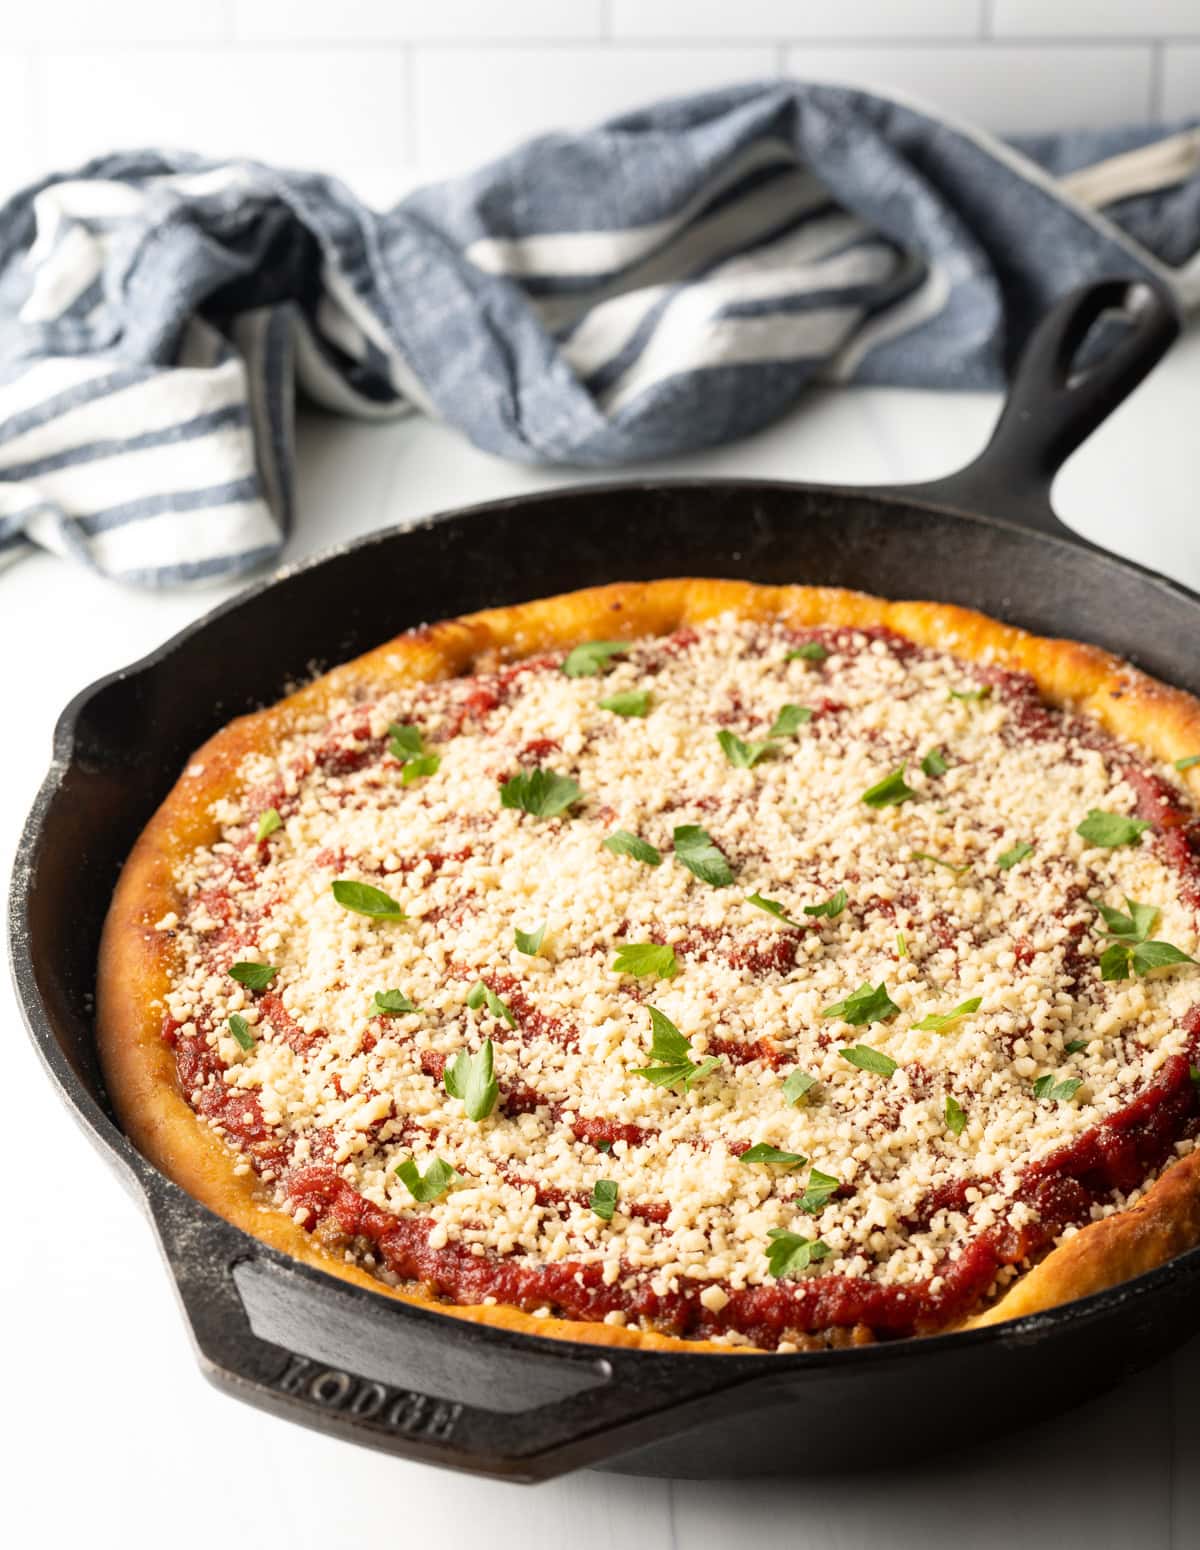
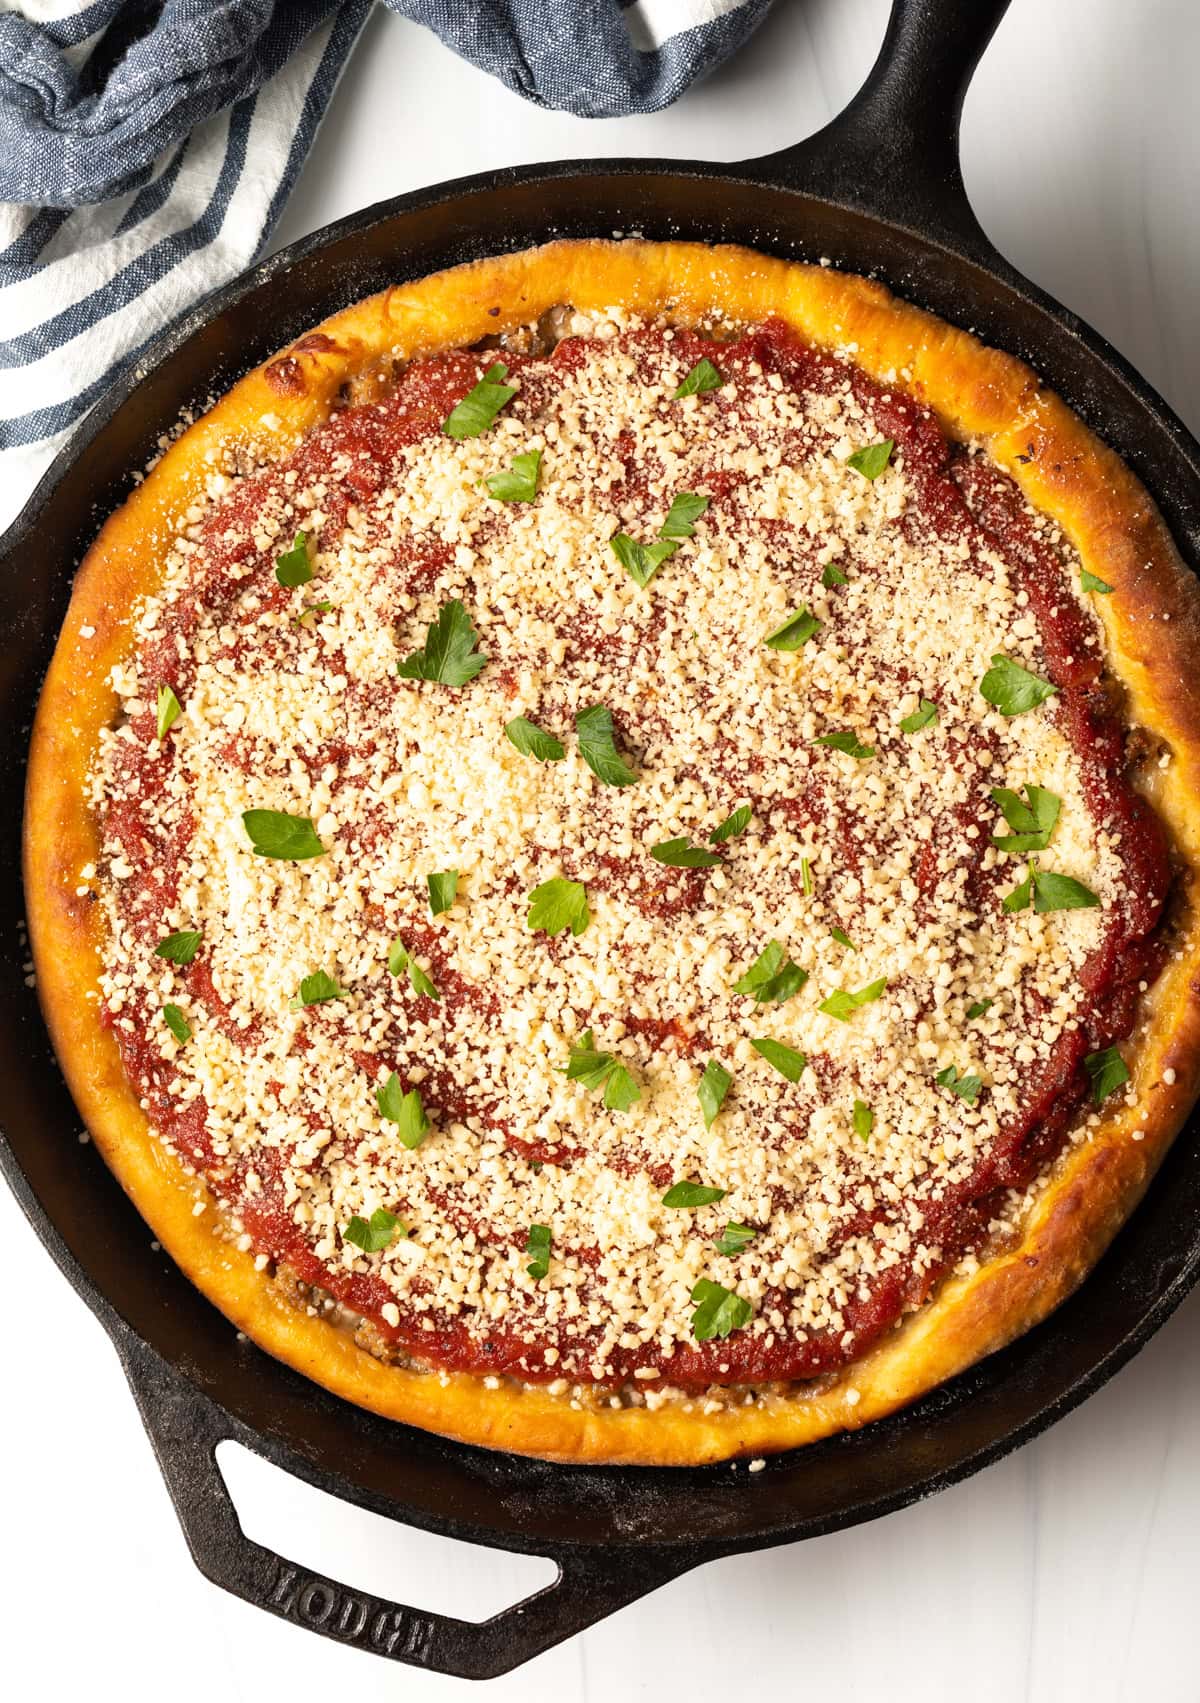
Bake and Finish – The finale! I place my pizza on the lowest oven rack and bake for 25–30 minutes, or until I can see that the edges of the crust are nice and golden brown. The reason I put it on the lowest rack is to help that bottom of the crust crisp in the cast iron better! Once it comes out of the oven, I sprinkle the top with grated Parmesan cheese and fresh parsley. Then I let it rest (impatiently, as now I am hungry just thinking about it) briefly before slicing and serving.
Additional Pizza Toppings
Our favorite filling when making my Chicago deep dish pizza recipe in a cast iron pan is browned sausage. But you can load in whatever other “toppings” you like!
Meat – Chopped ham, pieces of Canadian bacon, crispy crumbled bacon, cooked sliced chicken… Or just about any cooked protein you prefer! (Nothing raw!)
Veggies – If you want to include veggies like mushrooms, olives, spinach, plum tomatoes, or green peppers, I suggest you cook them in the skillet along with your meat (if using) or by themselves before adding to the pizza. If you add them raw they will release moisture into the filling and make the crust soggy.
Etc. Toppings – Like veggies, you have to be careful here to not add any “wet” ingredients. Instead choose extra goodies like sun dried tomatoes, roasted garlic cloves or fresh minced garlic, jalapeño slices, or banana pepper rings.
These cooked vegetables or extra toppings can also be added to the top of the cast iron pizza after it bakes!
Serving Suggestions
Deep dish pairs well with salads like Caesar salad to balance the hearty, savory flavors of the pizza.
If you want a more carb-a-licious meal, consider serving Chicago deep dish pizza alongside garlic bread or breadsticks to complement the warm, comforting nature of the dish.
For additional sides, roasted vegetables or even a fruit salad add a light and flavorful touch that pairs well with the rich ingredients of the deep dish pizza.
Storage Notes
Leftover cast iron pizza will keep well for up to 3 days in the refrigerator. I let the leftovers cool completely before transferring to an airtight container or wrapping in plastic wrap or cling wrap.
Slices of Chicago style pizza also freeze well! I wrap each individual slice in a layer of plastic wrap, followed by a layer of aluminum foil. If I have multiple pieces I’ll try to fit a few in a plastic ziploc bag. They’ll freeze well for up to 3 months. Then I just thaw it in the fridge overnight.
Pieces can be microwaved, but I highly suggest that you reheat them in the oven at 350 degrees for 10 minutes or so.
Frequently Asked Questions
No, I start with a room-temperature skillet so I can press the dough across the bottom and up the sides without burning myself on a super hot skillet. I brush the pan with olive oil and sprinkle cornmeal over the bottom to help prevent sticking.
I know it is ready when the edges of my crust are a lovely deep golden brown.
Yes, you can divide this recipe into two 9-inch cake pans. However, baking time must be reduced to 15-20 minutes. Use a butter knife to loosen the edges of the crust before lifting the pies out of the pans.
When the gluten in the pizza dough is tight it makes it spring back as I try to shape it. A short rest of the dough, which can be around 10-15 minutes of it sitting on the counter, allows it to relax and makes shaping easier. I avoid forcing the pizza dough or pulling it until it tears.
Help Me Spread the Word about this Fabulous Free Recipe! Sharing this recipe link on Pinterest and Facebook is super impactful, and I greatly appreciate it! Find the share buttons below the recipe form. Also, join our NEW Spicy Squad Community Page to interact with me and other friendly cooks!
More One Pan Recipes





Chicago Deep Dish Pizza Recipe (Cast Iron)
Ingredients
- 1 tablespoon olive oil
- 1 tablespoon cornmeal
- 1 pound pizza dough homemade or store-bought
- 3 tablespoons butter
- ¼ cup chopped onion
- 2 cloves garlic minced
- 28 ounces crushed tomatoes
- 1 tablespoon Italian seasoning homemade or store-bought
- 1 ½ teaspoons granulated sugar
- 1 teaspoon salt
- 1 pound Italian pork sausage cooked
- 2 cups shredded Italian cheese blend
- ¼ cup grated parmesan cheese
- 1 tablespoon chopped parsley
Instructions
- Set out a large 12-14 inch deep-dish cast iron skillet. Brush the skillet with olive oil, then sprinkle the bottom with cornmeal. Flour a clean work surface and roll the pizza dough out into a circle, 2 inches wider than the bottom of the skillet. (So a 14-inch circle for a 12 inch skillet.) Move the crust to the skillet and press the dough around the sides of the skillet. Let it rest while you make the sauce.
- Preheat the oven to 425 degrees F. Move one rack to the lowest position.
- Set a separate skillet over medium heat. Add the sausage and break it apart with a wooden spoon as it browns. Once cooked, turn off the heat and set aside.
- Set a medium saucepot over medium heat. Add the butter, chopped onion, and garlic. Sauté for 3-4 minutes to soften. Then add in the crushed tomatoes, Italian seasoning, sugar, and salt. Simmer for 5 minutes.
- Spread the shredded cheese in an even layer over the bottom of the pizza crust. Cover the cheese with the cooked sausage. Gently pull the edges of the pizza crust up the create a rim around the fillings. Then spread the chunky tomato sauce over the sausage.
- Bake on the lowest rack for 25-30 minutes, until the edges are golden-brown.
- Once out of the oven, sprinkle the top with parmesan cheese and parsley. Cut and serve.


I tried making a chicago style deep dish in my lodge cast iron and it was only ok. After looking up some recipes and settling on this one, I realized cornmeal is a common ingredient that I left out. Not only does it help it from sticking, but it provides that texture on the bottom that’s commonly found at a lot of the restaurants. Thanks a lot for sharing this!
I love this recipe! I have made it once before and it is at least as good as my favorite (famous) Chicago pizza! I am making it to share with visiting family this evening. How many hours in advance can I make this up before baking?
Hi Stephanie!
You can make it early in the day, then cover and refrigerate to slow the dough from rising too much around the sides. You should be ok, up to 8 hours before baking if it’s well chilled. :)
Hi, Sommer The recipe of Classic Chicago-Style Deep Dish Pizza seems easy to make. I will try it definitely this wekend for my family and going to surprise them.:)
This deep dish pizza is the literal best! I love it so much – thank you!
I don’t think I can make regular pizza again! Thick & tasty, my family loves it!
I always love finding delicious recipes for my cast iron. This pizza turned out great and is my go to when I am missing Chicago and want some deep dish pizza!
LOVE real Chicago style pizza! The deep dish is FANTASTIC! My late mother-in-law always like to save the crust of her deep dish pizzas to enjoy later with soup. :)