

Brisket in the Oven
 by Sommer Collier — last updated on Oct 15, 2026
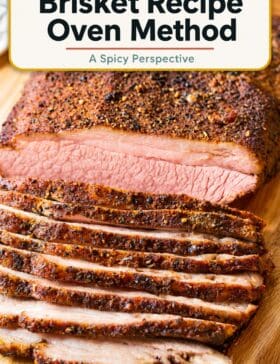
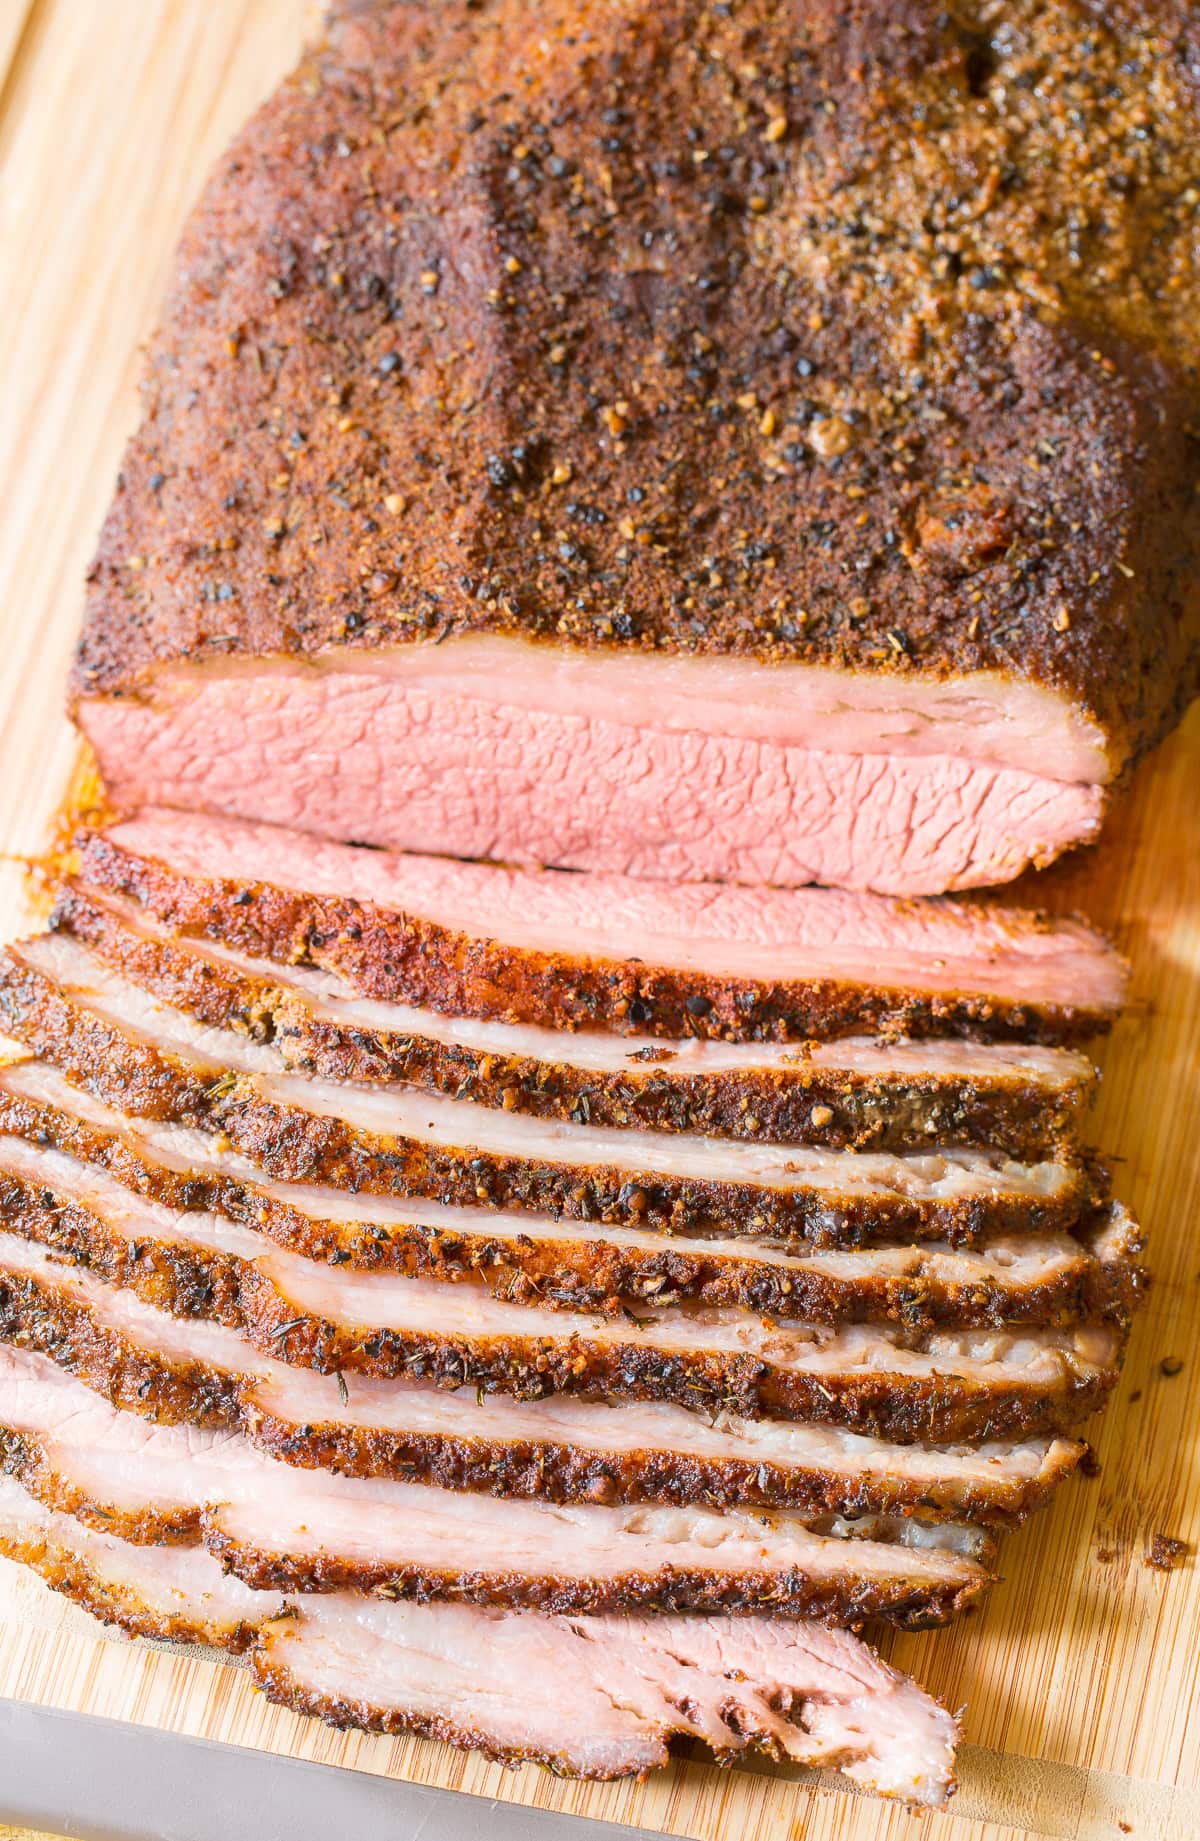
No smoker? No problem! I make my Texas-style brisket in the oven right in the oven, and it turns out tender with a flavorful, spice-crusted exterior. A generous coating of my zesty dry rub gives the beef that bold barbecue flavor we all love, without having to babysit a smoker all day. It’s one of my favorite ways to make a big, impressive brisket dinner with surprisingly little hands-on effort!

Brisket is best when it is slow cooked and sliced thin so that the flavor and texture can both be enjoyed. Texas is known for its classic brisket preparation, involving a dry rub spice blend and a long rest in an outdoor wood smoker. In my opinion, a slowly smoked dry brine brisket is the absolute best brisket available. It’s tender and rich, with pink smoke rings resting under thick chewy bark. However, as most of us don’t own an outdoor smoking cabinet, we’ll have to rely on other ways to achieve a similar result. Over the years, I’ve learned to make amazing brisket in the oven. Let me show you how…
Monica – ⭐⭐⭐⭐⭐ I followed the recipe to a T with a 3lb brisket. I did an overnight cure with a smokey montreal steak seasoning blend. It took 7.5 hours in the oven to reach temperature. The results were exactly what I was hoping for – tender & flavorful meat with melt-in-your-mouth fat. Saving this recipe for future use!
Table of Contents

Sommer’s Recipe Highlights
No smoker required – Who says you need a fancy smoker to make fabulous brisket? Not me! My oven brisket recipe gives you that bold, smoky barbecue flavor right in your own kitchen. A little liquid smoke in the roasting pan works wonders, and you don’t have to babysit a smoker all day.
Simple ingredients, BIG flavor – I use a homemade dry rub seasoning made with basic pantry spices, salt, and brown sugar. There’s no need for expensive store-bought rubs or marinades here. Just a handful of ingredients that combine for a well seasoned brisket with savory crust.
Worth the wait – Brisket is one of those cuts of beef that really benefits from a little patience. I cook it low and slow in the oven until the tough connective tissue breaks down and the meat becomes super tender. It’s perfect for slicing and serving as-is or doused with bbq sauce, like my brisket burnt ends!
Key Ingredients and Tips
- Brisket – I start with a large flat-cut brisket or a whole packer brisket. Make sure not to accidentally buy a corned beef brisket.
- Sea salt – I usually use sea salt, but kosher salt works great, too.
- Brown sugar – I add this for sweetness to balance the savory spices and helps create that gorgeous dark crust on the beef.
- Chili powder – To give the rub a bold, earthy flavor without making the brisket overly spicy. (Sometimes I use ground ancho chile here.)
- Paprika – I add this for color and a little extra depth. You can even use smoked paprika if you want to bump up the smoky flavor.
- Dried mustard – I think a little ground mustard adds a nice tangy bite.
- Garlic powder – Because a good brisket needs plenty of garlic flavor, in my opinion!
- Onion powder – This brings another layer of savory goodness.
- Dried thyme – I love the herby flavor of thyme here, but rosemary or even oregano are also delicious if that’s what you have on hand.
- Liquid smoke – You can use whatever variety of liquid smoke you prefer… Hickory, cherry, mesquite, or oak. I especially love hickory for that classic Texas-style barbecue taste.
How to Make
Find the full recipe with ingredient proportions, detailed instructions, and video tutorial in the printable recipe at the bottom of the post.
Prep the oven and roasting pan – First, I preheat the oven to 250°F. Then I pour 3 cups of water into the bottom of a large roasting pan fitted with a wire rack and add the liquid smoke. This is my little trick for getting that wonderful smoky barbecue flavor without having to fire up an actual smoker! The water also helps keep the brisket moist as it roasts.
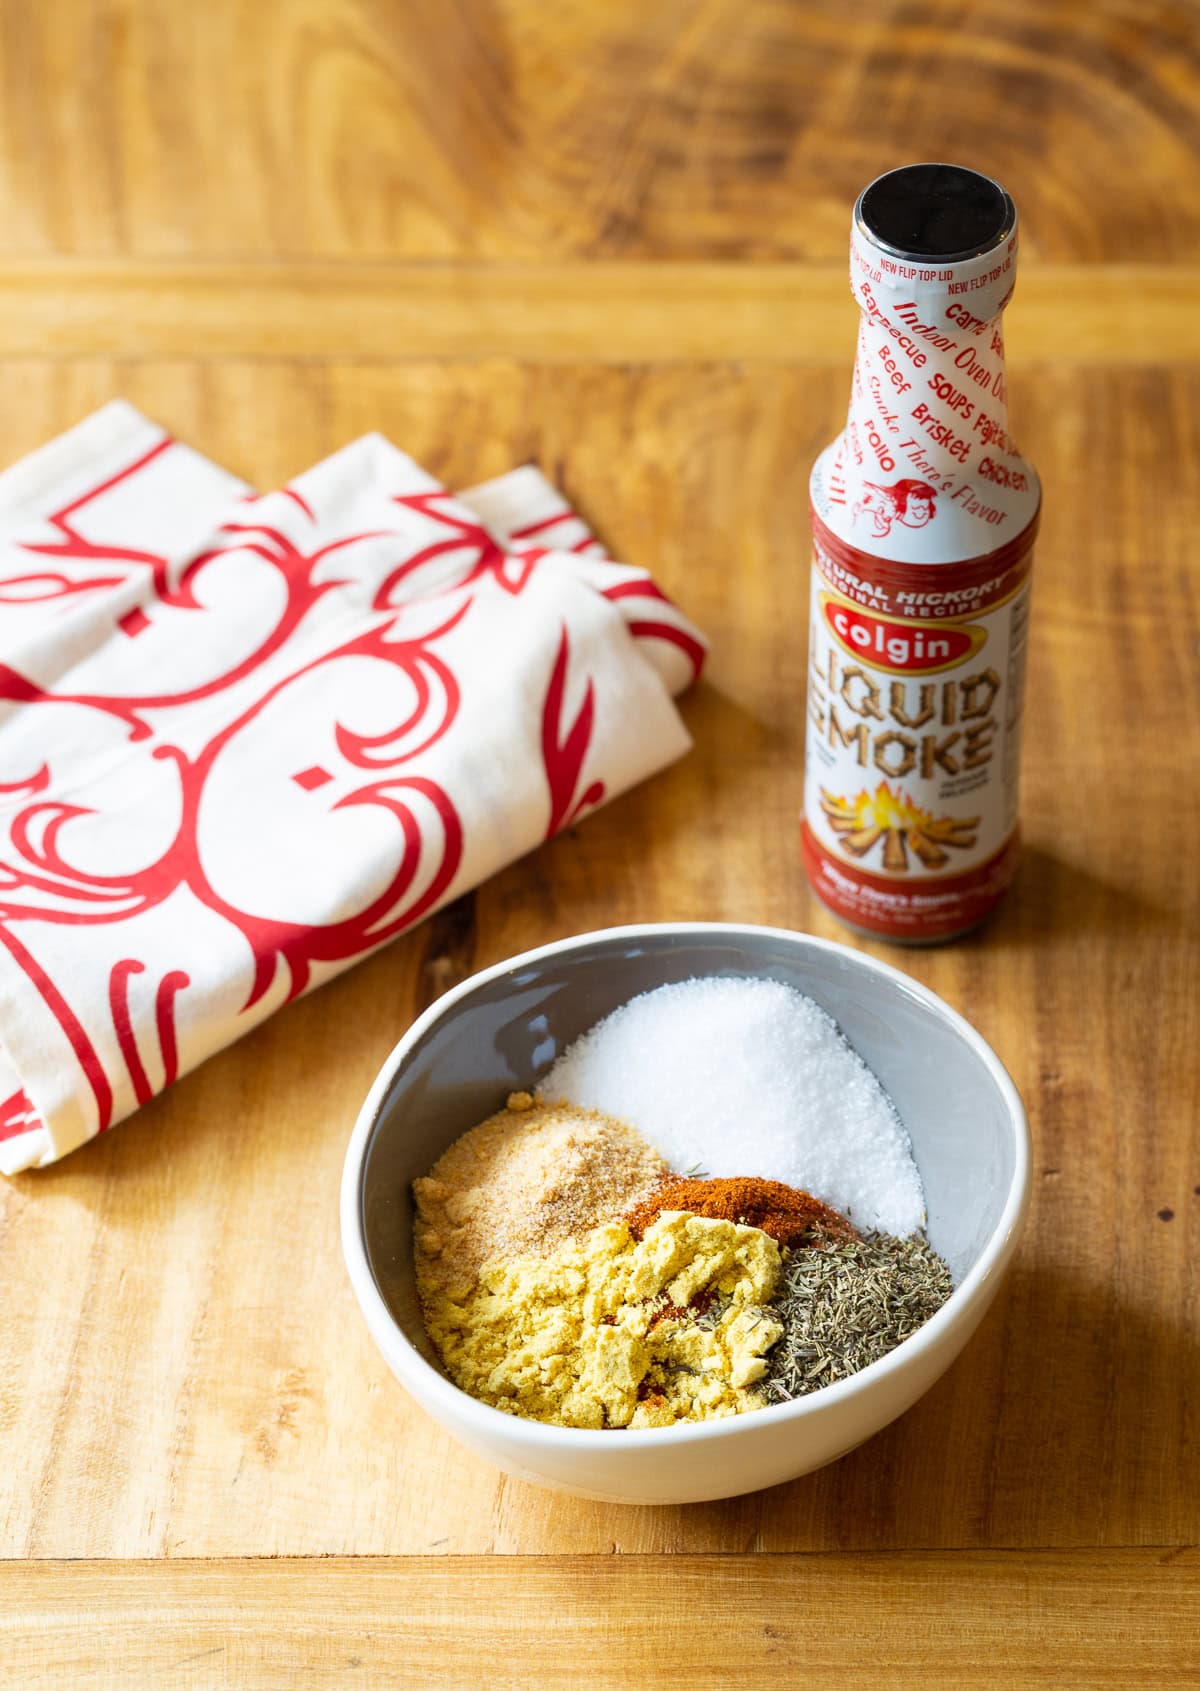
Mix the dry rub – In a small bowl, I combine the salt, brown sugar, and all the spices. I stir everything together really well, then generously rub the spice mixture over the entire surface of the brisket. Don’t be shy here… Pack in on good!
Get the brisket ready to roast – Next, I place the seasoned brisket on the wire rack, keeping it elevated above the liquid. I insert an oven-safe meat thermometer into the thickest part of the meat, making sure the tip isn’t sitting in a pocket of fat. Then I cover the roasting pan tightly with aluminum foil to trap the moisture and heat inside.
If I’m using a thermometer with a wired probe, I run the wire out the side of the pan. For a traditional oven-safe dial thermometer, I position it so I can read the temperature through an opening in the foil. The important thing is to keep the pan as tightly covered as possible.
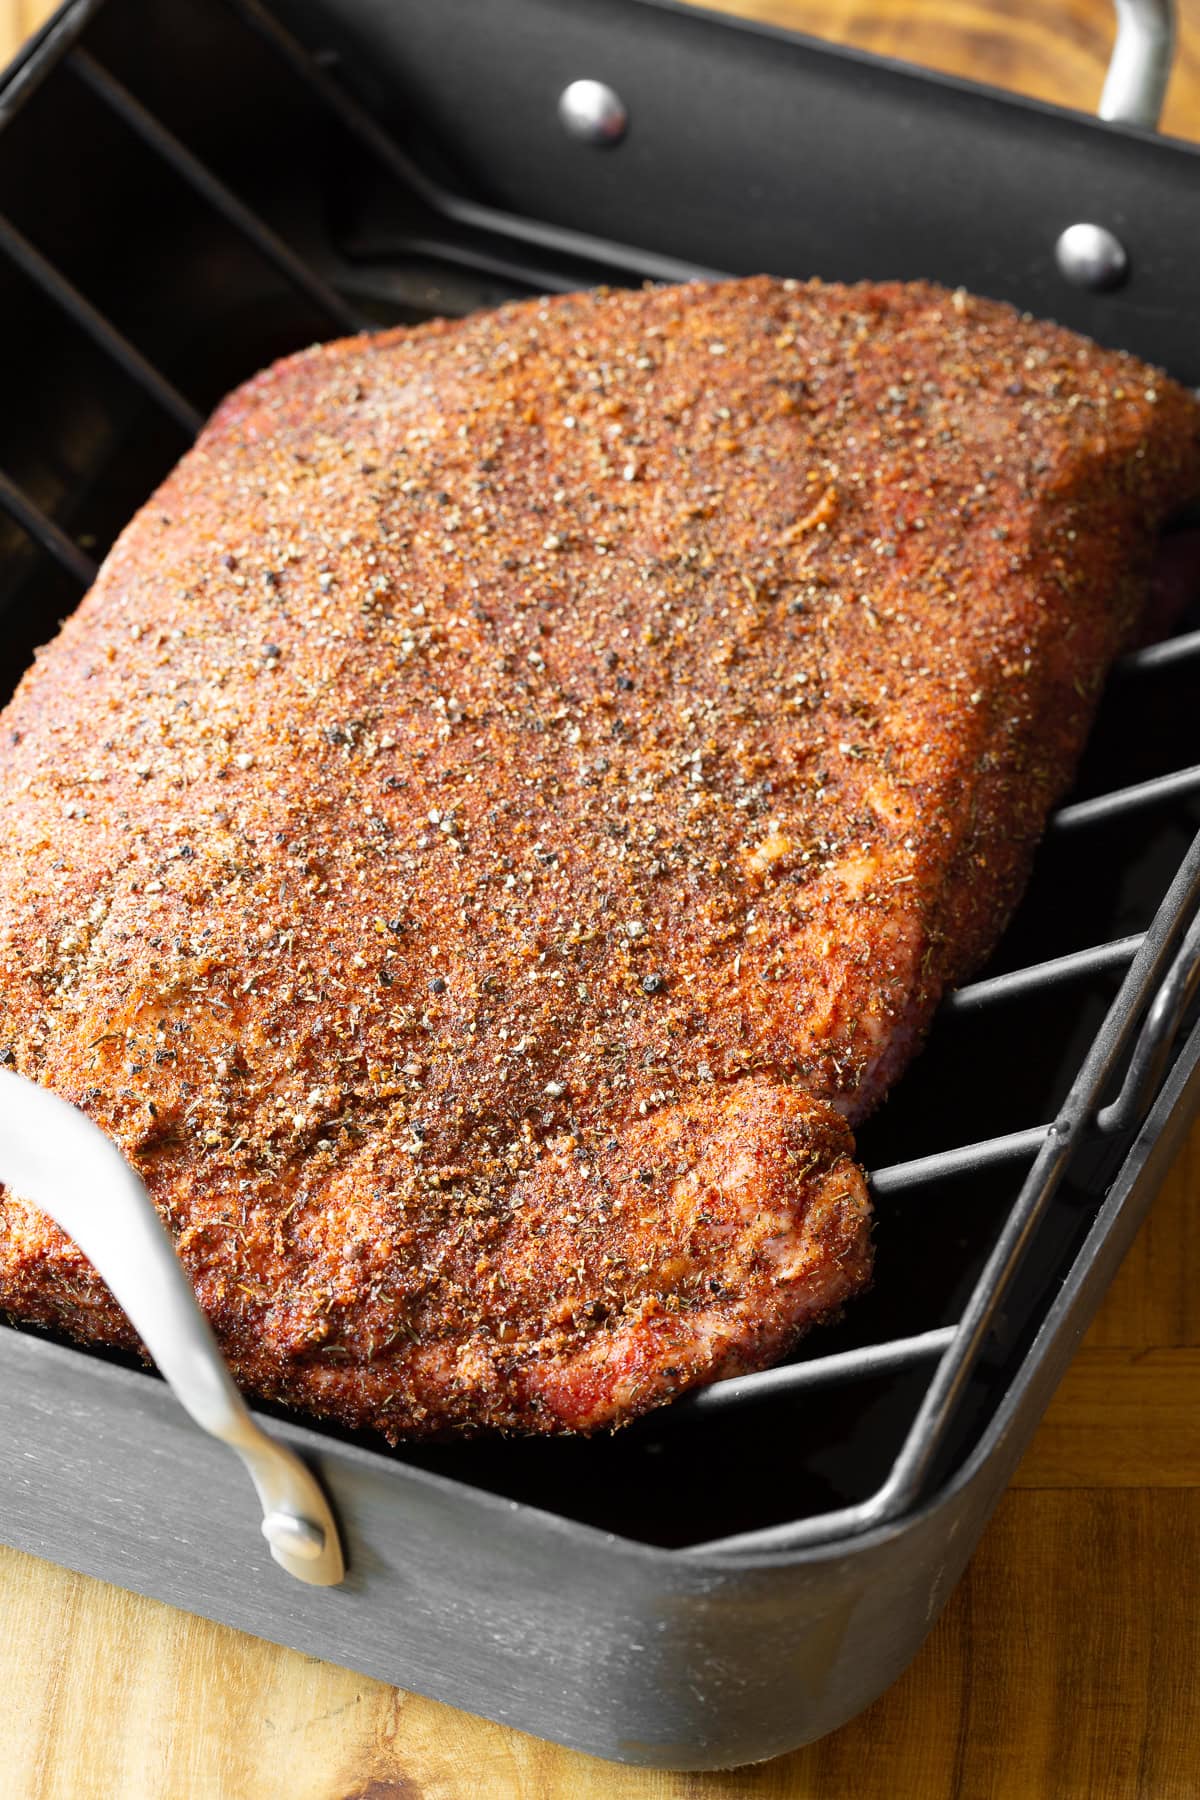
Roast low and slow – I now place the brisket in the oven and let it slowly roast until the internal temperature reaches 175°F. This is where patience pays off! Brisket is a tough cut of beef, and cooking it at a low temperature gives all that connective tissue time to break down.
Uncover and finish roasting – Once the brisket reaches 175°F, I remove the foil and continue roasting until the internal temperature reaches approximately 195°F. Uncovering it for the final stretch helps develop a darker, more flavorful crust. The entire process usually takes about 5-6 hours, depending on the size and thickness of the brisket and your oven… But it can take longer. I also check for tenderness. A probe should slide into the thickest part with very little resistance. If it’s still tough at 195°F, I usually give it a little more time.
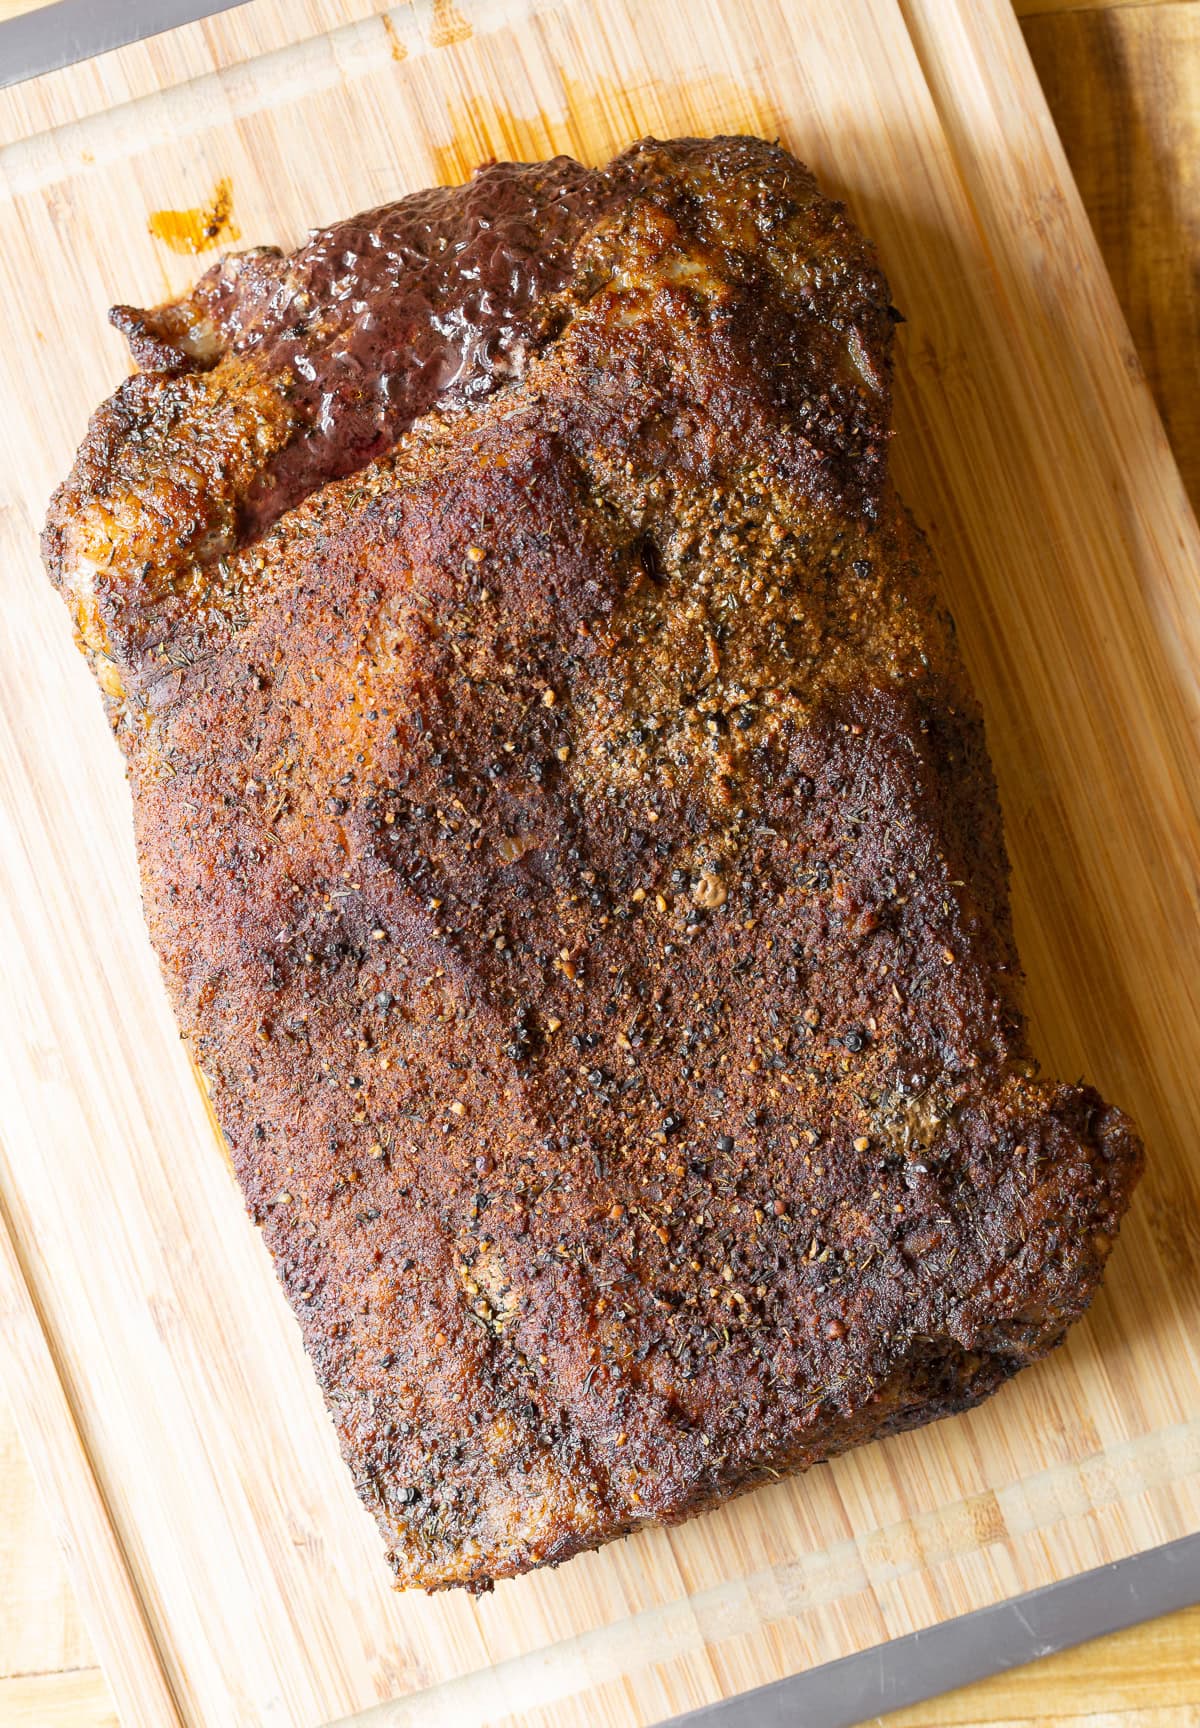
Let the brisket rest – When my brisket is done, I take it out of the oven and loosely cover it with foil. Then I let it rest for a about 30 minutes before slicing it. Don’t skip this step! Resting gives the juices time to settle back into the meat, so they don’t all end up on your cutting board.
Slice and serve – Finally, I slice the brisket thinly against the grain. This is especially important with brisket because cutting across the long muscle fibers makes each bite much more stretchy and tender. Then I serve it warm with my favorite barbecue sides.

Expert Tips
If you have an oven with a build-in thermometer, run the wire out the side of the pan. If you are using a standard meat thermometer, insert it into the brisket, through the foil, so you can see the reading.
Do not be tempted to raise the temperature for faster cooking time, or your brisket will be very tough. Slow oven roasting allows the fats to break down gradually, tenderizing the beef, so it has a stretchy, juicy quality in the end.
To serve as a saucy BBQ brisket: Let the brisket rest for 30 minutes before slicing into it. Then place the sliced pieces into a baking dish with warm BBQ sauce in the bottom. You can warm up the sauce in the oven or on the stovetop. After placing the sliced pieces of brisket into the baking dish with sauce, allow people to serve from the baking dish to get some of the sauce with the brisket!
Some people cook their brisket without a dry rub, which is perfectly fine, but it won’t have as much flavor! If you are worried about your sodium intake, you can reduce the amount of salt in the dry rub and serve with a low-sodium BBQ sauce for extra flavor!
Serving Suggestions
This recipe is perfect for parties or for feeding a large family. It will also leave your house smelling like mouth-watering smokey brisket! I like to serve it with some of my favorite sides:
- Mashed potatoes and gravy
- Homemade mac and cheese
- Baked beans
- Mashed sweet potatoes
- Roasted okra
- Collard greens
- Potato salad
This Texas sliced beef also pairs well with this creamy ranchero sauce! Give it a try! Or try my crock pot brisket sandwiches recipe and our smoked dry brine brisket recipe for more great sharing options.
Storage
Refrigerate – I like to keep leftovers in larger pieces rather than slicing it all at once. This helps the meat retain its moisture so it doesn’t dry out in the refrigerator. Place the brisket in an airtight container with some of the cooking juices and refrigerate for up to 3-4 days.
Freeze – Brisket freezes beautifully, making it a great recipe to prepare ahead! I wrap cooled portions tightly in plastic wrap, then place them in freezer bags with a little of the cooking liquid. Freeze for up to 3 months for the best flavor and texture.
Reheat – My favorite way to reheat brisket is low and slow, just like I cooked it! I place the meat in a baking dish with a splash of beef broth or reserved cooking juices, cover tightly with foil, and warm it in a 250°F oven until heated through to 165°F. Keeping it covered, and it will reheat much faster than the original cook time.
Frequently Asked Questions
You need to allow the brisket to rest for at least 30 minutes after taking it out of the oven to let the juices fully redistribute. If you cut into it sooner, the juices will pour out of the beef, and the meat will be drier because of it!
Yes and no. If you rub the brisket with the spice rub and immediately place it in the oven, it’s just a brisket rub. It will flavor the exterior of the meat and the spices will penetrate a little way into the beef.
However, if you take the time to dry rub the brisket the night before baking (or even several hours before baking) and then place it in the refrigerator, this is considered a brisket dry brine. The salt and other seasonings have time to truly work their way down into the center of the beef.
Pro Tip: If time allows, always dry rub the brisket several hours before placing it in the oven.
Because brisket is a tougher cut of meat, it must come to a higher temperature internally before the fats start to break down and tenderize. You could technically take the brisket out of the oven at 175 degrees F and it will be cooked, but if you want to get the traditional brisket stretch in each slice, you need to allow enough time for the brisket to reach 195 to 200 degrees F.
A good rule of thumb is to cook your brisket 60 minutes per pound at 250 degrees F. So if you have a 3-pound brisket, you cook it for about 3 hours.
HOWEVER… Many different factors can throw this estimate off, including your oven, the shape of the brisket, the type of pan you use, how tightly you wrapped the foil over the pan. So, make sure the internal temperature of the brisket is 195 degrees F before removing it from the oven. And give yourself a little extra time!
Help Me Spread the Word about this Fabulous Free Recipe! Sharing this recipe link on Pinterest and Facebook is super impactful, and I greatly appreciate it! Find the share buttons below the recipe form.
More Beef Recipes


Brisket in the Oven
Ingredients
- 5-6 pound boneless flat-cut beef brisket (not corned beef brisket)
- 2 tablespoons sea salt
- 2 tablespoons brown sugar
- 1 tablespoon chili powder
- 1 tablespoon paprika
- 1 tablespoon dried mustard
- 1 tablespoon garlic powder
- 1 tablespoon onion powder
- 2 teaspoons dried thyme
- 1/4 cup liquid smoke, any variety
Instructions
- Preheat the oven to 250 degrees F. Pour 3 cups water into the bottom of a large roasting pan with a rack and add the liquid smoke.
- In a small bowl, mix the salt, brown sugar, and all remaining spices until well combined. Rub the spice blend over the entire surface of the brisket and lay the brisket on the wire roasting rack. Insert an oven-safe meat thermometer into the thickest part of the brisket and cover the roasting pan tightly with foil. *If you have an oven with a built-in meat thermometer, run the wire out the side of the pan. If you are using a standard meat thermometer, insert it into the brisket, through the foil, so you can see the reading.
- Slow roast in the oven until the internal temperature reaches 175 degrees F. Then remove the foil and continue roasting until the internal temperature reaches 195 degrees F. Depending on your oven, and where you inserted the meat thermometer, this process may take 5-6 hours.
- Take the brisket out of the oven and allow it to rest for 30 minutes before serving. Cover it loosely with foil to help retain the heat. Cut the brisket across the grain into thin slices, and serve warm.


I don’t know how much it weighed, but it took about 11 hours to cook! And it was worth the wait. I was surprised that despite being cooked in a moist environment, the exterior is covered in bark, just like if it were smoked. I’m very happy with my first ever brisket, thank you for sharing this recipe.
8 lb. brisket. 300 degrees sounded too hot. Cooked at 275 for 10 hours. Burned to a crisp. Threw it away.
Recipe calls for oven temperature of 225f
Just made this with a small 3 pound brisket. Very good.
How long did it take? I have a 3lb!
I have an 8 pound flat that I started at 930 this morning. It got to 175 degrees in about an hour and a half so I unwrapped and sat back in the oven. It’s been almost three hours now and the temp has dropped to 169. I couldn’t find anything about briskets hitting the plateau in the oven but I’m keeping positive and hoping I see an increase soon. First time trying a brisket in any fashion.
I made a 12 lb brisket. Rubbed hours ahead.
Baked at 250/ 800pm to 5:am. Based on 1 hour per lb, I figured it would not be done. The thermometer shot way up. I took it out, letbit sit, refrigerated and then sliced cold. Looks ok. Don’t feel seasoning got through it well. Gonna eat this afternoon and hoping reheating doesn’t make it fall apart. Only thing I really did different was use apple cider in pan and wrap bacon on top of the fatty side of the brisket hoping to add more smoke.
I don’t have any liquid smoke. Will this mess up the flavor?? Thanks in advance!
Hi Amber,
It will still taste great, just not smokey. :)
I made this brisket last night and it was delicious!! I had a 5 lb brisket and I baked it at 300 for 5 hrs. Then I sliced the meat and put it back in the juices and baked it for another 2 hrs. I used a quarter cup of the liquid smoke and appx 5-6 cups of water. The liquid was all the way up to the fat of the meat. Be sure to cook the brisket with the fat side up. My only regret was that I wish I made more.
I bought a whole brisket and separated the point and flat (poorly). I put what I think was mostly point cut in the freezer, and my mangled two pieces of his flat cut with point remnants went in the oven.
Adding the spice rub many hours ahead of time is not necessary, just the salt. So I salted it almost 24hrs in advance, and added the rub 1.5 hours before cooking and let it sit on the counter. That is the only thing I didn’t follow the recipe exactly on.
I don’t know how much it weighed, but it took about 11 hours to cook! And it was worth the wait. I was surprised that despite being cooked in a moist environment, the exterior is covered in bark, just like if it were smoked. I’m very happy with my first ever brisket, thank you for sharing this recipe.
Stars.
Omg. Really? While you may know how to properly use a comma your “ability to express an opinion using any intellect or RESPECT…” is definitely not your forte. Just be nice. Remember what Thumper recited: If you can’t say anything nice don’t say anything at all
Tough and dry. I Bought a precise meat thermometer and followed this recipe to a T. The brisket cooked for about 6 hours until reaching 155F and then I uncovered and cooked for another 2 hours to get the brisket to reach 168F. The results of 8 hours was barely eatable. I think this is a result of the brisket not simmering in the liquid, but being essentially steamed.
The instructions say cook to 175, uncover, cook to 195. Not 155 and 168. That’s an undercooked brisket.
Thanks for sharing this secret. I’m gonna try it .
Love your recipe.
I never cook a brisket in the oven..But today it’s F🤬’n cold out in Post Falls Idaho…Texas style BBQ is my favorite…so I’m being lazy..Drink’n..And making this oven roasted Brisket…I tweaked it just a little…I used yellow mustard as my rub…left the rest the same…Smells absolutely amazing…I’m gonna grab another beer..chill…while my basset hounds camp on the kitchen floor…in anticipation…Cheers!
I cooked a 12 pound brisket and it was done in less than 8 hours. As others have said shape plays a big part in cook time. It was, however, so moist and flavourful. I actually let it rest covered for 2 hours. It was more of pulled beef day one but sliced beautifully the next day (after being tightly wrapped and refrigerated.)The only thing I will do different next time is to remove some of the juices earlier…..there was a lot!