

Brisket in the Oven
 by Sommer Collier — last updated on Oct 15, 2026
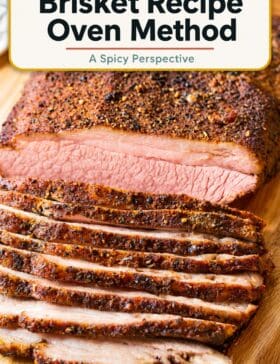
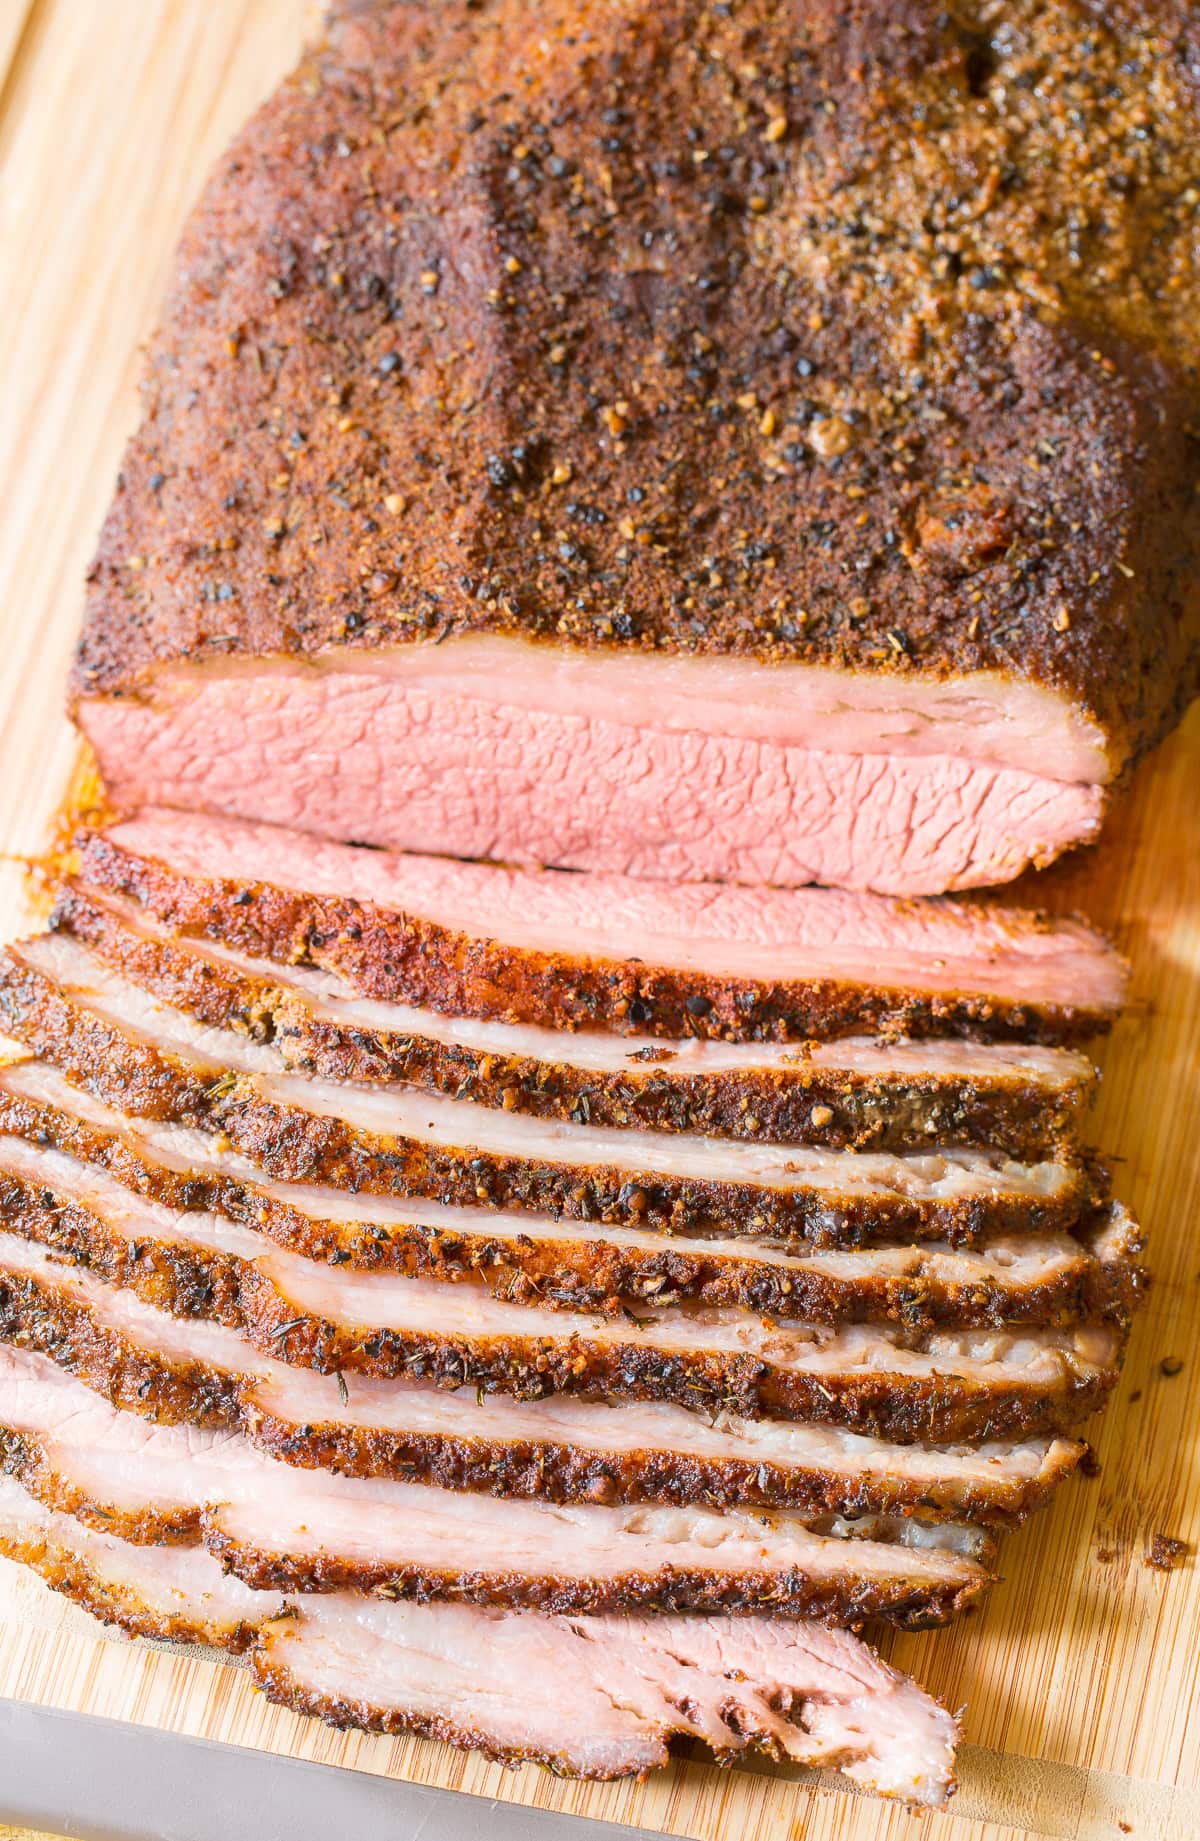
No smoker? No problem! I make my Texas-style brisket in the oven right in the oven, and it turns out tender with a flavorful, spice-crusted exterior. A generous coating of my zesty dry rub gives the beef that bold barbecue flavor we all love, without having to babysit a smoker all day. It’s one of my favorite ways to make a big, impressive brisket dinner with surprisingly little hands-on effort!

Brisket is best when it is slow cooked and sliced thin so that the flavor and texture can both be enjoyed. Texas is known for its classic brisket preparation, involving a dry rub spice blend and a long rest in an outdoor wood smoker. In my opinion, a slowly smoked dry brine brisket is the absolute best brisket available. It’s tender and rich, with pink smoke rings resting under thick chewy bark. However, as most of us don’t own an outdoor smoking cabinet, we’ll have to rely on other ways to achieve a similar result. Over the years, I’ve learned to make amazing brisket in the oven. Let me show you how…
Monica – ⭐⭐⭐⭐⭐ I followed the recipe to a T with a 3lb brisket. I did an overnight cure with a smokey montreal steak seasoning blend. It took 7.5 hours in the oven to reach temperature. The results were exactly what I was hoping for – tender & flavorful meat with melt-in-your-mouth fat. Saving this recipe for future use!
Table of Contents

Sommer’s Recipe Highlights
No smoker required – Who says you need a fancy smoker to make fabulous brisket? Not me! My oven brisket recipe gives you that bold, smoky barbecue flavor right in your own kitchen. A little liquid smoke in the roasting pan works wonders, and you don’t have to babysit a smoker all day.
Simple ingredients, BIG flavor – I use a homemade dry rub seasoning made with basic pantry spices, salt, and brown sugar. There’s no need for expensive store-bought rubs or marinades here. Just a handful of ingredients that combine for a well seasoned brisket with savory crust.
Worth the wait – Brisket is one of those cuts of beef that really benefits from a little patience. I cook it low and slow in the oven until the tough connective tissue breaks down and the meat becomes super tender. It’s perfect for slicing and serving as-is or doused with bbq sauce, like my brisket burnt ends!
Key Ingredients and Tips
- Brisket – I start with a large flat-cut brisket or a whole packer brisket. Make sure not to accidentally buy a corned beef brisket.
- Sea salt – I usually use sea salt, but kosher salt works great, too.
- Brown sugar – I add this for sweetness to balance the savory spices and helps create that gorgeous dark crust on the beef.
- Chili powder – To give the rub a bold, earthy flavor without making the brisket overly spicy. (Sometimes I use ground ancho chile here.)
- Paprika – I add this for color and a little extra depth. You can even use smoked paprika if you want to bump up the smoky flavor.
- Dried mustard – I think a little ground mustard adds a nice tangy bite.
- Garlic powder – Because a good brisket needs plenty of garlic flavor, in my opinion!
- Onion powder – This brings another layer of savory goodness.
- Dried thyme – I love the herby flavor of thyme here, but rosemary or even oregano are also delicious if that’s what you have on hand.
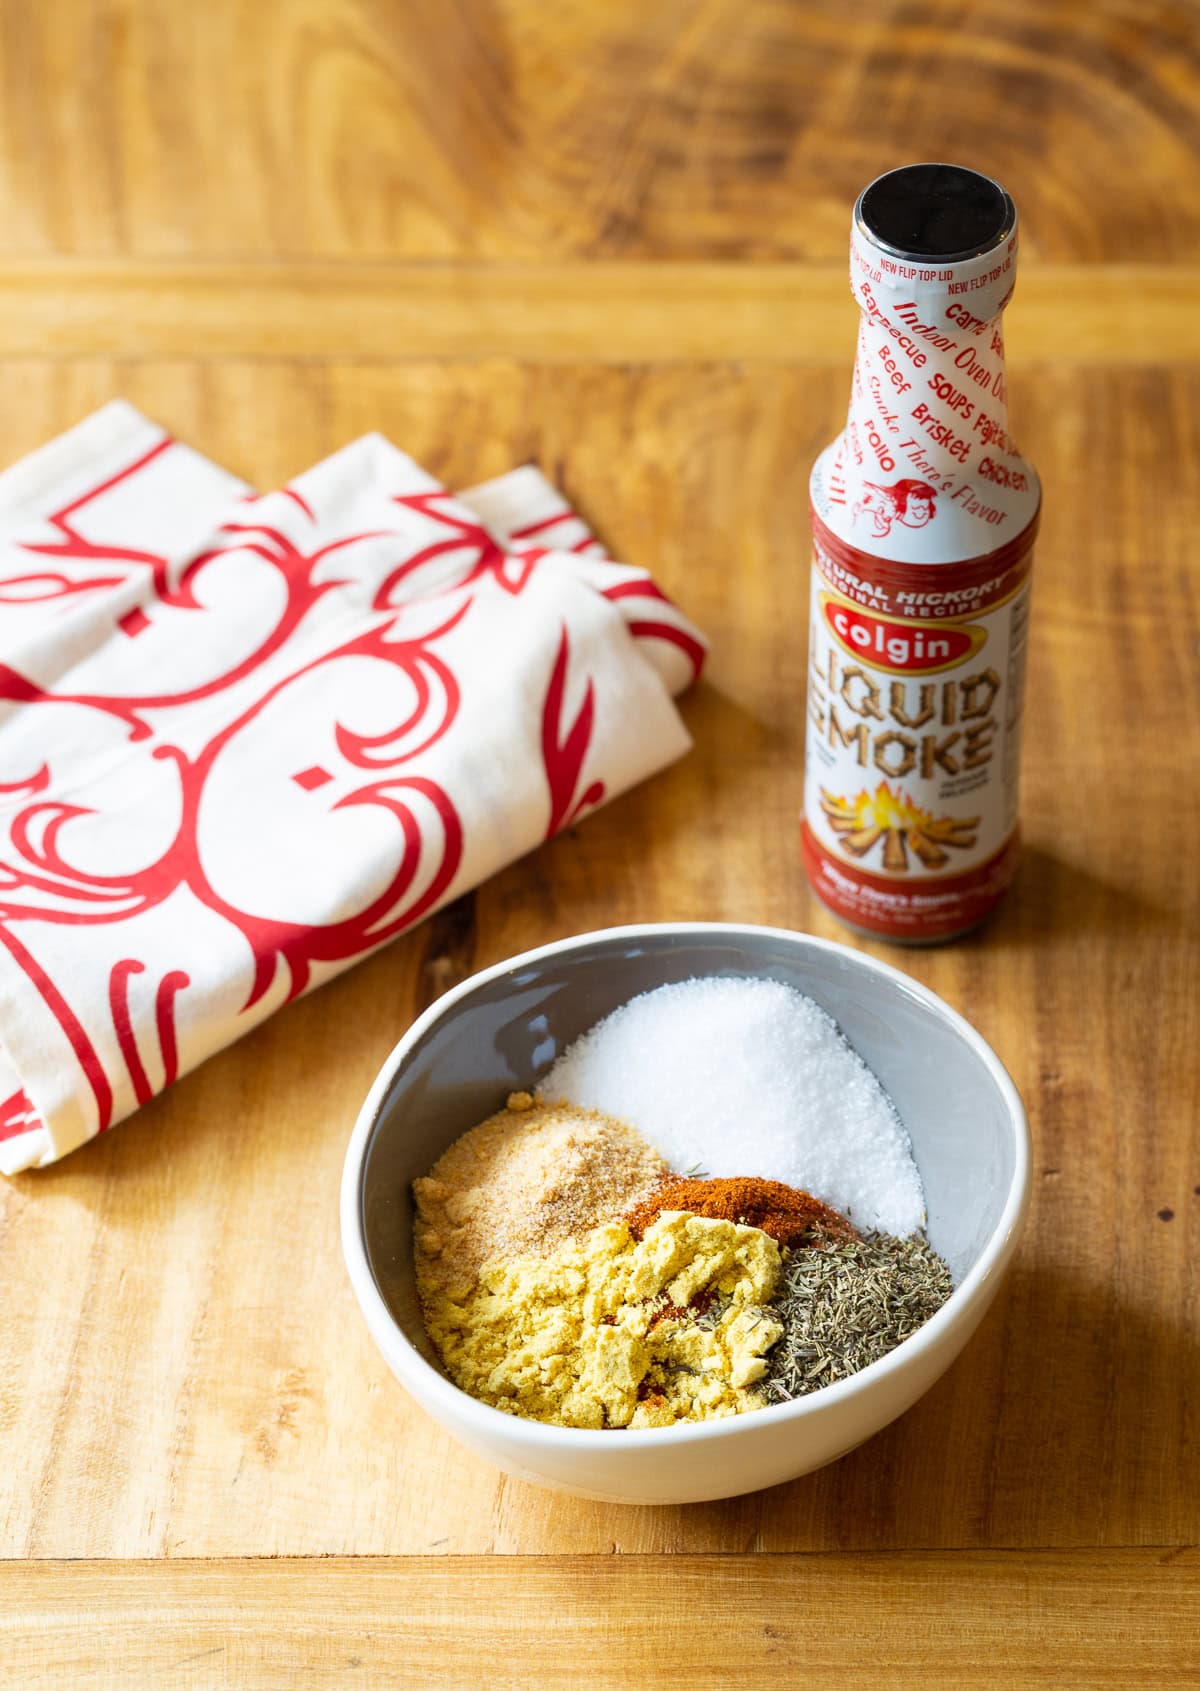
- Liquid smoke – You can use whatever variety of liquid smoke you prefer… Hickory, cherry, mesquite, or oak. I especially love hickory for that classic Texas-style barbecue taste.
How to Make
Find the full recipe with ingredient proportions, detailed instructions, and video tutorial in the printable recipe at the bottom of the post.
Prep the oven and roasting pan – First, I preheat the oven to 250°F. Then I pour 3 cups of water into the bottom of a large roasting pan fitted with a wire rack and add the liquid smoke. This is my little trick for getting that wonderful smoky barbecue flavor without having to fire up an actual smoker! The water also helps keep the brisket moist as it roasts.
Mix the dry rub – In a small bowl, I combine the salt, brown sugar, and all the spices. I stir everything together really well, then generously rub the spice mixture over the entire surface of the brisket. Don’t be shy here… Pack in on good!
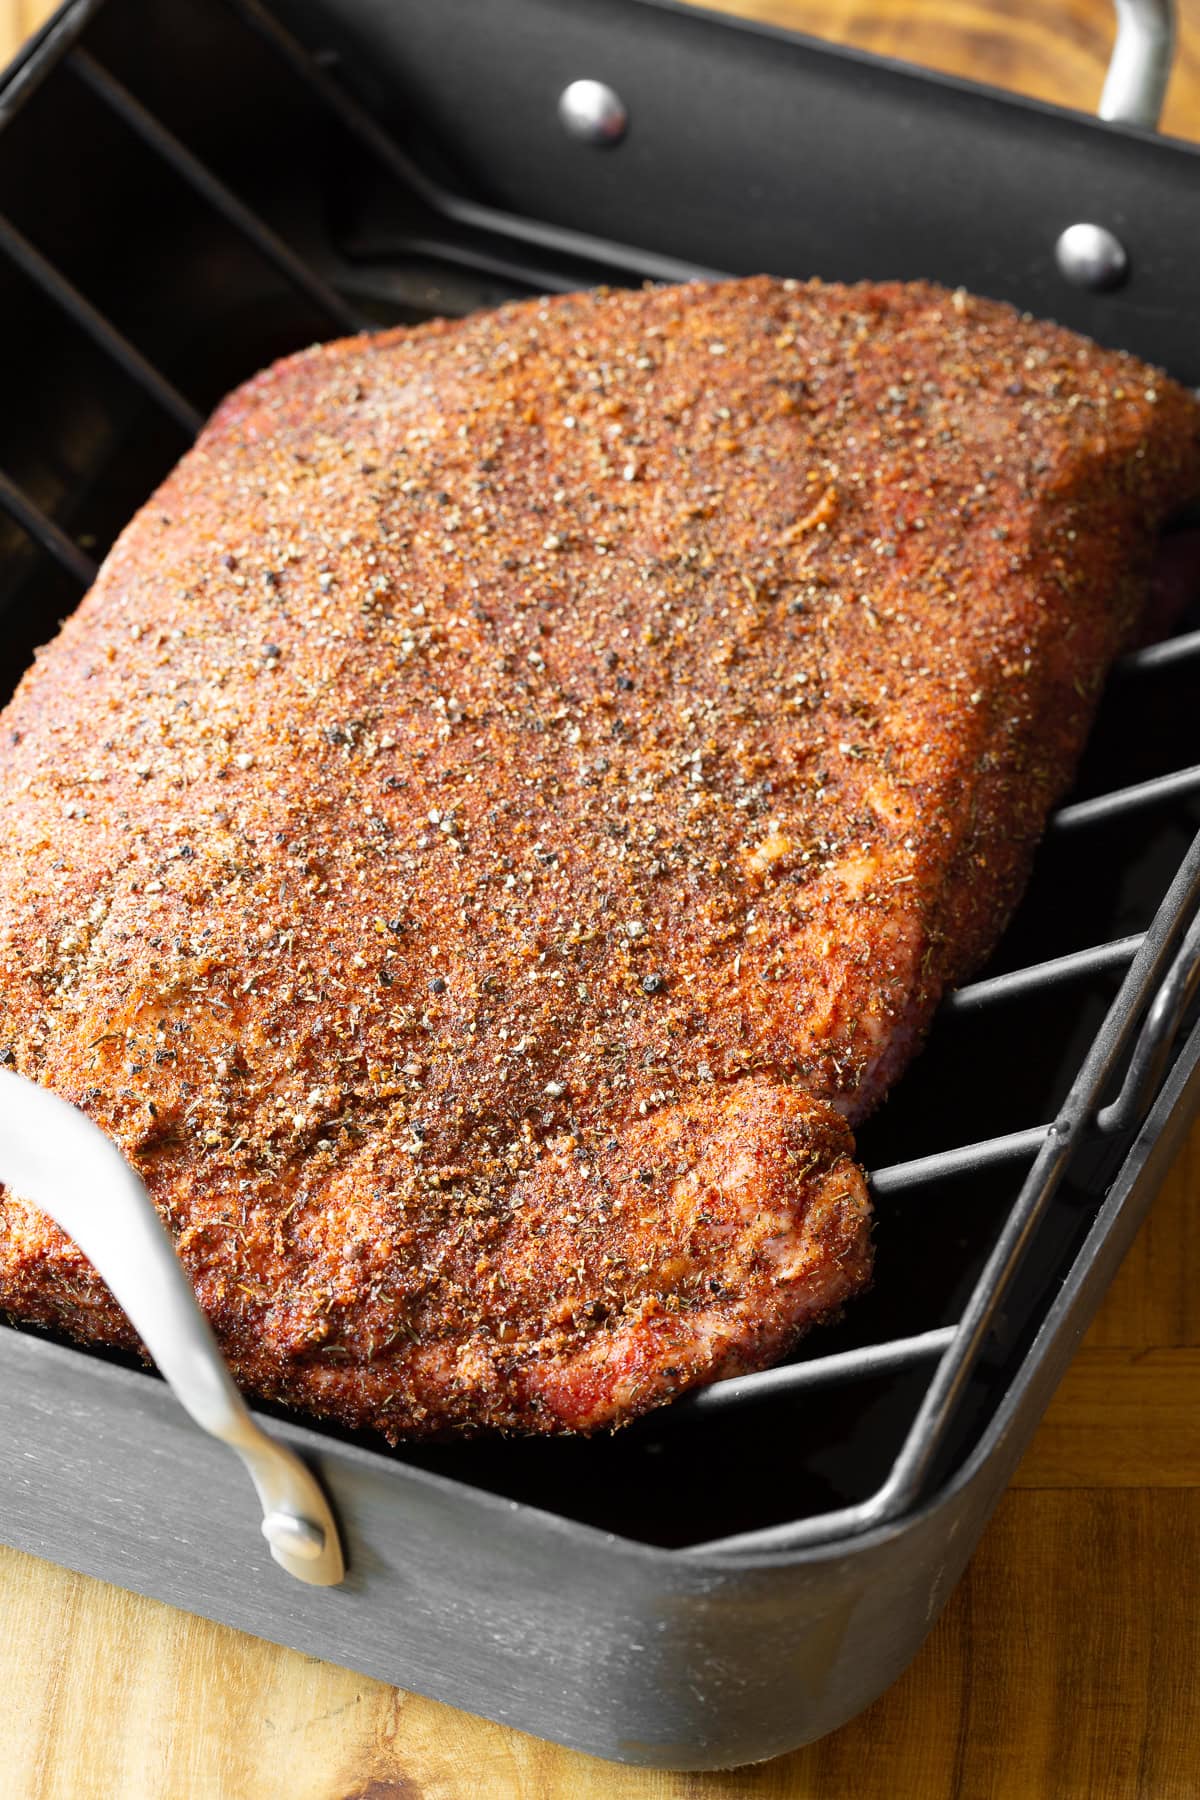
Get the brisket ready to roast – Next, I place the seasoned brisket on the wire rack, keeping it elevated above the liquid. I insert an oven-safe meat thermometer into the thickest part of the meat, making sure the tip isn’t sitting in a pocket of fat. Then I cover the roasting pan tightly with aluminum foil to trap the moisture and heat inside.
If I’m using a thermometer with a wired probe, I run the wire out the side of the pan. For a traditional oven-safe dial thermometer, I position it so I can read the temperature through an opening in the foil. The important thing is to keep the pan as tightly covered as possible.
Roast low and slow – I now place the brisket in the oven and let it slowly roast until the internal temperature reaches 175°F. This is where patience pays off! Brisket is a tough cut of beef, and cooking it at a low temperature gives all that connective tissue time to break down.
Uncover and finish roasting – Once the brisket reaches 175°F, I remove the foil and continue roasting until the internal temperature reaches approximately 195°F. Uncovering it for the final stretch helps develop a darker, more flavorful crust. The entire process usually takes about 5-6 hours, depending on the size and thickness of the brisket and your oven… But it can take longer. I also check for tenderness. A probe should slide into the thickest part with very little resistance. If it’s still tough at 195°F, I usually give it a little more time.
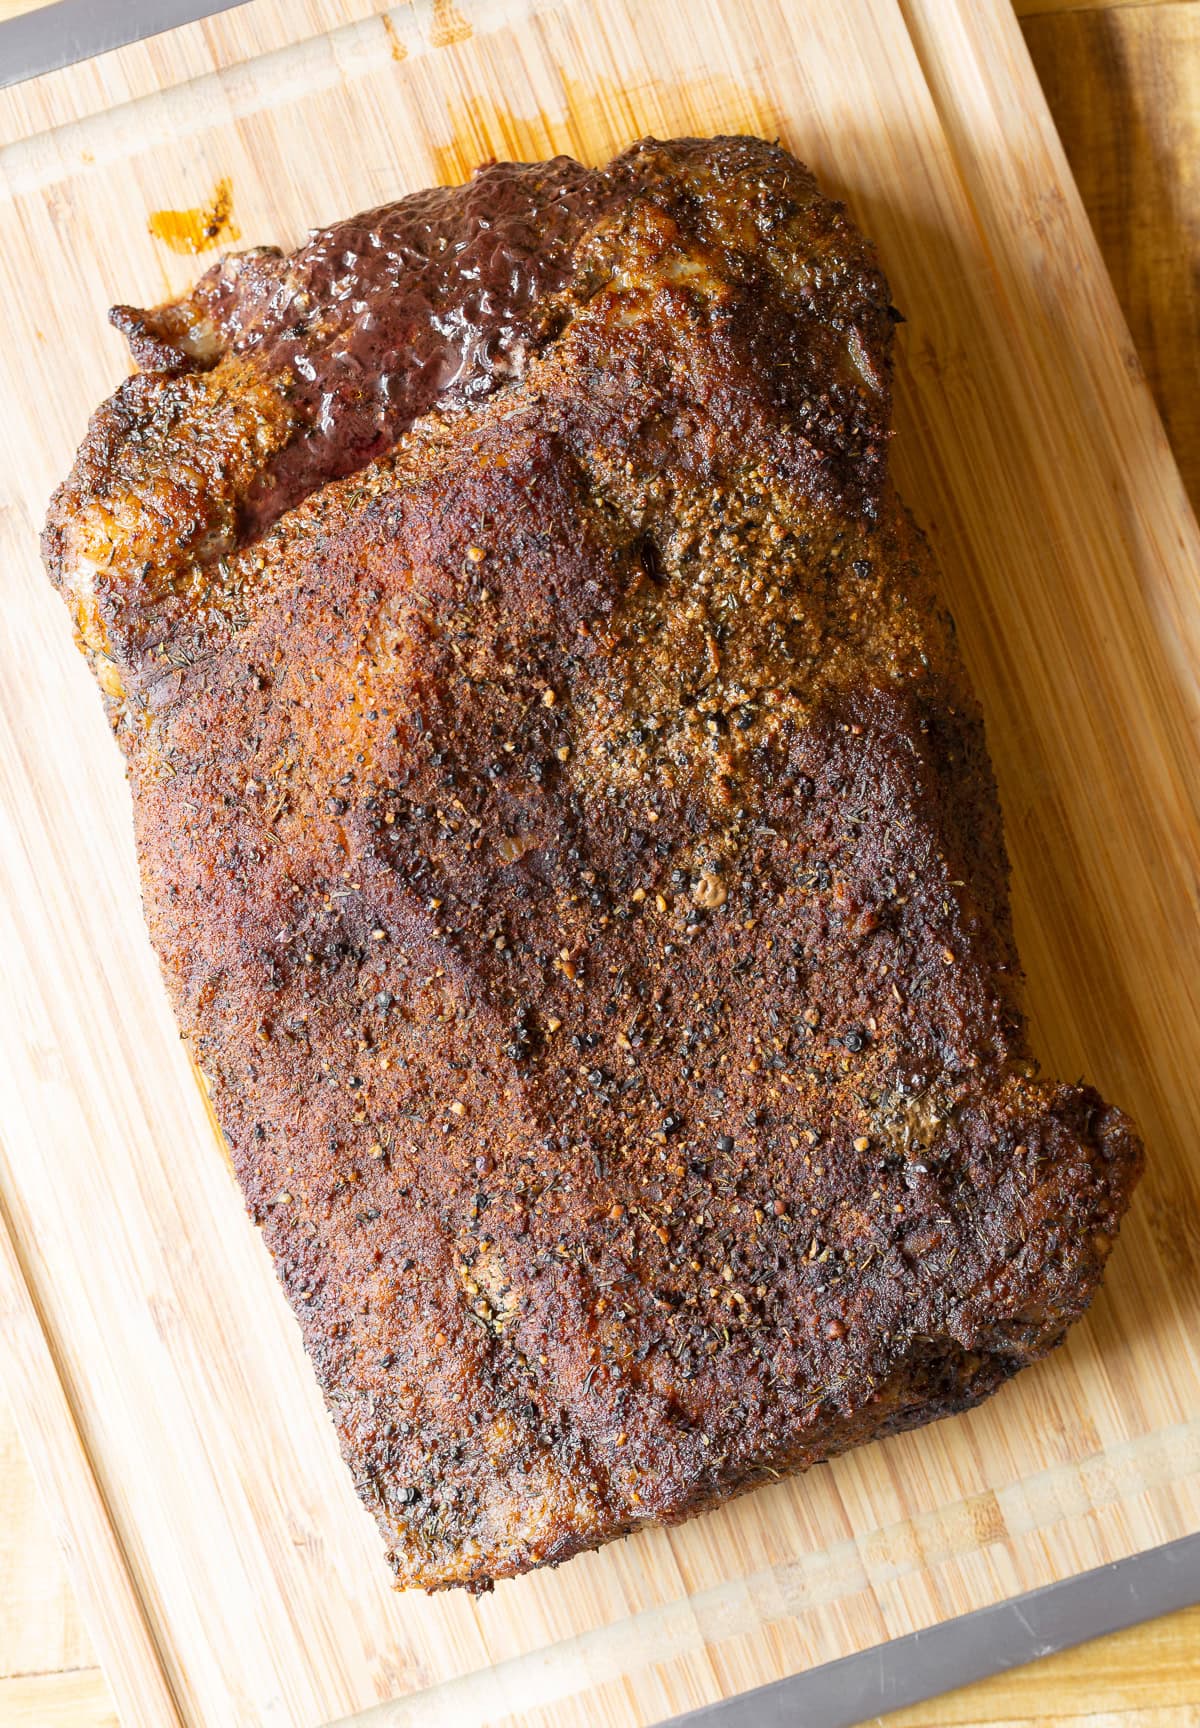
Let the brisket rest – When my brisket is done, I take it out of the oven and loosely cover it with foil. Then I let it rest for a about 30 minutes before slicing it. Don’t skip this step! Resting gives the juices time to settle back into the meat, so they don’t all end up on your cutting board.
Slice and serve – Finally, I slice the brisket thinly against the grain. This is especially important with brisket because cutting across the long muscle fibers makes each bite much more stretchy and tender. Then I serve it warm with my favorite barbecue sides.

Expert Tips
If you have an oven with a build-in thermometer, run the wire out the side of the pan. If you are using a standard meat thermometer, insert it into the brisket, through the foil, so you can see the reading.
Do not be tempted to raise the temperature for faster cooking time, or your brisket will be very tough. Slow oven roasting allows the fats to break down gradually, tenderizing the beef, so it has a stretchy, juicy quality in the end.
To serve as a saucy BBQ brisket: Let the brisket rest for 30 minutes before slicing into it. Then place the sliced pieces into a baking dish with warm BBQ sauce in the bottom. You can warm up the sauce in the oven or on the stovetop. After placing the sliced pieces of brisket into the baking dish with sauce, allow people to serve from the baking dish to get some of the sauce with the brisket!
Some people cook their brisket without a dry rub, which is perfectly fine, but it won’t have as much flavor! If you are worried about your sodium intake, you can reduce the amount of salt in the dry rub and serve with a low-sodium BBQ sauce for extra flavor!
Serving Suggestions
This recipe is perfect for parties or for feeding a large family. It will also leave your house smelling like mouth-watering smokey brisket! I like to serve it with some of my favorite sides:
- Mashed potatoes and gravy
- Homemade mac and cheese
- Baked beans
- Mashed sweet potatoes
- Roasted okra
- Collard greens
- Potato salad
This Texas sliced beef also pairs well with this creamy ranchero sauce! Give it a try! Or try my crock pot brisket sandwiches recipe and our smoked dry brine brisket recipe for more great sharing options.
Storage
Refrigerate – I like to keep leftovers in larger pieces rather than slicing it all at once. This helps the meat retain its moisture so it doesn’t dry out in the refrigerator. Place the brisket in an airtight container with some of the cooking juices and refrigerate for up to 3-4 days.
Freeze – Brisket freezes beautifully, making it a great recipe to prepare ahead! I wrap cooled portions tightly in plastic wrap, then place them in freezer bags with a little of the cooking liquid. Freeze for up to 3 months for the best flavor and texture.
Reheat – My favorite way to reheat brisket is low and slow, just like I cooked it! I place the meat in a baking dish with a splash of beef broth or reserved cooking juices, cover tightly with foil, and warm it in a 250°F oven until heated through to 165°F. Keeping it covered, and it will reheat much faster than the original cook time.
Frequently Asked Questions
You need to allow the brisket to rest for at least 30 minutes after taking it out of the oven to let the juices fully redistribute. If you cut into it sooner, the juices will pour out of the beef, and the meat will be drier because of it!
Yes and no. If you rub the brisket with the spice rub and immediately place it in the oven, it’s just a brisket rub. It will flavor the exterior of the meat and the spices will penetrate a little way into the beef.
However, if you take the time to dry rub the brisket the night before baking (or even several hours before baking) and then place it in the refrigerator, this is considered a brisket dry brine. The salt and other seasonings have time to truly work their way down into the center of the beef.
Pro Tip: If time allows, always dry rub the brisket several hours before placing it in the oven.
Because brisket is a tougher cut of meat, it must come to a higher temperature internally before the fats start to break down and tenderize. You could technically take the brisket out of the oven at 175 degrees F and it will be cooked, but if you want to get the traditional brisket stretch in each slice, you need to allow enough time for the brisket to reach 195 to 200 degrees F.
A good rule of thumb is to cook your brisket 60 minutes per pound at 250 degrees F. So if you have a 3-pound brisket, you cook it for about 3 hours.
HOWEVER… Many different factors can throw this estimate off, including your oven, the shape of the brisket, the type of pan you use, how tightly you wrapped the foil over the pan. So, make sure the internal temperature of the brisket is 195 degrees F before removing it from the oven. And give yourself a little extra time!
Help Me Spread the Word about this Fabulous Free Recipe! Sharing this recipe link on Pinterest and Facebook is super impactful, and I greatly appreciate it! Find the share buttons below the recipe form.
More Beef Recipes


Brisket in the Oven
Ingredients
- 5-6 pound boneless flat-cut beef brisket (not corned beef brisket)
- 2 tablespoons sea salt
- 2 tablespoons brown sugar
- 1 tablespoon chili powder
- 1 tablespoon paprika
- 1 tablespoon dried mustard
- 1 tablespoon garlic powder
- 1 tablespoon onion powder
- 2 teaspoons dried thyme
- 1/4 cup liquid smoke, any variety
Instructions
- Preheat the oven to 250 degrees F. Pour 3 cups water into the bottom of a large roasting pan with a rack and add the liquid smoke.
- In a small bowl, mix the salt, brown sugar, and all remaining spices until well combined. Rub the spice blend over the entire surface of the brisket and lay the brisket on the wire roasting rack. Insert an oven-safe meat thermometer into the thickest part of the brisket and cover the roasting pan tightly with foil. *If you have an oven with a built-in meat thermometer, run the wire out the side of the pan. If you are using a standard meat thermometer, insert it into the brisket, through the foil, so you can see the reading.
- Slow roast in the oven until the internal temperature reaches 175 degrees F. Then remove the foil and continue roasting until the internal temperature reaches 195 degrees F. Depending on your oven, and where you inserted the meat thermometer, this process may take 5-6 hours.
- Take the brisket out of the oven and allow it to rest for 30 minutes before serving. Cover it loosely with foil to help retain the heat. Cut the brisket across the grain into thin slices, and serve warm.


This was my first time cooking a 9LBS brisket. It only took 6 hours and the roast is so tender and taste amazing. I didn’t use the brown sugar in the rub. I hit the meat with about 10 min of high broil to give it a hardened outer crust. I also made a pan gravy out of the drippings. This is going to be one of my keepers for sure!
Did it take 9 hours to cook?
At what temp. Did you cook it?
I am going to do a 10 pound, an needed to no the temp. To cook it at. Appreciate your time.
The flavor was AMAZING it took EIGHT HOURS to make this. Please let people know that brisket reaches a stalling point and then stops cooking at the same pace as before. No brisket can ever be made in 2 hours. Our 2.6 pound brisket took 8 hours in the oven at 250 degrees. The flavor was amazing…the time was not.
Thank goodness I had skirt steak to have for dinner 6 hours earlier.
Thank you for the tip! I thought my 3lb brisket would be done and 6 hours later…..nope.
Good thing we have left overs!
We had a 6.42lb brisket that cooked in 2hrs 40 mins, internal temp 170+.
Shape seems to be key, as well as the rack you use. We used an elevated rack that we think cooked it quicker, and made it tough – very tough. Make sure you use a rack in the pan that keeps the brisket just above the liquid in the pan.
The rub is good, but if you have a thinner cut of brisket (2-4 inches thick), be mindful that it may be better to put the temperature at 200 degrees to cook it for longer.
I have a 1 1/2 lb. flat cut. Any tips and how can I reduce the quantity of ingredients in the rub ? Thanks, sounds good .
Would add to the video that the brisket will most likely need trimming unless you have the butcher do it for you. The hard fat that is usually on a point piece needs to be removed as it will not render. Also silver skin should be removed to allow the spices to adhere. When rubbing the brisket, shake off the excess rub and allow it to sit and absorb for at least 30 min. The final temperature of 168F seems low, as the meat would still probably be a bit tough and the fat would just be starting to render. Typically an internal temp of 195F is what I do on my smoker. (Oven might be different as I’m just trying the recipe. Also, please cut against the grain of the meat. That allows the slices to cut and bite properly. Hope this helps!
If you want tasty brisket, DO NOT TRIM THE FAT BEFORE YOU COOK IT. You can always trim it later after its done cooking. I have been smoking briskets over wood for 25 years and although I will probably not use this recipe because its in an oven, the recipe is great if you don’t have access to a smoker. The fat in the briskets have always rendered, even the hard fat. You want that fat to make a tender brisket when you are done. Remember to cook with the fat side up folks!
I’ve been trying to make a tender Texas oven brisket for years, and Spicy Perspective helped me nail it! Thank you so much! But let me tell you how I tweaked it, and I made it twice in 2 weeks and both times it turned out perfectly. (BTW, I’m sharing it with others during this Covid—19 pandemic, and it makes a ton of good meat.)
I used a large, heavy-duty foil pan lined with a large piece of heavy duty foil, and made 6 medium-sized balls of foil to act as a “rack” for the meat. The spicy rub mixture is wonderful, so after I dry off the raw brisket with paper towels, I rub in that mixture on the meaty side of the brisket, then place that bad boy on top of the foil balls, fat side down. Yes, fat side down. Inside the sheet of foil, I poured in the water and liquid smoke as described in the recipe, then wrapped the meat up, leaving some puffy space on top of the meat for the air to circulate. Lastly, I add one more layer of foil over the entire top of the pan and tightly press the edges around the pan perimeter, again leaving the top puffier to let the air circulate. But all edges sealed up well. Here’s the crazy part but it works: for a 14-pound brisket, I baked it in my pre-heated 250 degree oven for 18 hours! The first brisket I tried with this recipe was smaller, but I still baked it around 14 hours. An important tip: after taking the brisket out of the oven, leave it sealed up around 20-30 minutes on the counter before unwrapping the foil. Then, it’s ready to transfer to a cutting board, but you’ll need 4 hands with big utensils to safely transfer it over because it might fall apart, it’s so tender! Thank you, Spicy Perspective! I spent $44 on this piece of meat, and you helped me make it right! I’ll try to attach a picture to this review. Happy Brisketing!!
I’m making this tomorrow using a 7 lb brisket. So you wrapped the brisket in foil and then wrapped the brisket and pan as well? Did you bake at the end without the foil at all? Thanks!
I found out best way was to use a oven bag what you use to cook a Turkey
Also, what made you bake fat side down?
Looking forward to this recipe. Putting 13 lb brisket in the oven now. 250 degrees. Fat side down. Foul balls under the rack double wrapped in foil.
Delicious and easy to do! I followed exactly – all at my Super Bowl party loved it! I’m not much of a meat eater and don’t even own an outdoor grill. The meat had a great flavor!
My brisket was 2.64 lbs. I started cooking at about 1pm. It reached 155 degrees, and I took off the foil, but by 9 it hadn’t reached 168. The closest I could get it was 164. I decided, at this point, I had to take it out. It was good and the bark was nice but I’m not sure it should have been in the oven for 8 hours. Why couldn’t I get the temp up t 168? I even stuck an oven thermometer in the oven to make sure the oven temp was correct. I used an electronic probe thermometer that gave me readings through my phone. More well done than medium well but feel I should have pulled out sooner even though temps never reached those posted in the Instructions.
So, when you’re cooking brisket it goes through a process called the ‘stall’ where internal moisture starts evaporating and this cools the brisket down. The brisket will get through this and continue rising in temperature, but it has to get through the stall first. Generally, the stall varies by how hot you’re cooking the brisket. At 225-250 it might take up to a couple HOURS to get past it. At higher temps, under 30 minutes or so.
I made this brisket on Christmas. It was delicious! I had a 6 lb flat and a six lb point. I cooked the flat in the oven and the point in an elective roaster. They were both done in about 4 hours. I let them both rest about 1 hour then cut the flat into thin slices and put it in the smoke flavoring and pan drippings and kept in oven until ready to serve. I locked it up to 250 to get it hot again again and it was tender juicy and tasty. I took the point and shredded it. I put it in a covered oven pan with sweet baby rats and kicked it up from warm to 250 to hear it up for about 20 mins! Both the point and flat came out deliciously!
Will this recipe work in an electric toaster?
Hi Nini,
Oh wow, I’ve never tried that. If your toaster oven is large enough to hold a brisket and sturdy pan, I don’t see why not.
This recipe was pretty good. Turned out kind of dry but it was on my behalf. Great non overwhelming flavor! I’ll be using this more often! Thanks!
This was fantastic! I’ve never made a brisket before, and this did not disappoint. The flavor was great, and the cooking was so easy! The only changes I made were:
1. I put the rub on the night before, wrapped the brisket in foil, and let it sit in the fridge overnight.
2. I got it out the next day and let it come all the way to room temp before cooking.
3. I threw a sliced up onion and some garlic cloves on top of the brisket. They were yummy on their own!
The crazy thing was, I actually overcooked it (it got up to 207). I was worried it would be dry or tough because of this. It wasn’t! I did make sure it was tightly covered with foil, so that may be one reason why.
Will definitely make again! Thanks!
gonna try it.