

Turkey Brine Recipe
 by Sommer Collier — last updated on Sep 21, 2026
After making Thanksgiving turkey year after year, I’ve learned that a simple brine is one of my best tricks for avoiding dry, bland meat. My turkey brine recipe combines salt, sugar, and flavorful spices to help create an incredibly juicy, tender, and well-seasoned bird. It’s easy to prepare, and I’ve included my roasting method as well for a fool-proof Thanksgiving turkey from start to finish.
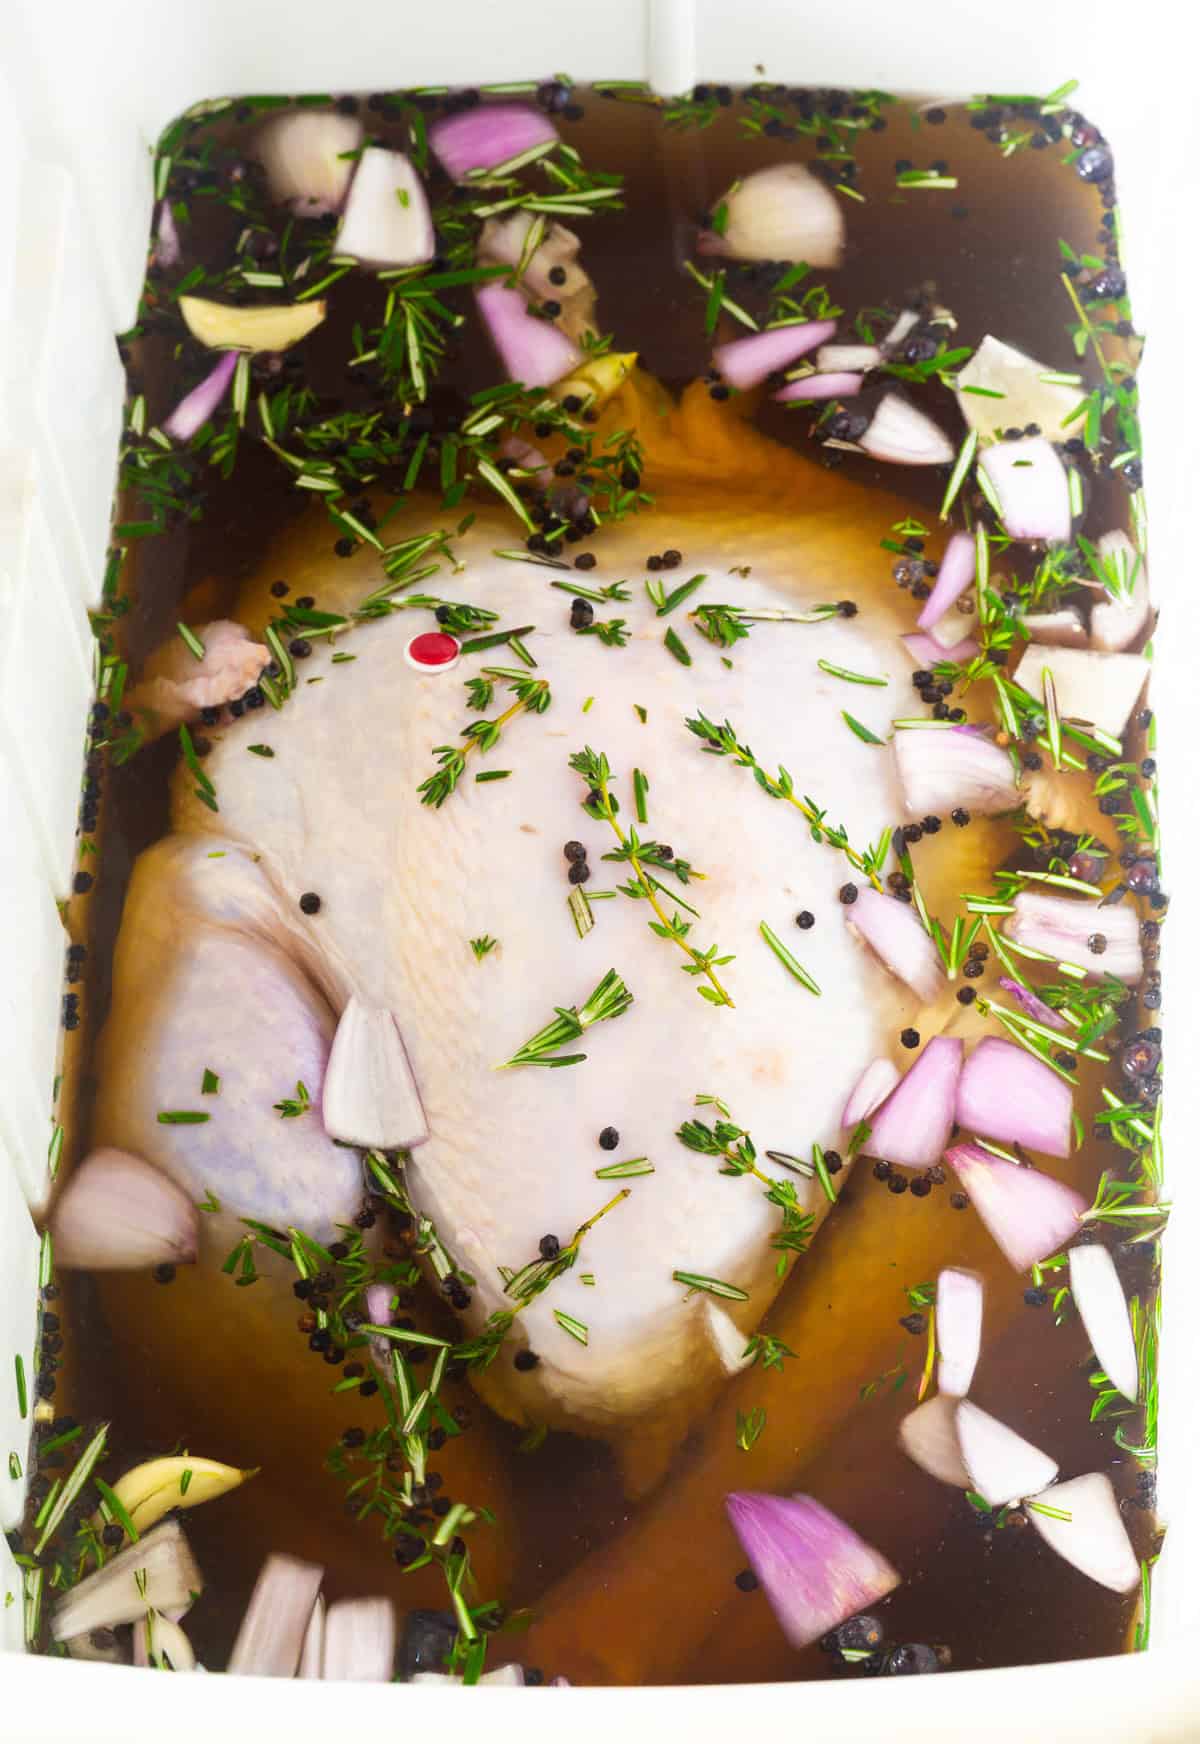
Every year around this time, I get questions about turkey brining. You ask me…
- Should I brine my Thanksgiving turkey?
- Does brining really make that much of a difference? What does it do to the turkey?
- How do you make a turkey brine?
- How long should I brine a turkey before cooking?
- What’s the easiest and cleanest way to brine a turkey?
- Does the turkey need any seasoning after brining?
- Can I take the turkey straight out of the brine and put it in the oven?
- What happens if you brine a turkey too long?
As you can see, it’s high time I wrote a post about turkey brine.
Today, I will try to answer all these questions as thoroughly as I can and offer simple roasting steps, so that this year you can serve the plumpest, most flavorful turkey you’ve ever roasted. (Or use this brine for my deep fried turkey recipe!) It’s perfect for Thanksgiving or any holiday gathering!
DC – ⭐⭐⭐⭐⭐ Love this recipe and have used it for years! I have found if you use the turkey sized oven bags and double them and seal them with small tie-wraps, you can put the turkey in the brine and keep the brine concentrated around the turkey and it keeps your cooler from smelling like brine when you’re done. Easier to keep ice on it, too.
Table of Contents

Sommer’s Recipe Highlights
Should I Brine My Thanksgiving Turkey?
In short, YES, you should always brine your turkey. It makes a huge difference in taste and texture, no matter how you season of cook it. I have heard many arguments over the years that brining isn’t worth the time and effort. Or that it doesn’t really enhance the flavor of the bird. But after roasting well over 50 80 turkeys in my lifetime, I can firmly state, brining makes all the difference.
In fact, every time I try a different method of preparing my turkey, I’m always disappointed. Always. In my opinion, a simple brined turkey, without any extra seasoning, stuffing, or glamor, is always the ultimate winner at any holiday gathering. After brining, you can roast it, fry it, or try my smoked turkey, and spatchcock turkey recipes.
What Brining Does To Turkey
Soaking poultry in brine does three things that improve the overall dining experience.
- Brining seasons the meat all the way through, not just on the surface, for the best possible flavor.
- Brining locks in moisture, plumps the poultry, and lightens the color of the meat, for the most tender juicy bite.
- The salt alters the skin quality, so it bakes to a crispy golden brown.
Pretty good results, don’t you think? I do.
What’s The Easiest Way To Brine A Turkey?
Honestly, I find brining a turkey to be a life-saver several days before Thanksgiving or Christmas. After all, refrigerator space is limited, so I want to make room for other items by moving the turkey out.
Therefore, I always brine the turkey in a cooler. I wash the cooler. Mix the brine in it. Then submerge the turkey in the brine and cover it with ice. It can stay in the cooler for several days, leaving more room in the fridge for pies and side dishes. You can even dry the turkey in the cooler, resting on ice.
When I’m done with the cooler, I simply dump the brine in the garden, spray the cooler with a disinfectant kitchen cleaner, and spray the cooler out with the hose. Simple.
If you don’t have a cooler or don’t want to use a cooler, you can use a very clean bucket or a large pot. You can also line them with XL plastic brine bags to eliminate the bucket cleanup. These will have to fit into the fridge while you are brining the turkey, though!
Key Ingredients and Tips
Brine in its simplest form is just water and salt. However, my best turkey brine recipe offers a little more flavor from sugar, herbs, and spices. You simply mix the salt with warm water so it dissolves into the water. Then add in any additional ingredients.
- Warm water – I use about a gallon of warm water as the base of the brine, adding a little more if needed to completely submerge the turkey. The water should be warm enough to dissolve the salt and sugar, but the brine needs to be completely cooled before I add the turkey.
- Brown sugar – I love adding brown sugar to balance the saltiness of the brine with a subtle sweetness. It also helps encourage that gorgeous golden-brown color on the turkey skin as it roasts.
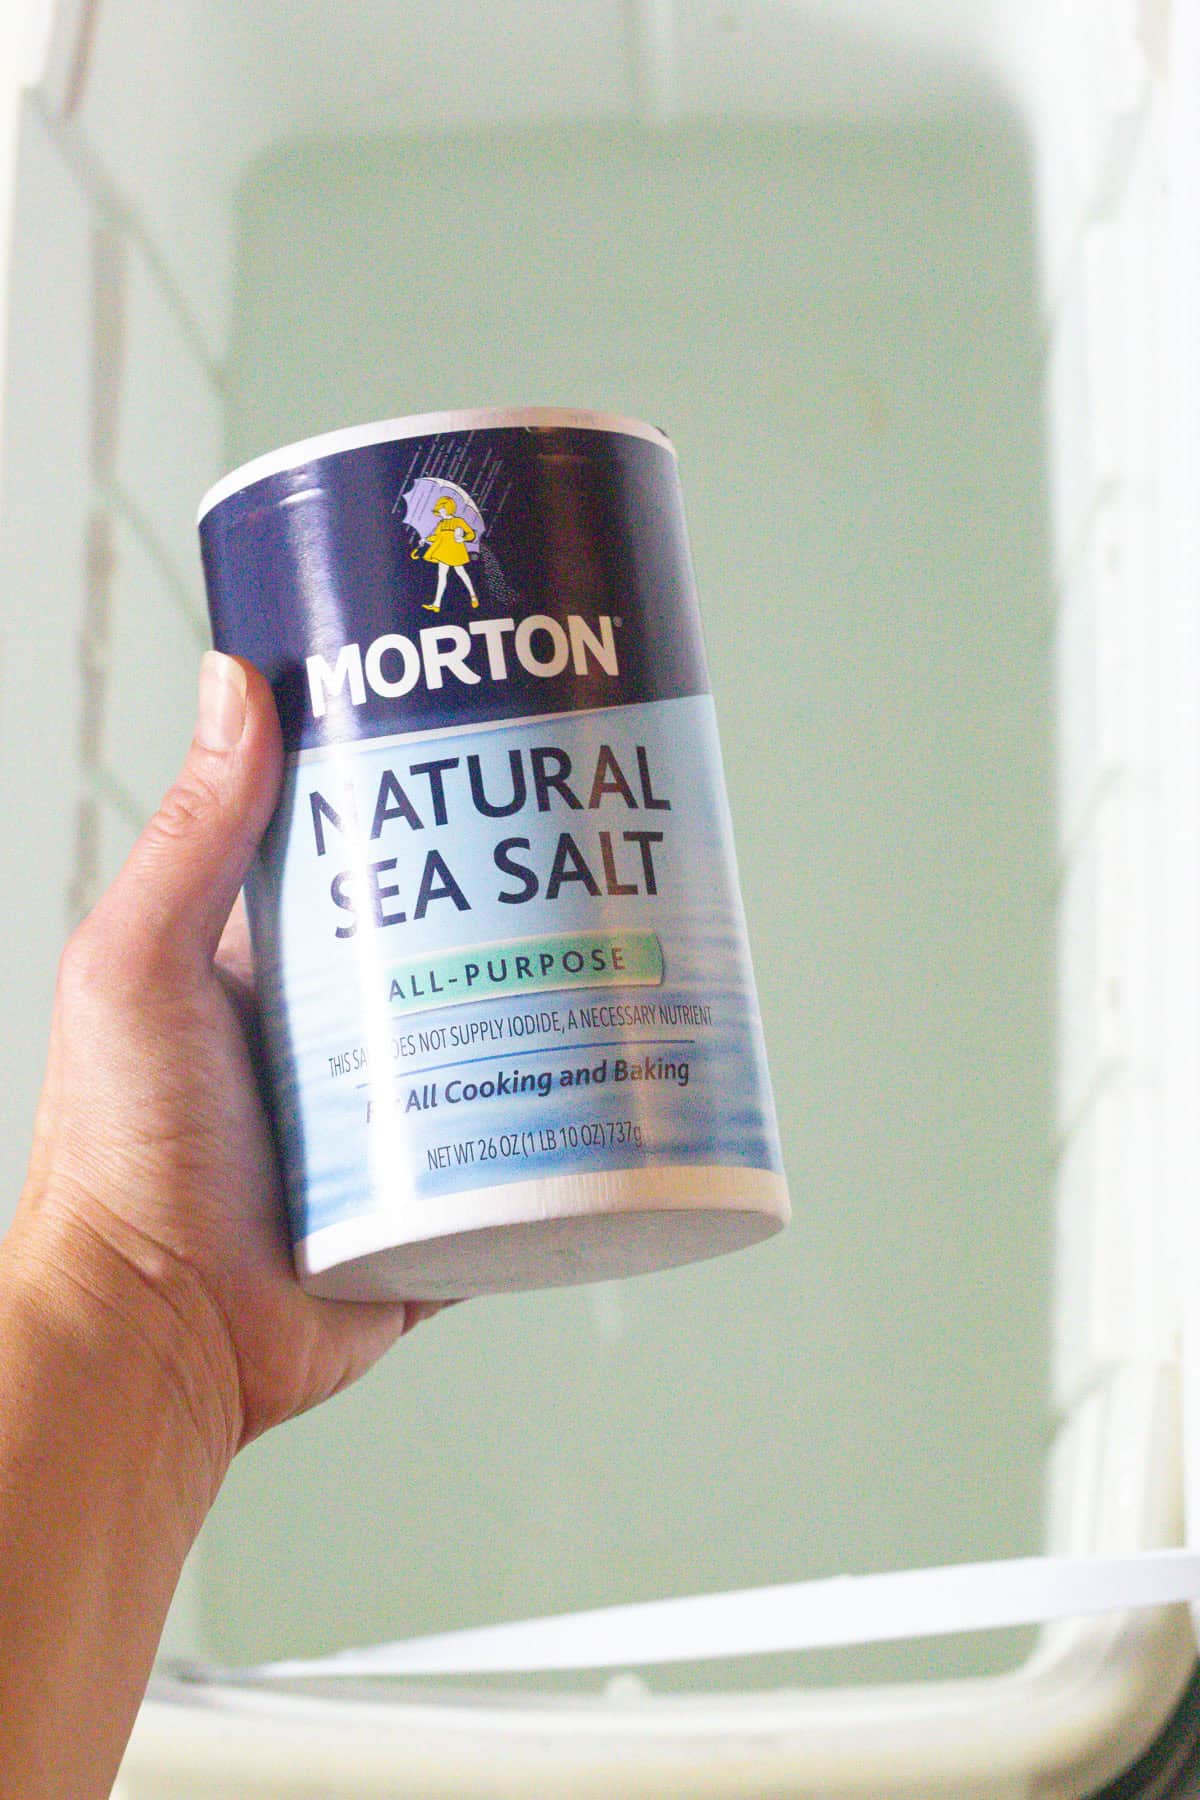
- Sea salt – Salt is the most important ingredient in any brine because it seasons the turkey throughout and helps the meat retain moisture as it cooks. I use sea salt or kosher salt, but keep in mind that different types and brands of salt can measure differently by volume.
- Shallots – I roughly chop the shallots so they can release plenty of flavor into the brine. Sweet onion is an easy substitute if that’s what I have on hand.
- Garlic cloves – I simply smash the garlic cloves rather than finely chopping them. This opens them up enough to infuse the brine with plenty of savory garlic flavor.
- Whole peppercorns – Whole peppercorns add a subtle peppery bite without making the brine overly spicy. I prefer them over ground pepper because they’re easy to strain out later.
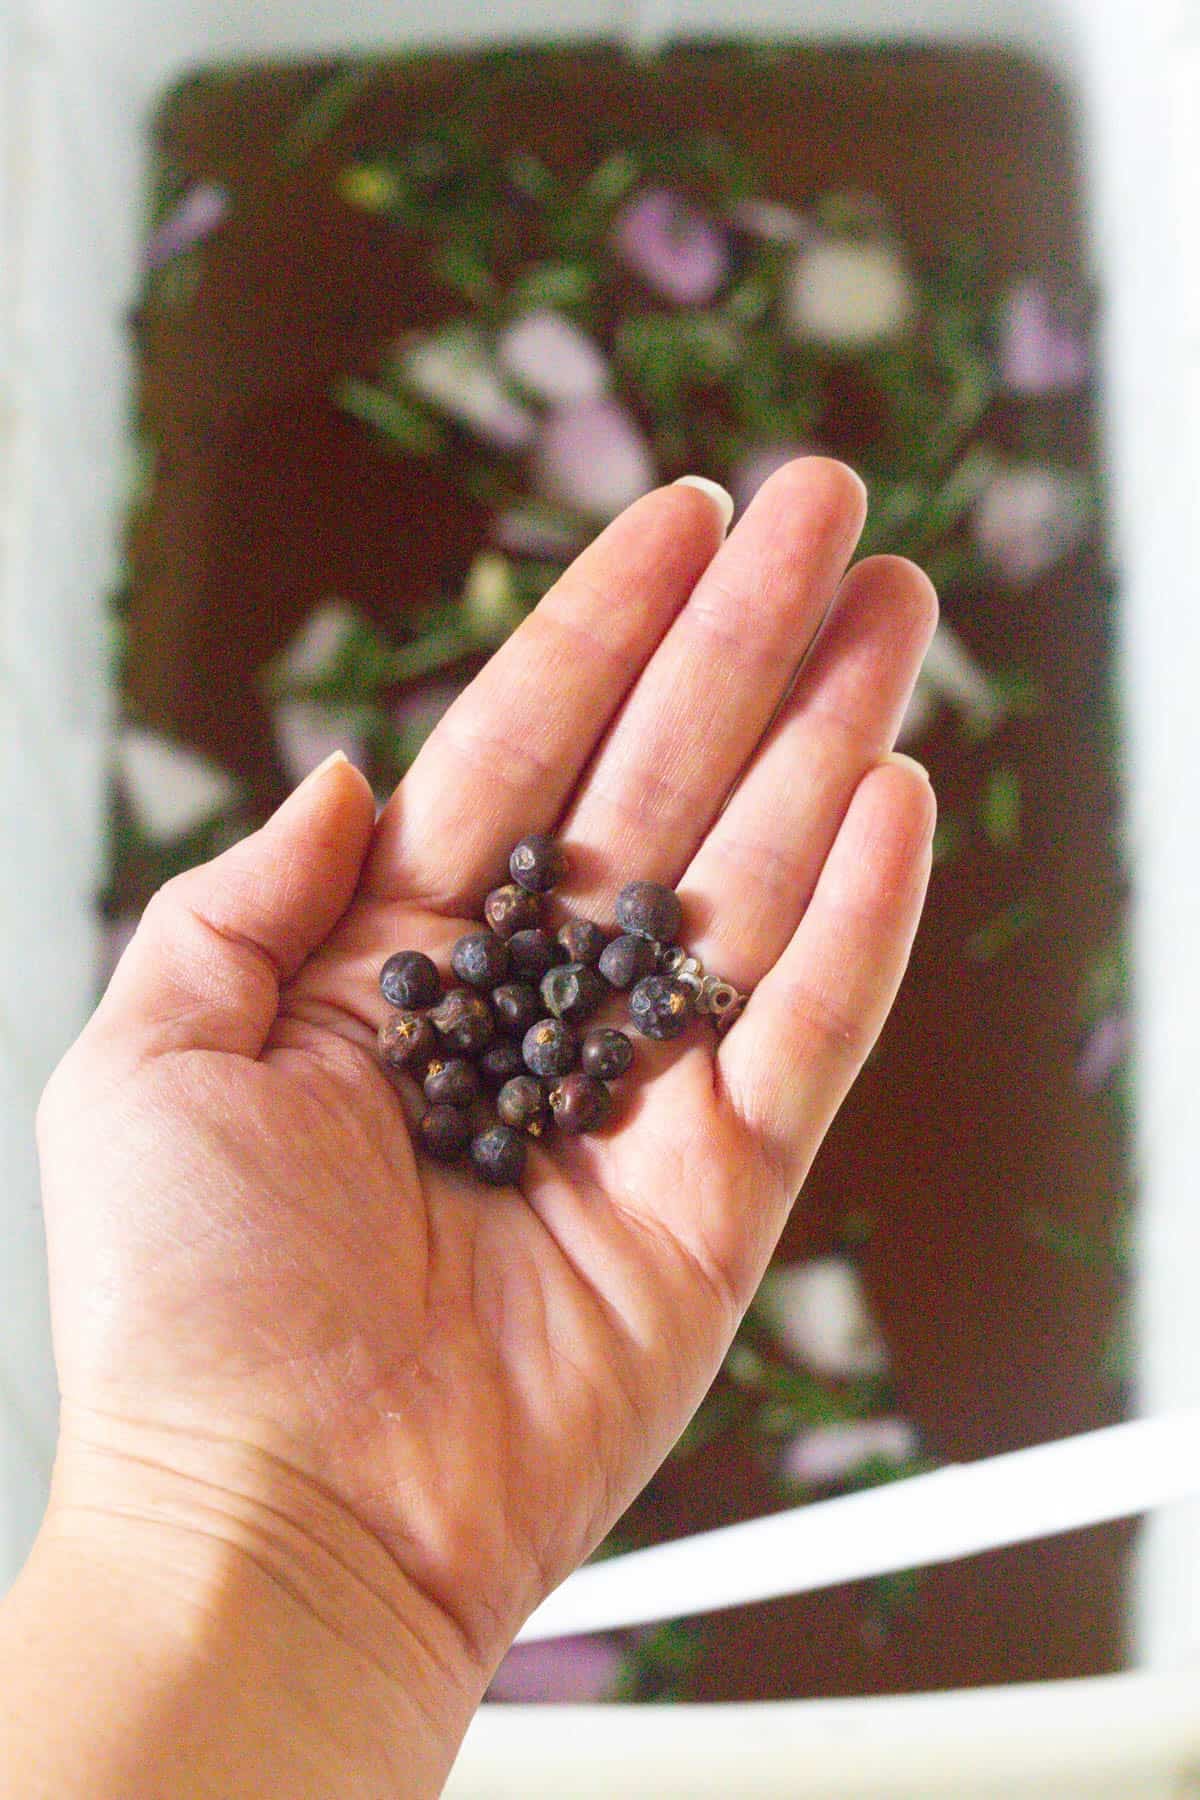
- Dried juniper berries – These are optional, but I love the woodsy, slightly citrusy flavor they add to turkey. If I can’t find juniper berries, whole allspice berries are a great alternative with a warmer spice profile.
- Fresh rosemary – Rosemary adds that wonderfully fragrant, woodsy flavor that pairs so well with roasted turkey. I roughly chop it to help release its aromatic oils into the brine.
- Fresh thyme – Fresh thyme brings a softer earthy, savory note that complements the stronger rosemary beautifully. I add it right along with the other aromatics so the turkey gets layers of herb flavor while it brines.
Oh, and don’t forget the turkey! I always make sure to thaw it (if needed) a day or so before brining.
How To Make
Find the full recipe with ingredient proportions, detailed instructions, and a video tutorial in the printable form at the bottom of the post.
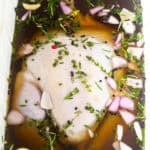
Make the brine – I pour 1 gallon of warm water into a clean food-safe bucket or cooler. Then I add the brown sugar, salt, shallots, garlic, fresh herbs, and spices and stir really well until the salt and sugar have completely dissolved. I use warm water because it makes dissolving everything much easier, but I make sure the brine is completely cold before adding the turkey.
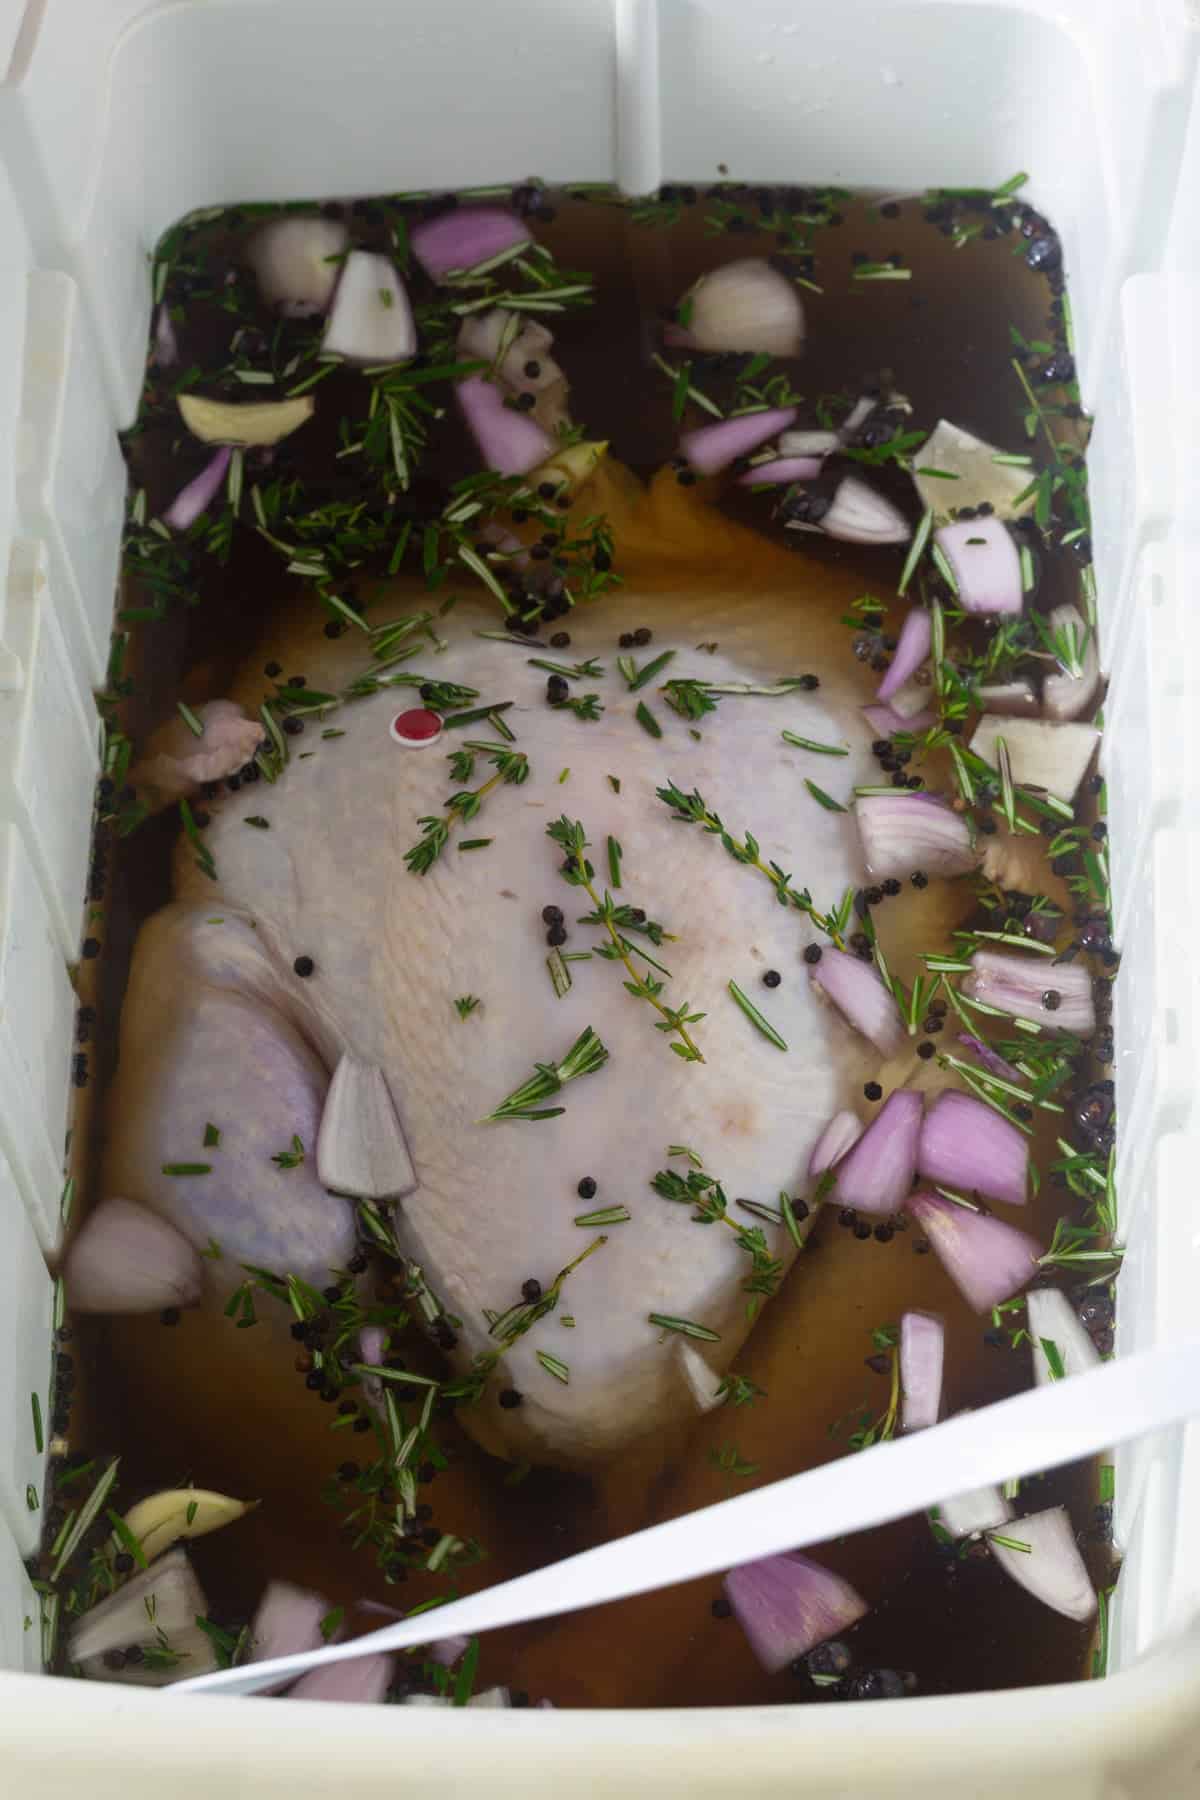
Submerge the turkey – Once the brine is cold, I carefully lower the turkey into it and add about another ½ gallon of cold water, or however much is needed to completely cover the bird. The important thing is to keep the entire turkey submerged so it brines evenly.
Keep it cold while brining – If I’m using a bucket, I cover it securely and keep it refrigerated the entire time. If I’m using a cooler, I pack it with plenty of ice and monitor it to make sure the turkey and brine stay at 40°F or colder. Food safety is especially important when you’re brining for more than a day.
Adjust the brining time – I base the brining time on the size of my turkey. For a bird that’s 15 pounds or smaller, I brine it for about 24–36 hours. For a turkey larger than 15 pounds, I may let it brine for up to 3 days. If I want to brine a smaller turkey longer, I reduce the salt to about ½-¾ cup so the meat doesn’t become overly salty.
Dry the turkey really well – When I’m ready to roast, I remove the turkey from the brine and let it drain, then place it on a rack. I pat the entire bird thoroughly dry with paper towels and refrigerate it uncovered for at least a couple of hours. If I have the time, I do this overnight. This is one of my favorite turkey tricks. The drier the skin gets before roasting, the crispier and more beautifully golden it becomes.
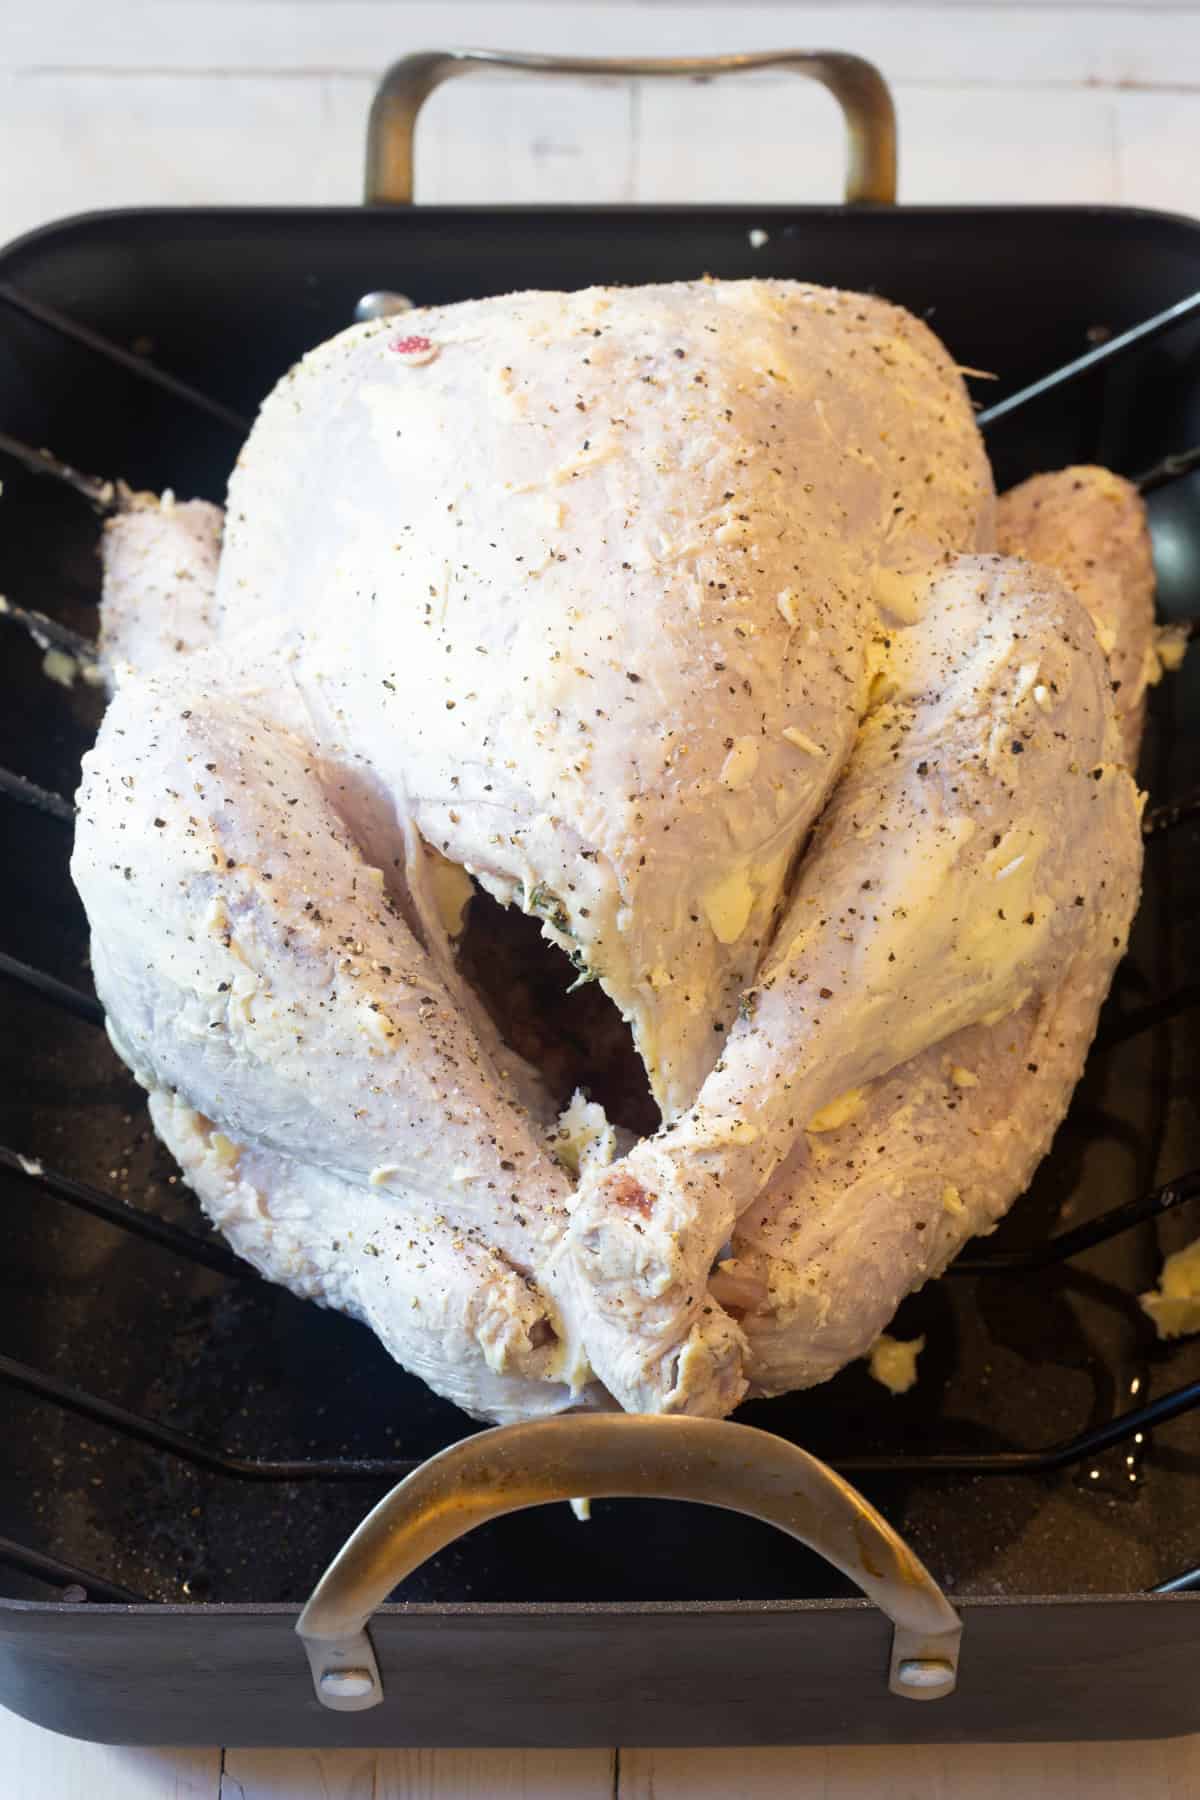
Butter the bird – Once the turkey is nice and dry, I generously rub softened butter all over the skin. Sometimes I tuck fresh herbs inside the cavity for a little extra aroma, but that’s completely optional. Since the turkey has already been seasoned through brining, I don’t add another heavy coating of salt.
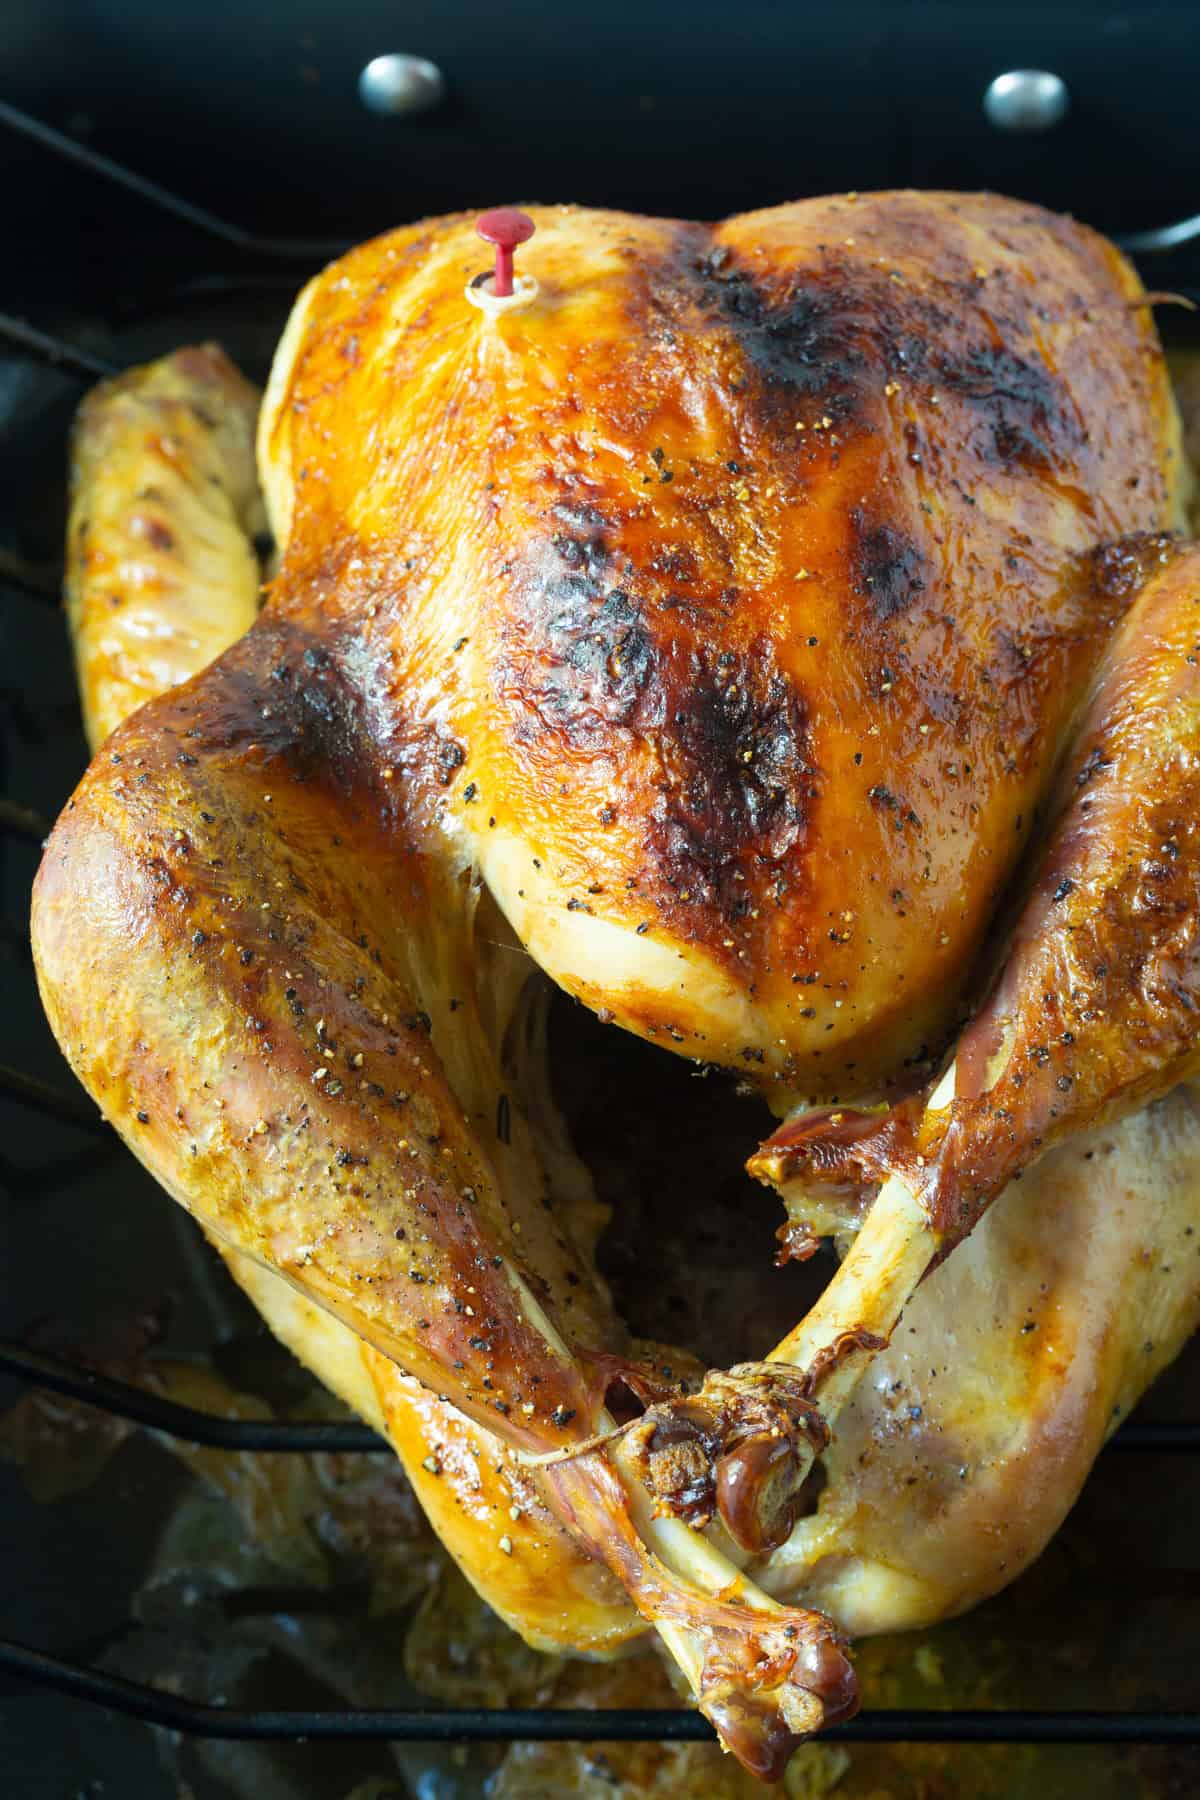
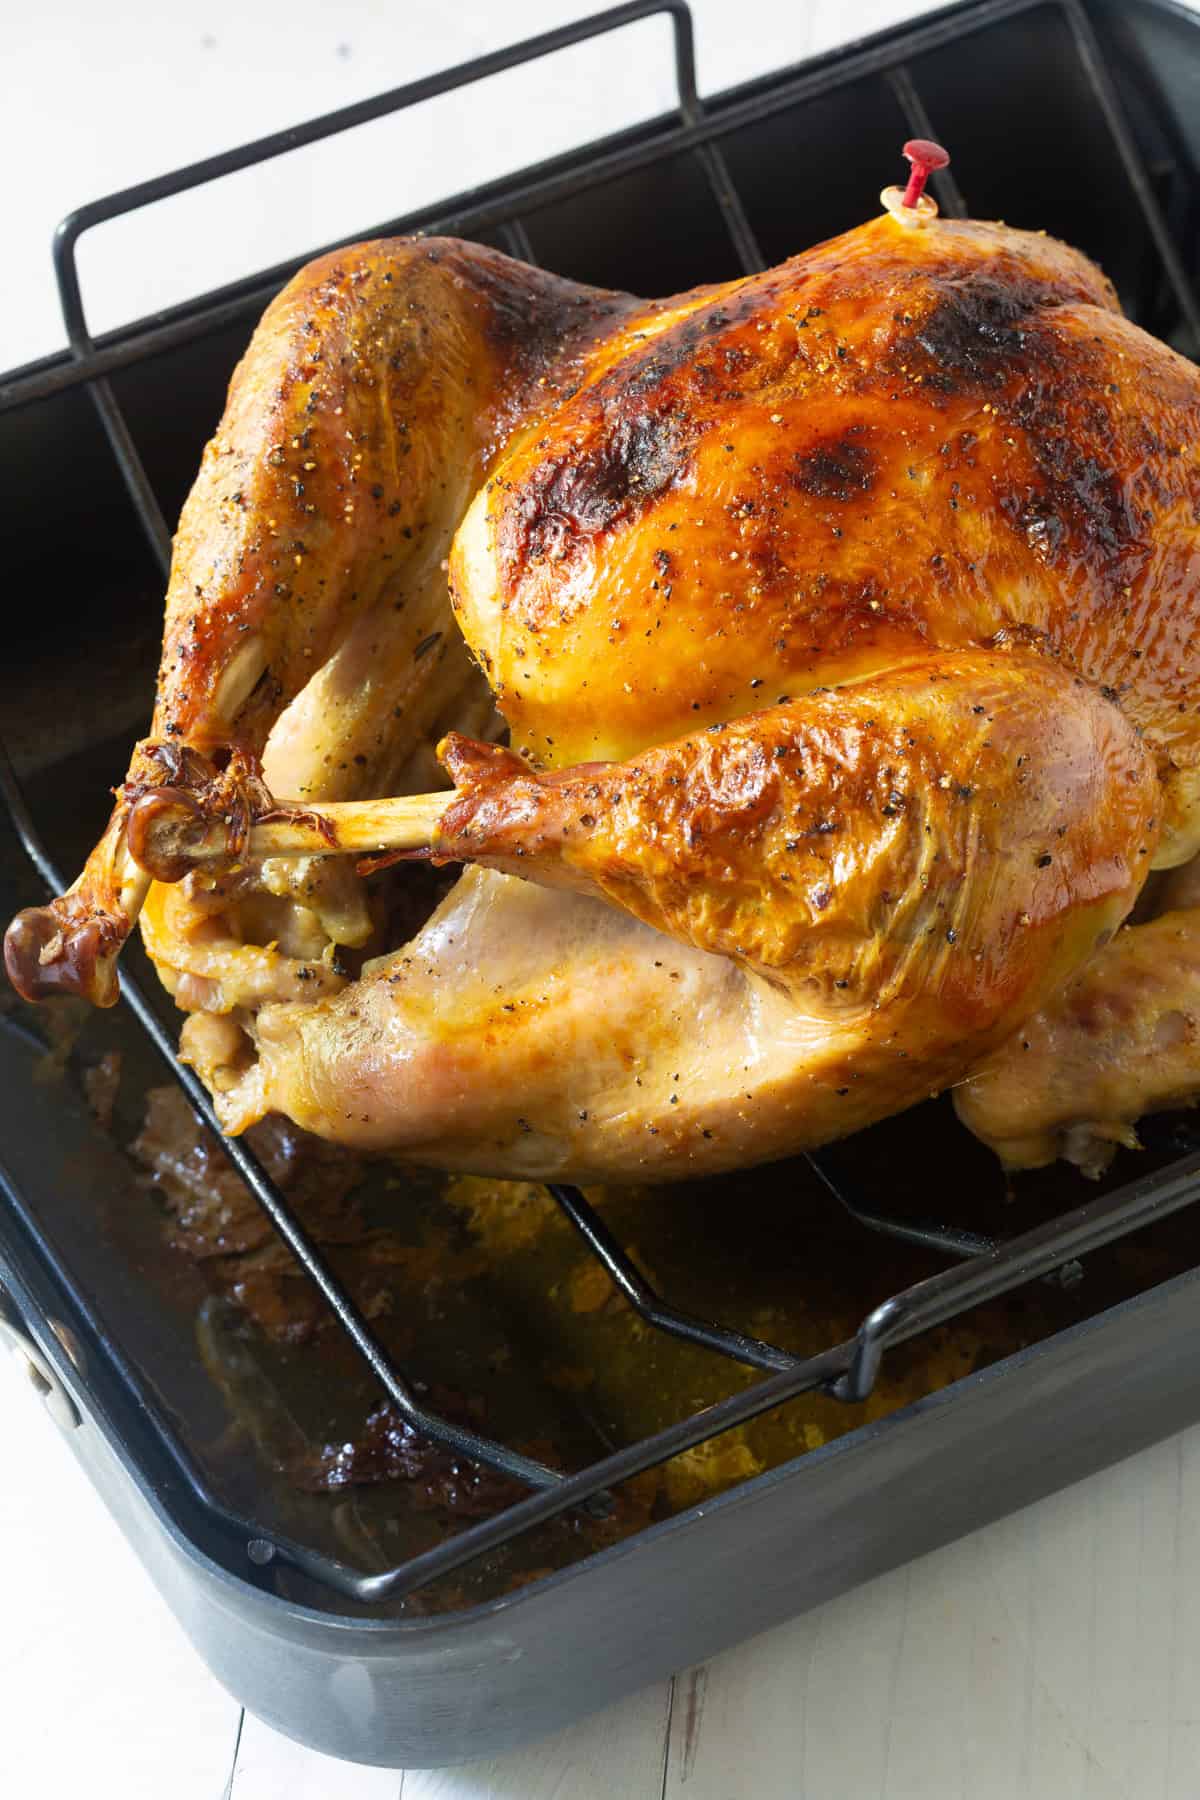
Roast the turkey – I roast the turkey at 325°F, using roughly 15 minutes per pound as a planning guide. I leave it uncovered initially so the skin can develop plenty of color, then loosely tent it with foil if it’s getting as brown as I want before the meat is finished. Rather than relying solely on the clock, I always use a meat thermometer to determine when my turkey is done. The thickest part of the breast should reach 165°F, and I also check the innermost thigh and wing area for a safe temperature.
Let it rest – Finally, I let the turkey rest for about 25 minutes before carving. Don’t rush this part! Resting gives all those flavorful juices time to redistribute throughout the meat, so they stay in the turkey instead of running all over the cutting board.
Expert Tips
- Don’t thaw a turkey on the kitchen counter! Whatever you do, don’t thaw a turkey on the kitchen counter. The turkey should always be thawed in the fridge, which can take several days. Once it is thawed, you can then brine the turkey!
- No need to rinse the Thanksgiving turkey prior to brining it! You can take the turkey directly from the packaging and into the brine, rinsing it will not do anything.
- Check the internal temperature of different parts of the turkey including into the thigh and the breast, using a meat thermometer! Poultry should be cooked to 165 F.
- Don’t skip the resting time! You absolutely have to let your turkey rest for at least 25-30 minutes before cutting into it. This will ensure the juiciest turkey!
Serving Suggestions
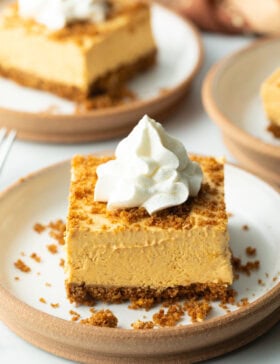
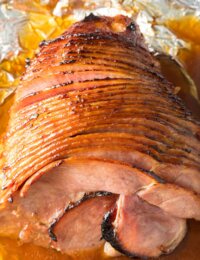
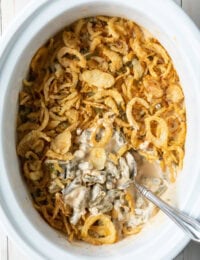
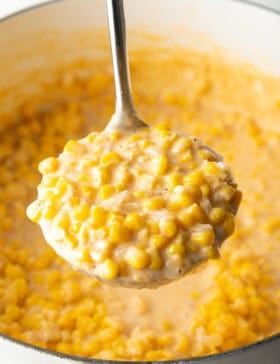
After you have roasted the turkey, you will want to serve it with all of your favorite holiday side dishes! Here are some of my absolute favorites…
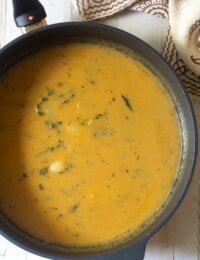
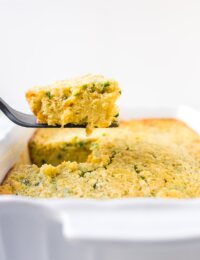



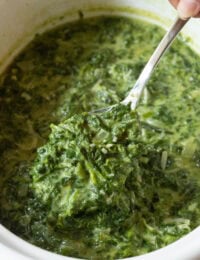
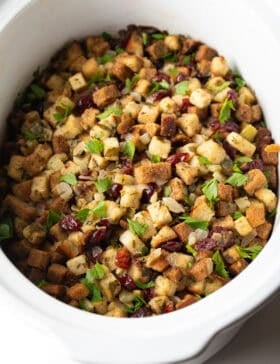








Frequently Asked Questions
This depends on the size of the turkey, and how much salt you add to the brine. The general rule is 1 cup of salt for each gallon of water. Then brine the turkey overnight. However, I find if you add a bit more water you can brine the turkey longer for a better overall bird. I like to brine a large turkey for 3 days, and I usually end up with about 2 gallons (some from the ice) of water in the brine to 1 cup of salt.
If a turkey is left in the brine too long it will absorb too much salt. Therefore, I usually make sure I add more water than traditionally recommended, so keep this from happening.
No additional seasoning is needed after brining! It’s perfectly seasoned from the skin down to the bone.
Of course! Consider adding in apple juice or apple cider, lemons, baking spices like cinnamon and nutmeg, additional fresh herbs, or even a splash of bourbon or brandy.
Technically, yes. However, for the best golden-brown crispy skin, you should allow the turkey to dry thoroughly before placing it in the oven. Then butter or oil the skin to improve the texture even more.
Not if you don’t keep the turkey in the brine too long. If you taste the turkey drippings and feel they are overly salty for turkey gravy, you can thin them out with low-sodium turkey broth, or even water.
Dry brining is a method of covering a turkey (or chicken) in a thick layer of salt, without the water. With this preparation, the salt pulls the turkey juices to the surface, fuses with them, and releases them back into the turkey. Yes, a dry brine does offer a little less clean-up than wet brining, and gives the turkey greater flavor and moisture than no brining at all. But in my humble opinion, it is still not as effective as a traditional wet brine.
Wet brines allow you to infuse much more flavor than just salt. You’re flavoring the turkey with a touch of sweetness, fragrant herbs, and spices. Plus, the liquid is able to work its way inside all the nooks and crannies of the turkey much better than a dry brine.
I’ve tried both methods, and although a dry brine is better than no brine, I would go with a wet brine every single time! You can also brine a whole chicken for amazing flavor.
What To Do with Leftover Turkey



Turkey Brine Recipe
Video
Ingredients
- 1 gallon warm water (more as needed)
- 2 cups brown sugar
- 1 cup sea salt
- 3 shallots, roughly chopped
- 6 cloves garlic, smashed
- 2 tablespoons whole peppercorns
- 2 tablespoons dried juniper berries (optional)
- 2 tablespoons fresh rosemary, roughly chopped
- 1 tablespoon fresh thyme
Instructions
- Place a gallon of warm water in a clean bucket or cooler. Add the brown sugar, salt, shallots, garlic, herbs and spices. Stir to dissolve the salt and sugar.
- Carefully submerge the turkey in the brine. Add an additional 1/2 gallon of water to make sure the brine covers the turkey entirely. (Or more water!)
- If using a bucket, cover the bucket with plastic and place in the refrigerator for 1 to 3 days. If using a cooler, filled it with ice to keep the turkey cold for up to 3 days.
- The brine time should be determined based on the size of turkey. For a turkey 15 pounds or under, brine for just 24 to 36 hours. For a turkey larger than 15 pounds, brine for up to 3 days. *If you want to brine a smaller turkey for a longer period of time, reduce the salt to 1/2-3/4 cup, so it is not overly seasoned.
- Before roasting, take the turkey out of the brine water and place on a rack for at least a couple hours. Allow the turkey skin to dry thoroughly. Use paper towels to pat it dry if needed. You can place the roasting pan in the refrigerator (or back in the cooler over ice) if you want to give the bird longer to dry. (The dryer the skin, the better it browns. Drying it overnight is best.)
- Once dry, rub the turkey skin thoroughly with butter. Sometimes I stuff the turkey with herbs, but this is not necessary.
- Roast the turkey at 325° F for 15 minutes per pound. Roast uncovered for the first couple hours, then tent with foil the last hour to make sure the breast meat doesn’t overcook. When using a meat thermometer, the breast meat should be 165° F.
- Allow the turkey for rest for at least 25 minutes before serving to allow the juices to redistribute.


I have a 15 pound turkey and would like to try brining in a cooler. If the cooler needs 5-6 gallons of water to cover the bird, do I need to add more salt and seasoning? Or, just stay with the 1 cup salt and listed seasonings?
Hi there,
Yes, I might double the brine recipe for this size of cooler. The brine will dilute as the ice melts, but you should still have plenty of seasoning for a perfectly brined turkey. :)
This sounds amazing..I love the idea of adding juniper berries!
This brine is our favorite to use on our turkey at Thanksgiving! The turkey is so juicy and flavorful!
I love how tender and juicy my turkey is with this brine! So amazing! Thanks for sharing!
This brine brings in some amazing flavors and keeps this super tender and juicy!
Ok so I had never made a turkey before but I had a freebie so I thought – I’m going to try! Oh my word… BEST TURKEY I’VE EVER had. Although I didn’t have all the ingredients on hand I made due and well it did not disappoint. So I failed to give myself as much time as I needed – so I had to call for reinforcements which combined a few different recipes and wow… sometimes multiple cooks in the kitchen was the BEST combination! So here it goes…
This brine – YES… tweaked with a whole jar of epicure “roasted vegetable blend” (has rosemary, garlic, and well it did the trick beautifully!” I only thawed out my 12 lbs turkey the night before so it only had time to marinade 12 hours. I failed to give myself enough time to let it dry for 2 hours with this allotted drying time so I called in for reinforcements… my sister said – don’t cook it for 3-3.5 hours not necessary… follow Alton Brown for aromatic (stuff turkey) which is what I did… so I pulled out my turkey – let it dry for 2 hours – patted it down with a paper towel (more so the interior of the cavity) then I added a peeled cut up apple, 1 pepper, 1 cinnamon stick, one onion, it called for rosemary which I didn’t have but it was in the brine so I skipped this step) microwaved these items in 1 cup of water and put the cooked items inside the turkey. Add the rest of the water in the base of the turkey. I then tweaked again the recipe* I then covered the bird with butter, added 3 Peeled halved cut up garlic and put those between the skin and the bird in different locations around bird. Sprinkled with Montreal steak spice and Done! Then I placed bird into a 500 degrees oven and cooked it uncovered for 30 minutes. This brought the temperature of the bird up quick and gave it its gorgeous color!
I then added my lid. Turned the oven down to 350 and cooked it for another 1.5 hours. (Basting every 30 mins) At that point I checked my thermometer. It read 170. I pulled it out and let rest for about 45 mins. When I took the lid off – oh my word the smell of the cinnamon, Apple, onion mixture was beyond expectations! My gravy was by far the best I’ve ever had!
My turkey was falling off the bone cooked to perfection! *** A trick I learnt from International Chef Rob Thomas – carve any bird add a little juice at the bottom use the skins on top of your cut up meat cover with plastic wrap. Then add your foil. Place into your oven to reheat and your meat will get warm and NOT dry out. How COOL is that!!! You can also warm up anything that way. You don’t need to add juices unless it has it in the recipe… LOVED this tip!!! Had I not done this or seen it work in action I wouldn’t have tried it but it’s amazing if you want to pre-cut your meat in advance! Anyways message is long but it will NOT be wasted! ☺️ Enjoy and happy thanksgiving!!
My turkey is in the brine my family loves my stuffing and there isn’t anything here regarding stuffing the turkey and that is something I’ll be doing on Monday so if you could just let me know if that is going to work
I’m very interested in trying this for the first time. All the comments have been helpful but nobody has asked if you can brine a butter infused turkey. I imagine you can because everything remains chilled and plan to try it placing it frozen, into a stock pot with the brine, into the fridge for a few days. Likely 5. 3 to thaw and 2 to brine. Any thoughts?
Hi Barbara,
Yes, you can! Just follow the steps as directed. :)
Hi. I tried this brine for the 1st time on Thanksgiving last year. It was GREAT! I have tried turkey in every way imaginable and this recipe is by the greatest. I had guess over who said they do not eat turkey but they could not stop eating the one I cooked with this recipe. I am planning in having turkey for the Saturday before Superbowl, saving the left overs (carcas and bones) for a soup on Superbowl Sunday.
Thanks!
RSC
I’m just now roasting a turkey that I bought during Thanksgiving. I’ve brined it for three days, but don’t know if I cover it in the fridge. I don’t have a true roasting pan, with a lid, so I’m not sure what I should do.
My family stated, “This is the best turkey we’ve ever tasted! Perfectly flavored, tender, juicy, wonderful!” I stuffed me with apple and orange bits before roasting, which enhanced its flavor! Thanks!
I’m using this brine, for the first time, to make my Christmas turkey this year. I’m wondering if I still add water, to the bottom of the roaster, when I cook the bird? I normally add a little bit of water to the bottom of the roaster.
Hi Whitney,
No, you don’t need to add water to the pan. The turkey juices will drip down and collect in the pan for later use.