

Easy Apple Pie Recipe
 by Sommer Collier — on Sep 2, 2026
I’ve baked enough apple pies to know exactly what can go wrong: mushy apples, runny filling, or a crust that’s overdone before the filling is ready. That’s why I developed my homemade apple pie recipe to be as fool-proof and approachable as possible! My easy-to-follow steps and tips help you create tender apples coated in a thick, glistening cinnamon glaze with a perfectly golden crust. Scratch-made pie should make you feel inspired, not intimidated, and this classic dessert proves you can absolutely do it!
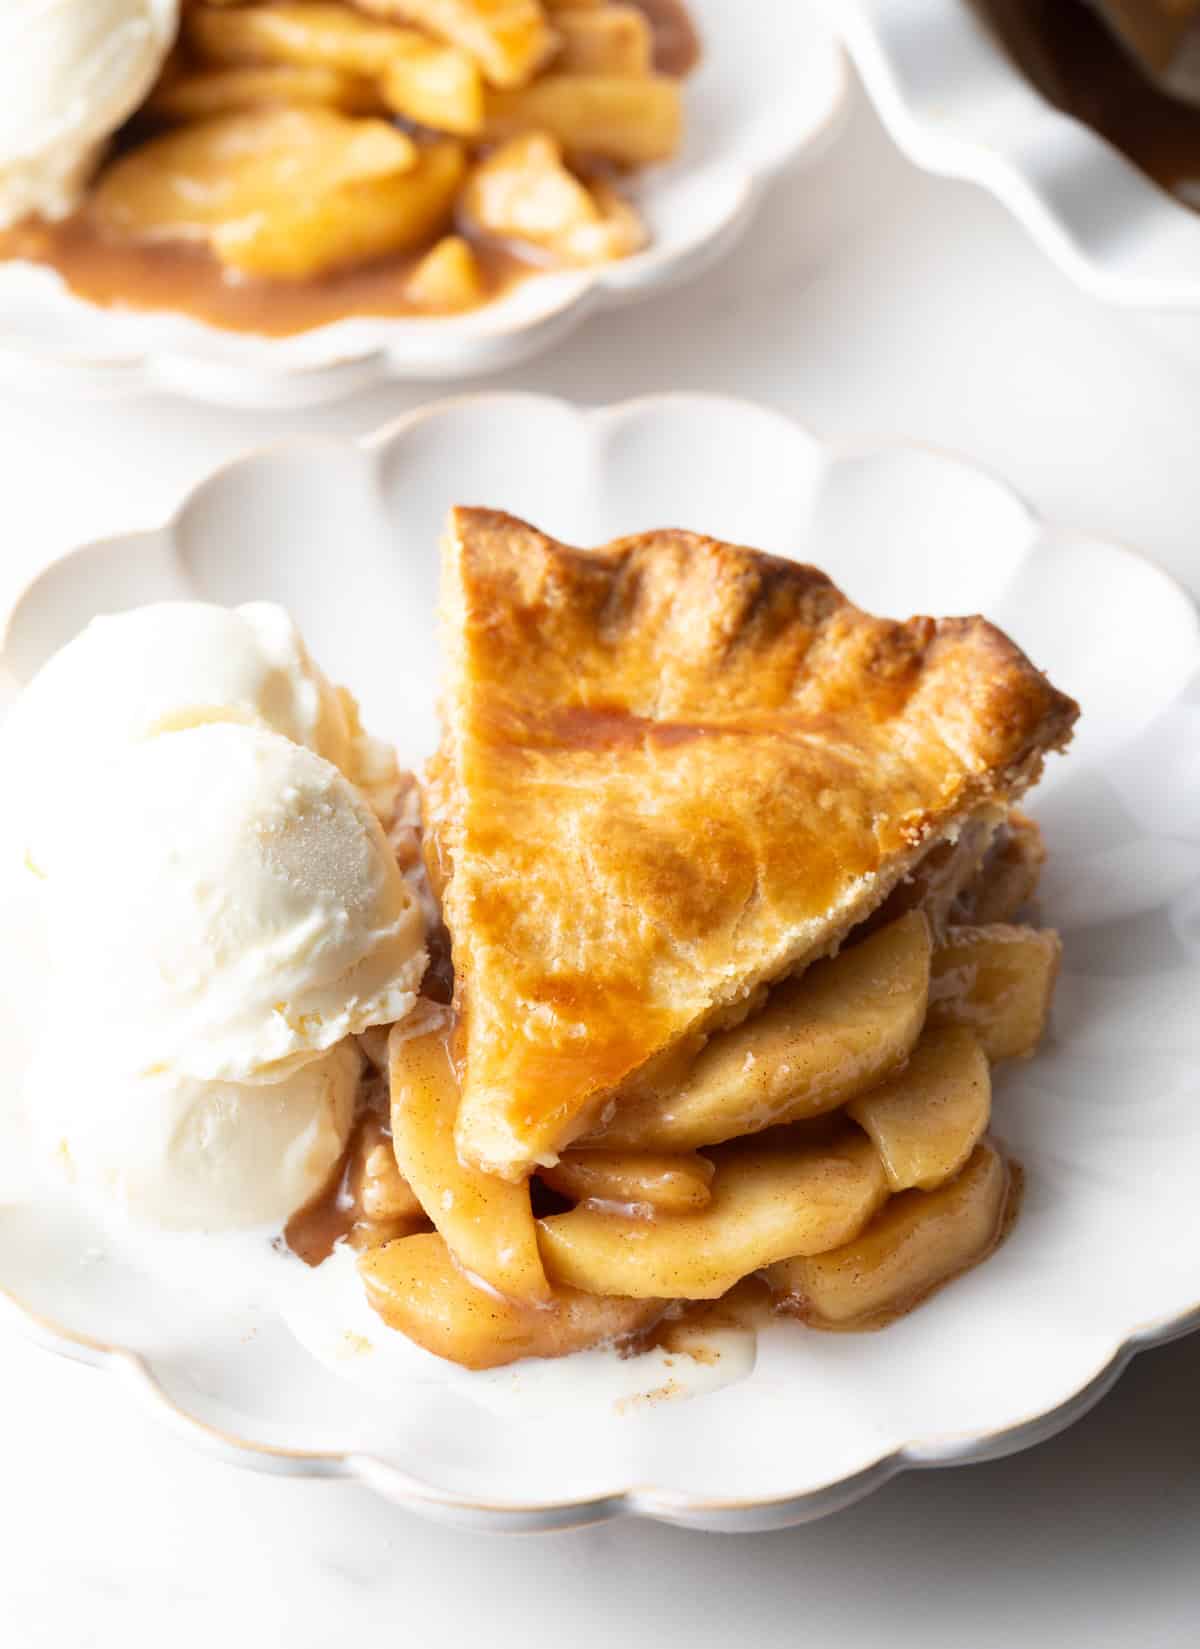
I bet I don’t need to tell you that apple pie is considered one of the most iconic American foods. I have a fabulous recipe for whole baked apples wrapped in puff pastry which is like an individual apple pie for each person. We also have an awesome Dutch apple pie recipe with a crumbly top. However, today I’m showing you how to make THE traditional double crusted classic apple pie recipe for fall. Now, if you’ve ever made pies before you understand the term “easy as pie” is kind of a joke… Pie crusts can be a little bit tricky to make, getting the filling to be the right consistency can be a little tricky, even cooking the pie so that the crust is golden brown but the inside is well cooked through can be tricky when you don’t know what you’re doing. But trust me when I say that tricky doesn’t mean impossible, or even really that hard. I promise if you follow my tried-and-true steps, you will come out with the most glorious apple pie you’ve ever tasted!
Table of Contents

Sommer’s Recipe Highlights
Best Steps and Tips – There are no deep track secrets to make a great old fashioned apple pie, just tried-and-true ingredients and the know-how to put them all together. Like I do in my dutch apple pie recipe, here I’m walking you step-by-step through the entire process, from which apples to use to bake time, with my no-fail method for making sure the filling bakes properly and the crust is a beautiful golden brown.
Easy to Prep – The how-to steps in this apple pie recipe are very simple and straightforward, however, they do require a good bit of patience to get right. I highly suggest saving yourself time and day-of effort by making the crust and filling several hours or up to a day in advance. If making pie crust from scratch, follow our recipe, wrap each piecrust disc in plastic wrap, and refrigerate for at least two hours until very firm.
Well Worth It – Apple pies are one of those desserts that are absolutely worth the time and love it takes to make them right. As I mentioned the steps are surprisingly easy and just take some finesse. And the payoff is a perfect show stopping pie with sweet tender apple slices and warm gooey cinnamon-y filling, and flaky pie crusts under and on top.
Key Ingredients and Tips
- Double pie crust – You can use 1 box of store bought roll-out pie crust, sure. But for a truly from-scratch with-love apple pie to impress you have to make homemade pie crust! Simply follow my easy pie crust recipe, wrap each piecrust disc in plastic wrap, and refrigerate for at least two hours until very firm.
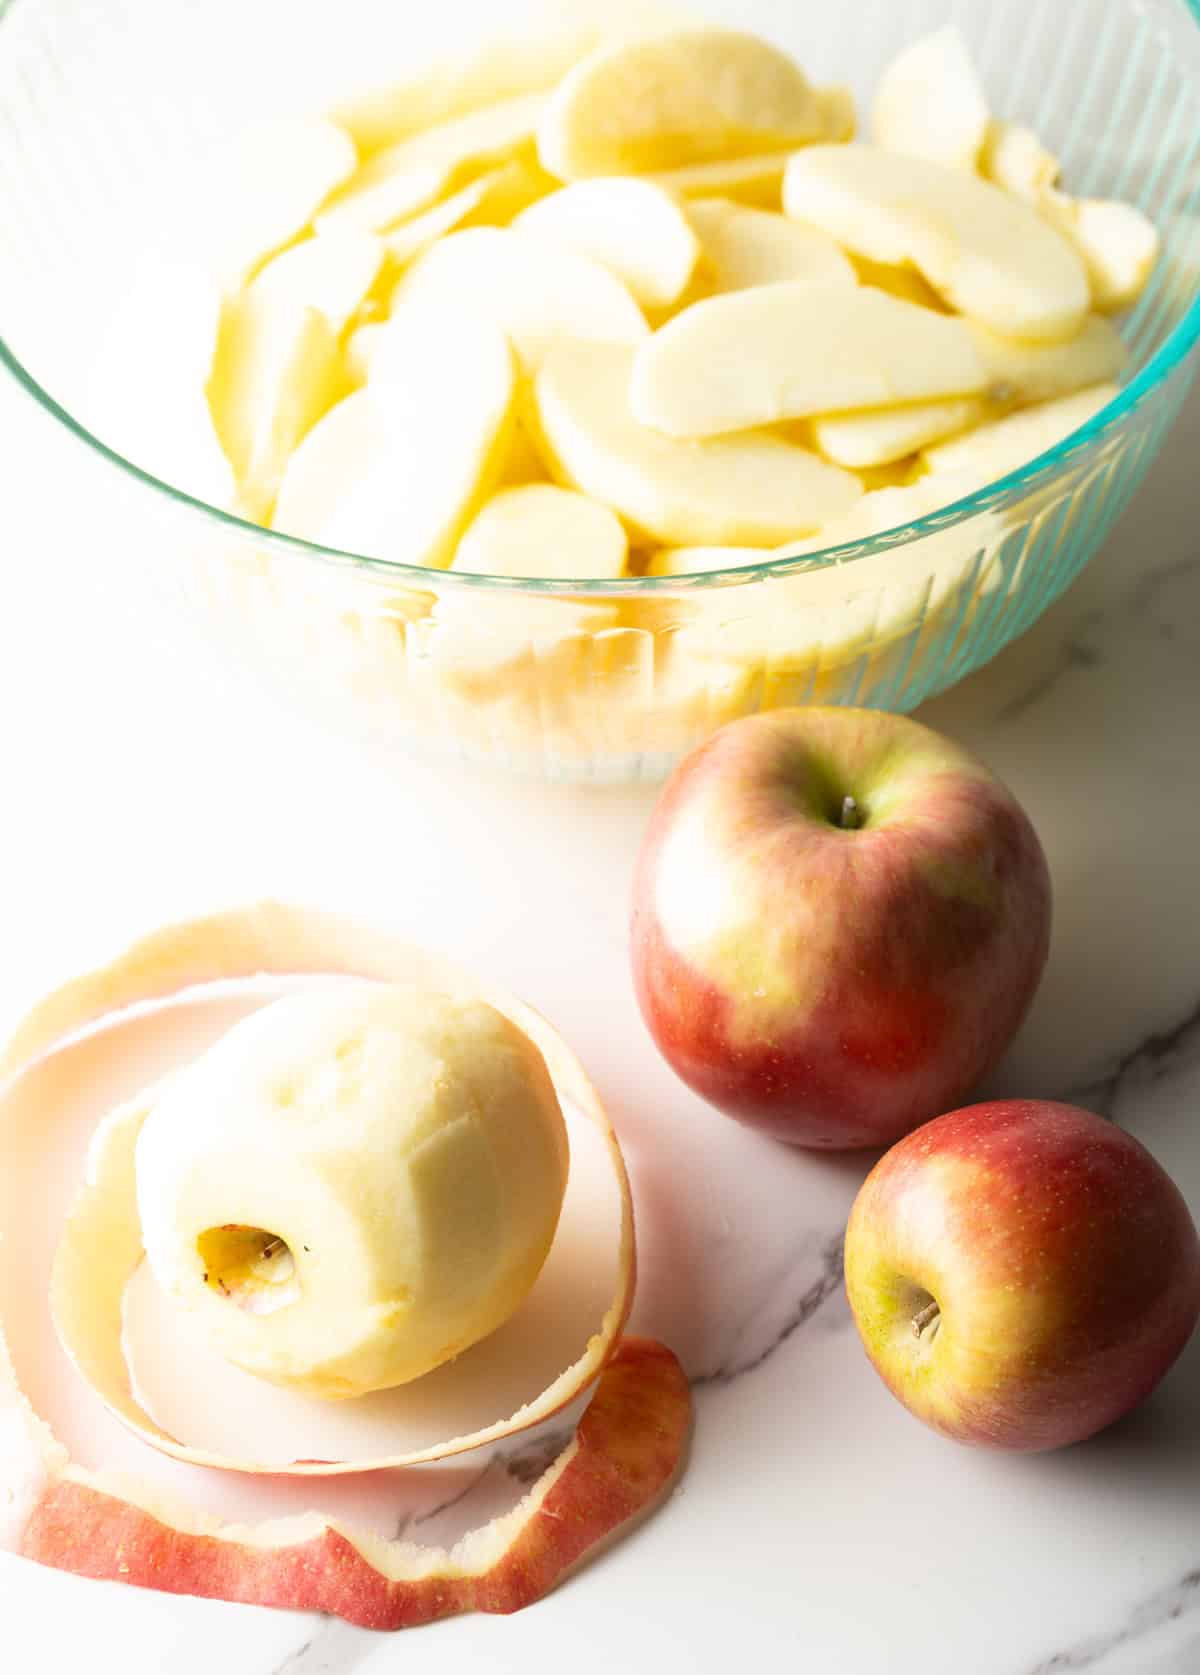
- Apples – I always use firm, slightly tart apples that mellow the sweetness of the sugar. I’ve found that the best apples to make pie are granny smith, fuji, honey crisp, Braeburn… Or a 50/50 combination!
- Lemon juice – Use fresh-squeezed juice for a bright, tart balance of flavor in the apple pie filling.
- Butter – I always use unsalted butter, so I have total control over how much salt is being added.
- Brown sugar – Light brown sugar has a more mellow, deep taste that granulated white sugar. Perfect to make a filling that is sweet-but-not-too-sweet.
- Flour – I use all-purpose flour to thicken the juicy apple pie filling.
- Spices – I love the combination of cinnamon, nutmeg, and salt. It think it makes the pie taste warm and cozy, even served cold!
- Egg – I combine it with 1 tablespoon of water to make an eggwash. I’ll lightly brush this over the top of the pie before baking to create that signature glistening, golden brown crust.
Equipment
- Large bowl
- Rolling pin
- 9-inch pie plate
- Silicone pastry mat or parchment paper
- Aluminum foil
How to Make
Find the full ingredient proportions, detailed instructions, storage tips, and a video tutorial in the printable form at the bottom of the post.
Prep the Apples – In my opinion, this is the most “laborious” task when it comes to making an easy apple pie recipe. Which is why, as I mentioned above, I like to do the prep work and make the apple pie filling a day or two in advance.
To make the filling, I start by adding lemon juice to a large bowl, peeling the apples and slicing them into 1/2-inch thick pieces, and adding the slices to the bowl. The acid in lemon juice keeps the apple slices from browning and adds a bright, tart flavor.
Add Apples & Spices to Skillet – Next, I get out my large cast iron skillet, or any large pan with a heavy bottom, and set it over medium heat on the stovetop. I add the apple slices to the hot pan, followed by the butter, brown sugar, flour, cinnamon, nutmeg, and salt. Use a spatula to gently stir everything around so the apples are well coated in the flour, sugar, and spices.
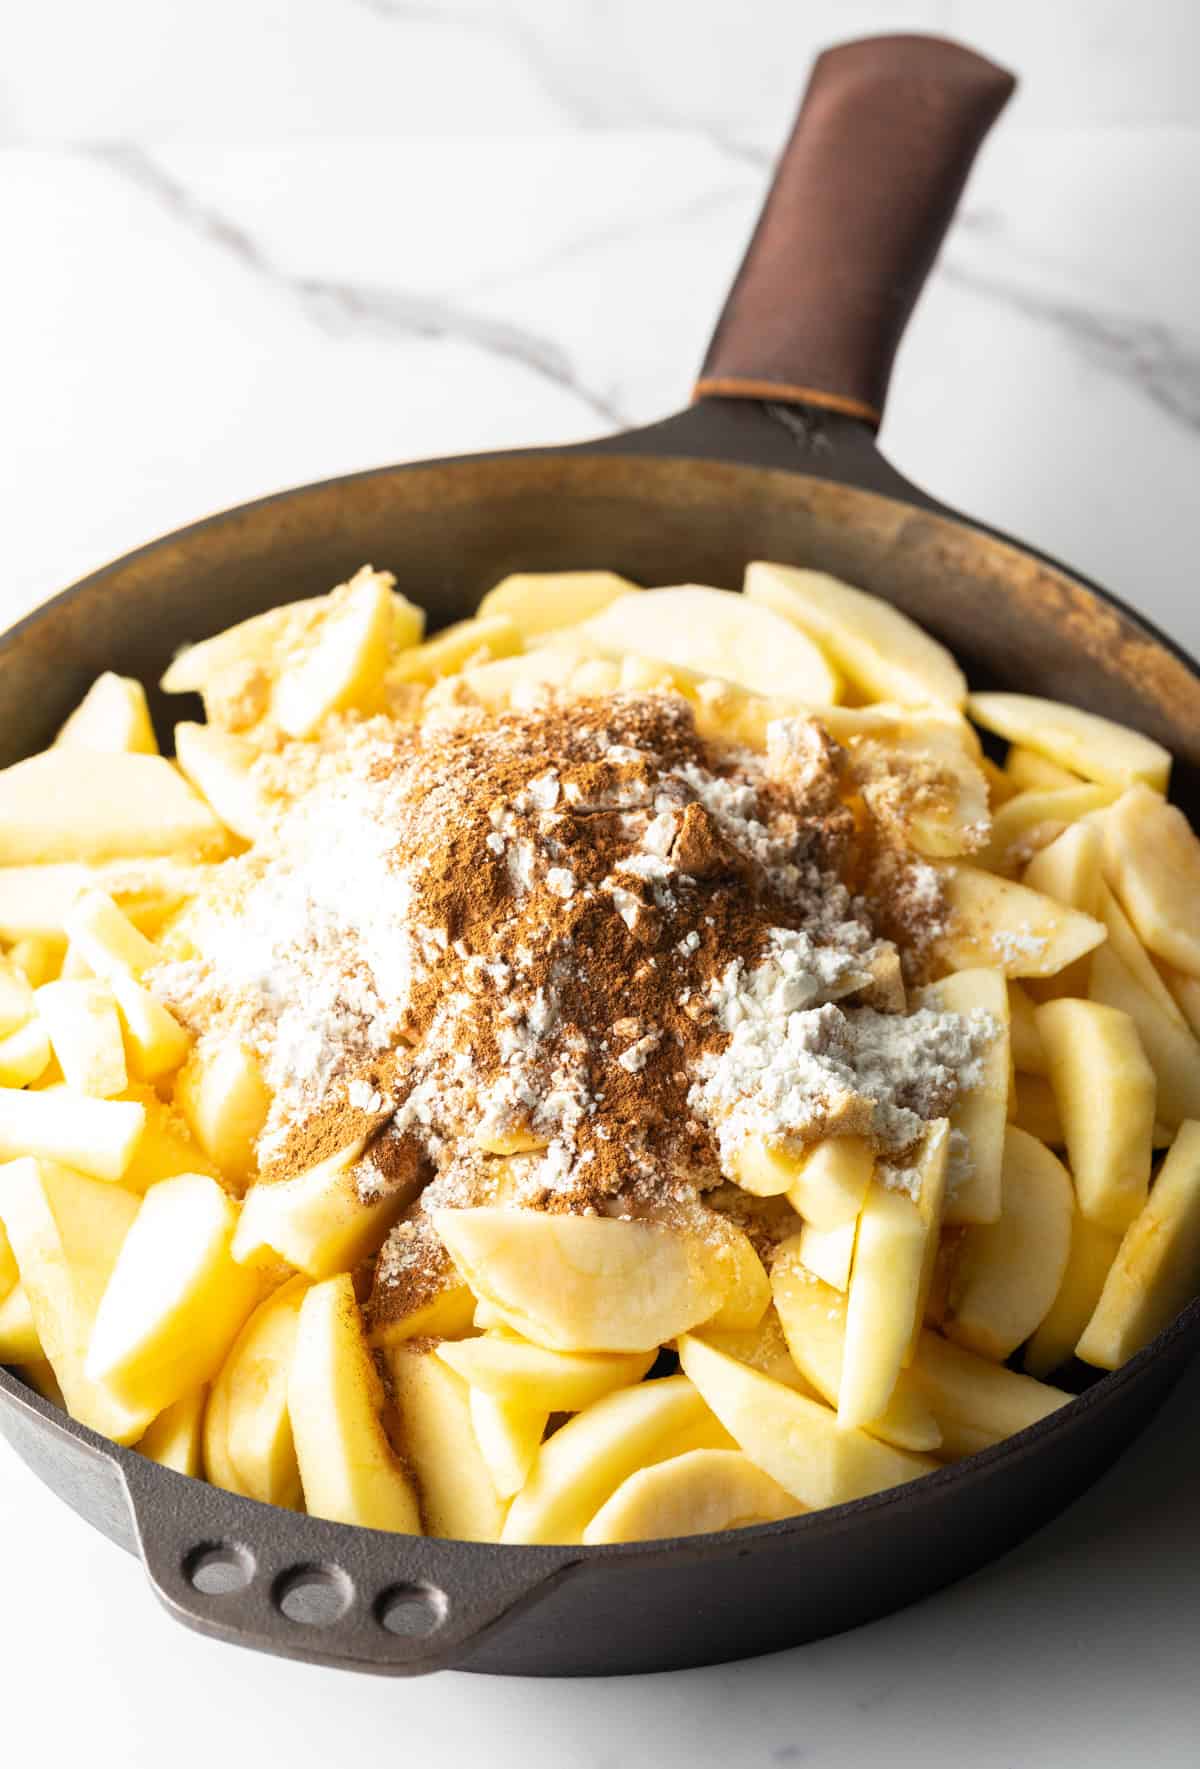
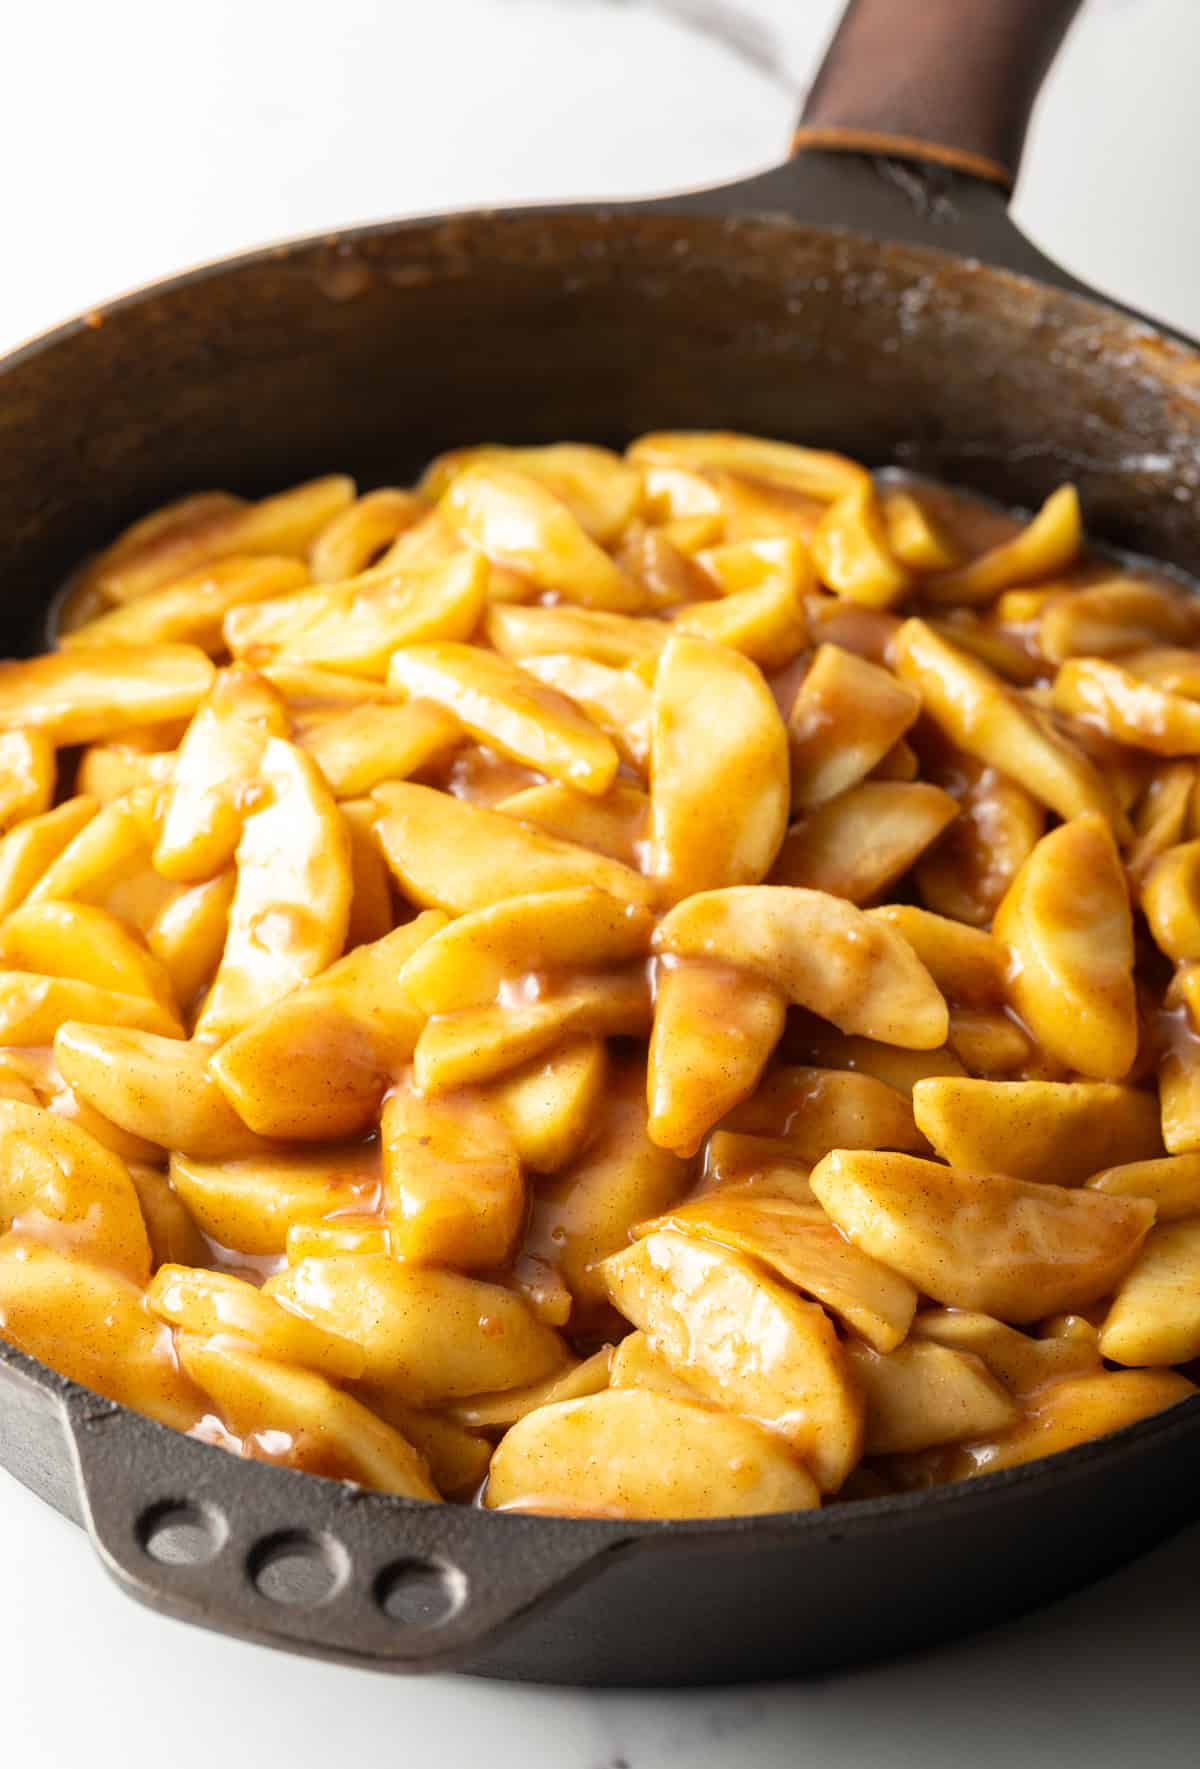
Sauté the Apples – The butter will melt as I keep cooking the apples over medium heat, stirring every minute or so, until the caramel-like sauce thickens a bit and apple slices are just tender. This only takes about 5-7 minutes as I want the flour to completely cook without overcooking the apples. Remember that the apples will continue to soften as they bake in the pie.
Cool – When the slices are just soft enough, I turn off the heat and set the pan aside to cool. A hot filling will melt the butter in the raw pie crust before it bakes. This would keep the crust from baking properly and lose its flakiness, and could even lead to the dreaded soggy bottom.
Prepare the Crust – When the filling is cool I preheat the oven to 400 degrees Fahrenheit. In the meantime, I get just one pie crust from the fridge, and lightly sprinkle flour out across a clean work surface. This will keep the dough from sticking as I roll it out, and I also recommend lightly dusting the rolling pin with flour as well for the same reason. When I have my area prepped, I unwrap the dough and roll it out into a 12-inch circle. Then I carefully use my rolling pin to lift the circle up, flip it over and drape into a 9-inch pie pan. Use your fingers to gently tuck the crust into the pan so it is even and completely against the pan, without smooshing it down. The edge of the crust should fit the edge of the pan, without drooping over.
Pro Tip – I like to use a silicone pastry mat, or a piece of parchment paper when I’m rolling out pie crust to help easily flip them over into the pan. Then you simply peel off the mat!
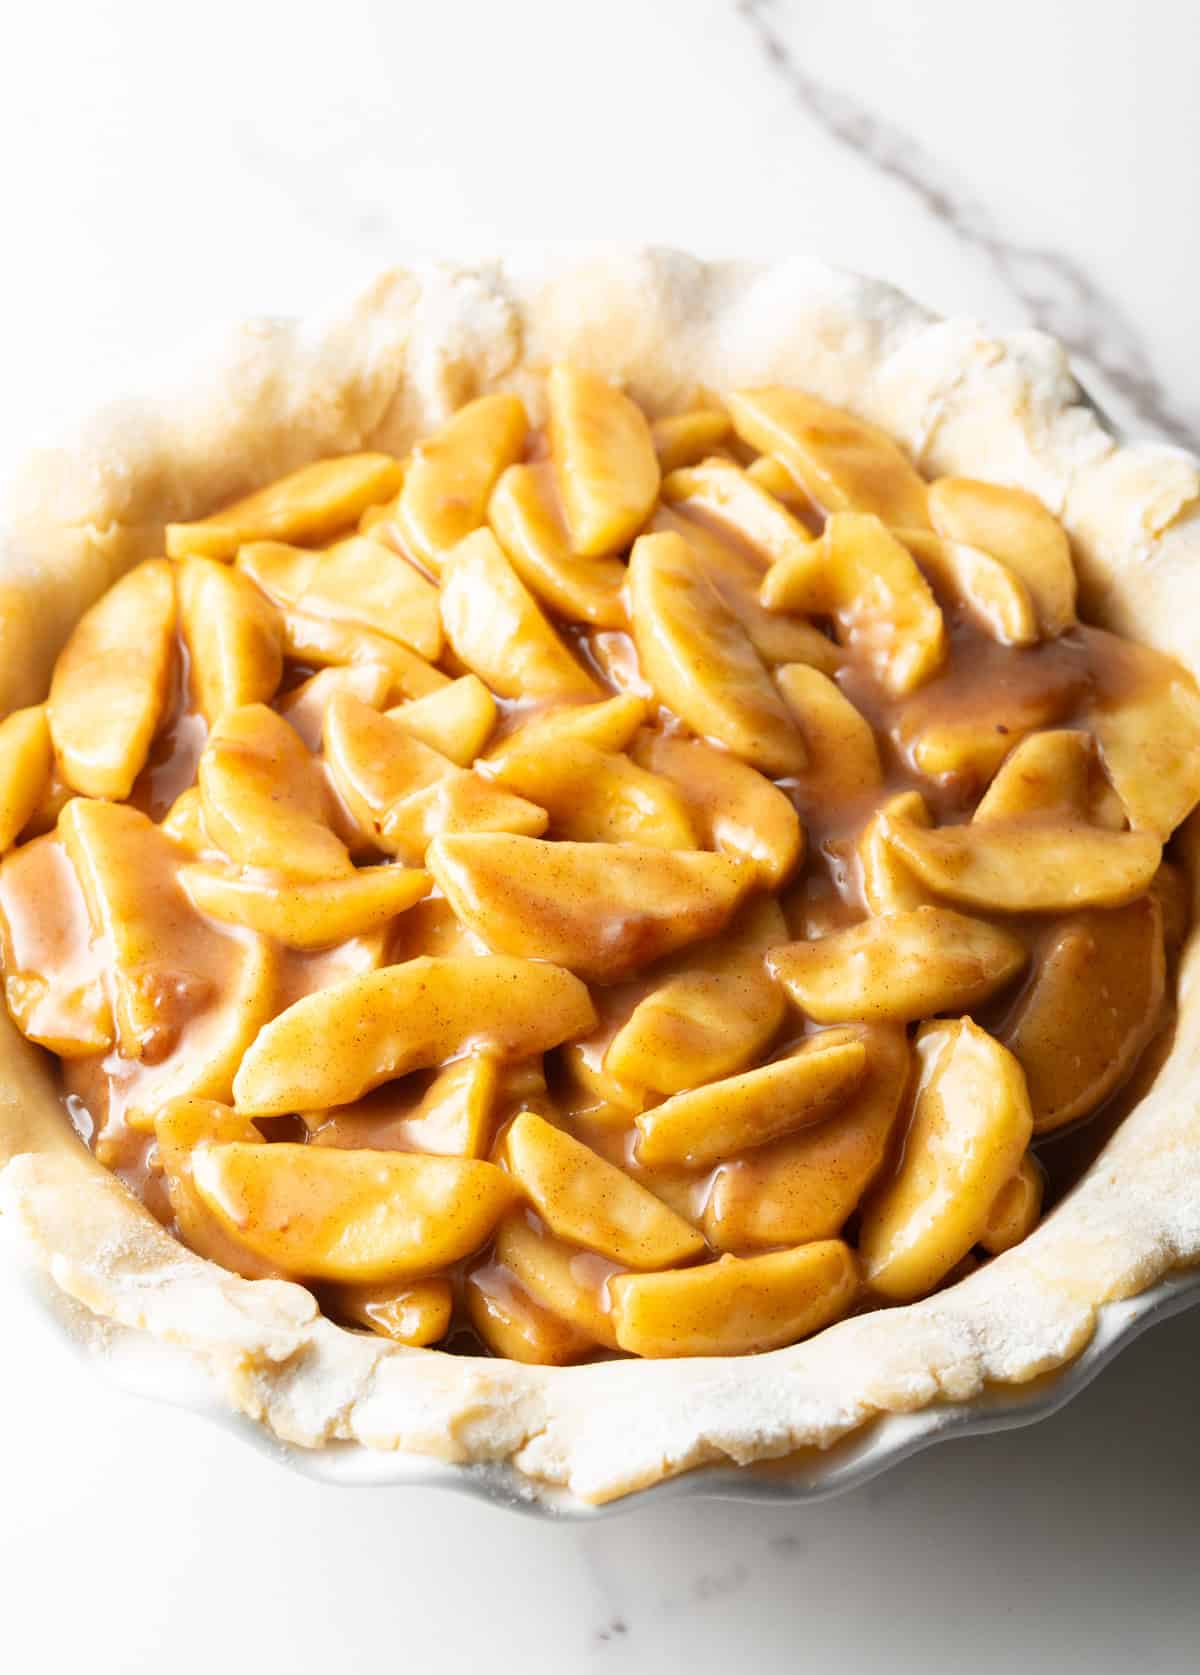
Add the Filling – Now I scoop and pour the cooled apple pie filling into the crust, using my spatula to spread everything out evenly. It should fill the entire pan and be slightly above the rim like in the picture below, but not overflowing. Place the pie in the fridge before moving on to the top crust.
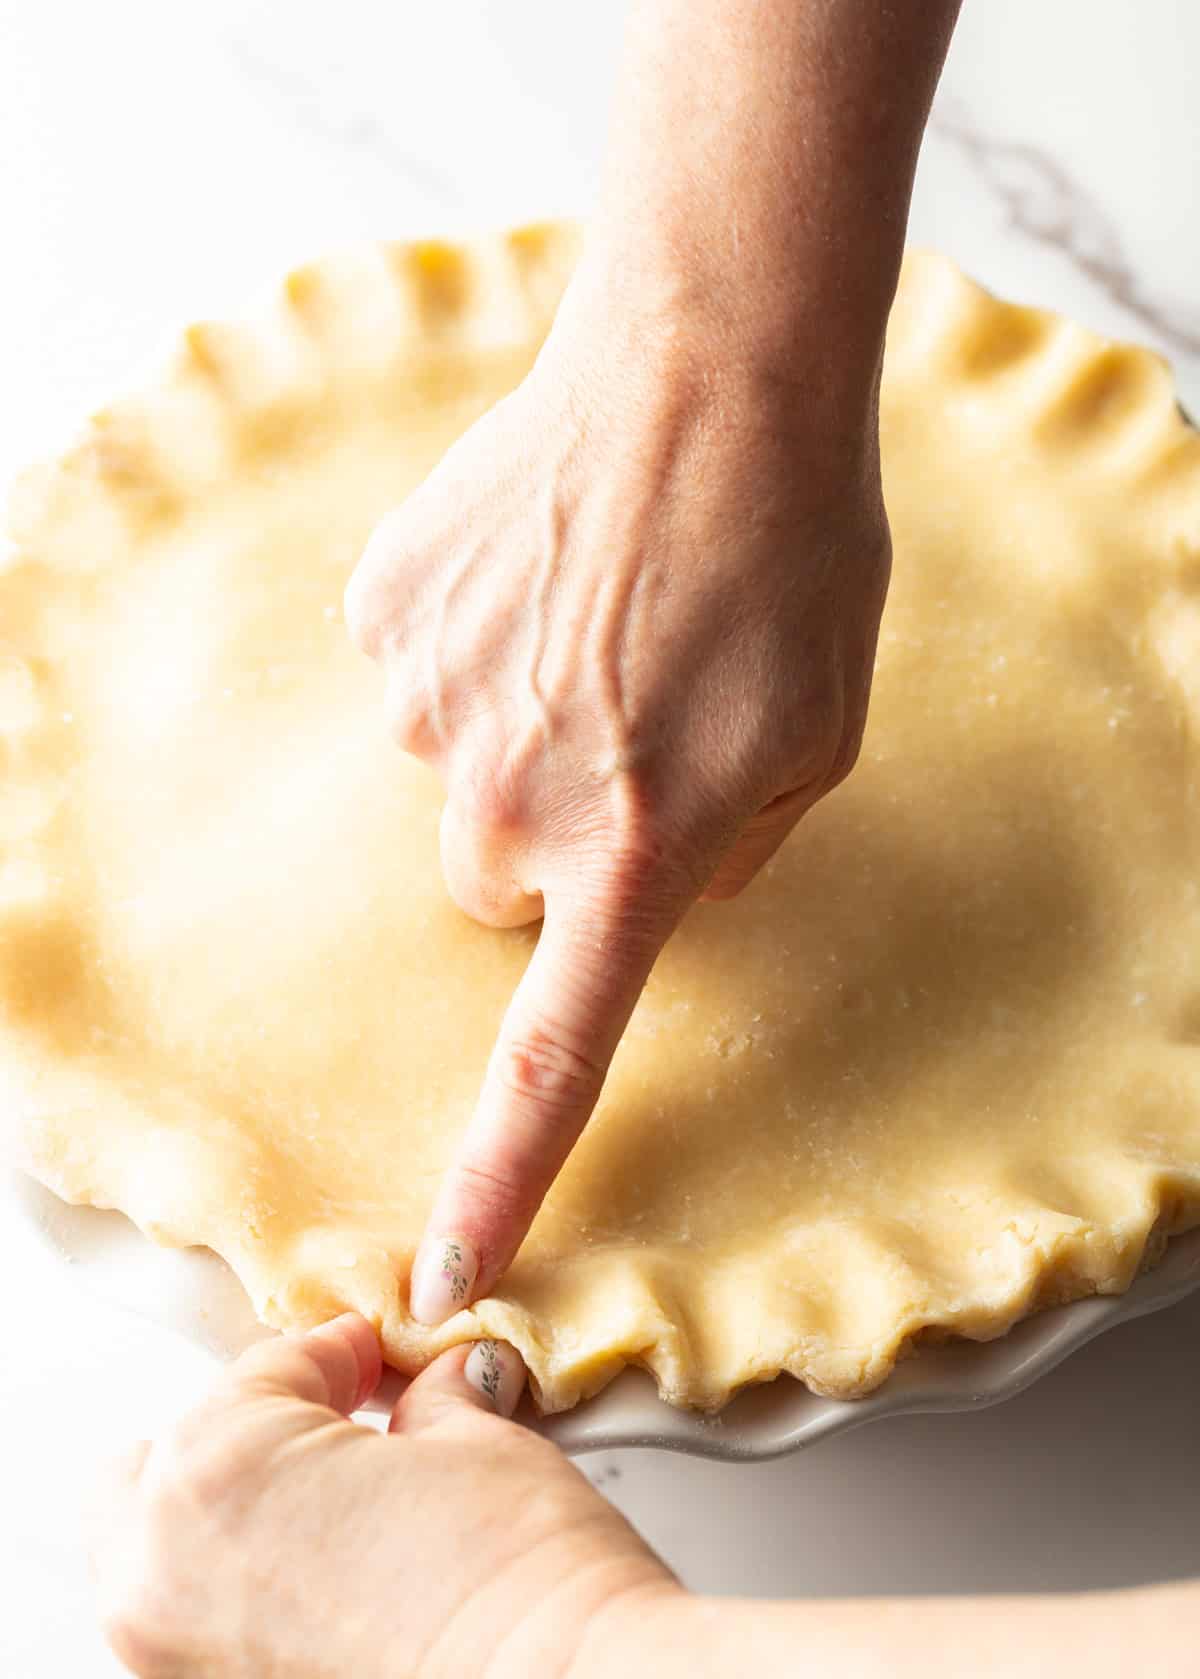
Arrange the Top Crust – Time for Crust #2! I clean up my work area before dusting again with flour, and get out the second pie crust from the fridge. Like the first, I roll out the dough into an 11 or 12-inch circle. Then I remove the whole pie from the fridge, and use the rolling pin to carefully drape the top crust over the pie. Now, don’t do this all willy-nilly… Take care to set the pie crust perfectly in the center of the pan, so the edges drape evenly over the bottom crust edge. I use my fingers to press the two crusts together, creating a scalloped seal around the pie. To do this, I use two fingers on my left hand to slightly pinch the crusts from under, while simultaneously using my pointer finger on the other hand to depress into the dough on top. Here is a picture to see what I mean.
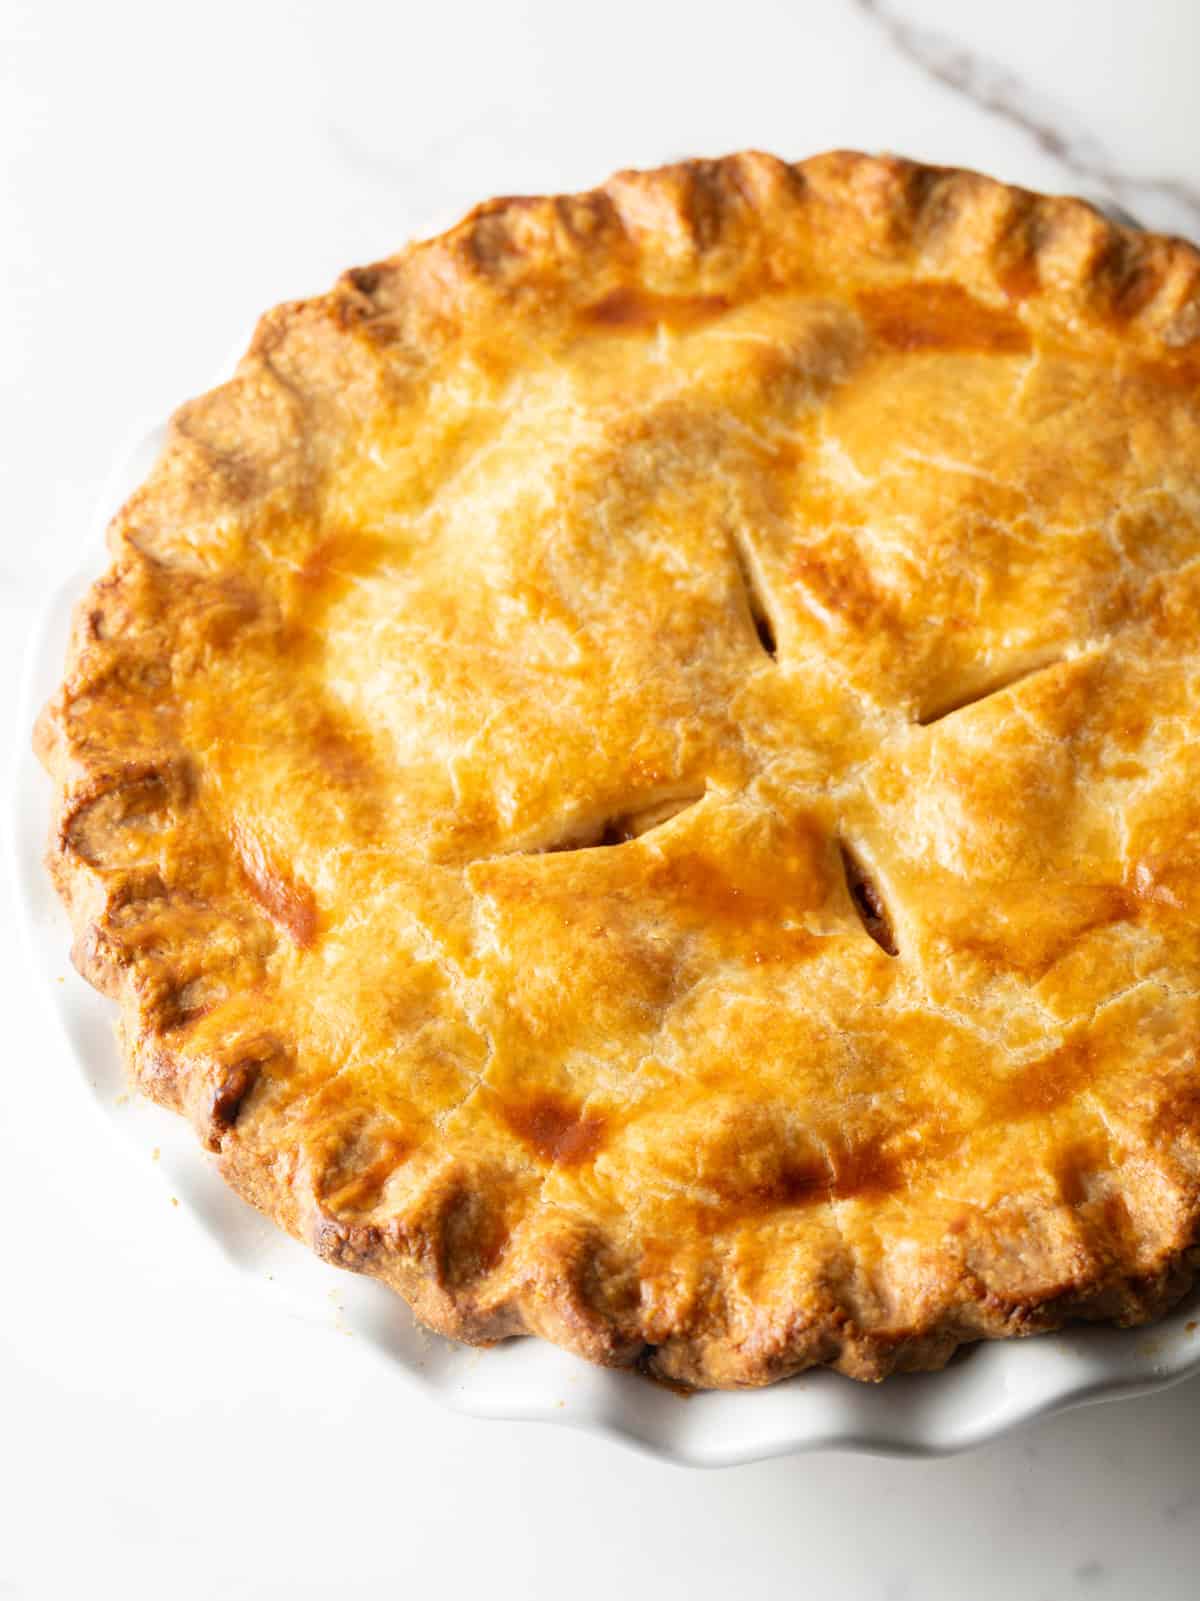
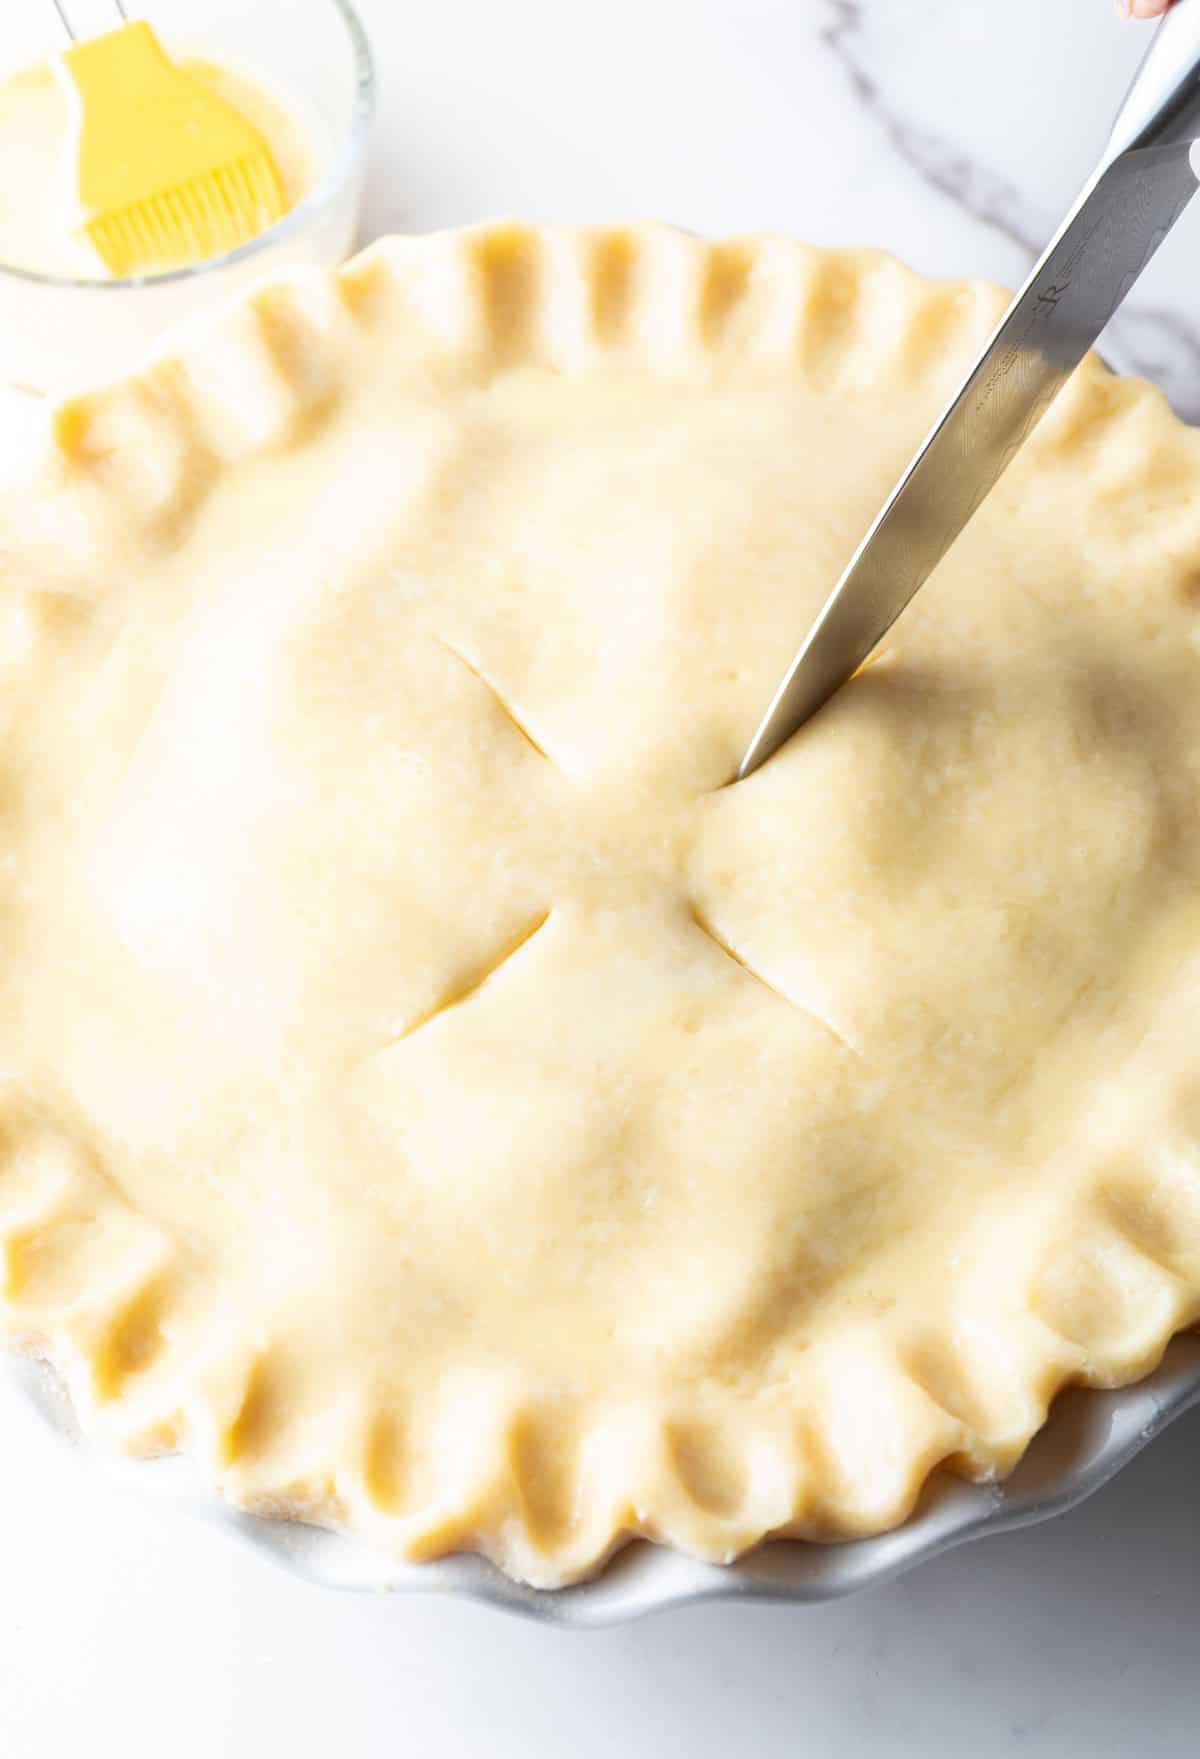
Egg Wash and Vent – Next, I make the eggwash by whisking the egg and water together in a small bowl. I use a silicone pastry brush to, well, brush the entire top of the pie with the egg wash. This should be a very light, even coating without any pooling. Don’t saturate the crust or it will get soggy! Speaking of avoiding any soggy situations, I then use a sharp knife to cut 4 small equal slits in the crust to keep moisture from building up.
Bake! – I place the pie directly in the center of the oven and bake for 15 minutes. Once the timer is up, I reduce the heat from 400 to 375 degrees Fahrenheit, but do not open the oven! This method of briefly baking at a super high heat then dropping a bit gives the pie crust a quick shock, making the buttery crust puff up fast and lock in the flakiness.
I continue to bake the pie for another 45-50 minutes. Keep a close eye on it as it bakes, but only through the oven glass. When baking piecrust, foil is your best friend. I love a medium golden brown crust, however, most likely the pie will need to bake quite a bit longer after it reaches this color. So I create a loose foil tent over the top to protect the color of the pie while allowing it to cook much longer so that the filling is perfect on the inside. Adding the foil on top should be the 1 only time you open the oven during the baking process.
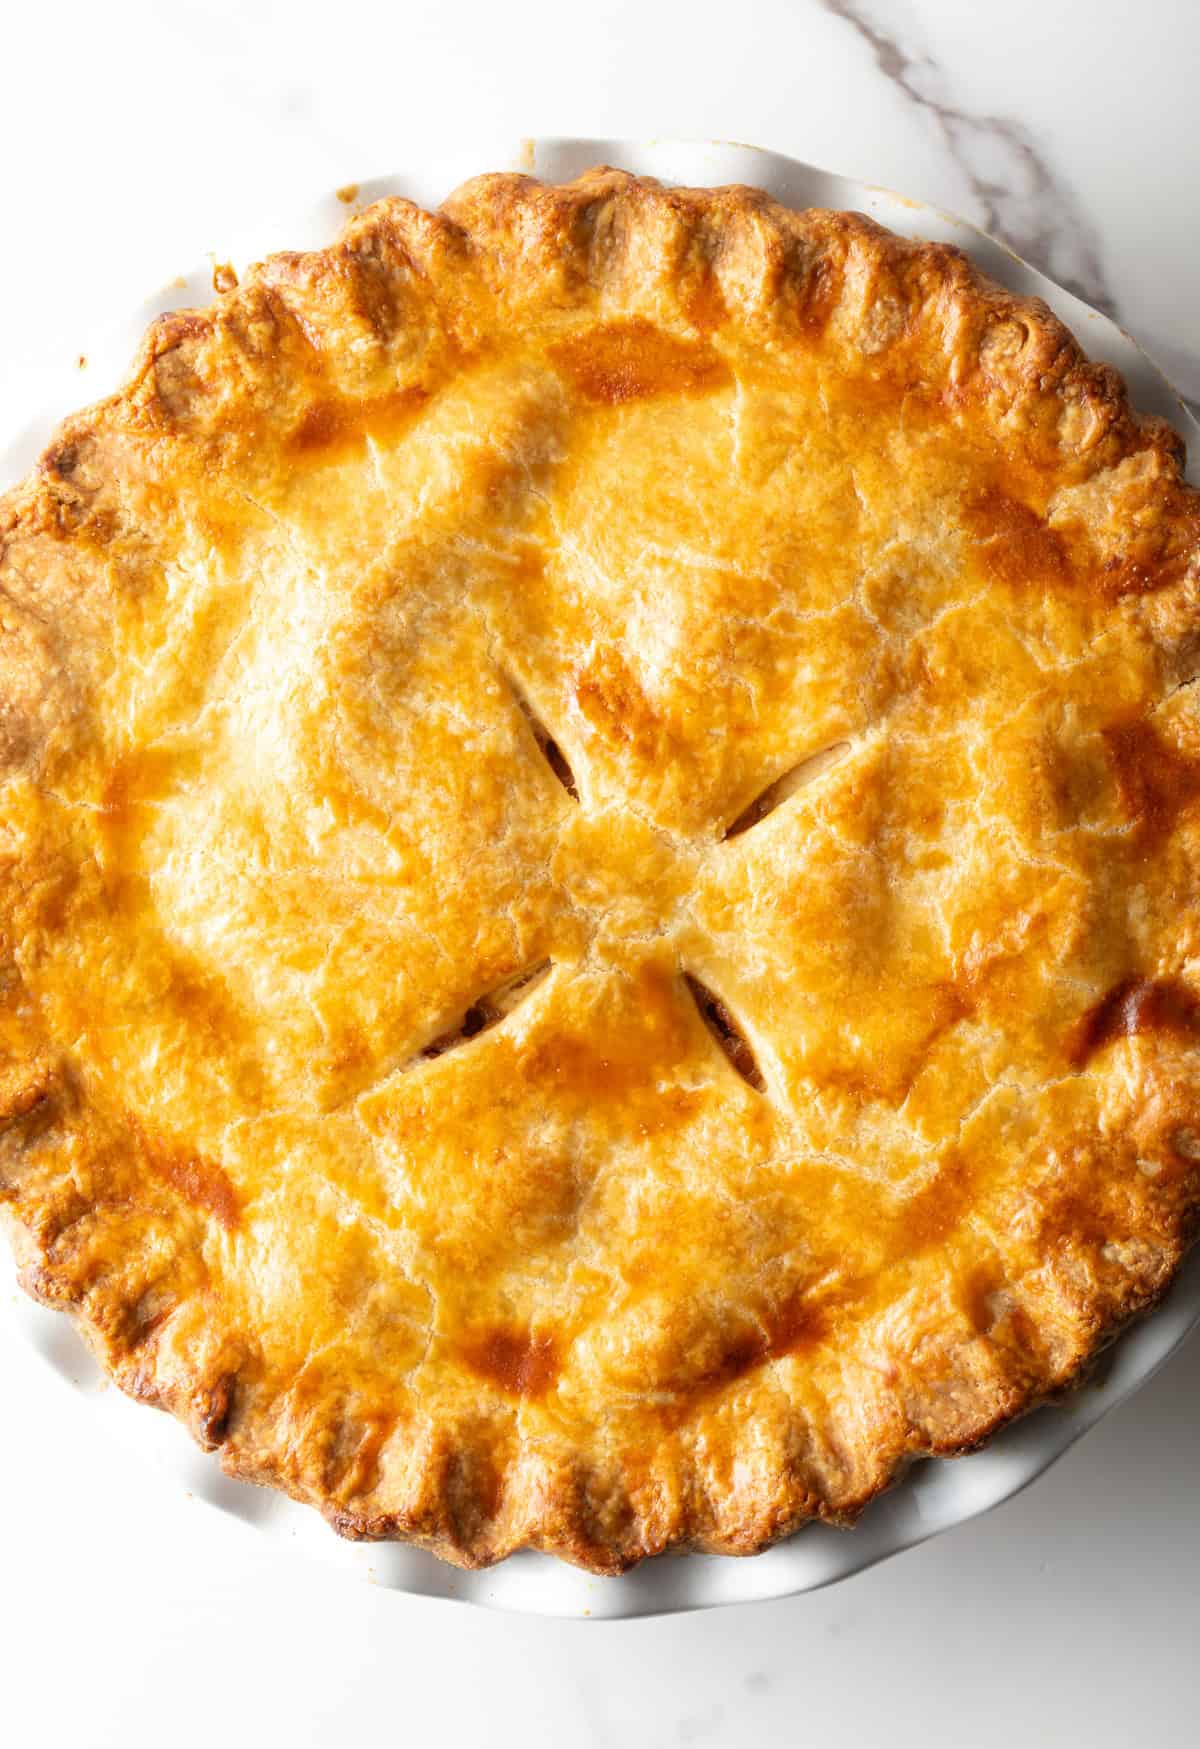
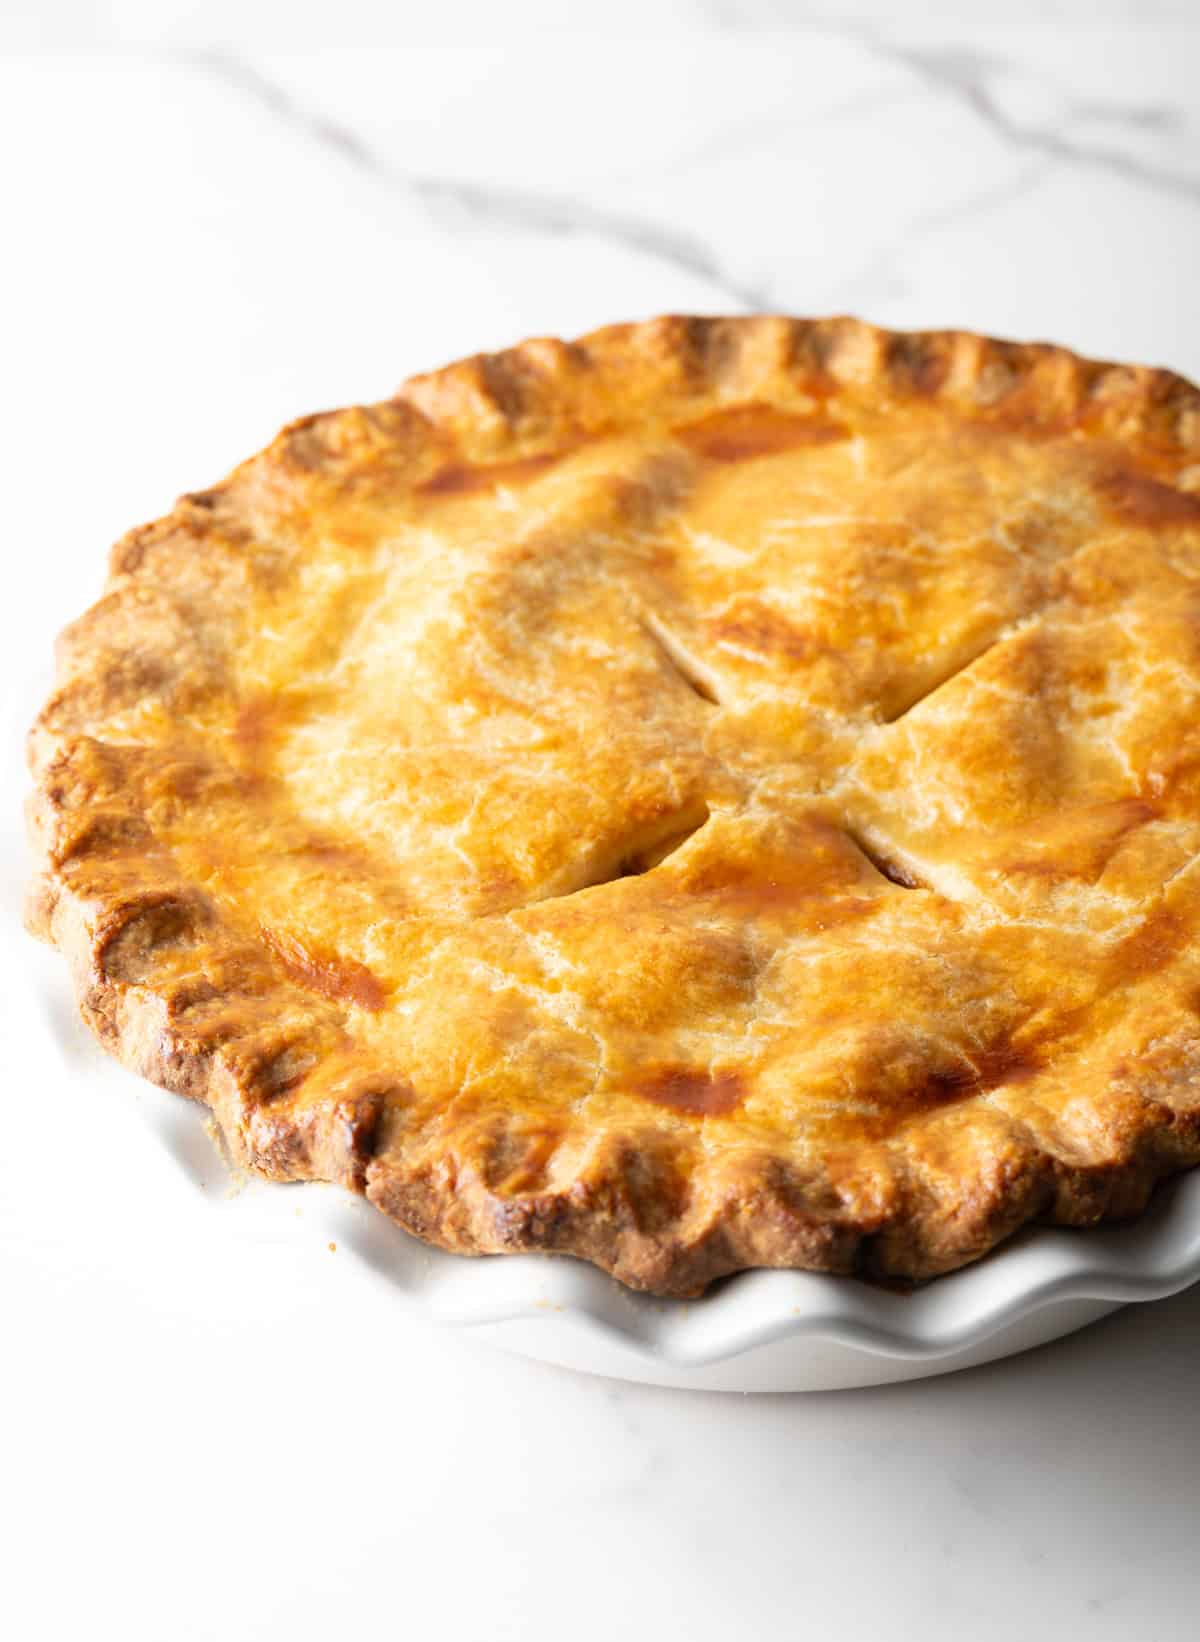
Cool – When the crust has that signature gorgeous golden brown color on top, I pull it from the oven and set it on the counter to cool. This will take about 4 hours and you must be patient! Cooling the apple pie allows the filling to thicken back up and set, so it won’t run out all gooey when sliced.
Expert Tips
Prep ahead! As I mentioned, if you have time to make and refrigerate the quick and easy piecrust and the pie filling the day before, you’ll have much better success with baking and serving a pie on the same day.
Keep it cool. Be sure to follow the instructions and totally cool the apple pie filling in the skillet before using… It needs to go into the pie cold, so it doesn’t ruin the texture of the piecrust. This goes back to my suggestion that you make the piecrust and filling the night before, and chill both in the fridge overnight before using the following day.
Check the time. Although the prep time and cooking time are listed in the recipe card below, pies take a lot of chill and rest time to have the perfect consistency. We don’t have a place to calculate that. So making the crust to give it ample time to chill and making the apple filling to give it ample time to chill the day before makes all the difference. The cooked filling needs to cool for at least an hour or so, and the baked pie needs 4+ hours to cool before slicing (more on that below). Therefore, you can easily add 5 hours to the total recipe time noted in the full timecard.
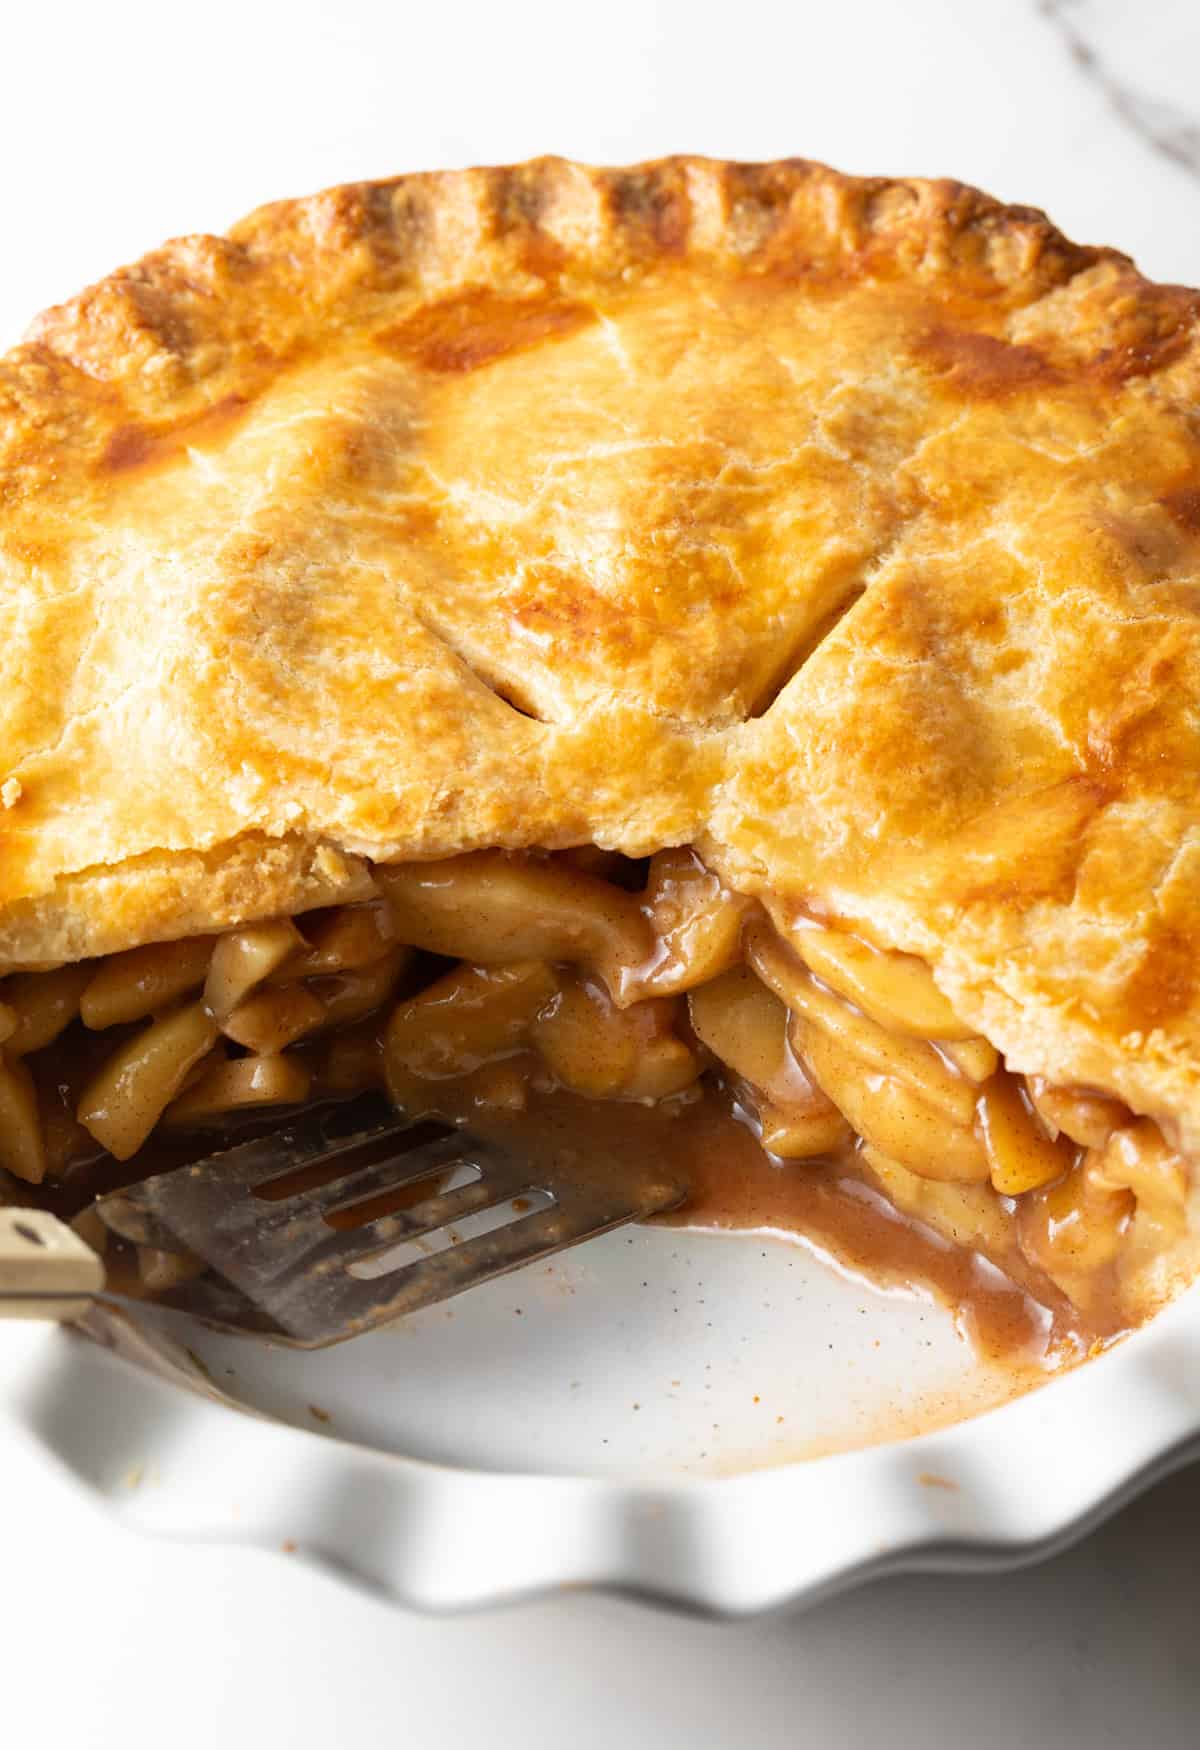
Chill before slicing. Don’t forget you can’t cut into a freshly baked apple pie. Well, I mean you can, and it will be delicious, but the texture won’t be quite right. In order for the pie to have the perfect layered texture with a thick sticky sweet glaze that holds the apples together, you have to let the pie rest for several hours after it bakes. In fact, I suggest putting it in the refrigerator for a few hours to speed this up.
Serving Suggestions
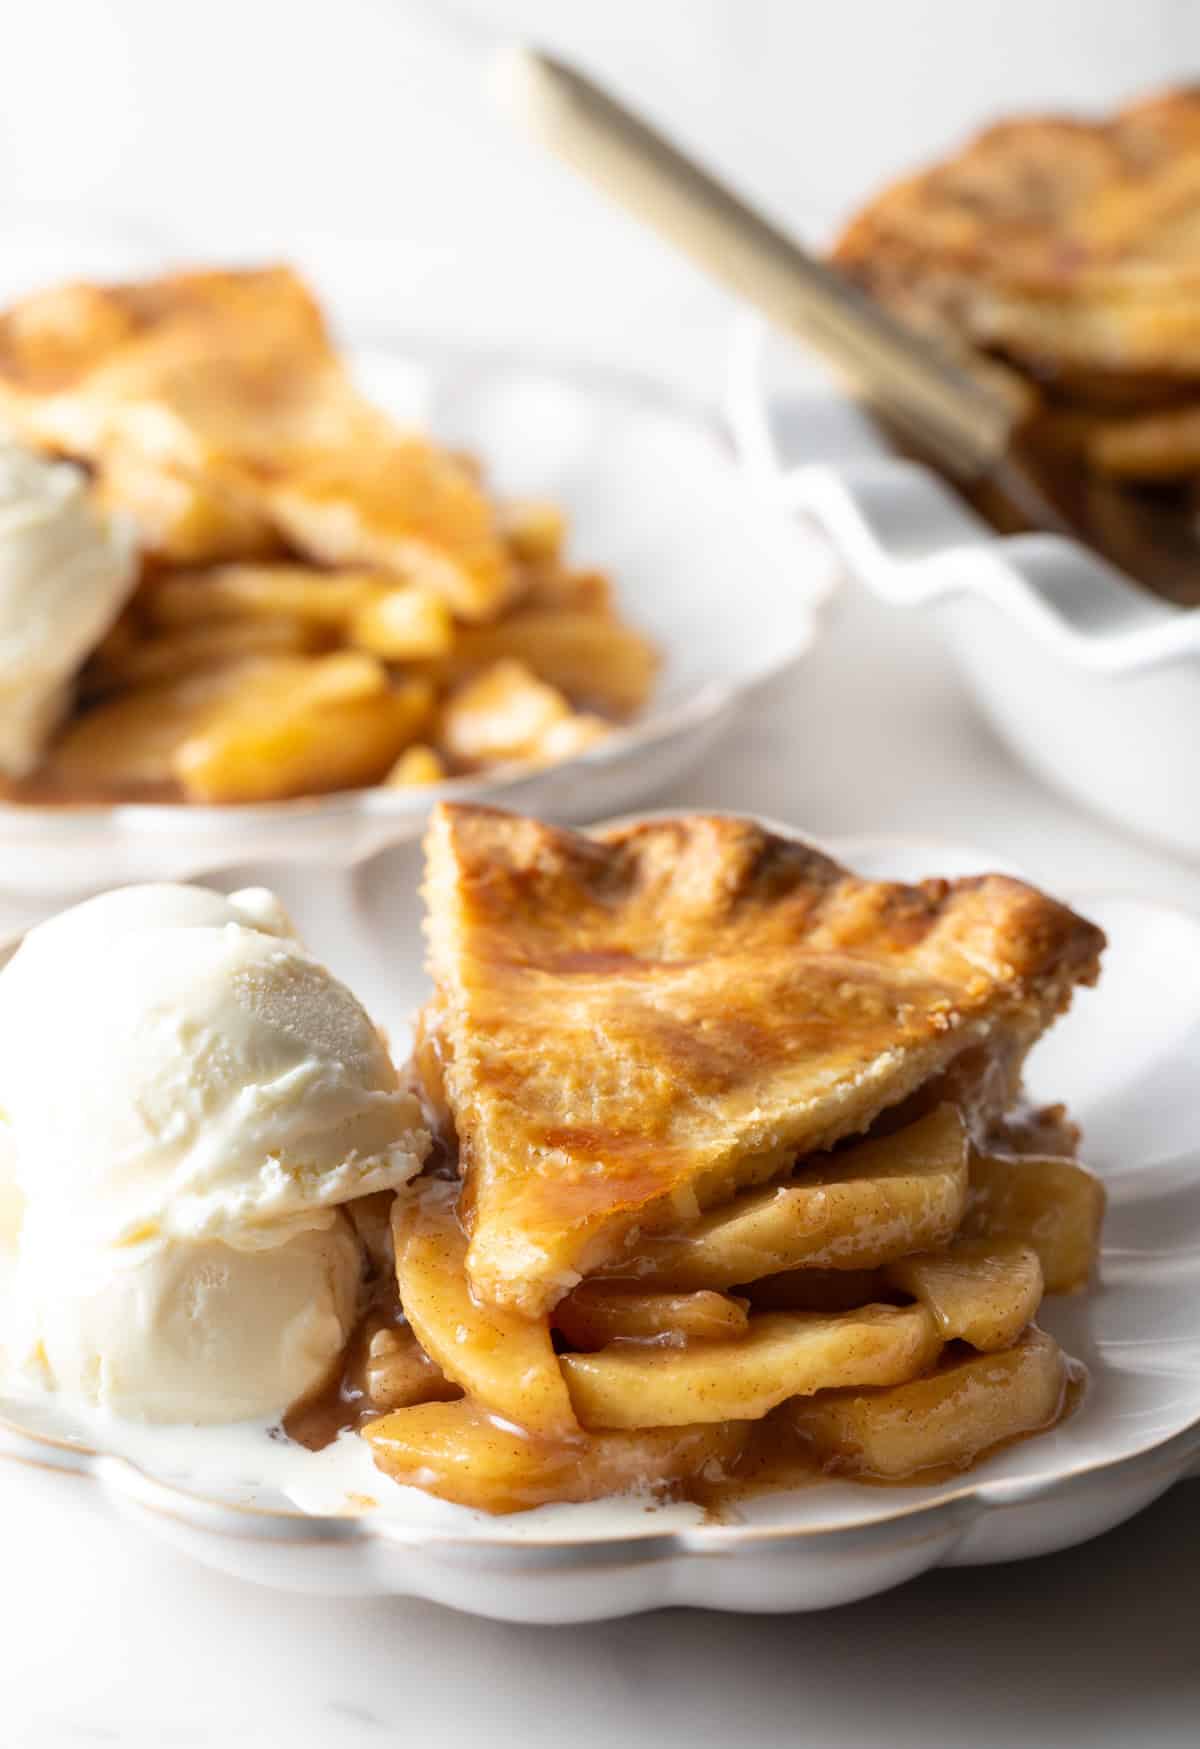
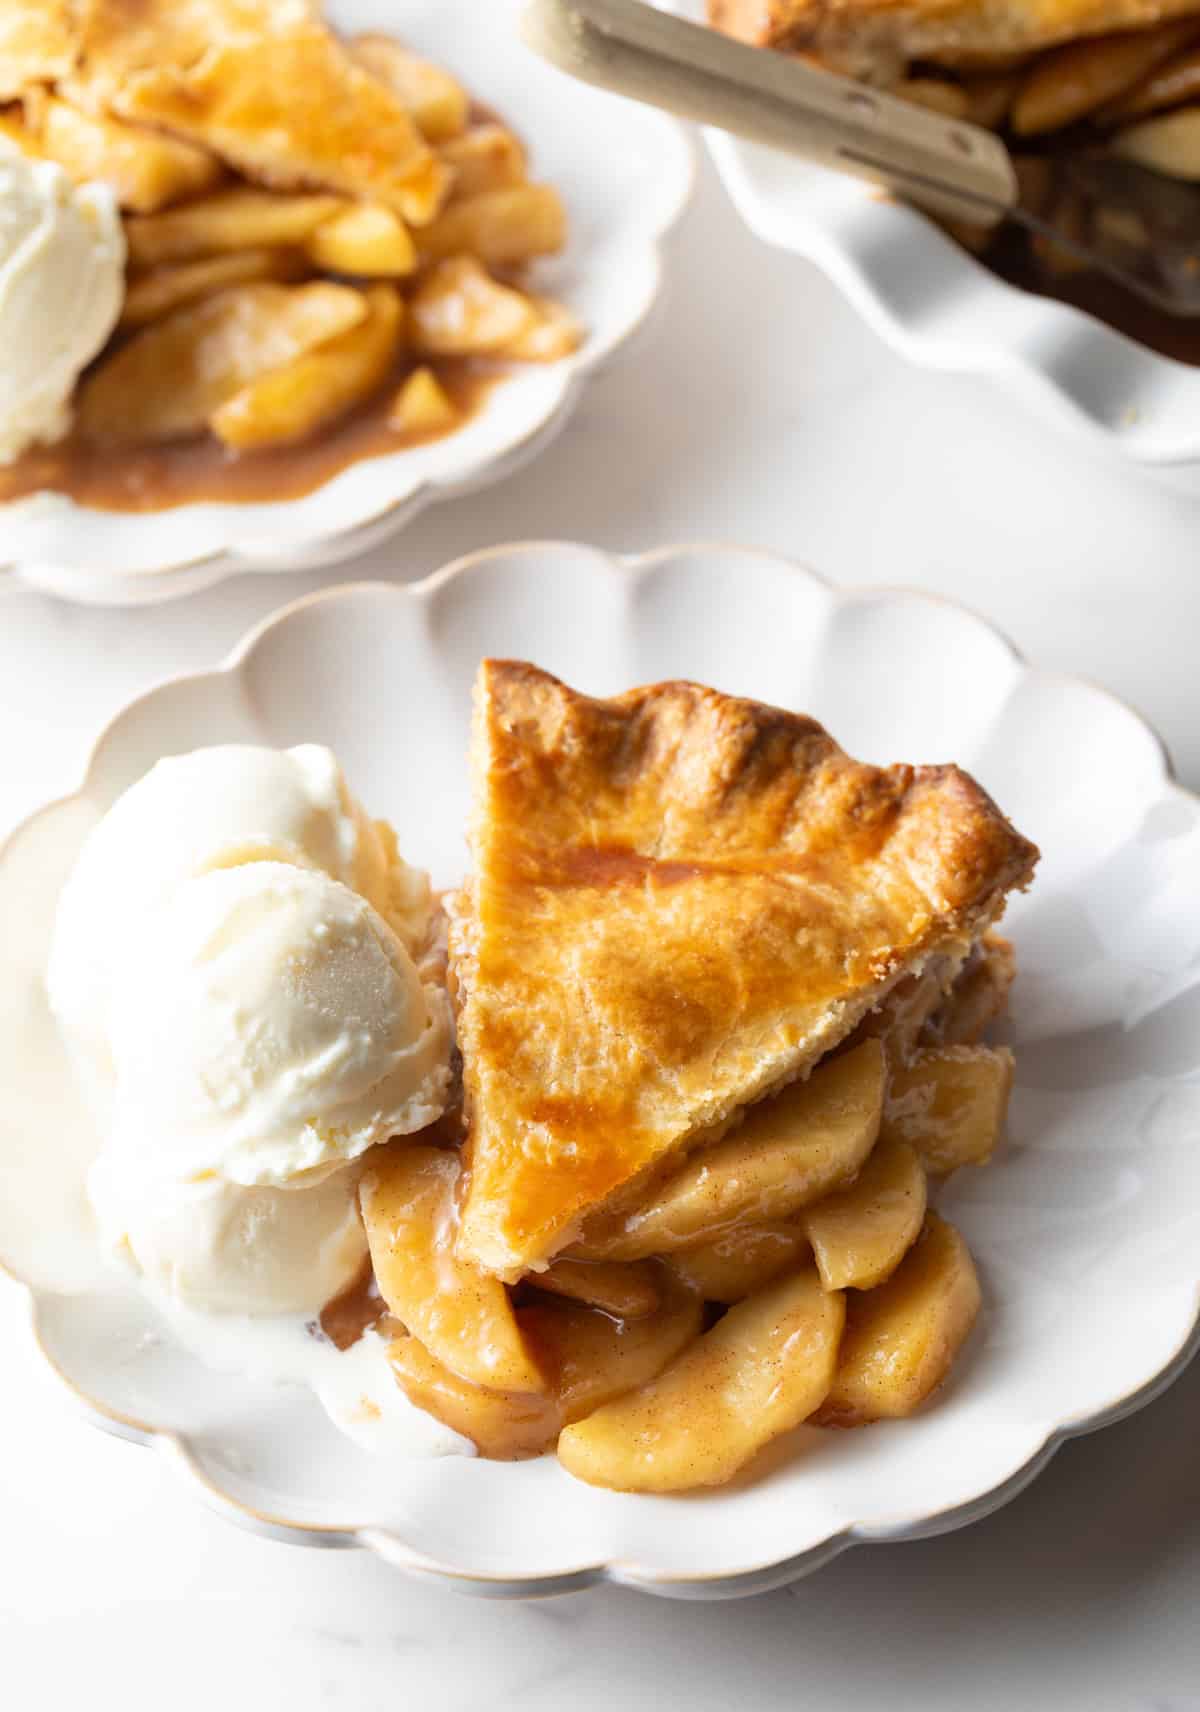
Once the pie has cooled for many hours, I use a pie cutter to cut out neat, clean slices. Most often I serve apple pie with scoops of vanilla ice cream AKA apple pie a la mode. (Which literally just means apple pie “in the popular fashion.”)
Or add a dollop of fresh whipped cream, or a squeeze of canned whipped cream, right on top!
Storage Notes
Homemade pie will keep well for a day or two at room temperature, with the top covered tightly with aluminum foil. For longer storage I recommend loosely covering with foil and storing in the fridge for 4-5 days.
And yes, you can freeze baked apple pie, too! After cooling completely I wrap it in two layers of plastic wrap, followed by a layer or two of aluminum foil. It’ll keep well in the freezer for up to 2 months. Thaw the pie in the fridge overnight and then on the counter for an hour or so before serving.
The best way to reheat pie is in the oven at 350 degrees for 15-20 minutes. I recommend covering it loosely with foil about halfway through cooking time to keep the crust from burning. Microwaving isn’t ideal as it can make the crust soggy, but in a pinch you can loosely cover individual slices with a piece of paper towel and microwave for 3-5 minute increments at 50% power until warmed throughout.
Frequently Asked Questions
Yes, you can put raw apples straight into a piecrust, and we do that in some other recipes, like my caramel apple slab pie recipe. However, when you’re making a classic apple pie from scratch and you’re using a nice deep ceramic pie dish, the apple filling is thick. It’s very easy to miss the mark on the baking time, so the apples are soft and cooked all the way through the middle. I’ve had it happen multiple times where I pull an apple pie out of the oven a little too early, and the apples are not quite done yet. Which is why in this recipe I include steps to cook the apple filling for about five minutes in the skillet.
But as I mentioned above, this is a step you can do the night before you assemble your pie. This will ensure the apples are partial cooked through before going in the oven, and the apple glaze has a little bit of cook time like a roux in the skillet to give it just the right texture.
Likely you didn’t cook the apple filling for long enough, or didn’t let the pie cool enough before slicing. You want to saute the apples for several minutes to cook off much of the excess moisture and tighten up the sauciness, then remove from the heat to cool completely and let the filling really thicken up.
Also, be sure to place the aluminum foil on top in the last 20 minutes or so of baking, to allow the pie plenty of time to bake throughout without the crust burning.
Help Me Spread the Word about this Fabulous Free Recipe! Sharing this recipe link on Pinterest and Facebook is super impactful, and I greatly appreciate it! Find the share buttons below the recipe form.
More Pies & Cakes Recipes


Easy Apple Pie Recipe
Video
Ingredients
- Double pie crust homemade or 1 box roll-out pie crusts
- 4 pounds firm tart apples Granny Smith, Fuji, Honey Crisp, Braeburn
- 1-2 tablespoons lemon juice
- 2 tablespoons butter
- ¾ cups light brown sugar packed
- ¼ cup all-purpose flour
- 1 ½ teaspoons ground cinnamon
- ½ teaspoon salt
- ¼ teaspoon ground nutmeg
- 1 egg + 1 tablespoon water for eggwash
Instructions
- Set out a large mixing bowl. Place the lemon juice in the bowl. One at a time, peel each apple, remove the core, and cut the apple into ½ inch wedges. Throw the apple wedges in the bowl and toss so that each apple is coated in lemon juice, to reduce browning.
- Once all the apples are cut, place them in a large skillet over medium heat. Add the butter, brown sugar, flour, cinnamon, salt, and nutmeg. Gently stir with a rubber spatula to coat the apples in the sugar and flour mixture. Sauté the apples for approximately 5-7 minutes, stirring every minute, so the apples are partially softened and the flour mixture has time to cook. Then turn off the heat and allow the apples to cool completely before moving on. *I like to do this the day before. If you're in a hurry, move the skillet to the refrigerator or freezer to help the apples cool quicker.
- Meanwhile, remove one pie crust from the refrigerator. Flour a work surface and rolled the piecrust out into a 12-inch circle. Carefully flip the pie crust into a 9-inch pie pan and gently tuck the crust down to make sure the bottom and sides are completely covered, and there’s no gapping in the corners of the pan. Then allow the edges of the crust to just lay over the top edge of the pan. Refrigerate the crust until ready to use. *I like to use a silicone pastry mat, or a piece of parchment paper when I'm rolling out pie crust to help easily flip them over into the pan. Then you just peel off the mat!
- Once the apples have cooled, preheat the oven to 400°F. Scoop the apples and all the cinnamon filling into the prepared crust and spread it out in an even layer. Place the pie back in the refrigerator and take out the second crust.
- Roll the second pie crust out into an 11-12 inch circle. Carefully move the top crust over on top of the pie making sure to center it perfectly. Gently tuck the top pie crust underneath the edge of the bottom pie crust. Then use your fingers to crimp the edges around all sides, to seal the two crusts together.
- In a small bowl, whisk the egg and water together. Brush the egg wash over the top of a pie. Then use a sharp knife to cut 3 to 4 vent holes in the top of the pie.
- Place the pie in the center of the oven and bake for 15 minutes. Then reduce the heat to 375°F and bake an additional 45-50 minutes. Watch the pie carefully, and when the top crust has reached your desired color, place a loose piece of foil over the top to stop it from browning any further, then continue baking. *Make sure this is the only time you open the oven door. You don’t want to slow down the baking time, by letting out all the heat!
- Once the pie is out of the oven, allow it to cool for at least 4 hours before serving. For best results, I cool the pie for about an hour on the counter then move it to the refrigerator to help the filling firm up properly!


The tips about making the crust and filling the night before and not opening the oven door during baking were exactly what I needed to finally nail a homemade apple pie – it came out perfectly golden, beautifully set, and tasted like pure fall in every single slice!
Hi Susan,
I’m delighted that those make-ahead and baking tips helped you nail your homemade apple pie! A perfectly golden crust and beautifully set filling sound like pure fall perfection, and I truly appreciate your five-star review.
I’ve always been intimidated by homemade pie but this recipe walked me through every single step so clearly that it came out absolutely perfect on my very first try -golden crust, thick glossy filling, and tender apples in every bite!
I made this for Thanksgiving and my whole family said it was the most beautiful and delicious apple pie they had ever tasted!
Hi Caroline,
What a wonderful compliment from your whole family! I’m thrilled the apple pie was such a beautiful and delicious addition to your Thanksgiving, and thank you so much for the five-star review.