

Strawberry Pie Recipe
 by Sommer Collier — on May 25, 2026
As soon as warm weather arrives, I start making all my favorite chilled summer desserts, and this fresh strawberry pie is always at the top of the list. I pile whole strawberries into a no-bake ginger snap crust, cover them in a sweet strawberry glaze, and chill the pie until perfectly cold and sliceable. It’s easy to make ahead and even better topped with whipped cream.
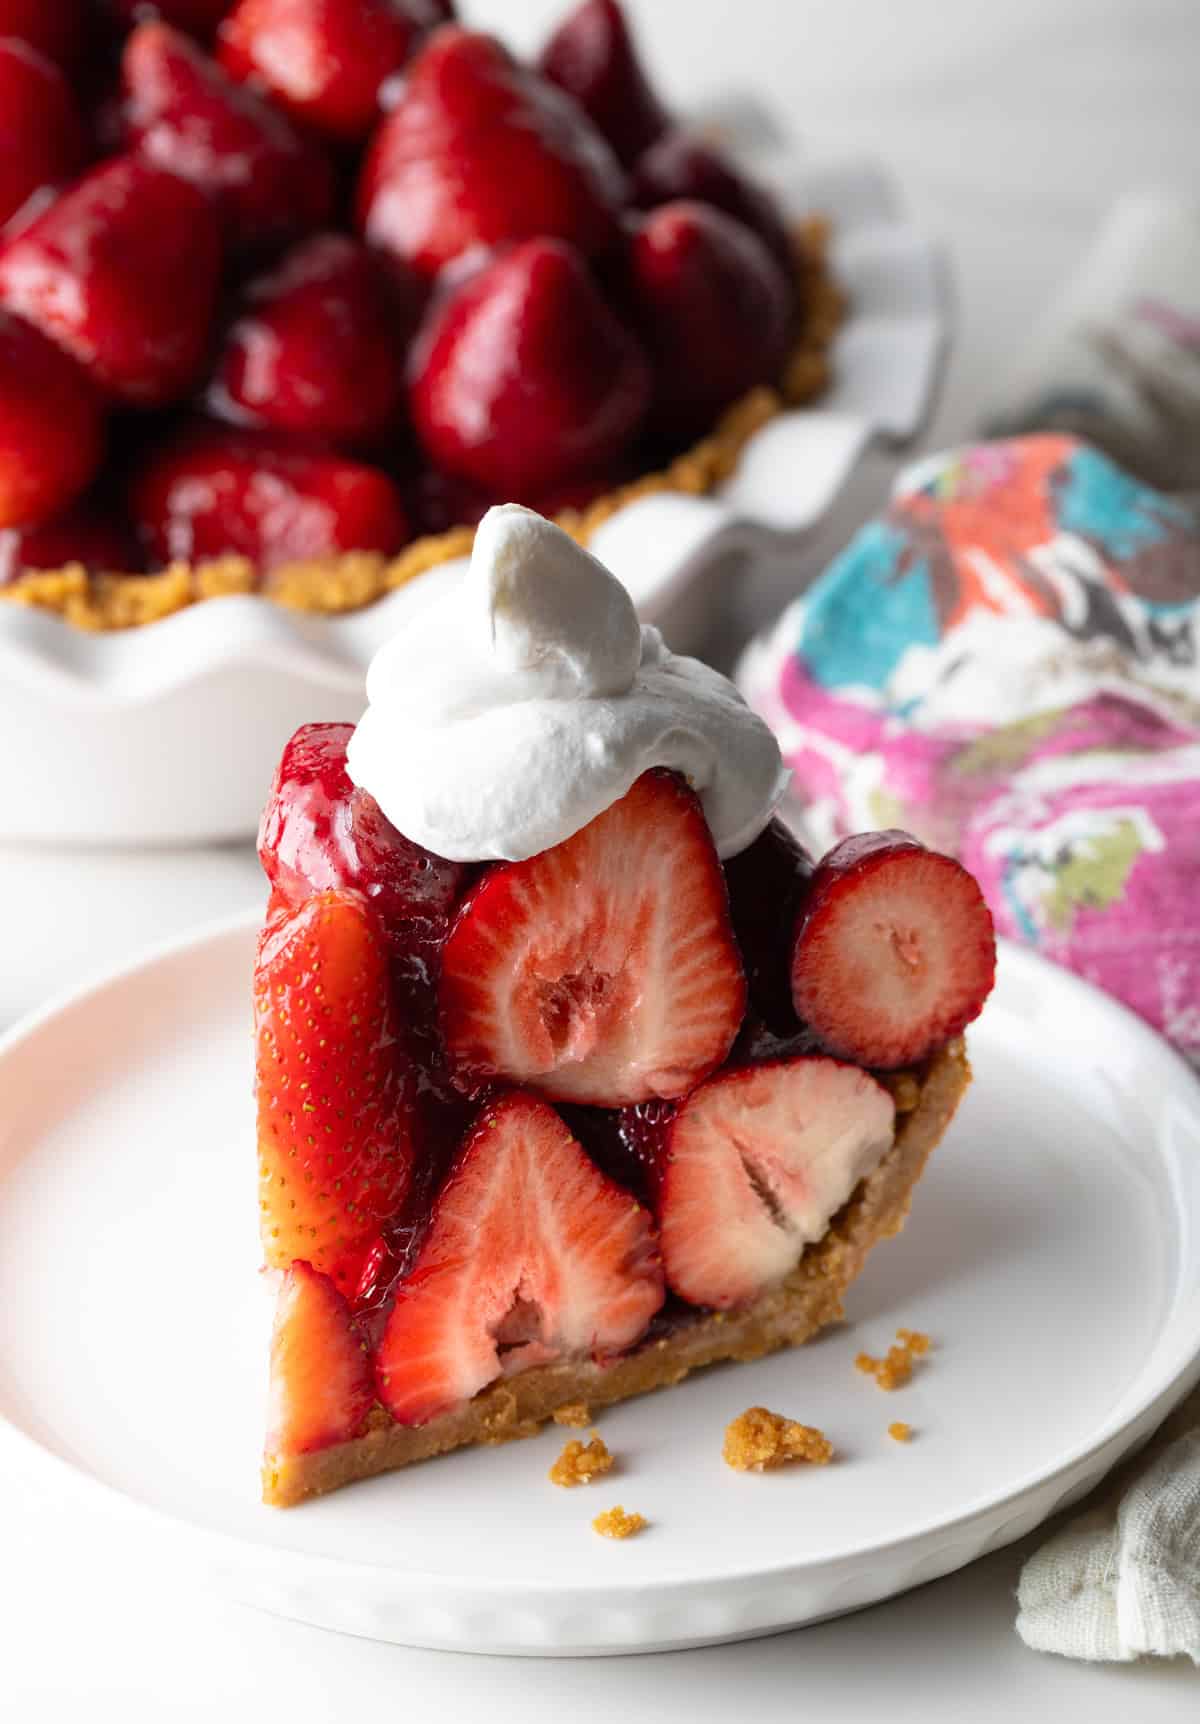
Berry season is my favorite time of year to lean into fresh produce and recipes that don’t require turning on the oven. (Well, unless it’s a fresh strawberry bundt cake, then I’ll definitely make an exception :)) If you’ve ever experienced a Southern-style blazing hot summer, you know exactly what I mean! This simple, no bake, fresh berry pie is an easy summertime dessert to make the most of those sweet summer berries. The crust is a no-bake crust often made with graham crackers, but I use ginger snap cookies for a little extra zing! I simply load and arrange fresh strawberries high in the middle of the pie pan, then pour a sticky-sweet syrup over the top to hold the berries together. It chills in the fridge while I chill by the pool or on the couch… Or anywhere with air conditioning!
Table of Contents

Sommer’s Recipe Highlights
Best Strawberry Flavor (Promise) – Most fresh berry pies use strawberries Jell-O to hold the berries together. However, I find that if you use a good-quality strawberry jam mixed with unsweetened gelatin, you get a fresher strawberry flavor but just as much shine. And with way fewer questionable ingredients! (I love you, Jell-O, but let’s be honest…)
Easy No Bake Dessert – Speaking of that yummy homemade Jell-O-esque filling, you’ll be happy to know that stirring it up on the stovetop is the only cooking required in this strawberry pie recipe. Like I mentioned, and similar to my strawberry cream pie recipe, it has a classic no-bake cookie crust made with ginger snaps or graham crackers, and includes fresh raw strawberries. And I keep them fresh and raw! It’s the perfect cold dessert for summer when I don’t want to turn on the oven.
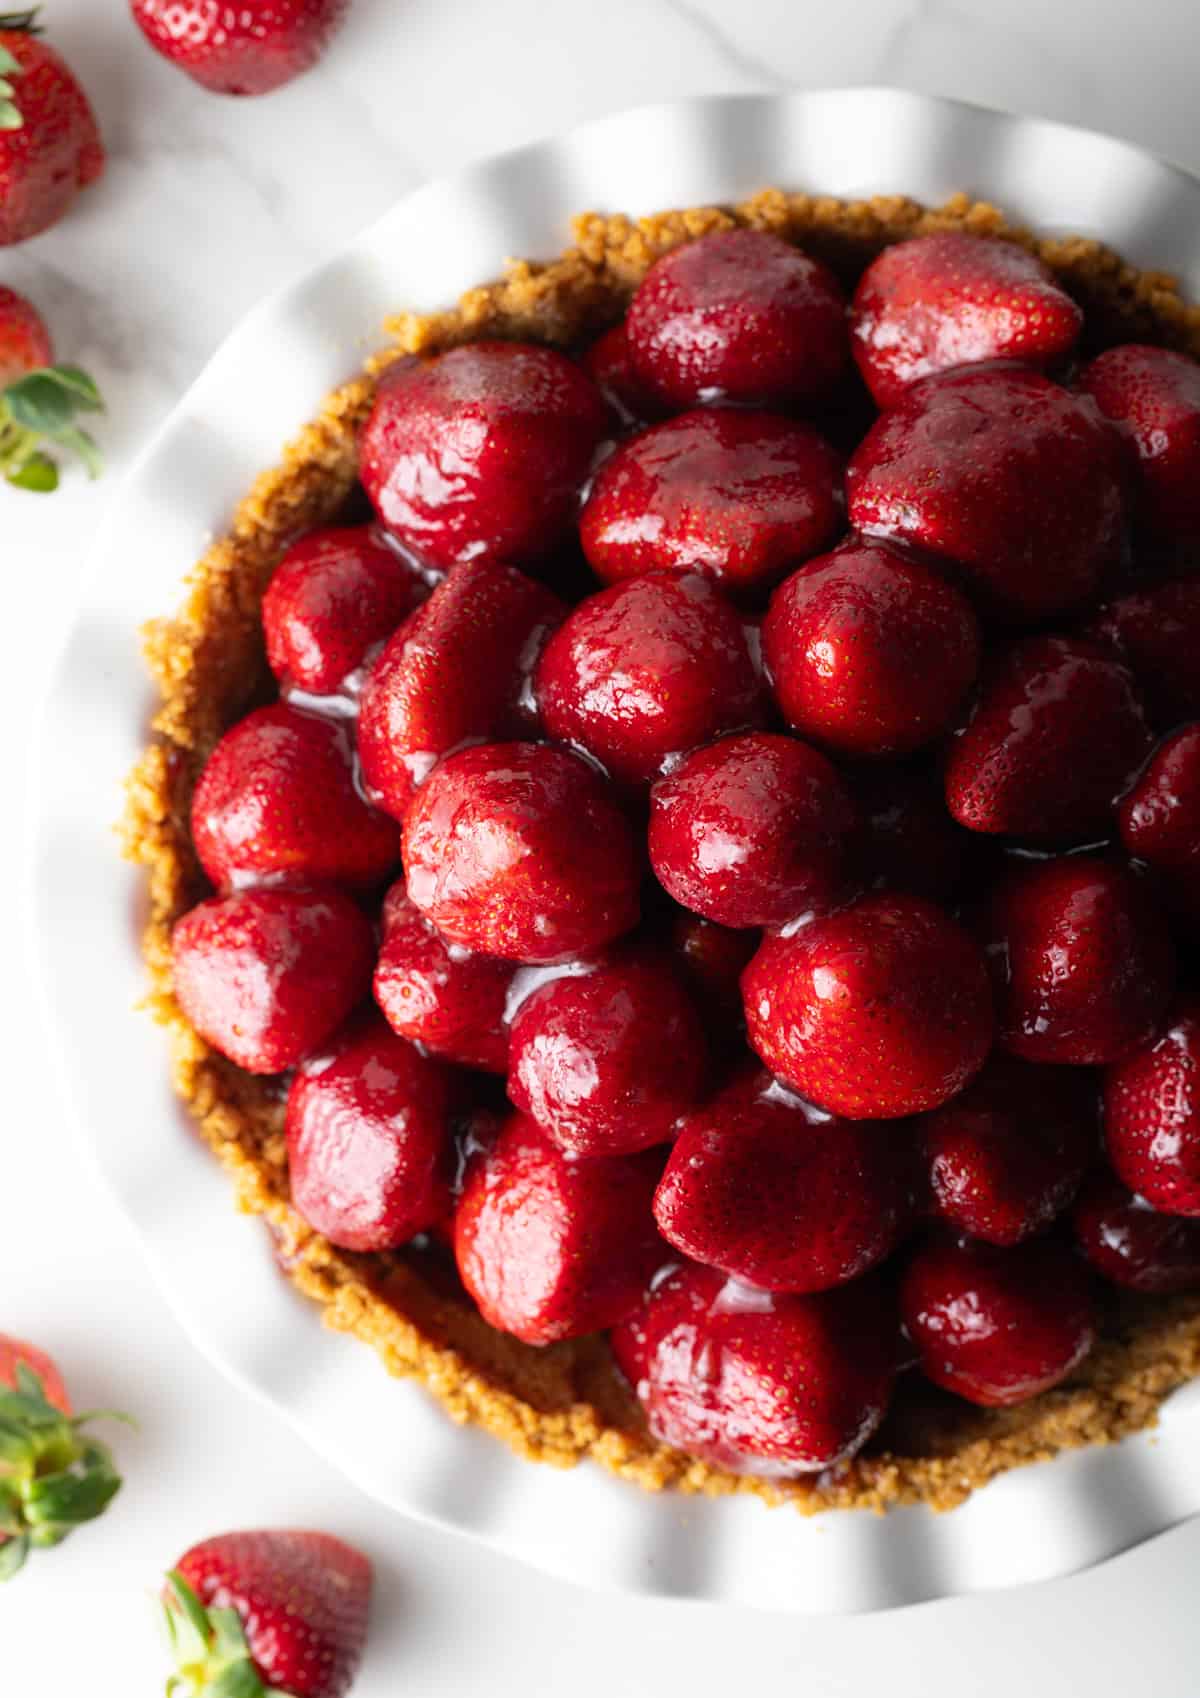
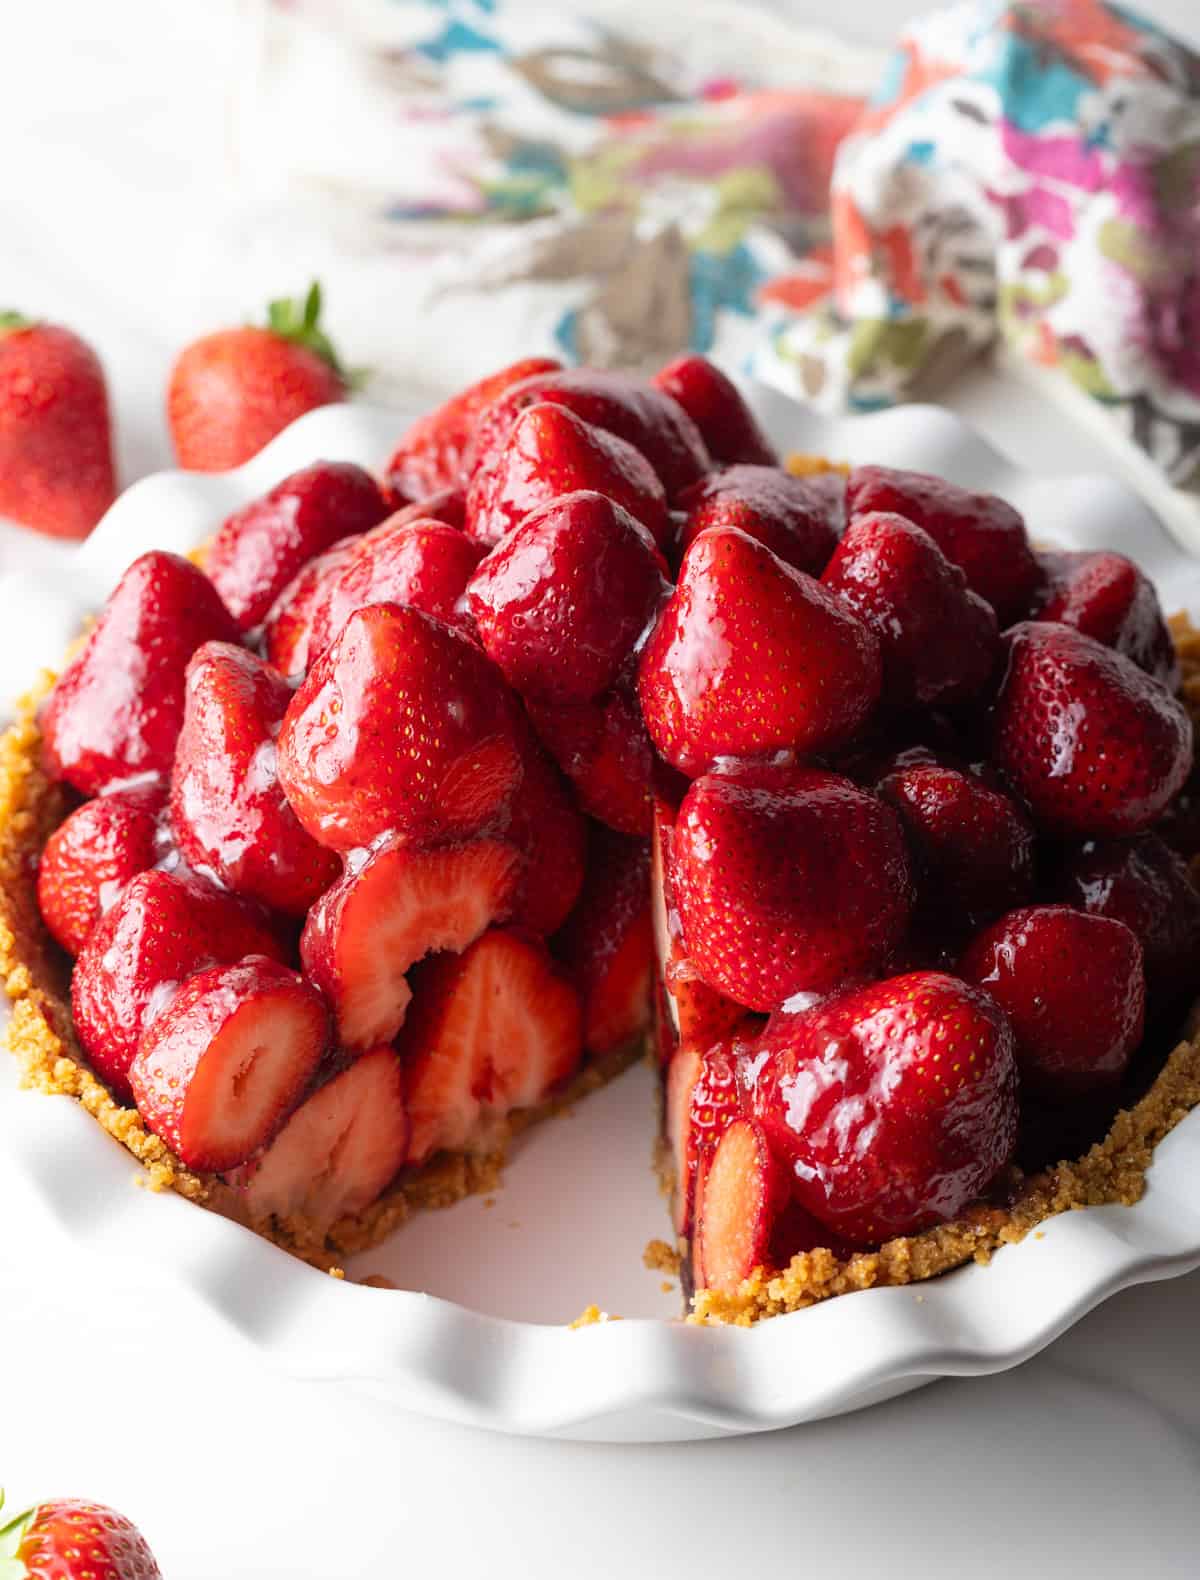
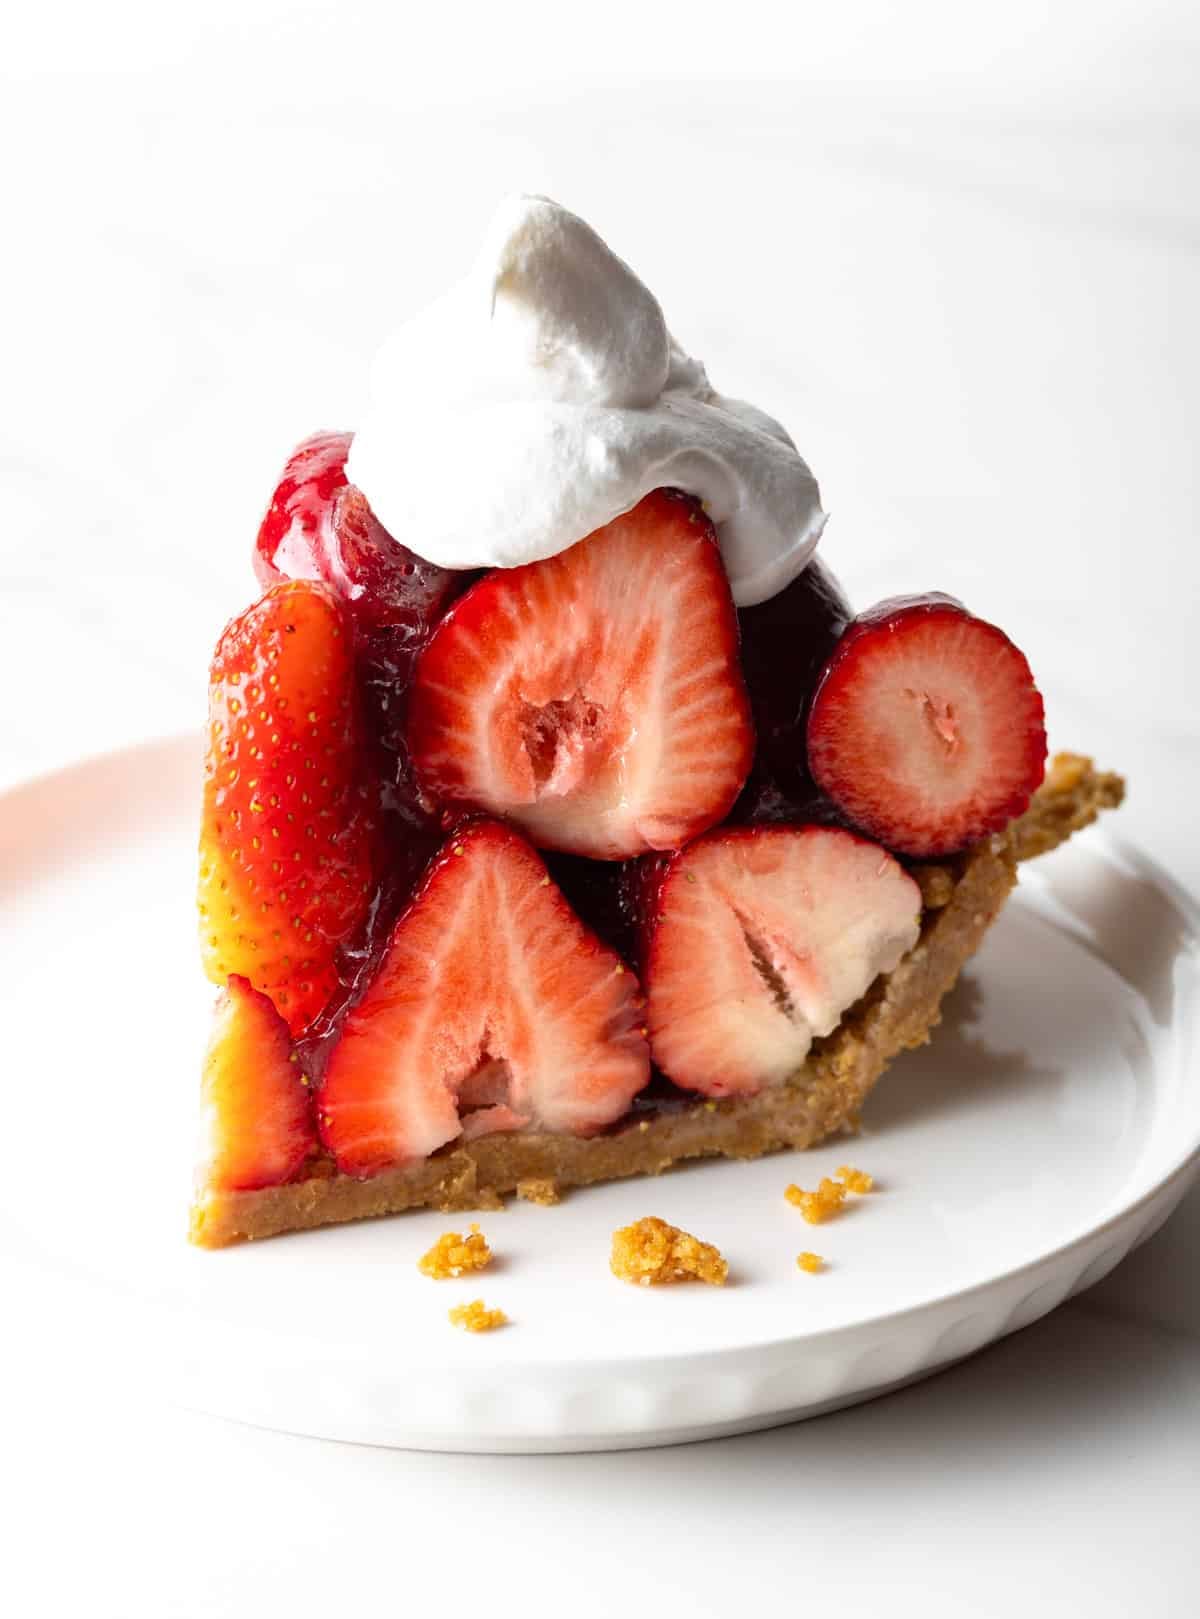
Delicious AND Beautiful – I don’t say this often, but my strawberry pie is a stunning dessert that literally shines! The impressive mound of red strawberries glistens with the jam syrup, and looks lovely when you cut slices and see the layers of berries inside. Like with my strawberry rhubarb pie, top the pieces with whipped cream for the perfect final touch!
Key Ingredients and Tips
- For the No-Bake Crust – I’ve changed up a more traditional strawberry pie recipe by using spice-ful ginger snap cookies instead of graham crackers. But use whichever you prefer! You’ll also need granulated white sugar, unsalted butter, and a pinch of salt.
- Strawberries – I look for ripe berries that have a bright and deep red color, and avoid ones that are lighter pink and overly firm. Unripened strawberries tend to have a bitter taste.
- Strawberry jam – I use a high-quality jam for the best flavor, and to skip any questionable high fructose corn syrup, etc., additives you find in some brands of fruit jelly.
- Gelatin – Unsweetened powdered gelatin lets the taste of the fresh strawberries shine! It makes a gel that is pourable and not too thick, but firms up well enough to keep the berries “stuck” together.
- Lemon juice – A bit of acid from fresh lemon juice helps to activate the gelatin’s, well, gel-iness. It also brightens up the strawberry flavor with some tartness to balance the sweet berries.
How to Make
Find the full ingredient proportions, detailed instructions, storage tips, and a video tutorial in the printable form at the bottom of the post.
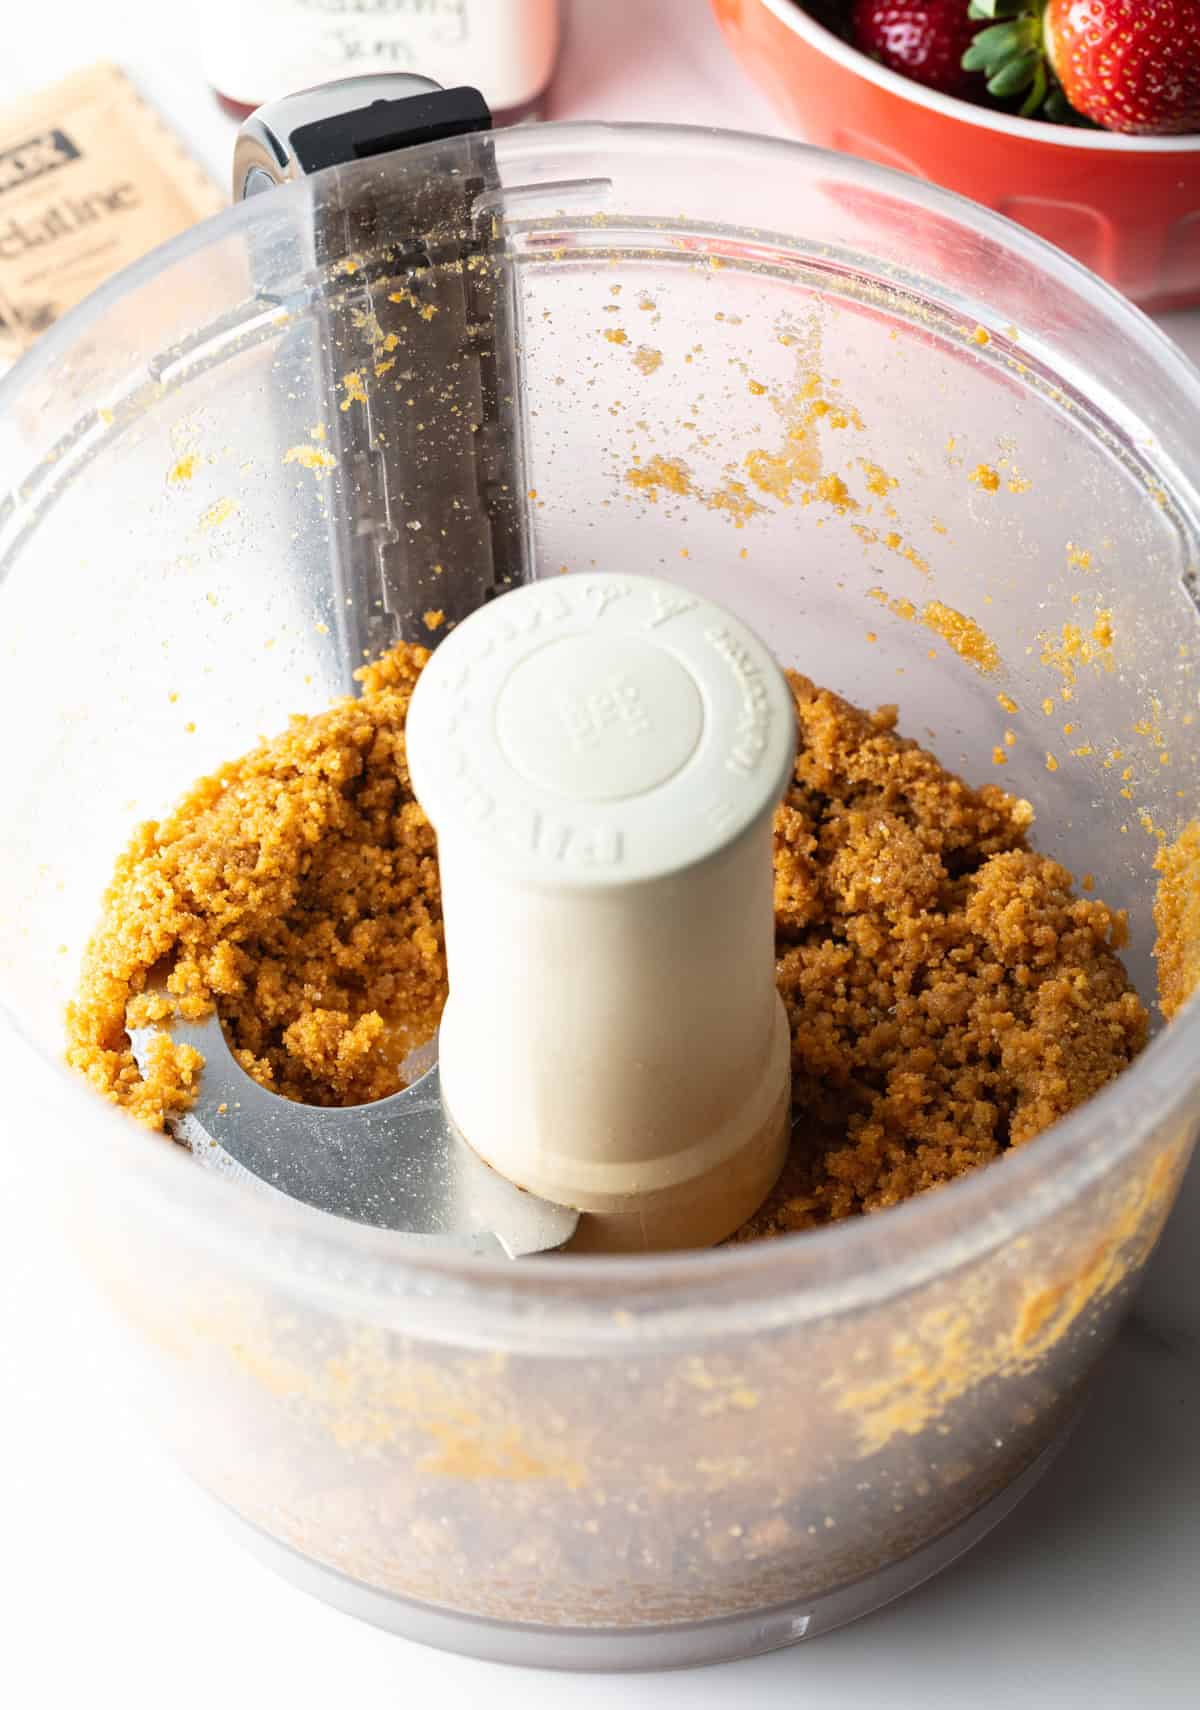
Make the Crust – While this recipe is wildly easy, it does admittedly require a good chunk of time to prepare. To start, I melt the butter in a microwave-safe bowl. While it cools, I make the no-bake crust by first crumbling ginger snap cookies in a food processor. I don’t turn them into a paste, just a nice crumble. Then I dump this into a bowl, measure out 1 3/4 cups of cookie crumbliness, and add that back to the food processor.
Next, I add the melted butter, sugar, and salt into the processor. Pop on the lid and pulse again a few times to create a thick crumbly mixture. Again, don’t turn it into paste!
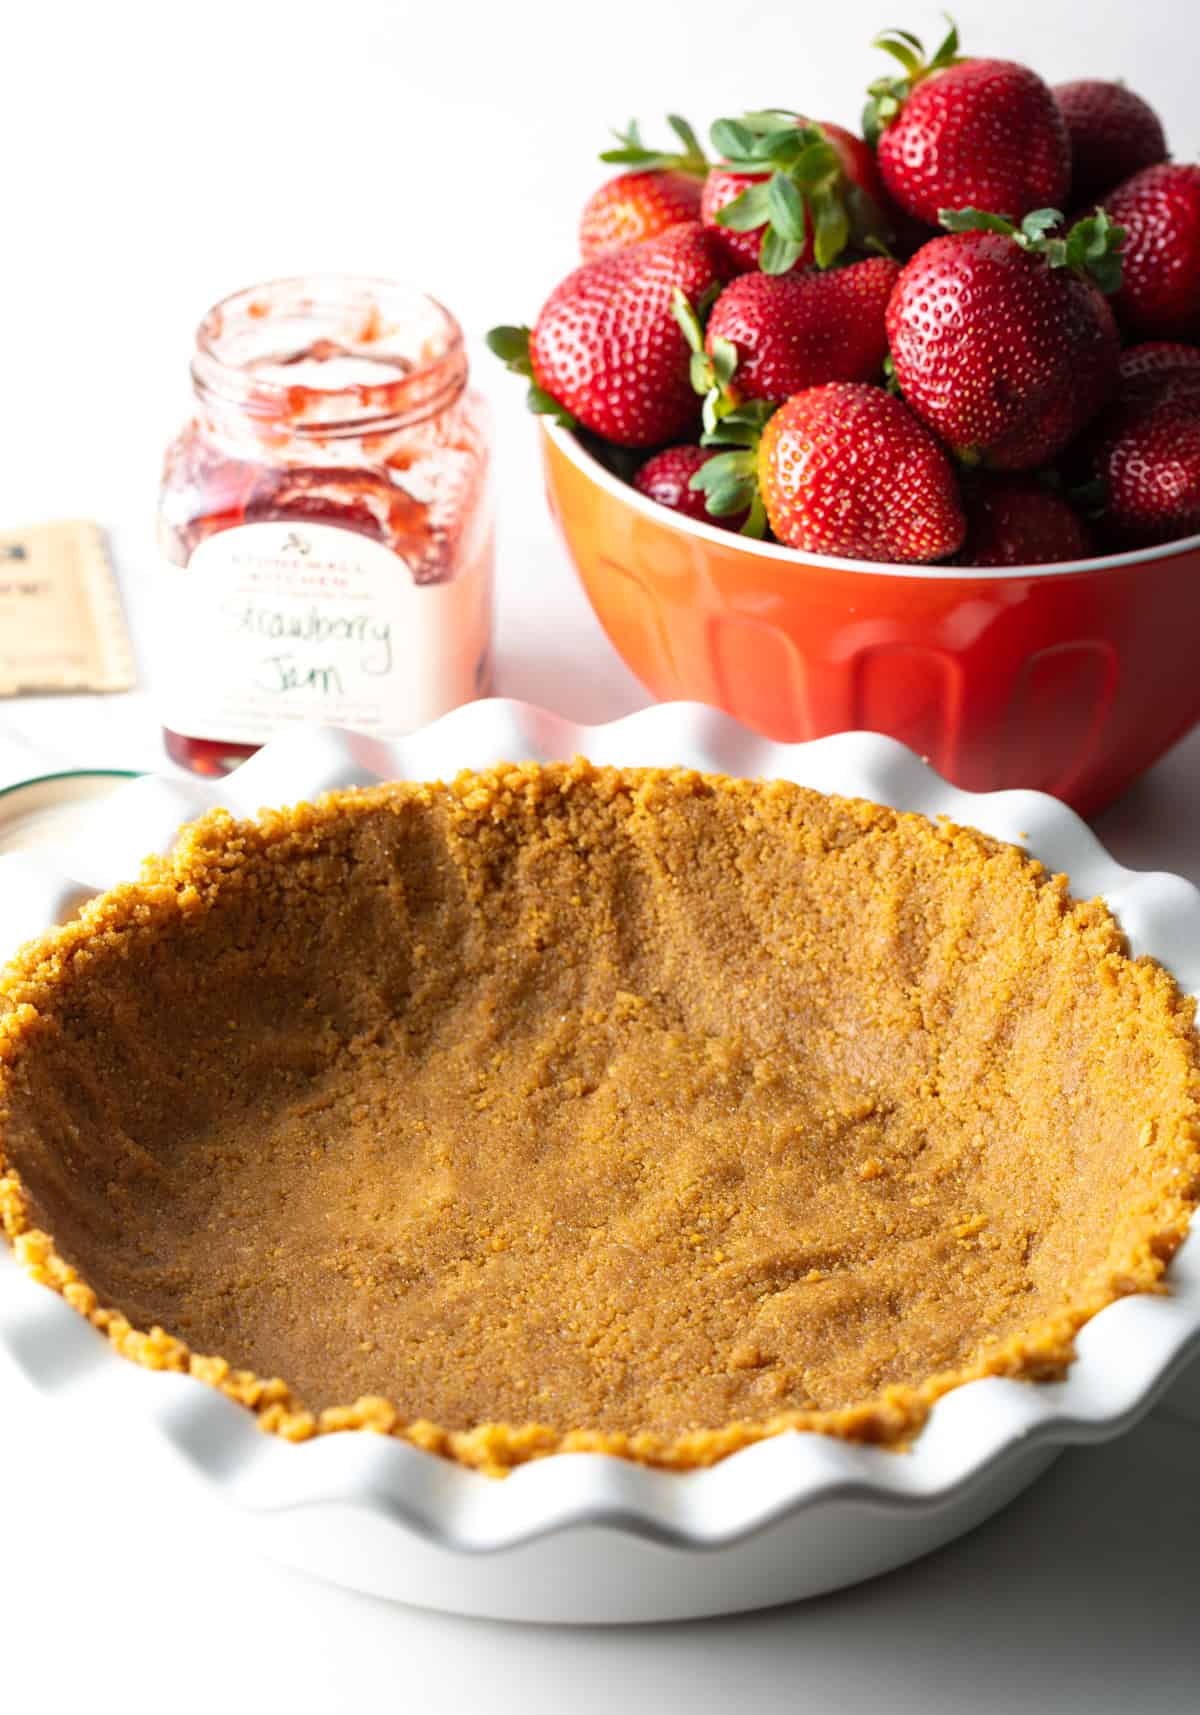
Form in the Pan – Now I grease a pie pan with a bit of butter or nonstick spray. Then dump the buttery cookie mixture into the center of the pan and spread it out to cover the bottom and sides. I push firmly but with a gentle touch, so as not to smoosh the crust and make it crack. You can also use the bottom of a glass to flatten the bottom of the crust evenly.
The pan then goes into the refrigerator for at least 20 minutes, until the butter has completely hardened to form a sturdy no-bake strawberry pie crust.
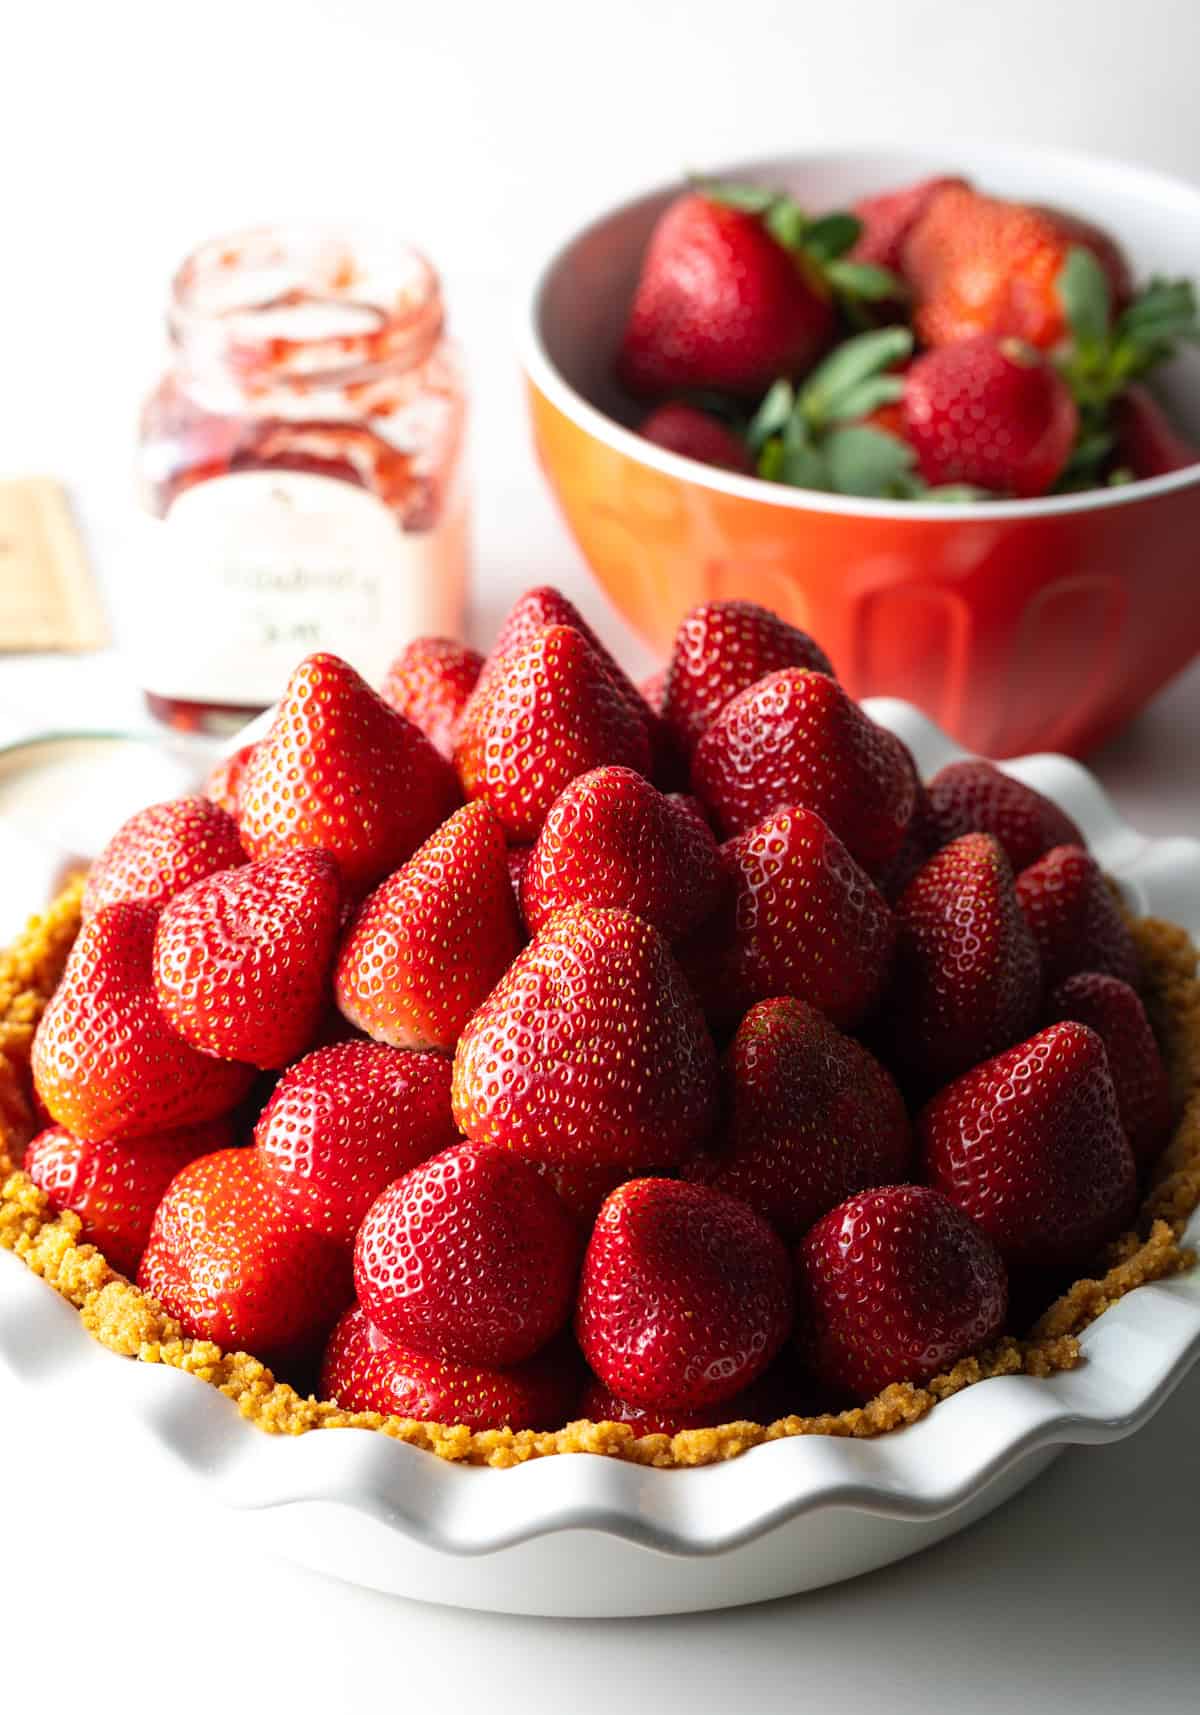
Arrange Strawberries – While the crust is in the fridge, I cut the tops off of the strawberries, then wash and dry the berries well. Once the crust is set, I arrange the strawberries by placing them side-by-side across the bottom of the pan. Then I add another layer of berries on top of the first layer, placing them at angels to sort of fill in the gaps between the other strawberries. Add another layer – or two! – until you’ve created a small mountain of strawberries. They should be stacked fairly high, and not overflow or fall off easily.
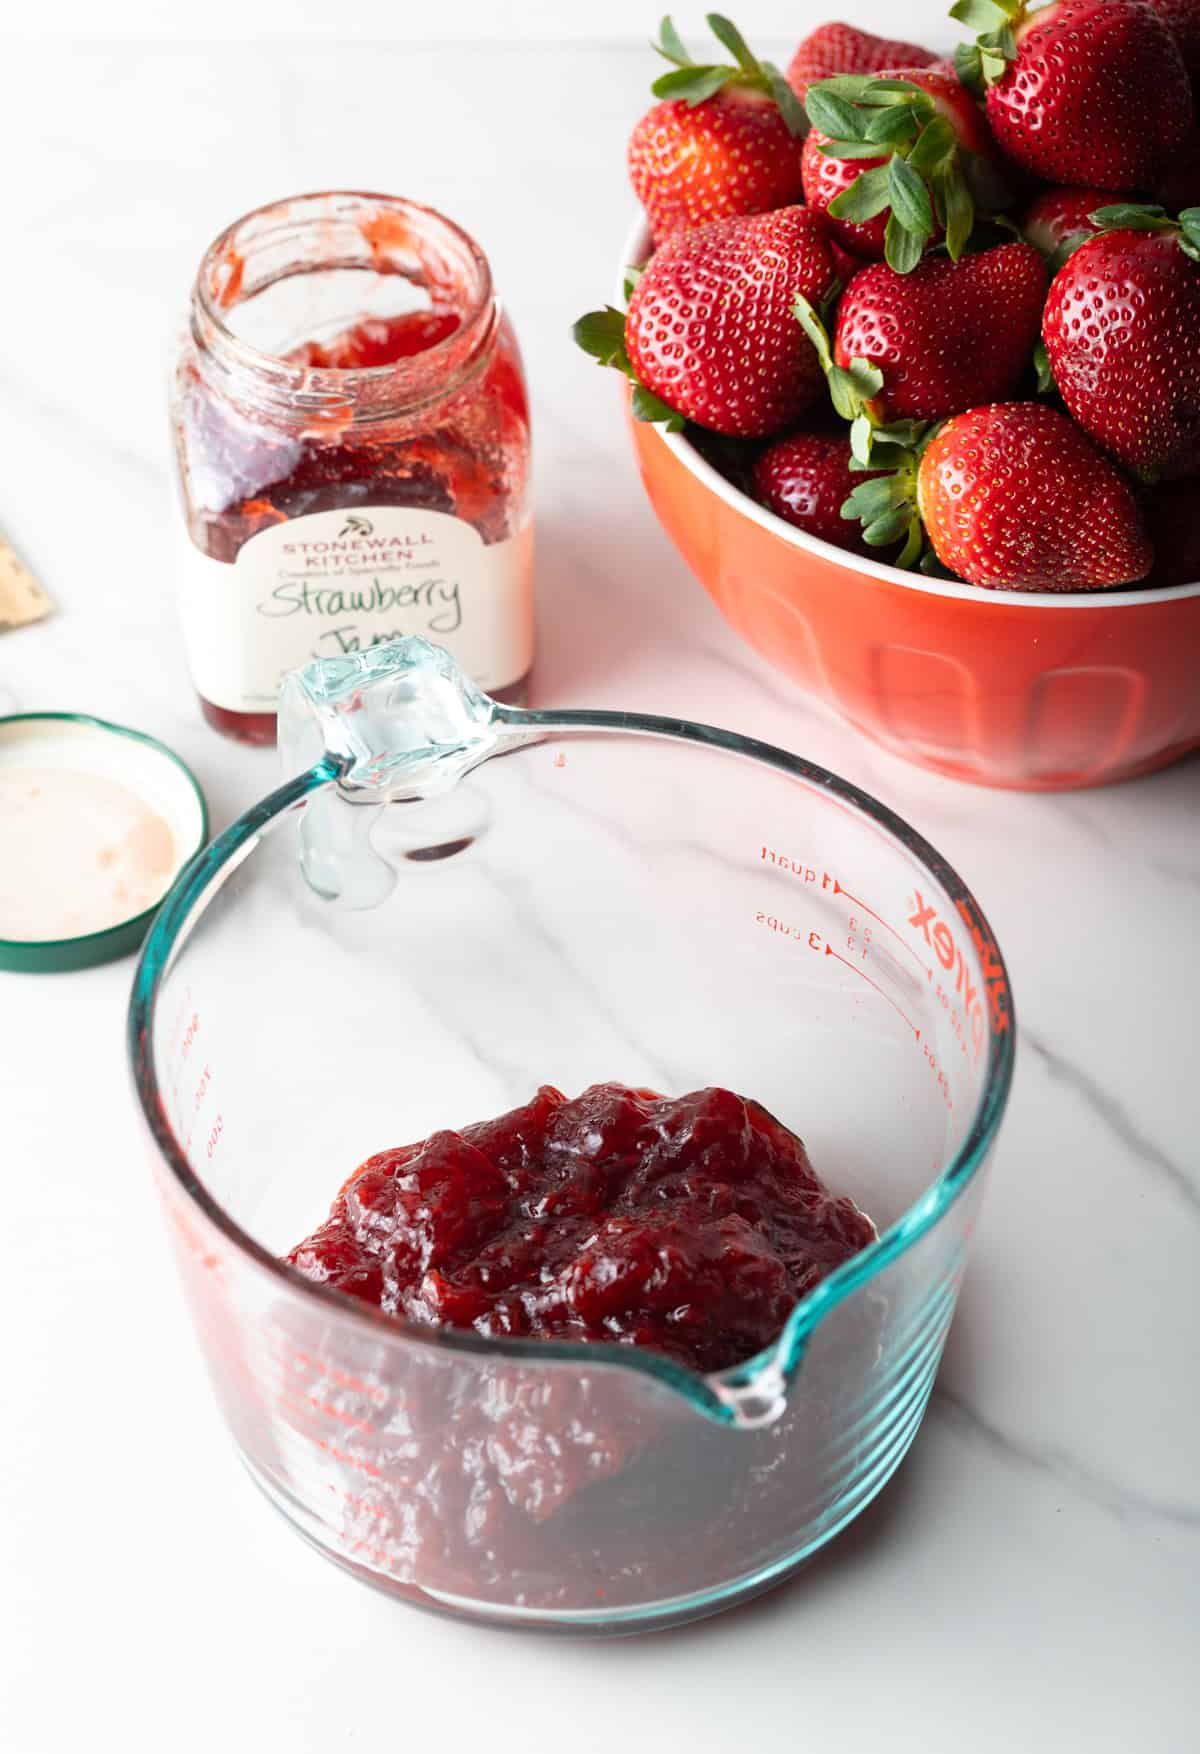
Make Jam Mix – Next, I combine the strawberry jam, gelatin, water, lemon juice, and salt in a microwave-safe bowl. I microwave the mixture for 2-3 minutes, until it just starts to get bubbly. I want it to come to a gentle boil but not burn, so keep a close eye on things! Once it reaches the bubbling point, I take the bowl out of the microwave and stir quickly until the gelatin is fully melted. Now set the jammy mixture aside and let it cool at room temperature for about 10 minutes. You can stick the pie pan with strawberries back in the fridge while you wait, but be careful, as nothing is holding together the mound of berries yet!
Pour Mixture Over Pie – Once the jam sauce has cooled I carefully, slowly and evenly pour it over the top of the fresh strawberry pie, making sure it works its way through all of the cracks. I also like to use a basting brush to coat the exposed outer layer of berries with the mixture for extra shine!
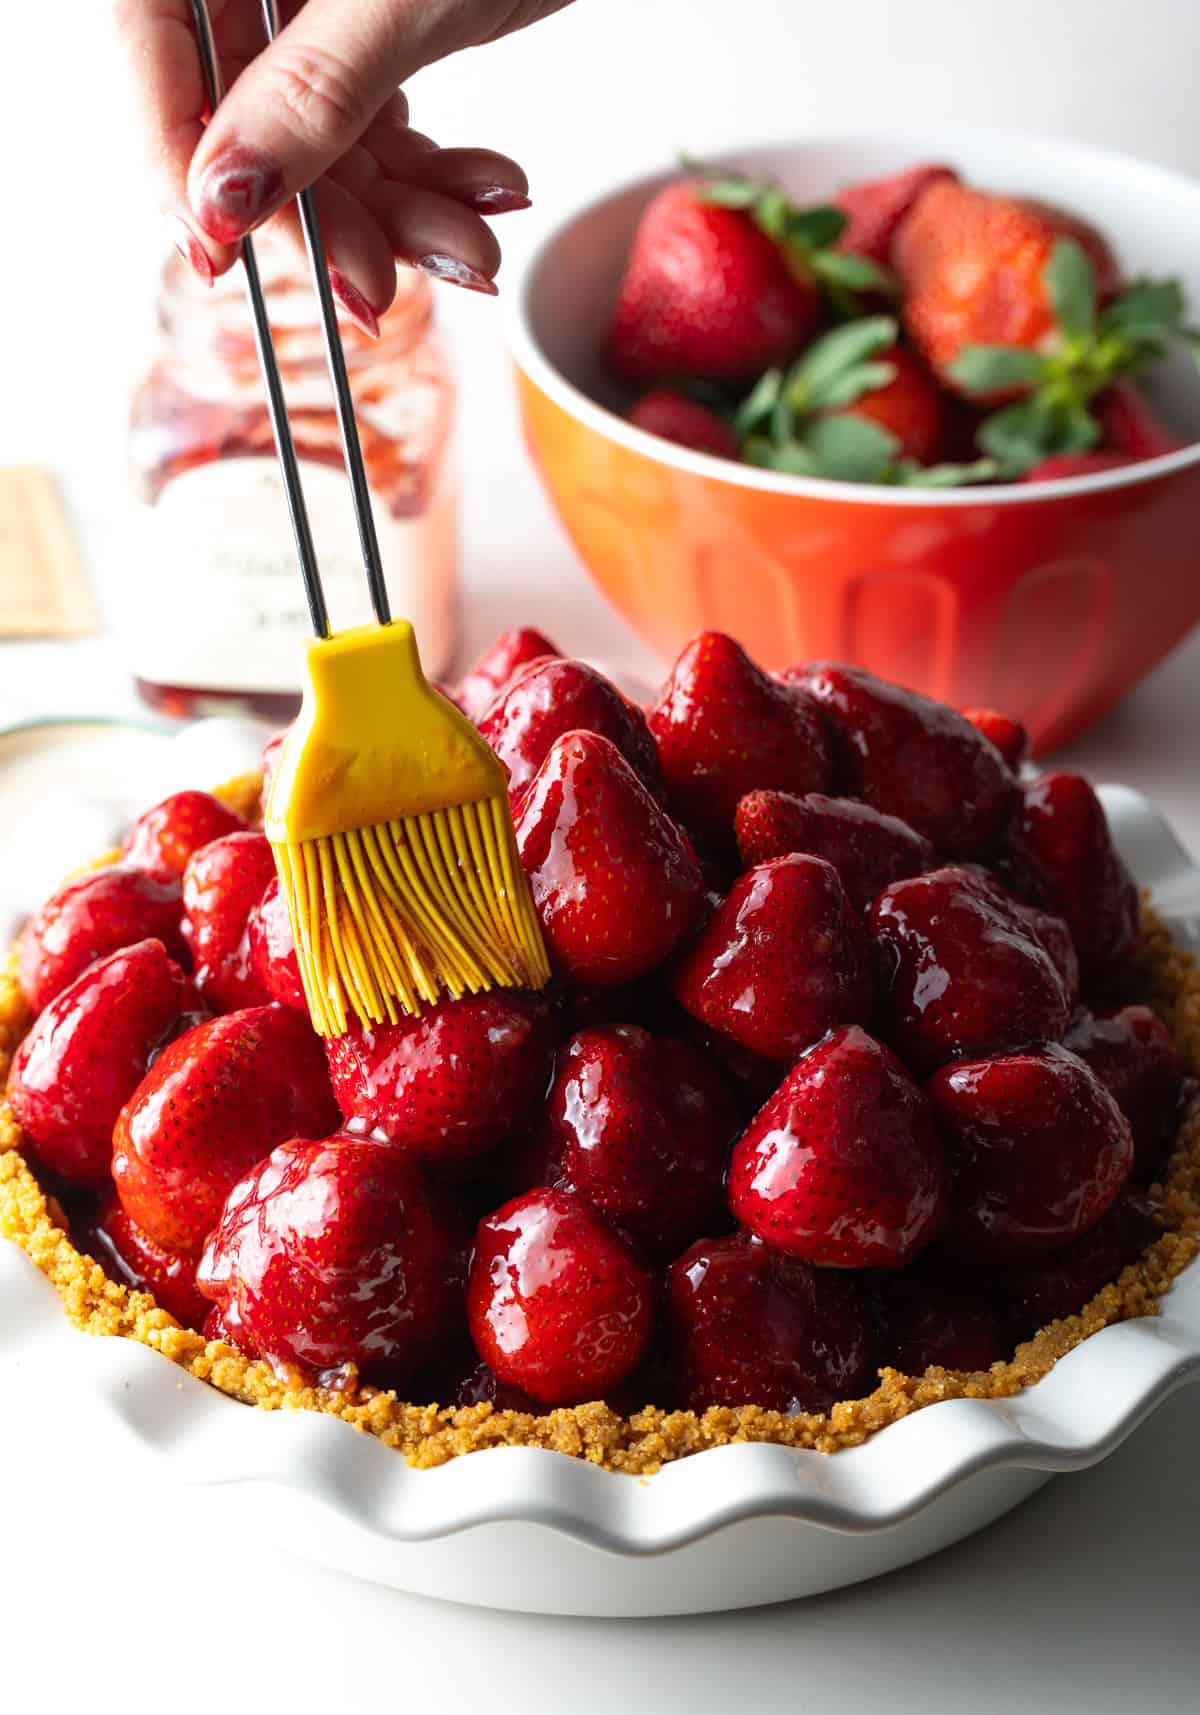
Refrigerate – Now into the fridge it goes! Let the pie chill for at least 3 hours before serving. I know it’s ready when I wiggle a berry, and it sticks well with the strawberries around it. The pie should also be thick and firm… So if it seems wet and runny, pop it back into the fridge for another 30-60 minutes.
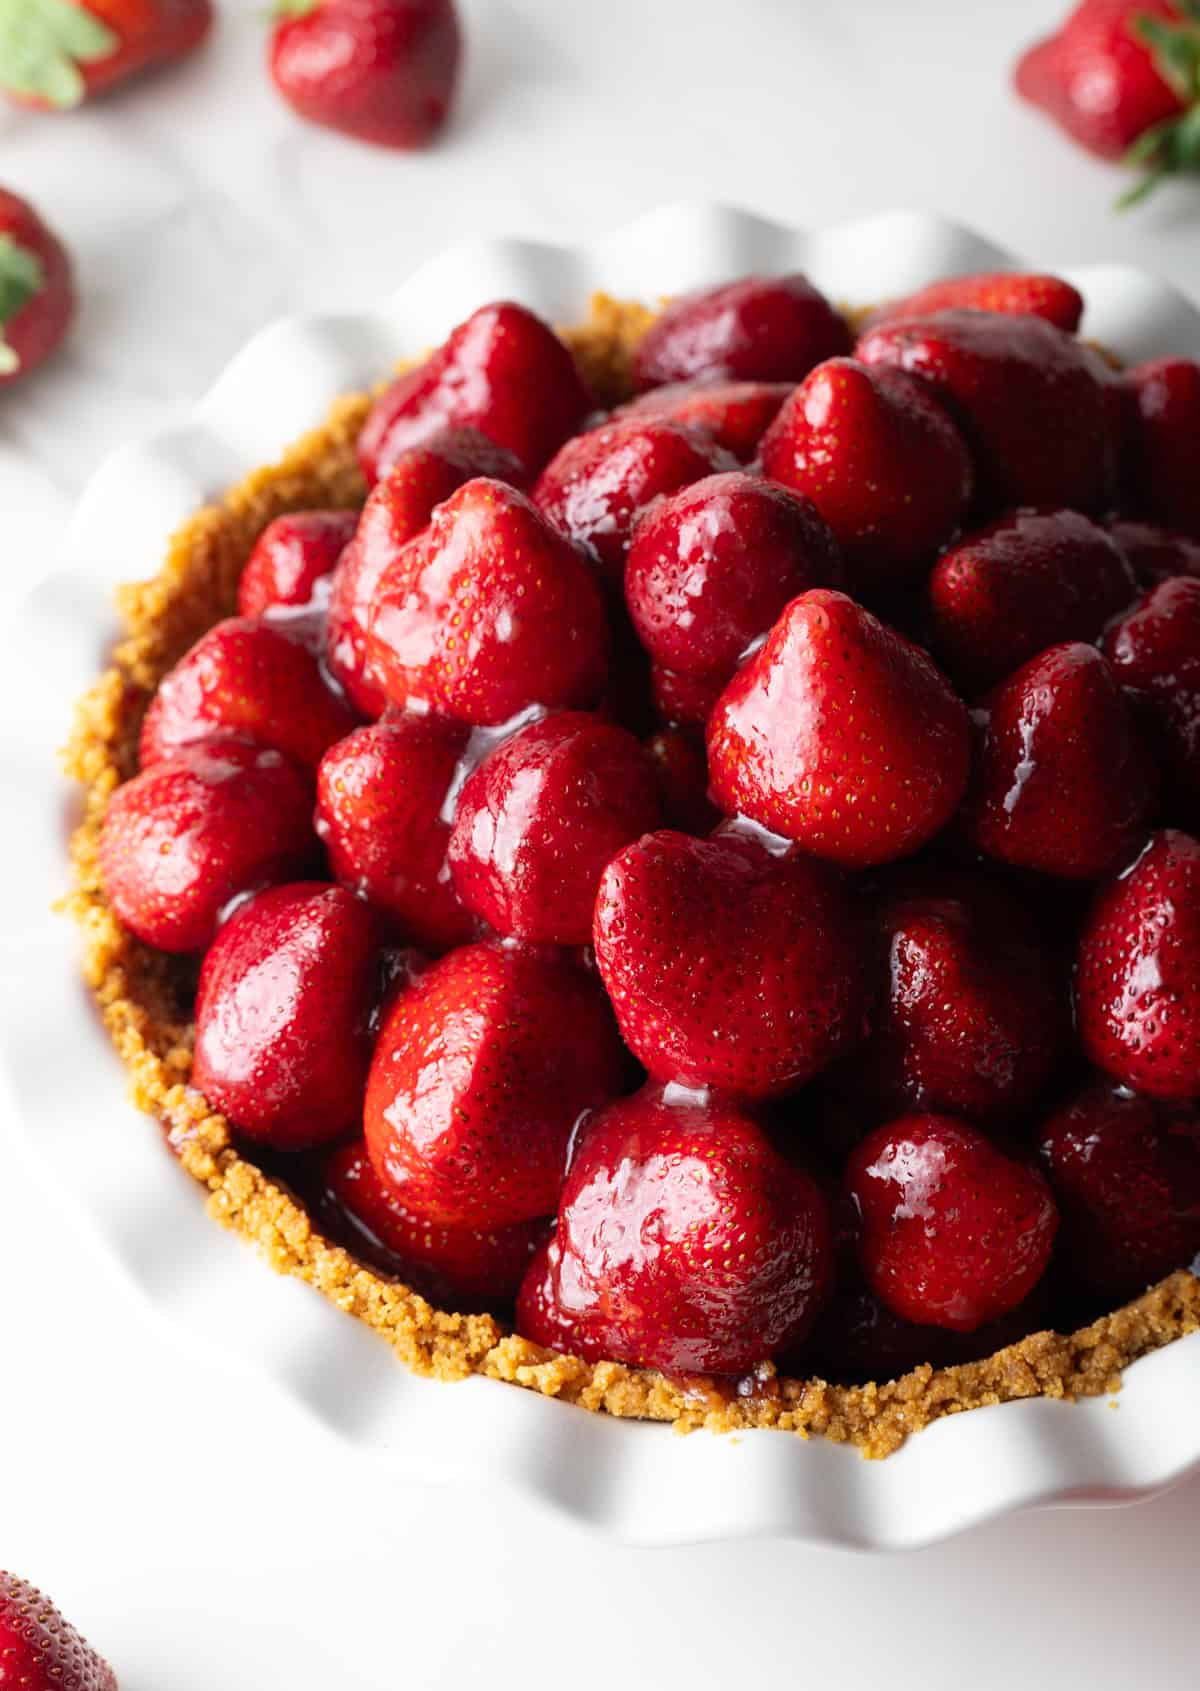
Expert Tips
This is one of those times when you need to take your time in the produce aisle, examining every single container of strawberries like you’re competing in a TV bake-off. I want strawberries that are uniform in size, shape, and ripeness. This makes the pie look pretty and have a consistent sweet taste.
I like to keep the strawberries whole, but alternatively, you can chop the berries into quarters and fill the pie crust. This doesn’t look quite as appealing as whole berries, but it is easier to cut and serve.
Yes, you really must be patient and let the jam mixture cool before pouring it over the berries. Pouring a warm liquid over the fresh strawberries would cause them to become overly soft. It only takes like 10 minutes to cool, so just chill. *wink*
In the recipe, I state that the pie needs to be refrigerated for at least 3 hours. But like most no bake pie desserts, the longer the strawberry pie sits in the fridge the better. The gelatin will continue to firm up (to a certain point) and make it easier to slice and hold together.
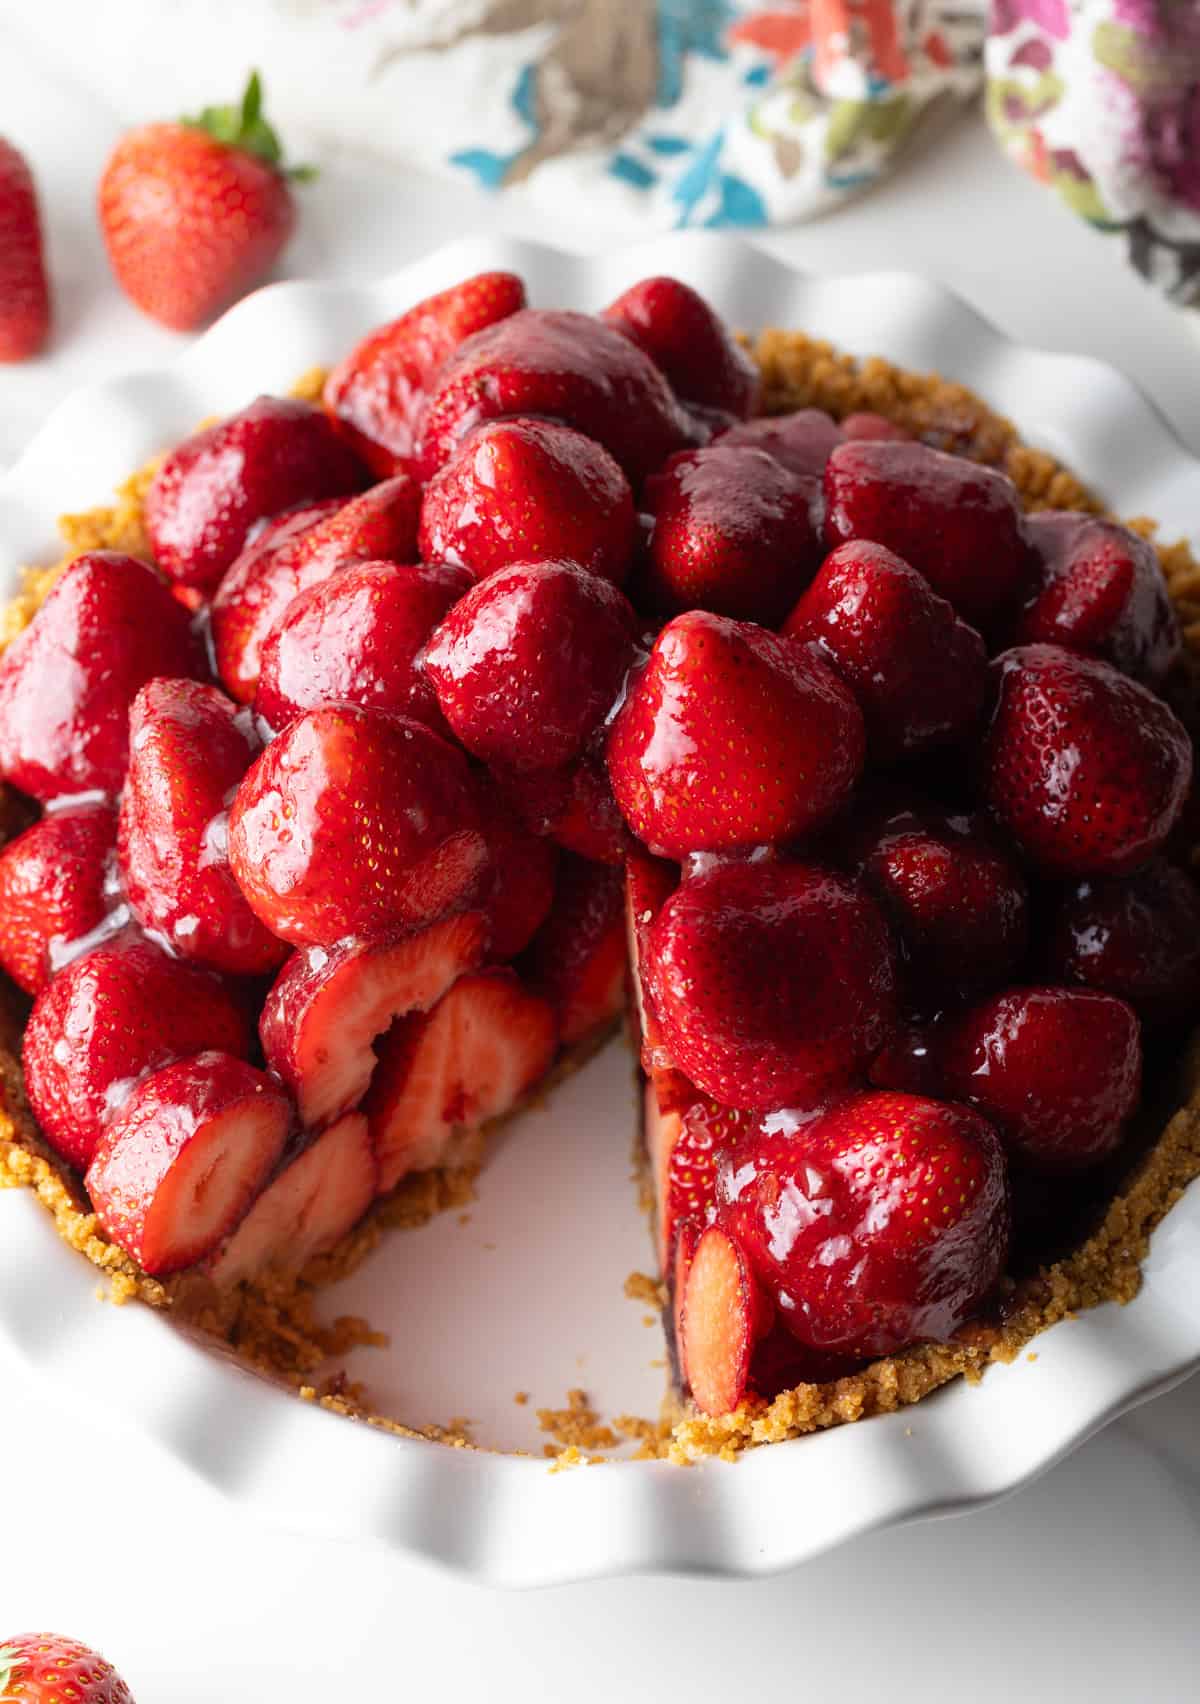
Serving Suggestions
Strawberry pie and whipped cream are absolute perfection together! A scoop of cold homemade vanilla ice cream AKA fresh strawberry pie á la mode, is another option that I personally love on a really hot day.
But if we’re talking true decadence here, what could be better than strawberries and chocolate? Drizzle some homemade hot fudge sauce onto individual servings… And then, why not, go ahead and add whipped cream or ice cream on the side, too!
Storage Notes
I keep the pie in the pan, and cover the whole thing loosely with plastic wrap. Don’t press it down on the strawberries! Then store in the fridge for up to 2-3 days. Any longer and the berries can start to soften, and the ginger snap cookie crust will get soggy.
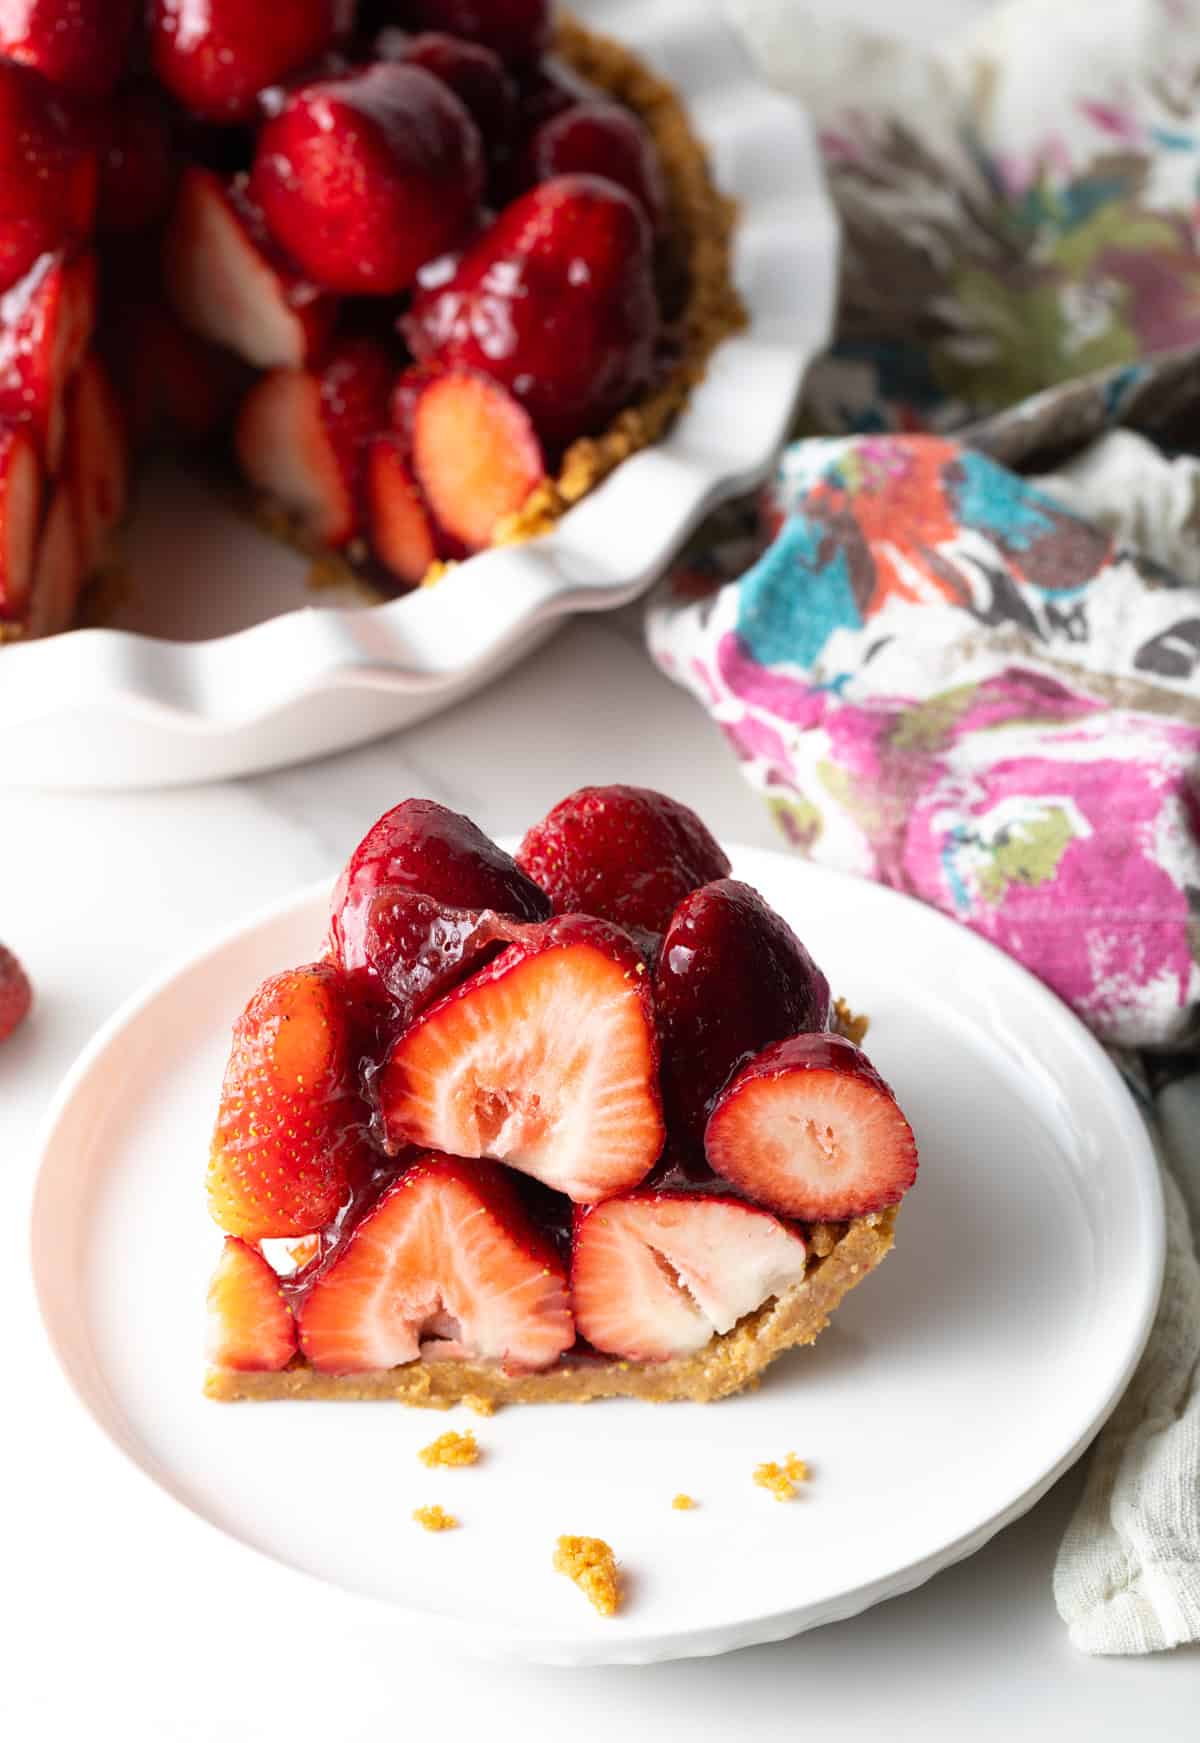
Frequently Asked Questions
A soggy bottom pie crust is likely from there being too much moisture, either from the strawberries not being thoroughly dried after washing, or the gelatin and jam mixture not firming up enough. You can try putting it back in the fridge for another hour or so and see if that helps.
Technically, yes, you can. Should you? I don’t think so. Since the pie is not baked, you’d first need to thaw the berries. But it’s almost impossible to remove all of the excess moisture from thawed fruit, and you’re likely to wind up with that darn soggy bottom.
Sure! They usually have other additives, so they aren’t as wholesome as a homemade version. But yes, a pre-made store-bought crust is fine.
Help Me Spread the Word about this Fabulous Free Recipe! Sharing this recipe link on Pinterest and Facebook is super impactful, and I greatly appreciate it! Find the share buttons below the recipe form.
More Pie Recipes



Strawberry Pie Recipe
Video
Ingredients
For the No-Bake Crust –
- 1 ¾ cups ginger snap cookie crumbs about 3 cups whole cookies (or graham cracker crumbs)
- ¼ cup granulated sugar
- ½ cup melted butter 1 stick + butter for dish
- ¼ teaspoon salt
For the Fresh Strawberry Pie Filling –
- 3 pounds fresh strawberries trimmed
- 3/4 cup strawberry jam
- 1 packet powdered unsweetened gelatin 1 ½ teaspoons
- 2 tablespoons water
- 1 tablespoon lemon juice
- Pinch salt
- Fresh whipped cream for garnish
Instructions
- Place the cookies (or graham crackers) in a food processor. Pulse until ground to crumbs. Remeasure out 1 ¾ cups of crumbs and add back to food processor. Pour the sugar, melted butter, and salt over the crumbs and pulse to combine.
- Butter the inside of a 9 inch pie pan. Dump the mixture into the greased pie pan. Gently, but firmly, press the crumb mixture up the sides and evenly over the bottom of the pan. Chill for 20 minutes to harden.
- Meanwhile, rinse, dry, and trim the tops of the berries. Then pile the berries neatly in the pie crust, stacking toward the middle so they don’t topple. Chill to keep the crust firm. *Alternately, you can chop the berries into quarters and fill the pie crust. This doesn’t look quite as appealing as whole berries, but is easier to cut and serve.
- Place the strawberry jam, gelatin, water, lemon juice, and salt in a small microwave-safe bowl. Mix until well combined. Place in the microwave and cook for 2-3 minutes until boiling. Watch carefully. Once boiling, remove from the microwave. Stir out all clumps and as many bubbles as possible. Cool for 10 minutes.
- Pour the strawberry jam mixture over the berries, swirling around the pie to make sure every berry is coated. Brush if needed to coat all exterior berries. Place in the fridge for 3 hours to set. Serve cold with lots of fresh whipped cream!


I made this the night before a summer party and it sliced perfectly after chilling overnight. The layers of whole strawberries inside are so beautiful and the ginger snap crust adds the most incredible subtle spice!
I’ve always bought strawberry pie from the bakery but after trying this recipe I will never do that again. The fresh berry flavor using real jam and gelatin is so much more vibrant and delicious than anything I’ve ever bought!
I made this for a Fourth of July cookout and every single person at the table asked me for the recipe. The ginger snap crust is such a brilliant twist and the glossy strawberry glaze is absolutely breathtaking!