Sweet Potato Wedges
 by Sommer Collier — on Nov 18, 2026

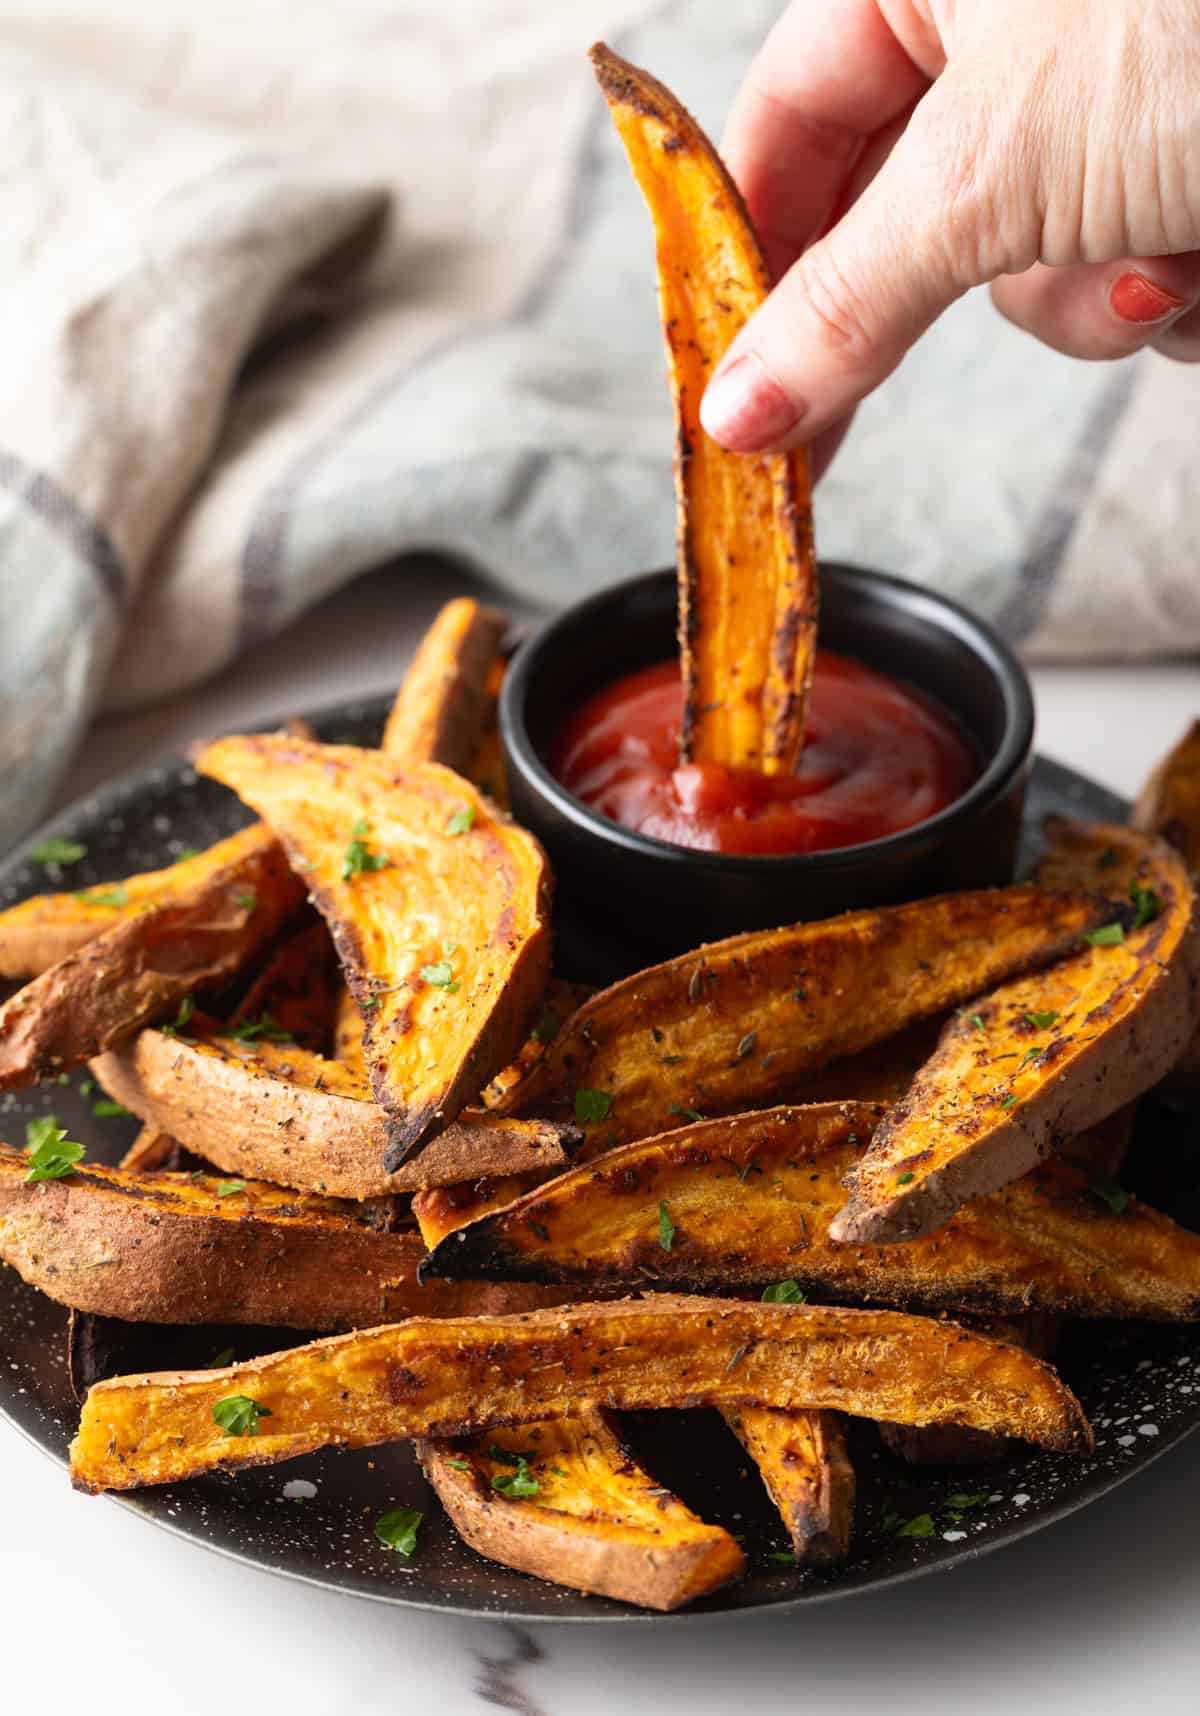
My oven-baked sweet potato wedges give me everything I love about fries, with a little more surface space for dipping! I keep this easy side dish simple: slice the potatoes thick, toss with thyme and garlic powder, and roast until fluffy inside with golden, caramelized edges. The savory seasonings balance the potatoes’ natural sweetness, and those thick wedges can handle a generous scoop of sauce.
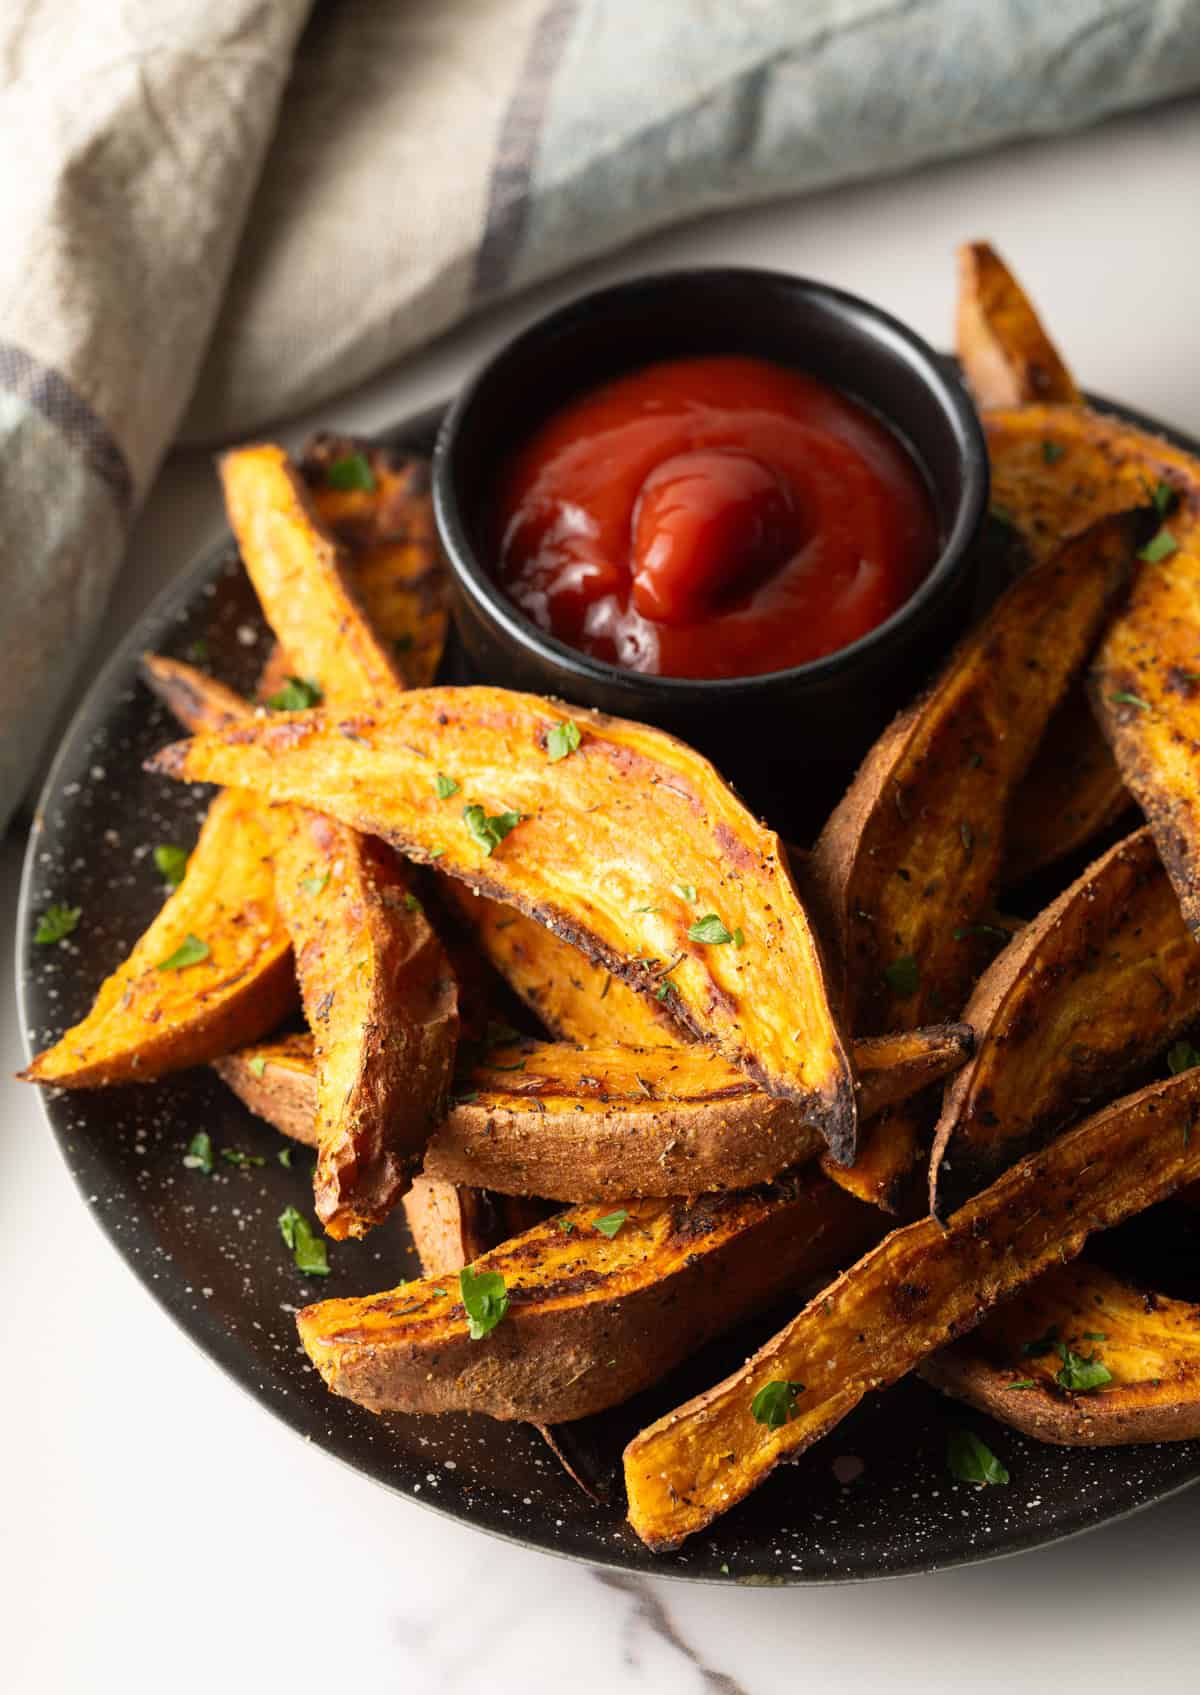
I often crave crispy fried potatoes with a zippy dipping sauce. (More than I’d like to admit TBH.) My sweet potato chips are a terrific alternative for classic russet potato chips, but sometimes I want a snack or side dish that a little more filling, with complex flavors and nutrients. That’s why today I’m sharing my easy recipe for roasted sweet potato wedges! They have the starchy, carb-y goodness of traditional potato fries, but are packed with all kinds of extra vitamins and that unmistakable, dare I say, sweetness. And because I simply slice, toss with a bit of oil and spices, and cook the sweet potato wedges on a baking sheet in the oven, I don’t need any special tools or a vat of messy cooking oil. These healthier good-and-good-for-you baked sweet potato wedges are still crisp on the outside, fluffy on the inside, and fabulous to pair with the same dipping sauces and savory main dishes you typically serve with deep fried french fries or potato chips!
Table of Contents

Sommer’s Recipe Highlights
Oven Roasted – Baking the potatoes like this creates crispiness on the outside similar to deep frying, but with way less calories, effort, and money! Large amounts of cooking oil can be expensive, and create quite a mess in the kitchen. Instead, I’m tossing the potatoes with a tiny fraction of the amount of oil, and keeping everything contained to baking sheets, which are relatively easy to clean.
Sweet & Savory Flavors – If I’m making sweet potato recipes, I’m obviously craving some sweetness! But I don’t want an overwhelming level of sweet flavors when I’m serving them with burgers and sandwiches. So I coat the potato wedges with a combination of savory seasonings, like thyme and garlic powder, for delicious balance that pairs well with nearly any main dinner dish!
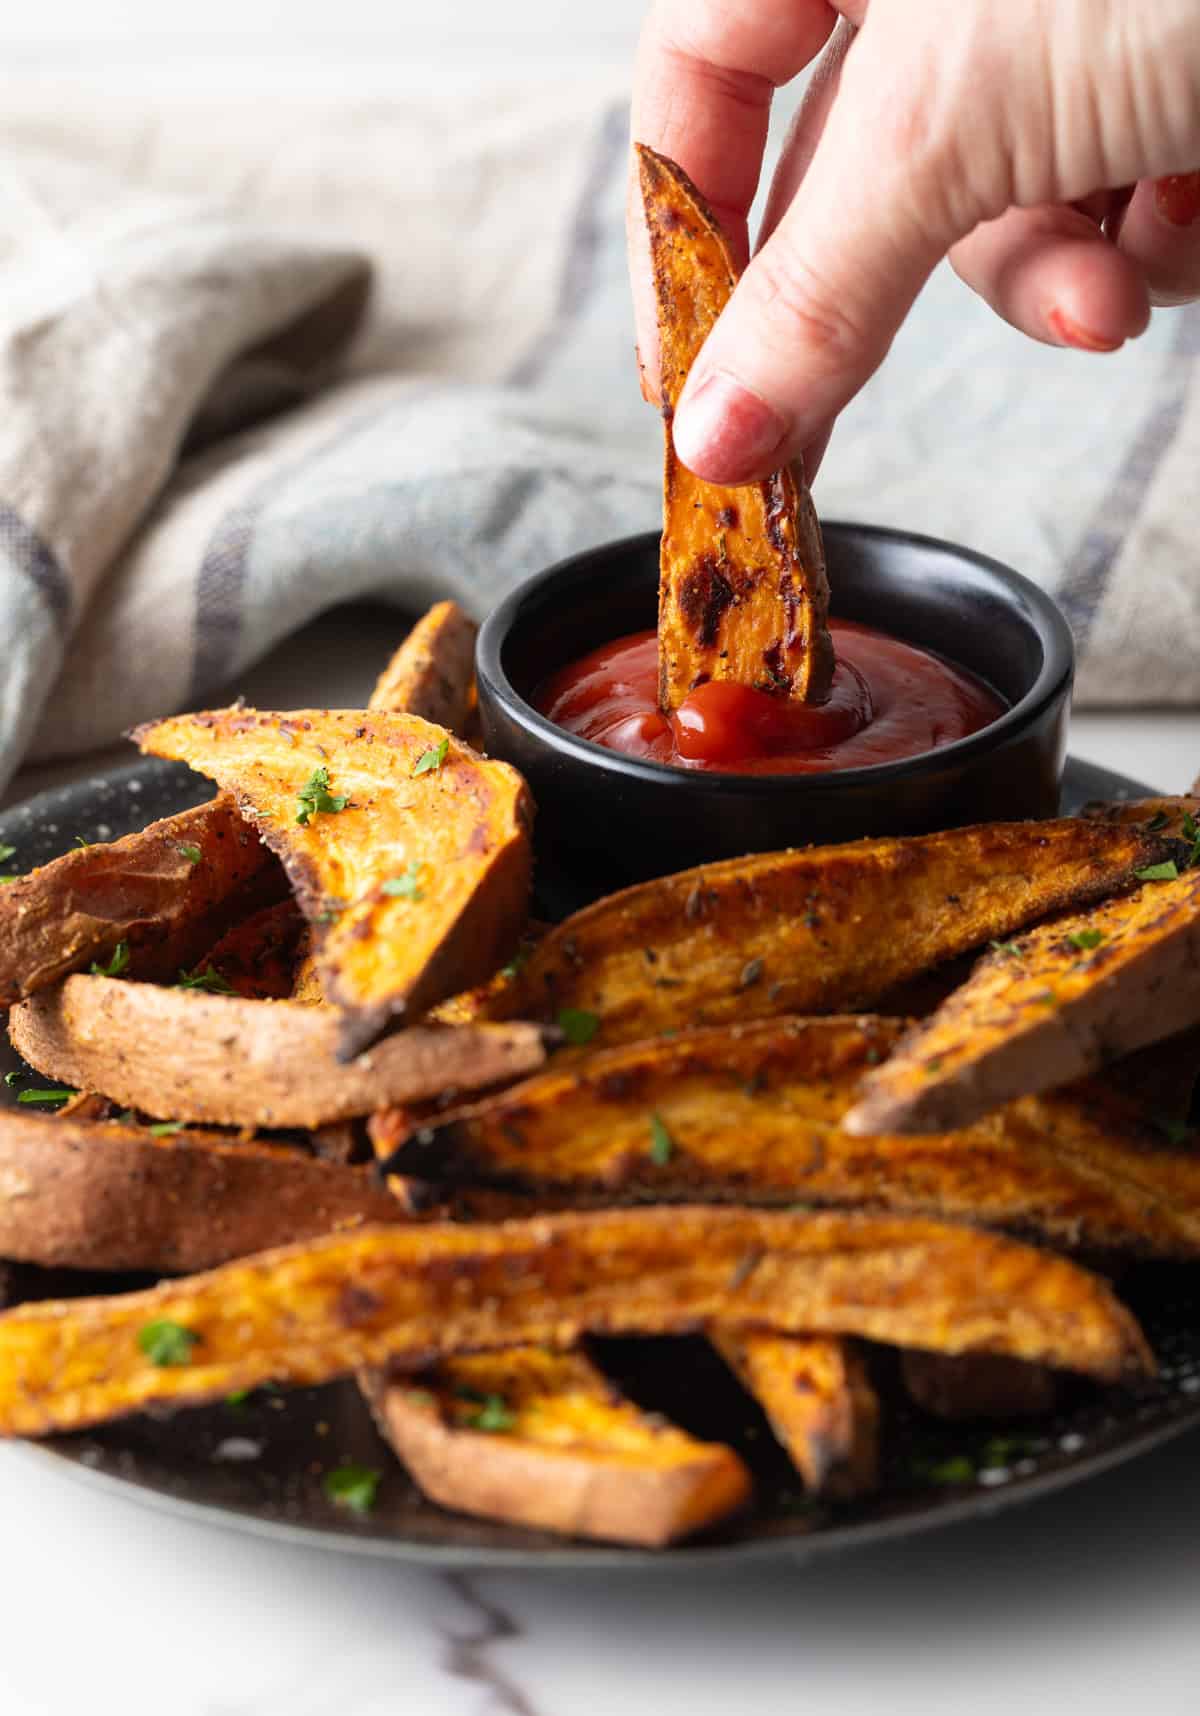
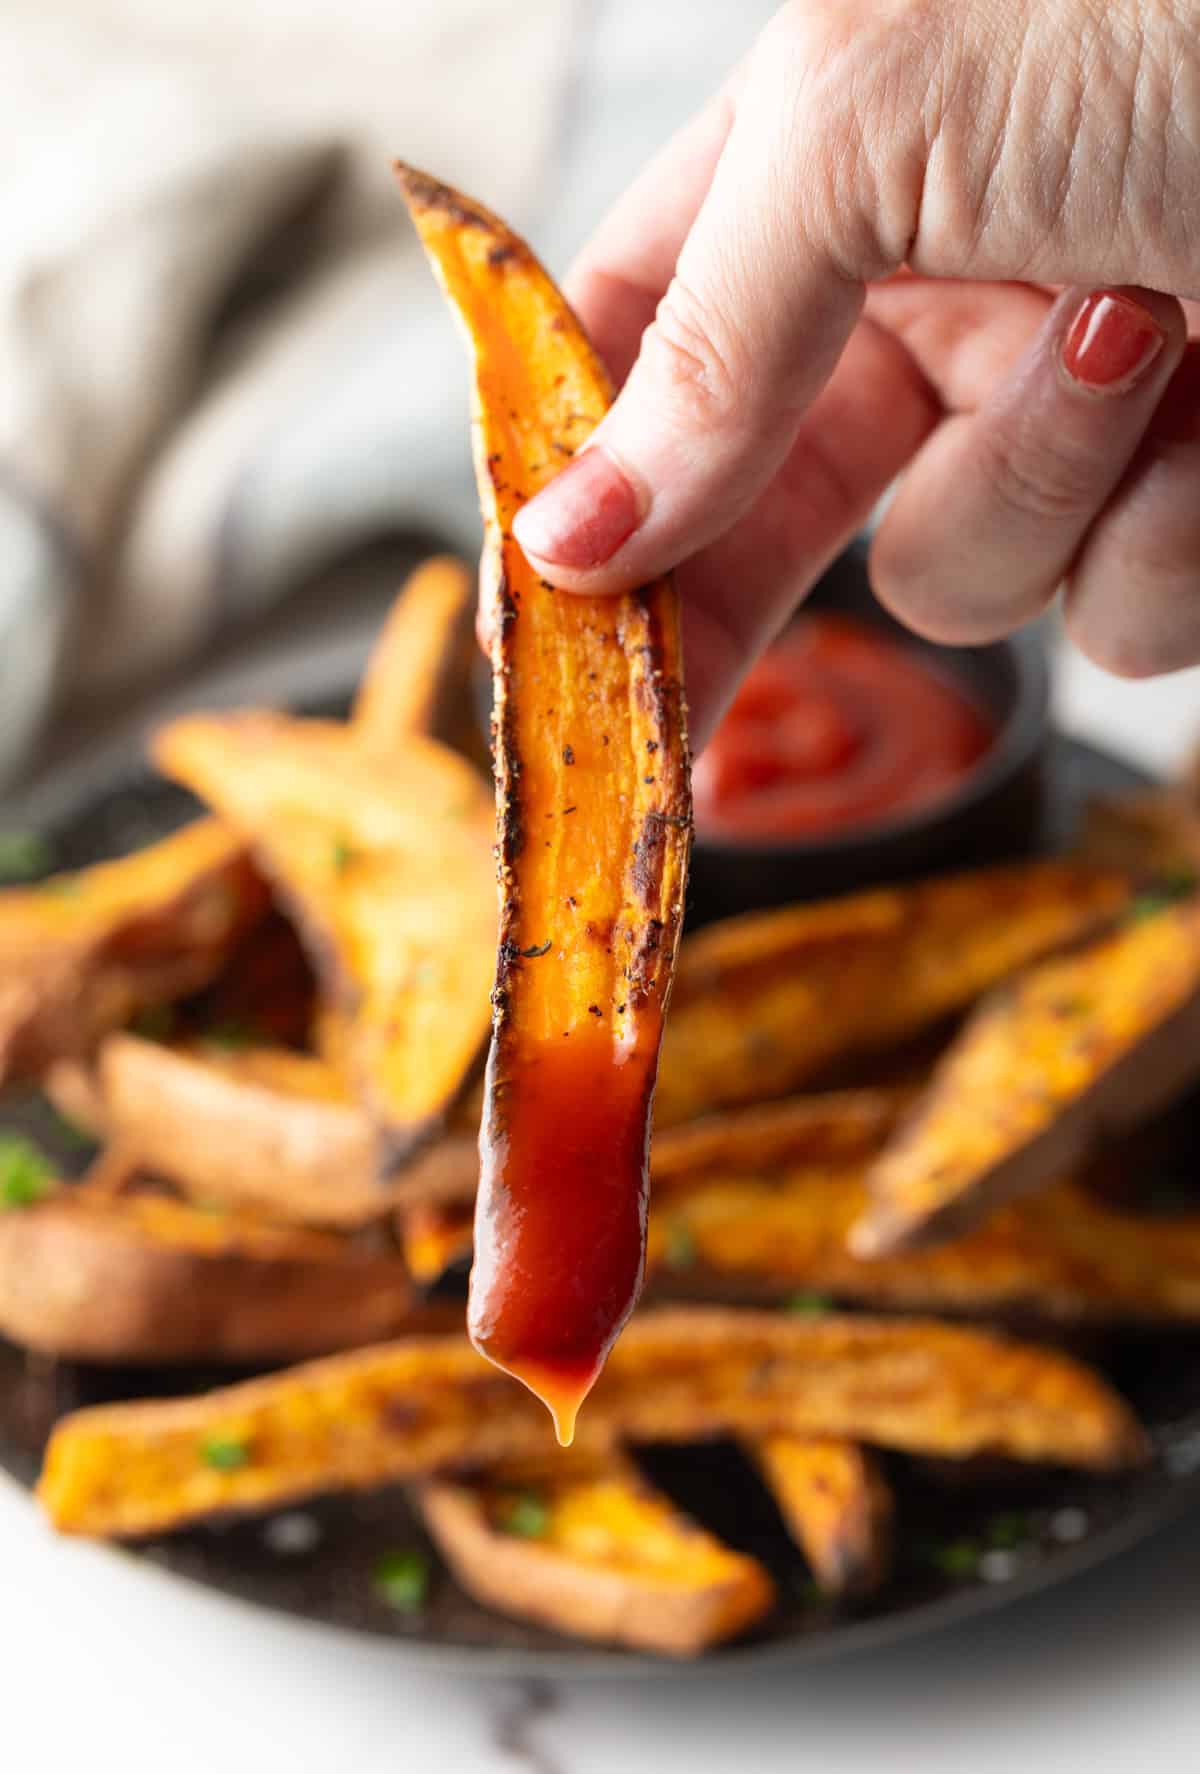
Made to Dip – Of course, I’m not just making this sweet potato wedges recipe as a vehicle for eating sauces. However, the fact that these are indeed hearty enough to scoop up lots of yummy dips is a major bonus! I’ve got a great lineup of ideas in the Serving Suggestions below!
Key Ingredients and Tips
- Sweet potatoes – I choose 3 to 4 medium sweet potatoes that are uniform in size. This makes slicing them much easier and ensures they roast evenly. Since I’m baking with the skins on I select potatoes that are unblemished and firm.
- Seasonings – I use a fabulous combination of dried thyme (or dill), garlic powder, salt, and pepper. This gives the potatoes a deeply savory flavor, but aren’t so heavy they totally overshadow that sweet potato flavor we’re here for.
- Olive oil – I love roasting veggies with olive oil for its high-heat and light flavor. You can also use avocado oil or canola oil, if you prefer.
How to Make
Find the full ingredient proportions, detailed instructions, storage tips, and a video tutorial in the printable form at the bottom of the post.
Prep – I start by preheating the oven t 450 degrees and get out two large rimmed baking sheets. You don’t want to use parchment when roasting at this high of heat, so I cook the potato pieces directly on the baking sheet. Next, I wash and dry the potatoes with a clean cloth, taking care to remove as much moisture as possible from the skins. Any excess water will cause the wedges to steam and be soft, and I want them to crisp up on the outside with tender fluff on the inside.
Now I slice the potatoes into 1/2-inch wedges. Each sweet potato should yield about 8 pieces.
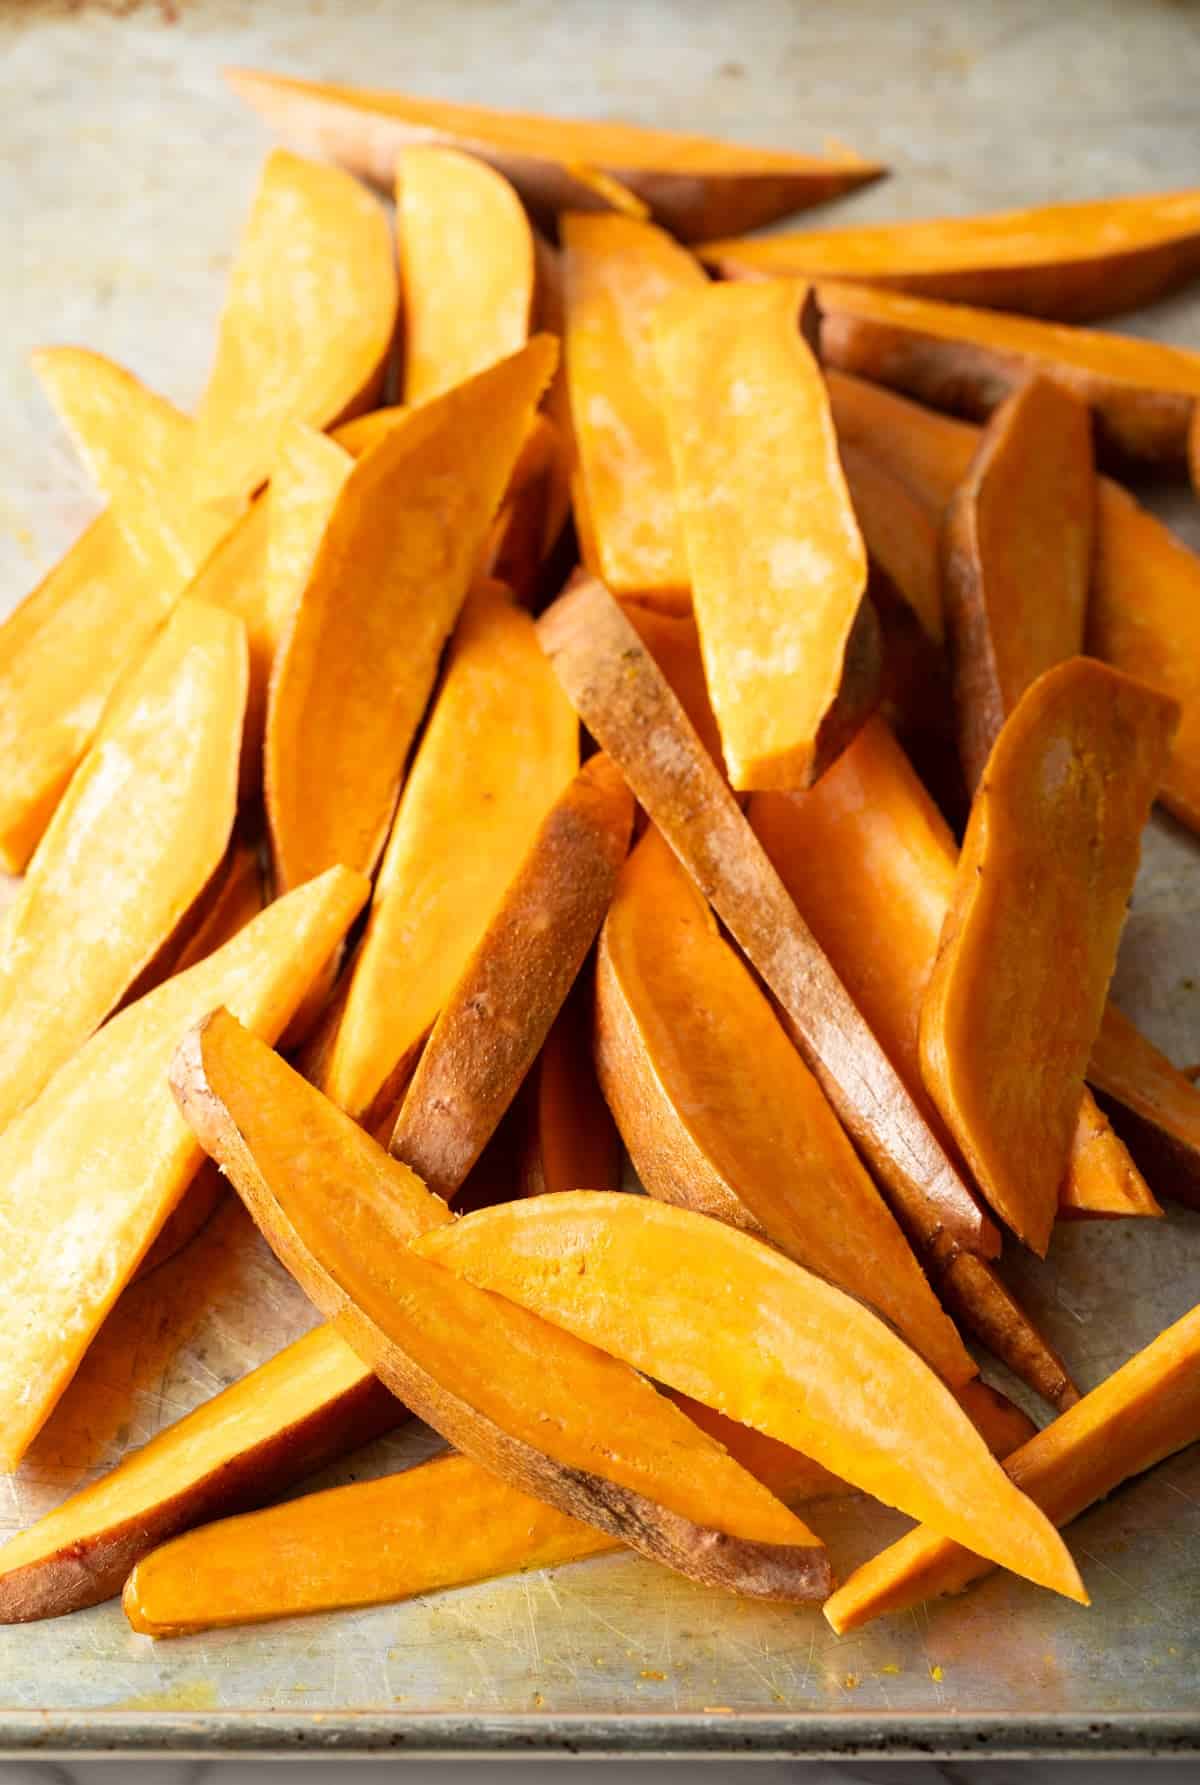
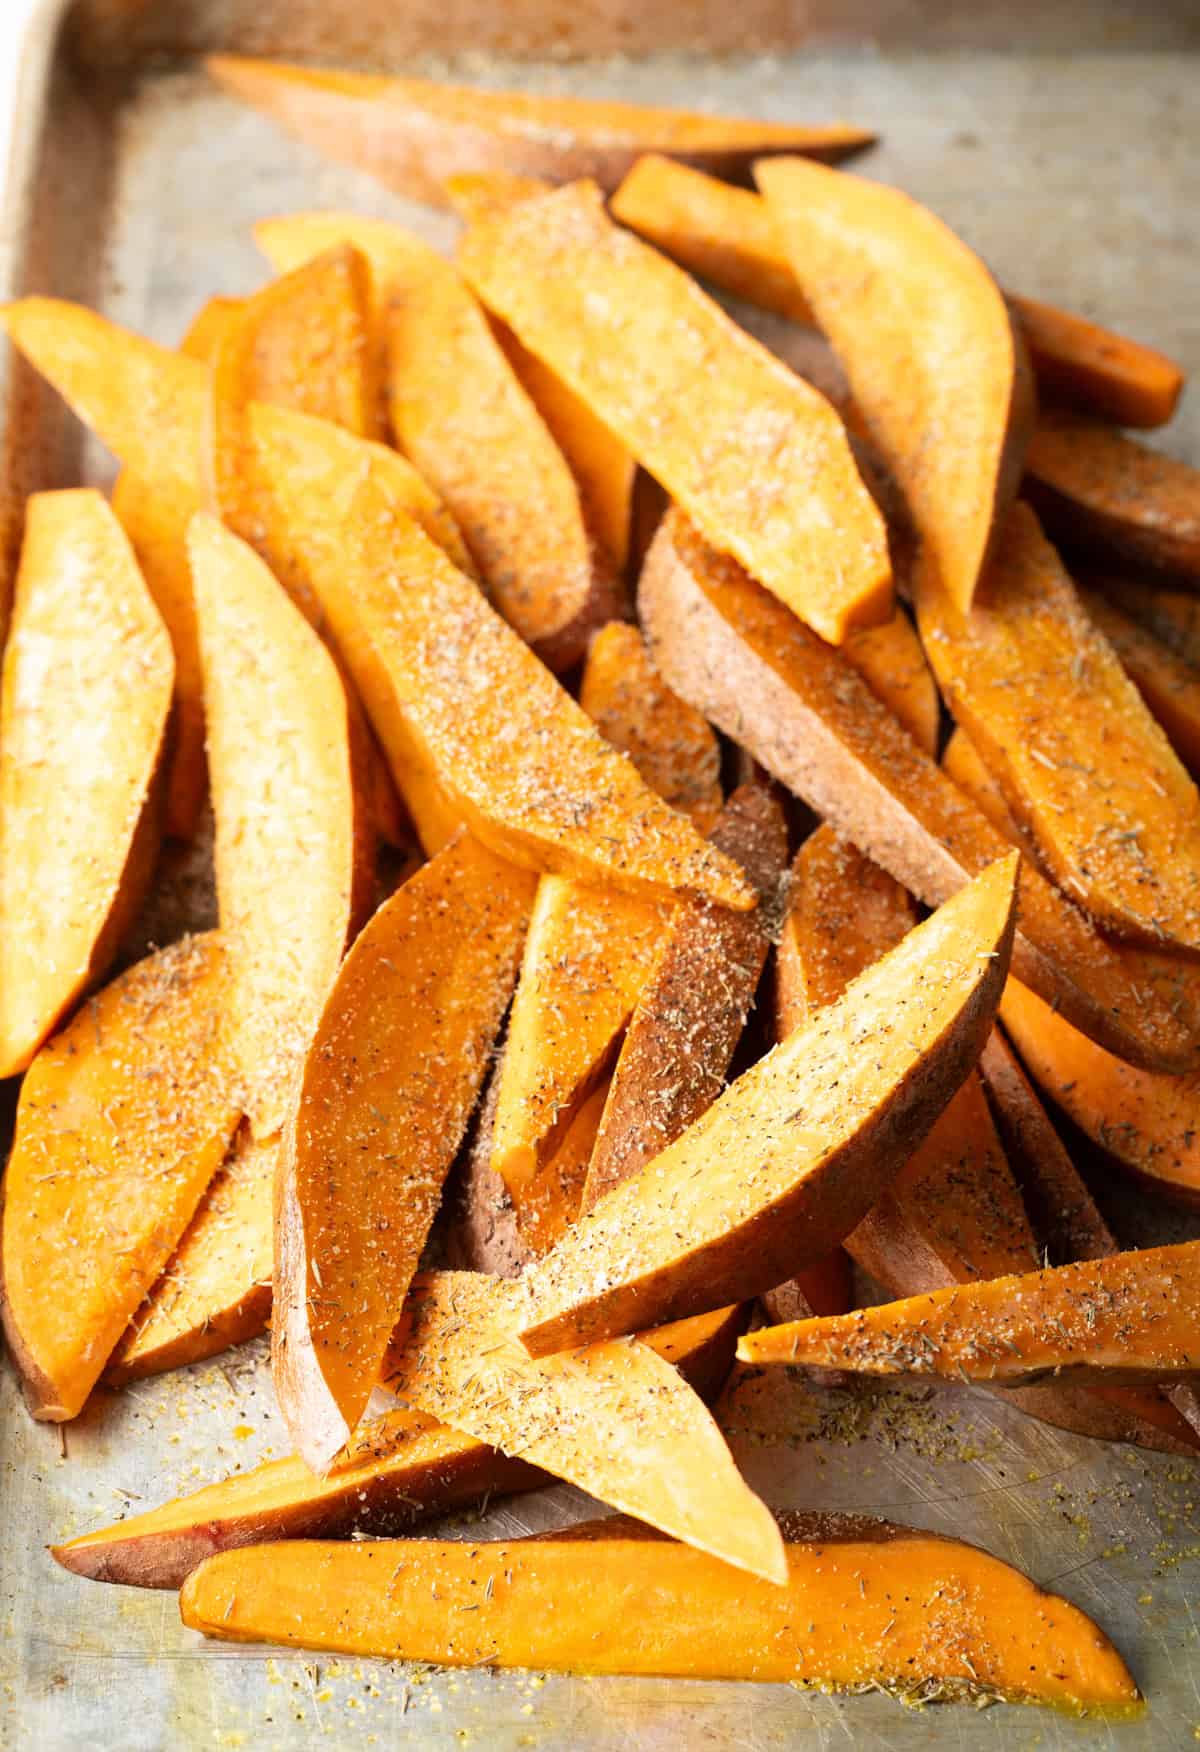
Oil and Seasonings – I work quickly to cut the potatoes one by one, place slices from each potato on the baking sheet, and drizzle with the olive oil. The olive oil keeps the sliced sweet potatoes from oxidizing, which is just the “scientific” term for turning brown when the inside potato flesh comes in contact with air. Once all of the potatoes have been sliced and are coated in olive oil, I combine the salt, dried thyme, garlic powder, and black pepper in a small dish. Now I sprinkle the seasoning combination over the sweet potatoes, and use my hands to toss everything together until the wedges are thoroughly and evenly coated.
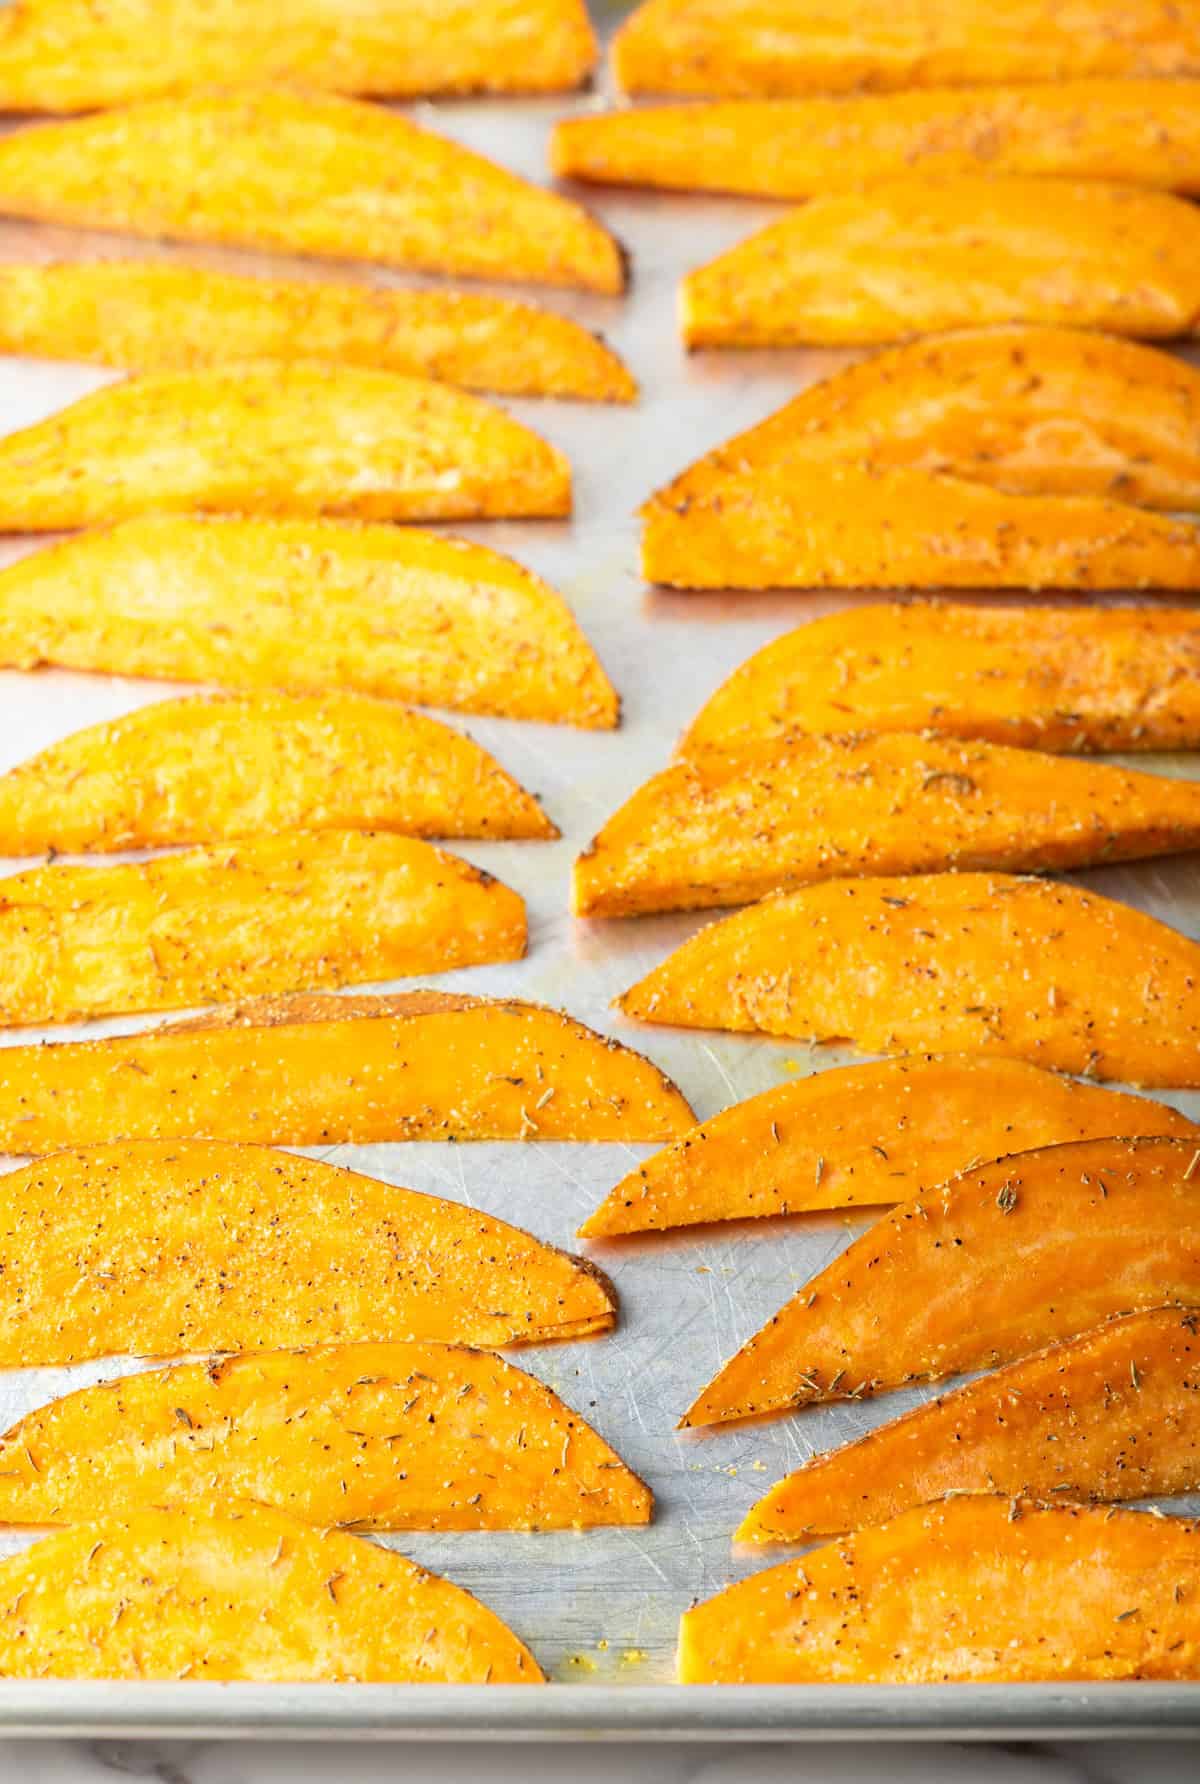
Arrange on Baking Sheet – Next, I carefully lay each piece of potato on the baking sheet so they are in a single layer, and each wedge has a ‘lil bit of room around it. This is super important so the potatoes cook evenly on all sides! They won’t be able to roast evenly and crisp up if they’re crammed together on the sheet, which is why I use two baking sheets to roast all 3-4 potatoes. Otherwise they’ll be soggy and sad, and no one wants that.
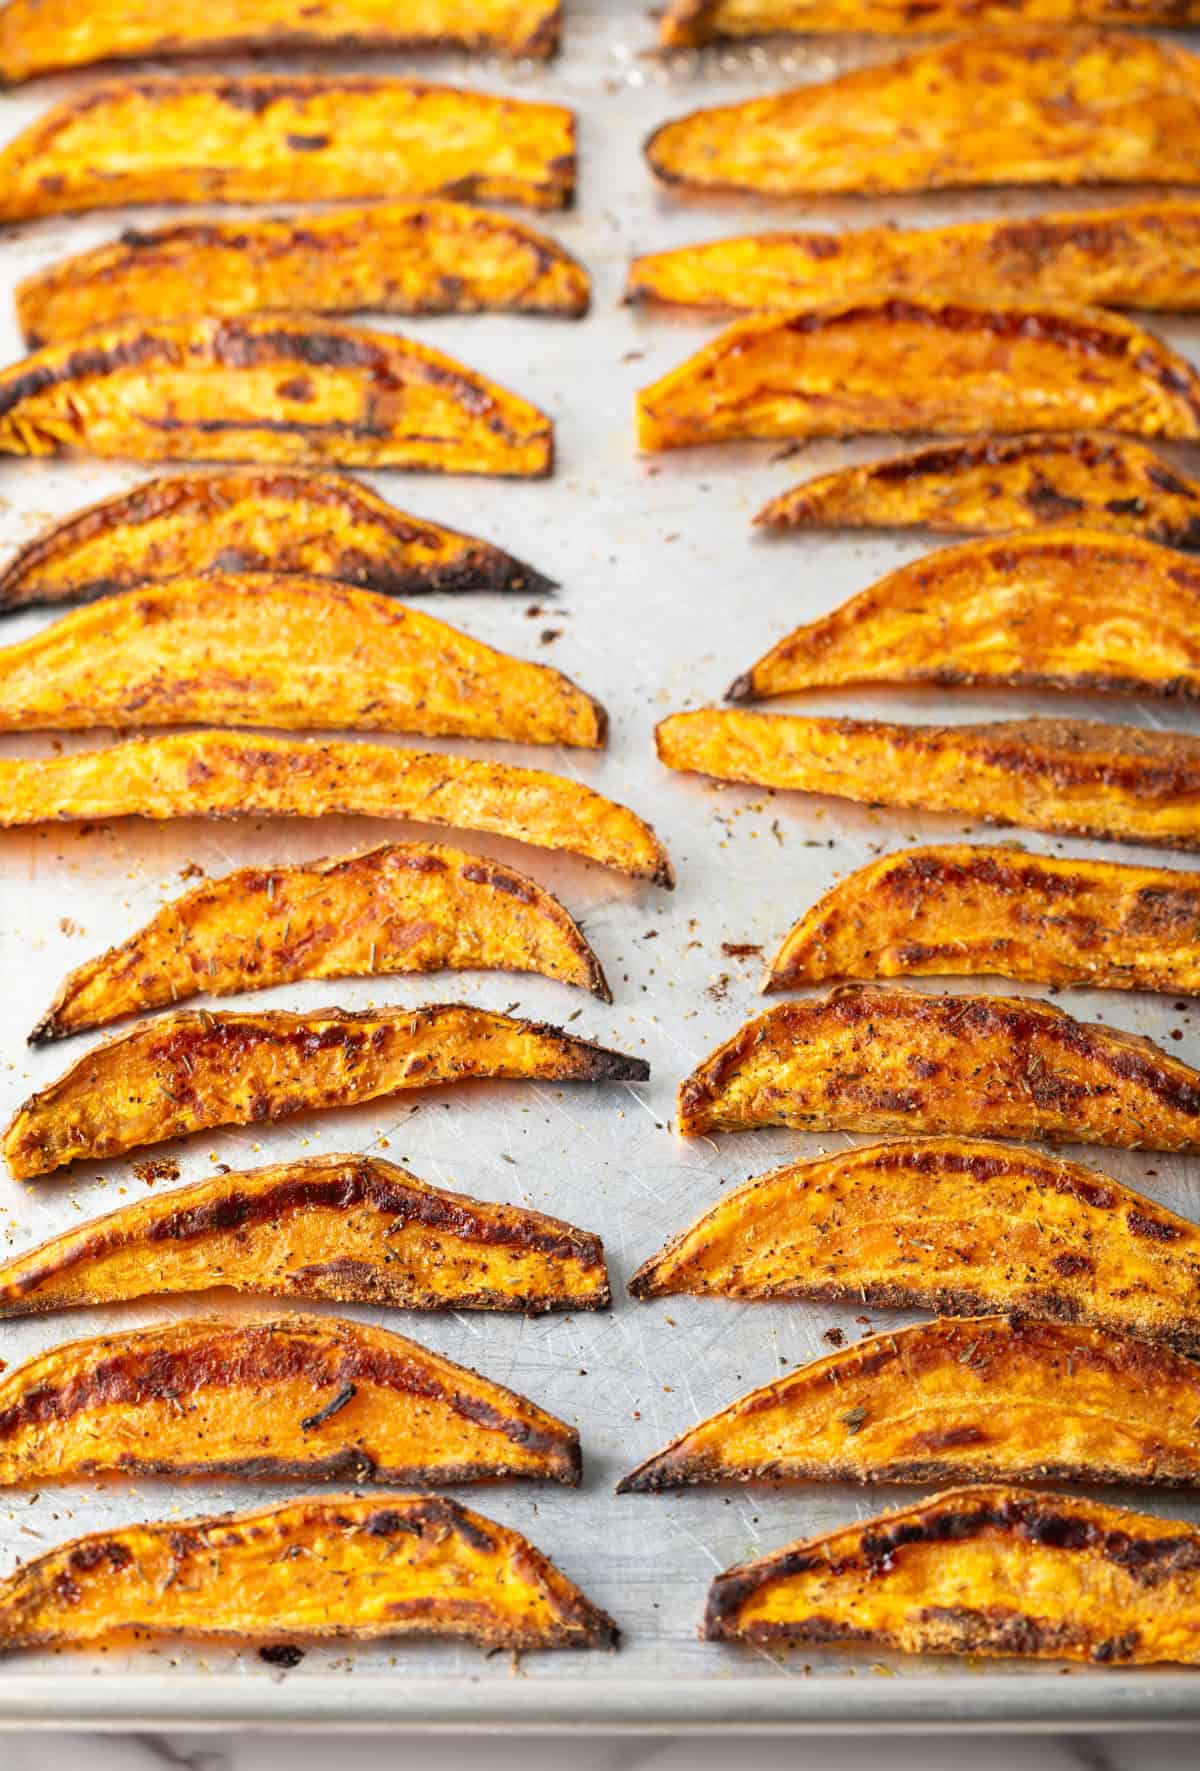
Bake and Flip – I bake the sweet potatoes for 15 minutes, then carefully pull the sheets out of the oven and use a spatula to flip each wedge over. Be sure to still keep them from touching so they’ll continue roasting evenly. The baking sheets go back into the oven for another 10-15 minutes, until both sides of the wedges are equally crispy golden brown. I check them for doneness by piercing a wedge with a fork… If it’s fork-tender, time to take them out! But if they still seem a bit too firm, pop the sheets back in the oven for another 3-5 minutes.
Serving Suggestions
I serve these wedges with chicken, beef, and pork… Basically any classic American main foods that usually have regular ‘ol potato wedges or fries on the side.
Try them with burgers and sandwiches recipes like:
- Ground Chicken Burgers or Turkey Burgers
- Smash Burgers
- Spicy Cowboy Burgers
- Air Fryer Burgers or Hot Dogs
- Patty Melts
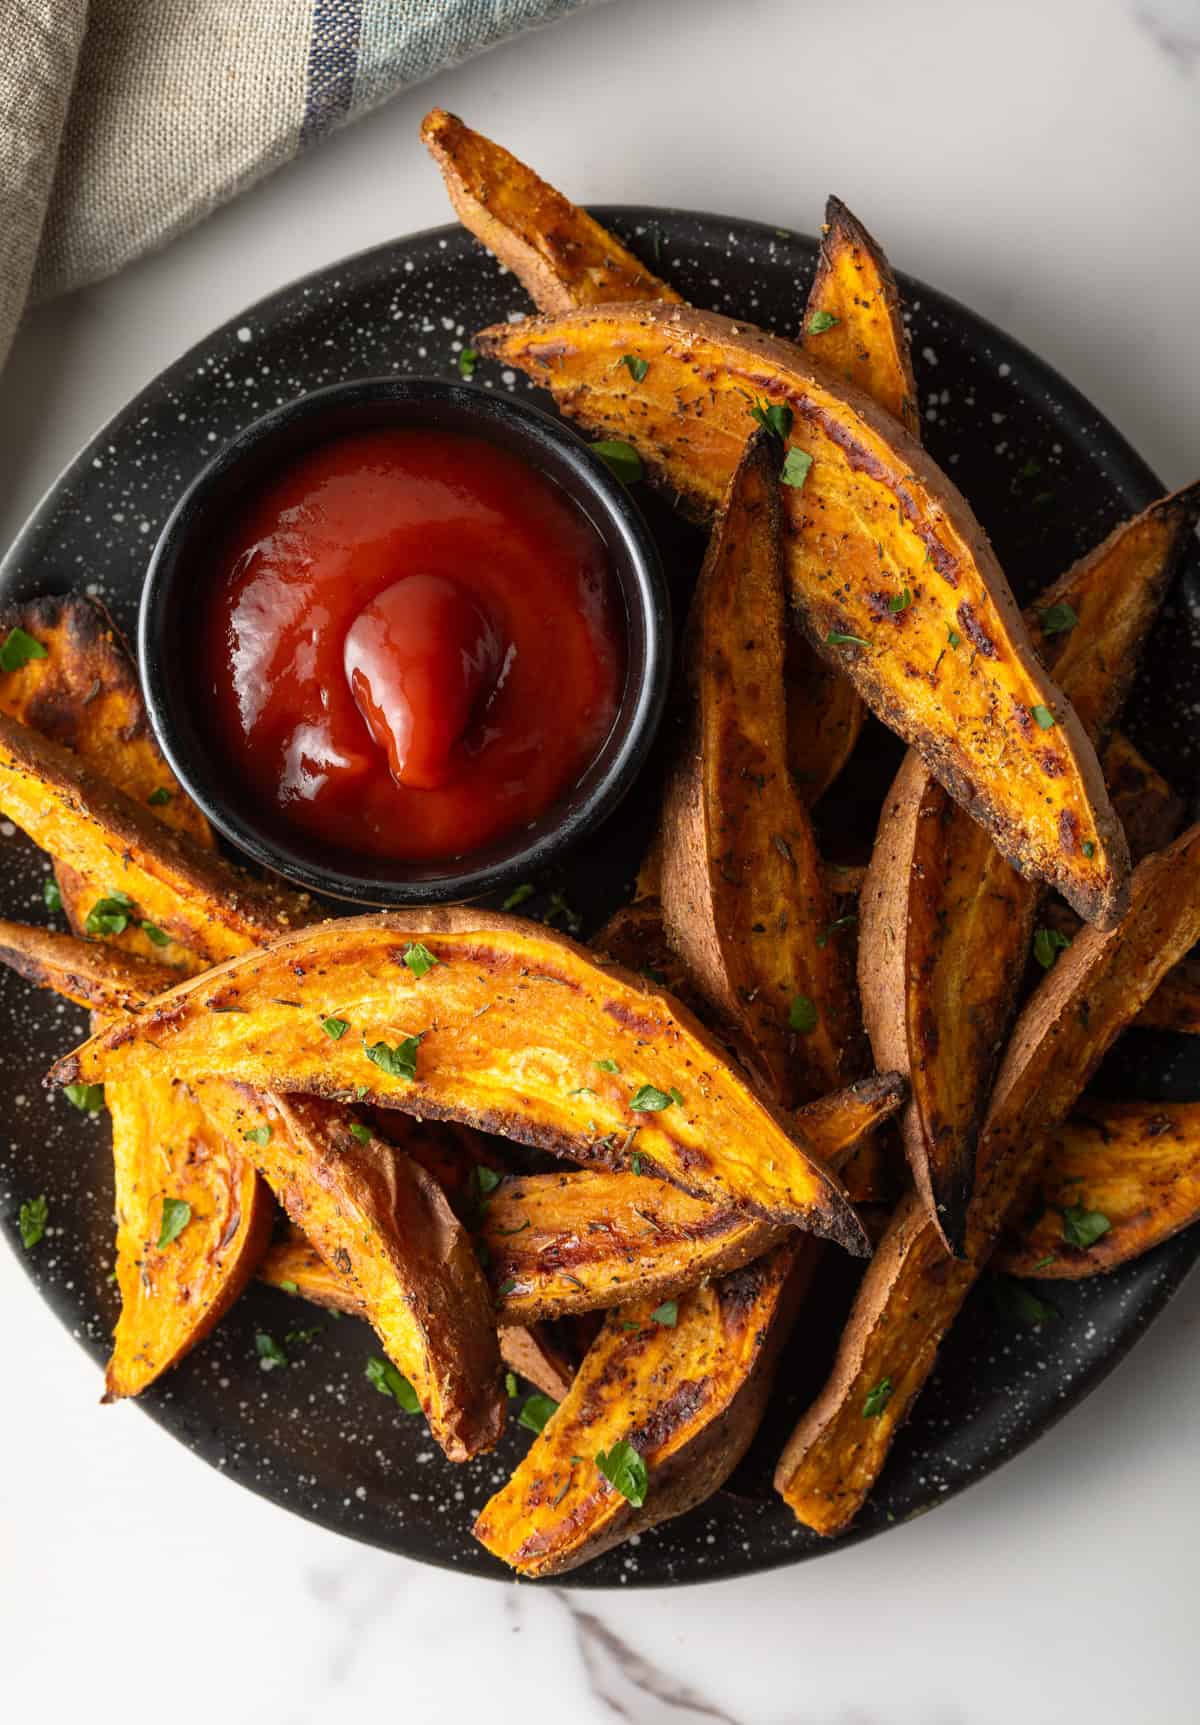
And of course, these crispy wedges were made for dipping! Ketchup or bbq sauce are popular choices… But I suggest you think outside of the bottle and try my homemade sauce recipes, like:
- French Fry Dipping Sauce
- Comeback Sauce
- Garlic Parmesan Sauce
- Cheese Sauce
- Chick-Fil-A Honey Mustard Sauce
- Ranch Dressing
- Blue Cheese Dressing
Storage Notes
I personally think sweet potato wedges are best when freshly baked. That said, they will technically keep well for up to 5 days in the refrigerator when stored in an airtight container. But I suggest eating them within a day or two, as they’ll continue to get softer the longer their in the fridge.
You also can reheat them in the microwave in short 20-second bursts at 50% power. However, this will make the wedges soft on both the outside and inside. Instead I prefer to roast them again at 425 degrees for about 10 minutes, or reheat them in the air fryer for 5-8 minutes at the same temp.
Frequently Asked Questions
You could, but I don’t. I leave the skins on the sweet potatoes so they get crispy; if you roast peeled pieces of sweet potato they’ll get browned but also soft throughout. The little bit of skin along one edge gives them extra structure.
Feel free to mix up the spices and make this recipe you’re own! I love the combination of thyme and garlic powder, but you can swap either or both with dried rosemary or paprika to changeup the flavor profile. Italian seasoning and cajun seasoning are also good options.
The potatoes will be soggy if they weren’t dried well enough and/or the baking sheet was too crowded. Overcrowding the pan means the oven heat can’t work it’s way around each wedge, and this high heat is what evaporates any excess moisture and crisps up the potatoes. If there’s no room, the moisture stays trapped, resulting in soggy wedges.
No, I don’t recommend trying to freeze them. Fries will get very soggy if they are roasted, cooled, frozen, and thawed. And you’d have to re-roast them at such a high heat to undo the sogginess, they’re likely to burn.
Help Me Spread the Word about this Fabulous Free Recipe! Sharing this recipe link on Pinterest and Facebook is super impactful, and I greatly appreciate it! Find the share buttons below the recipe form. Also, join our NEW Spicy Squad Community Page to interact with me and other friendly cooks!
More Finger Food Recipes



Sweet Potato Wedges
Ingredients
- 2 pounds sweet potatoes about 3 to 4 medium sweet potatoes
- 2 tablespoons olive oil
- 1 teaspoon salt
- 1 teaspoon dried thyme or dried dill
- ¾ teaspoon garlic powder
- ½ teaspoon ground black pepper
Instructions
- Preheat the oven to 450°F. Set out two large rimmed baking sheets. Wash and dry the sweet potatoes. Cut each sweet potato into ½-inch wedges. An average sweet potato will yield about 8 wedges.
- Place the wedges on one baking sheet and drizzle with the olive oil. Toss immediately to coat the sweet potatoes so they don’t brown (oxidize) while the remaining wedges are being cut. Toss the pan again once all the wedges are cut.
- In a small bowl, combine the salt, thyme, garlic powder, and black pepper. Sprinkle the seasoning evenly over the sweet potatoes and toss until well coated on all sides.
- Divide the wedges evenly between the two baking sheets and spread them into a single layer, leaving space between each wedge. Crowding the pan traps steam and prevents the wedges from becoming crispy.
- Bake for 15 minutes. Flip the wedges with a thin metal spatula and continue baking for another 10-15 minutes, or until the centers are fork tender and the edges are golden brown and crispy.
- Serve warm with your favorite dipping sauces such as ketchup, comeback sauce, ranch dressing, or blue cheese dressing.