

7 Layer Caramel Cake Recipe
 by Sommer Collier — last updated on Aug 20, 2026
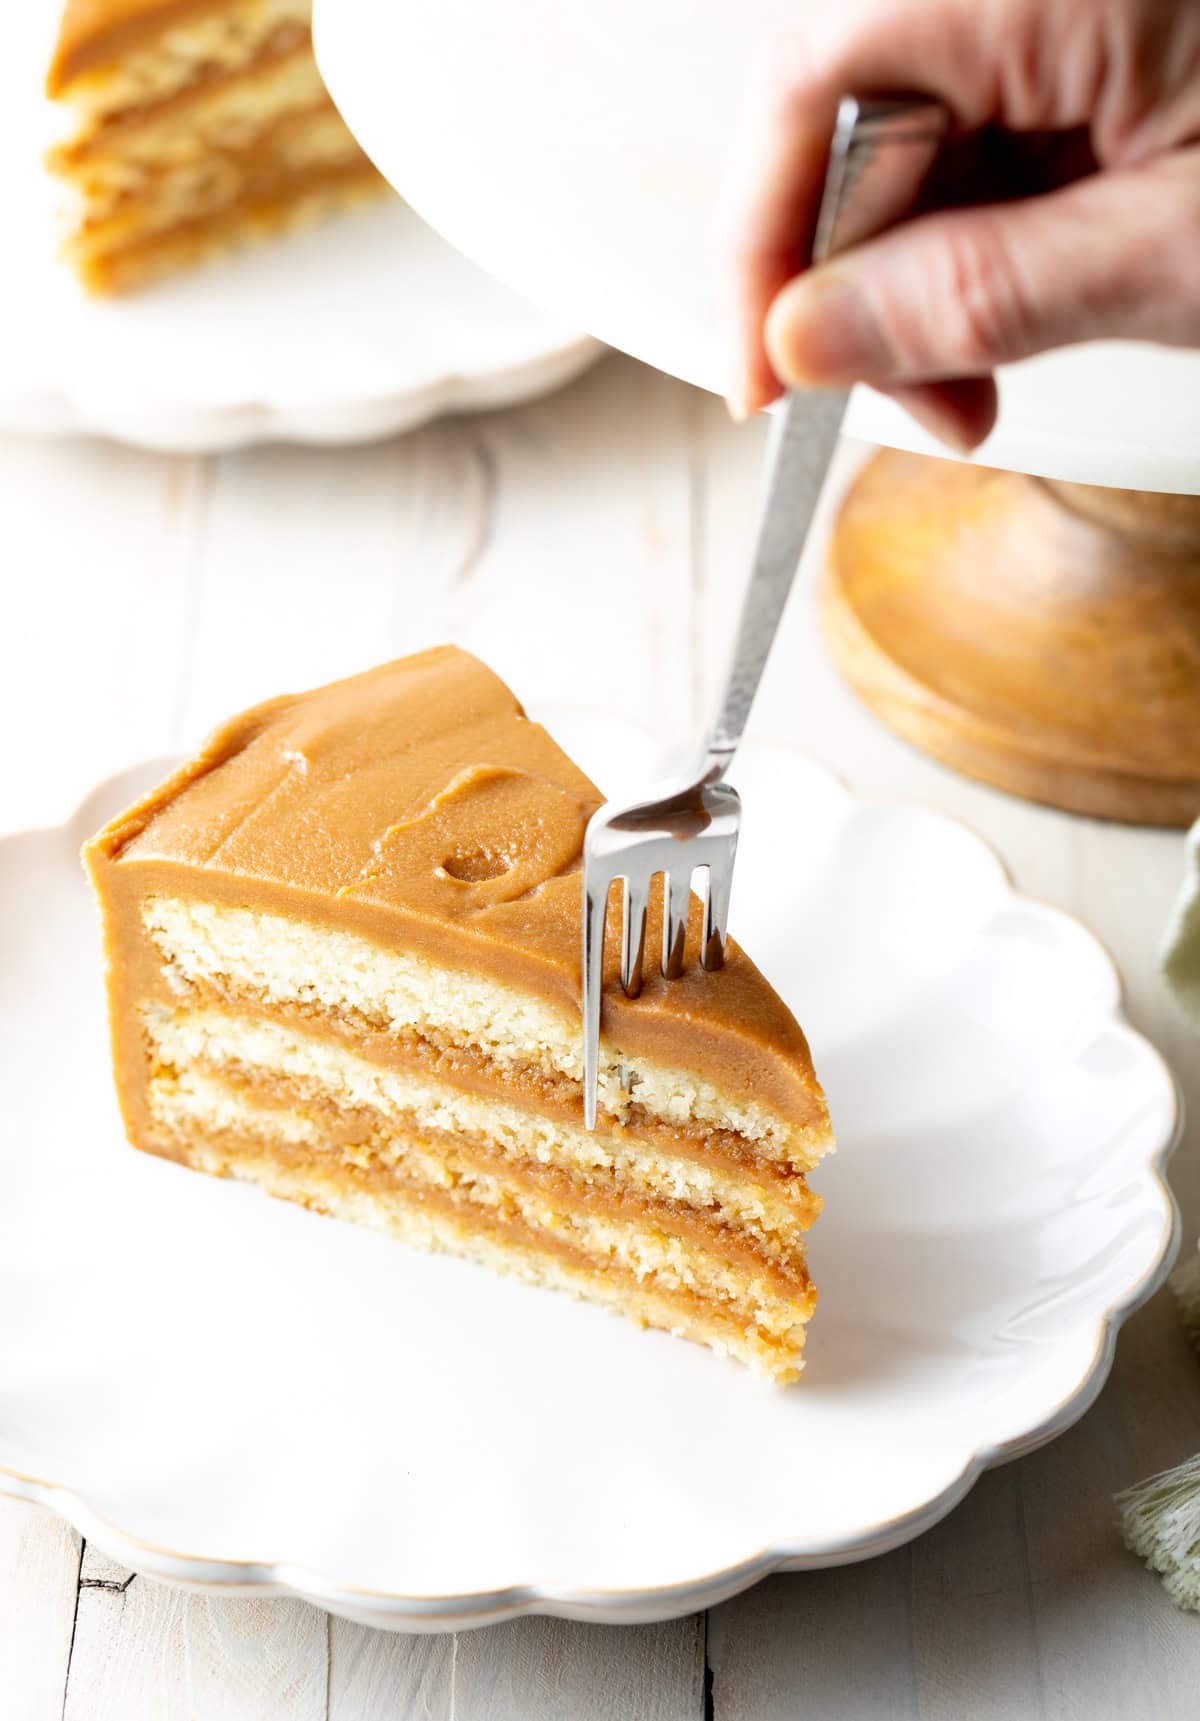
I’ve made plenty of layer cakes over the years, and this 7 Layer Caramel Cake is easily one of the most impressive. I layer tender vanilla cake with generous amounts of thick salted caramel frosting for a rich Southern dessert that tastes every bit as incredible as it looks. Seven layers might sound intimidating, but my step-by-step method makes this decadent cake much easier to tackle at home.
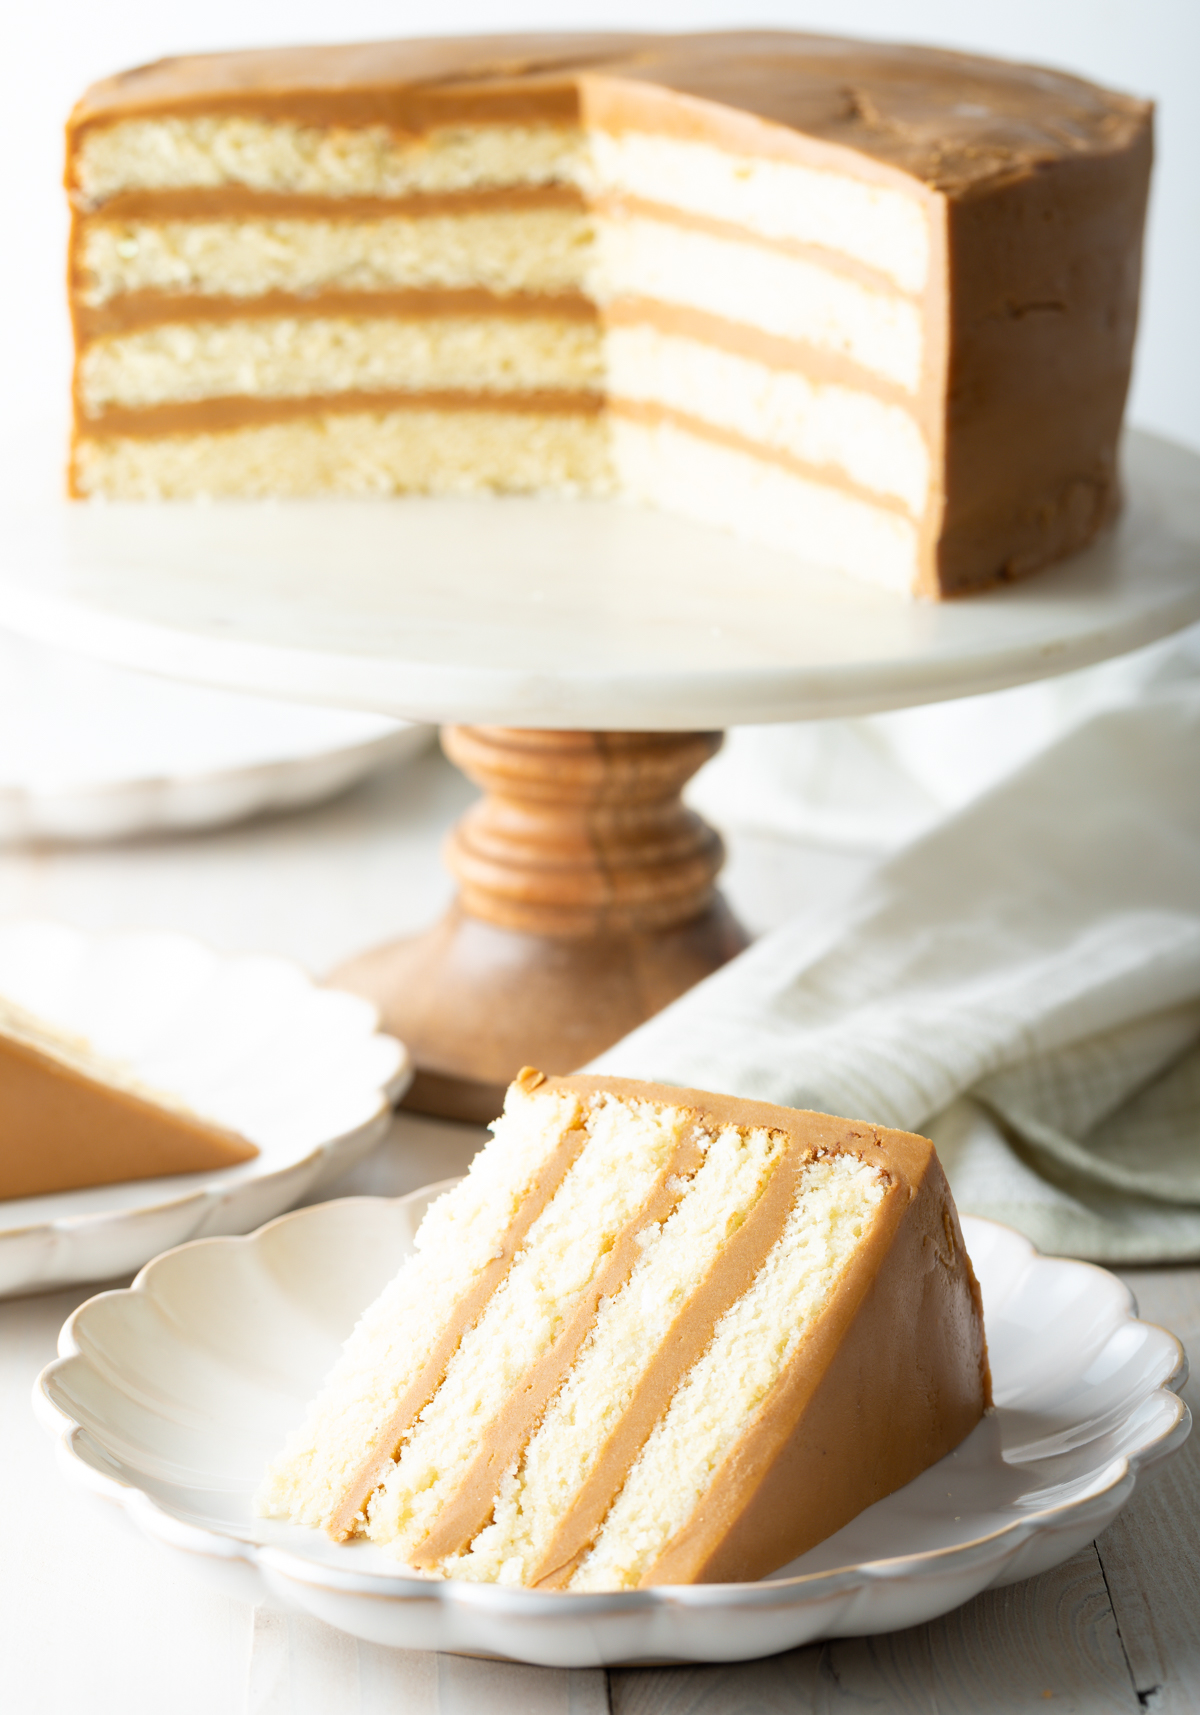
Some restaurant dishes are so good that you simply have to try making them at home. When I first tried this caramel cake at a seafood restaurant in Hilton Head, called Charlie’s, I became obsessed and now I want this cake all the time. So, I decided to make my own version of that indulgent and decadent cake and ta da… My 7 layer caramel cake recipe was born! (Ok, 8 layers if you count the top frosting.) It’s made with layers of light and airy vanilla cake that are coated with a fantastically rich caramel frosting that together create the most luscious bite. PS – The frosting I use to make this cake isn’t soft and fluffy like a traditional buttercream. Instead, it’s dense and sweet, with an intentional granular texture similar to a soft Mexican caramel. That’s the southern way! Like my moist apple cake with caramel frosting that I make in a sheet pan, this caramel cake is the perfect fall dessert to add your baking rotation. The best part is that as the cake bakes and the kitchen fills up with the most incredible aromas, I get to lick the spoon that’s coated in that delicious leftover salted caramel frosting!
Anna – ⭐⭐⭐⭐⭐ I made both the sponge and the caramel exactly as written and both turned out PERFECTLY. Thank you for such a delicious recipe! I made this for my dad’s birthday and everyone said it was the best cake I have ever made (and I make a lot cakes!). Definitely making this again!
Table of Contents

Sommer’s Recipe Highlights
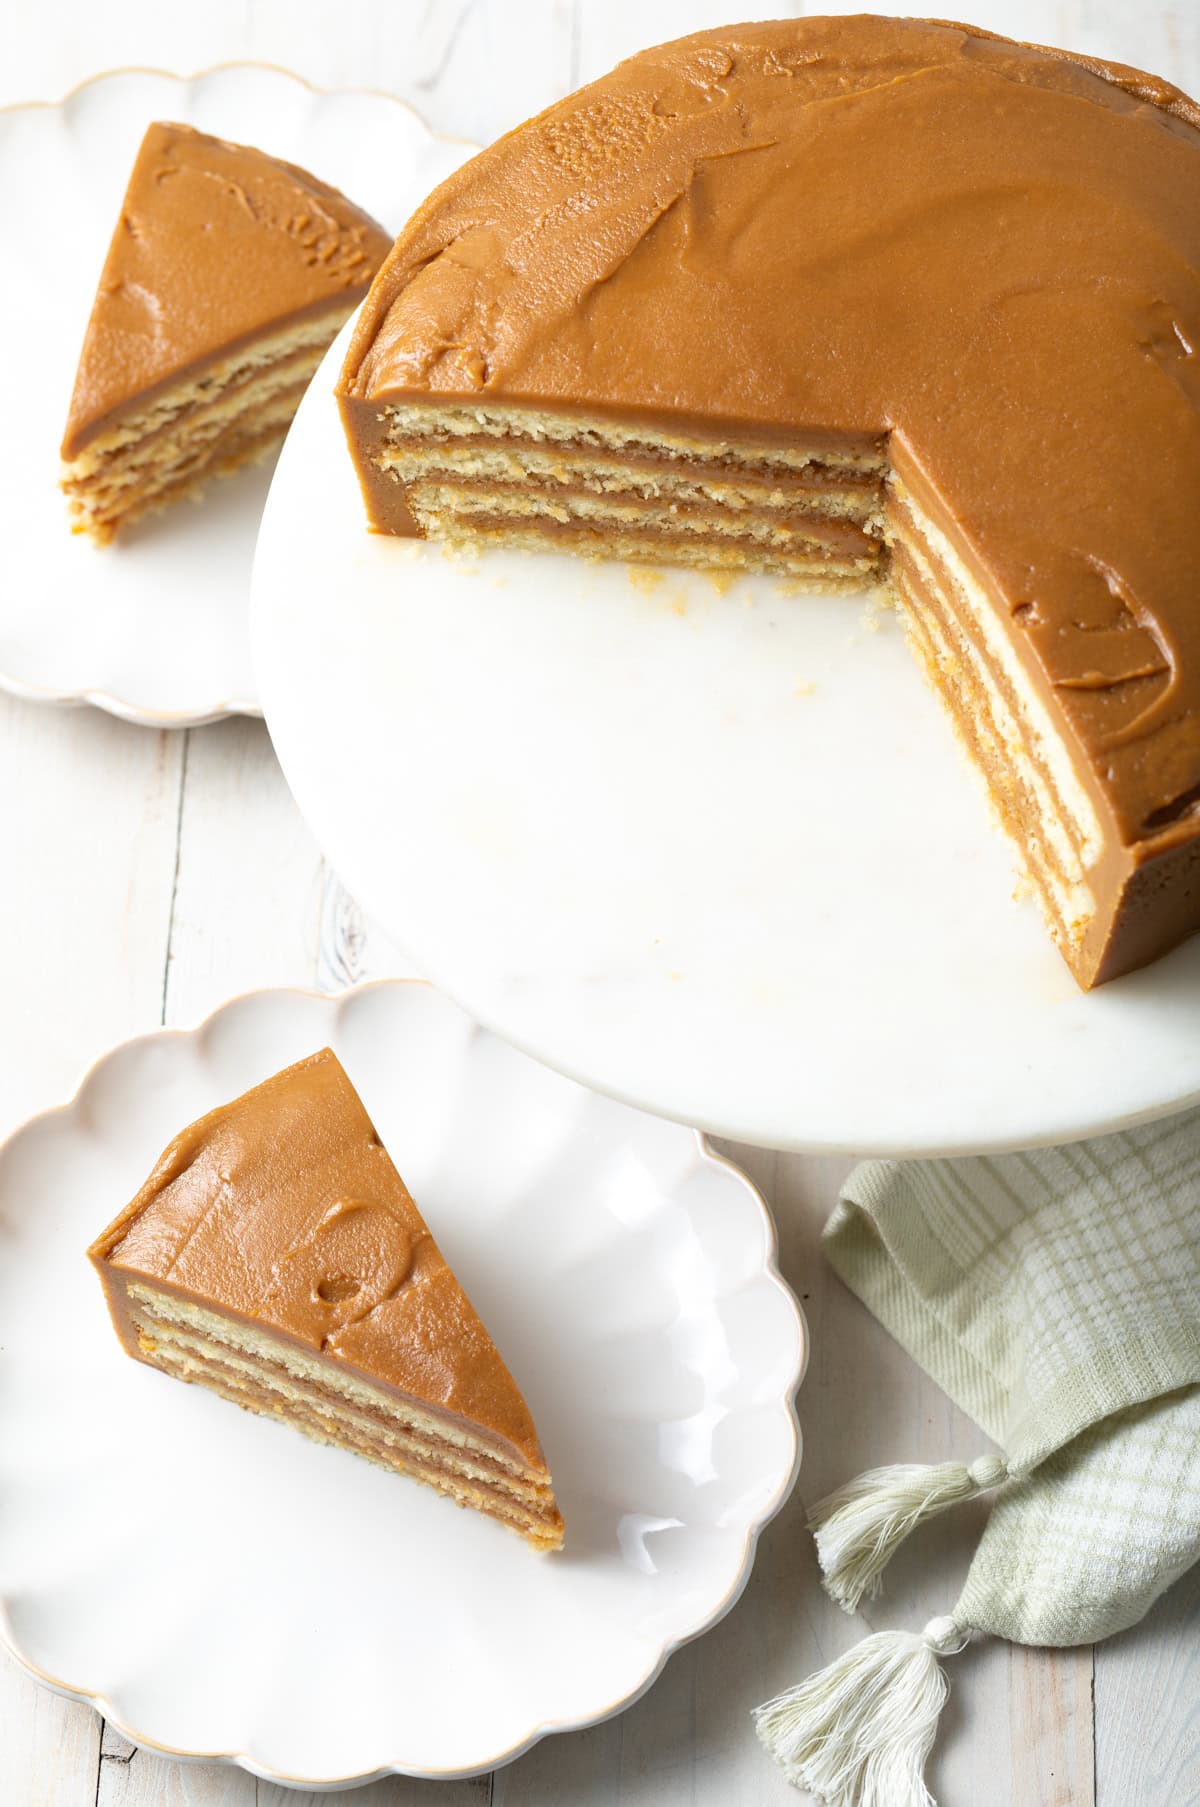
Wonderfully Balanced Flavors – This cake is seriously sweet and indulgent, and that’s mostly due to that decadent frosting. What I love about it is that the granulated sugar that I purposefully use for some added texture, is rounded out by a deep salted-caramel flavor for a generous addition of salt.
A Serious Showstopper – Layered desserts like this, and my lemon buttermilk cake, are stunning and absolutely delicious. You just slice into them and an entire world is unveiled of alternating layers of fluffy cake and thick frosting. This caramel cake makes the perfect centerpiece for any celebration from holidays and birthdays to even weddings!
Perfect for Making Ahead – I love to bake the tender layers of cake ahead of time so that I’m not rushing on the same day I want to serve this tasty dessert. Then, all that’s left is making the frosting, layering, and decorating!
Key Ingredients and Tips
- Cake flour – To make those light and airy vanilla cake layers, I always use a store-bought cake flour. Alternatively, you can use a combination of all-purpose flour mixed with cornstarch to provide the soft crumbly texture that we all love in cakes.
- Baking powder and soda – For some body, volume, and structure, I’ve found that this classic combo of baking soda and powder makes all the difference.
- Unsalted butter – For that rich flavor I add unsalted butter to both the cake layers and the frosting. Using the unsalted variety helps you control how much salt you’re incorporating into this cake overall.
- Granulated sugar – I like to use white sugar in the cake layer to give it extra sweetness, and, of course, I use it in the frosting, too. As it cooks down, it creates that sensational deep caramel flavor that makes the frosting really standout.
- Eggs – Eggs are a must because they make the cake layers fluffy and moist. Place them out on the counter ahead of time to let them warm up.
- Buttermilk – I use buttermilk in both the cake and the frosting. It keeps the cake layers tender, and it adds the perfect amount of creaminess and tanginess to the frosting. When I’m short on time I prefer using the store-bought variety, but you can always make my homemade version instead.
- Vanilla extract – A splash of vanilla extract adds all that flavor to the cake layers, and it helps to enhance the caramel aromatics in the frosting, too.
- Salt – Salt is the secret ingredient to making a successful caramel cake. A pinch of salt in the frosting and in the cake helps round out and balance all of that undeniable sweetness.
How to Make
Find the full recipe with ingredient proportions, detailed instructions, and a video tutorial in the printable form at the bottom of the post.
Prep – To start off this recipe, I preheat the oven to 350 degrees Fahrenheit, and then I cover two cake pans with some parchment paper that I’ve cut into circles. Before moving on, I grease grease and flour both pans.
Mix, mix, mix – Then, I beat some butter and sugar on high speed using an electric mixture. I stop after a couple of minutes when the combo of butter and sugar is light and fluffy.
Combine dry ingredients – In another bowl, I combine the flour, baking powder, soda, and a pinch of salt.
Make the buttermilk – I grab a large pitcher or container and I pour in the buttermilk that I’ll be using for the cake layers. Then, I add in the eggs, egg white and a splash of vanilla extract and I mix that all up again.
Combine wet and dry – Back to that electric mixer, I turn it onto the low setting and I slowly add in the flour mixture and then the buttermilk, alternating pours. I keep doing this until the batter is nice and combined. Just make sure not to over mix the batter!
Divide and pour – I pour equal amounts of that decadent cake batter into the prepped cake pans and then I bake them for about 25 minutes, or until a toothpick comes out clean.
Cool – Once the cakes are cooked, I let them cool down outside the oven before flipping them onto a rack.
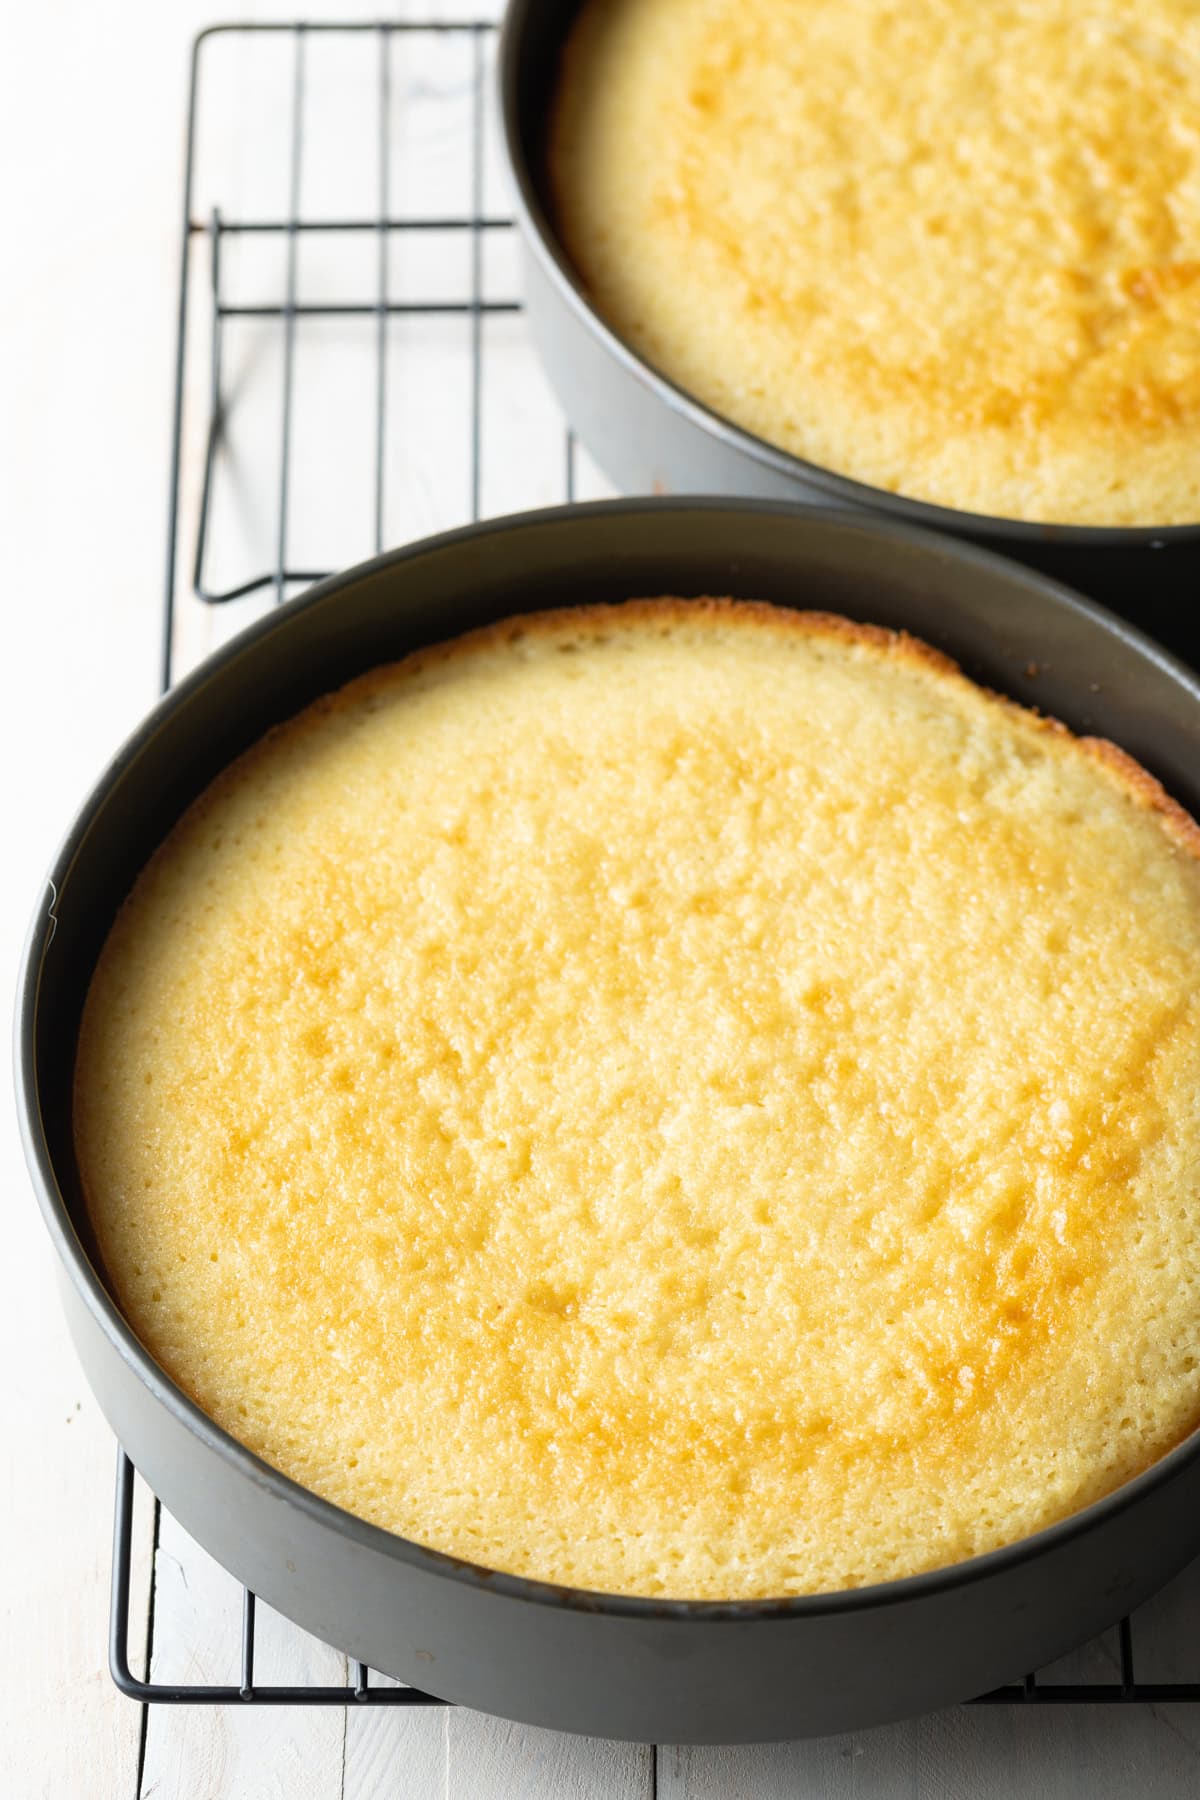
Slice – When the cake layers have cooled down to room temperature, I use a really sharp knife to cut them both in halves so that I can create 4 thin cake layers.
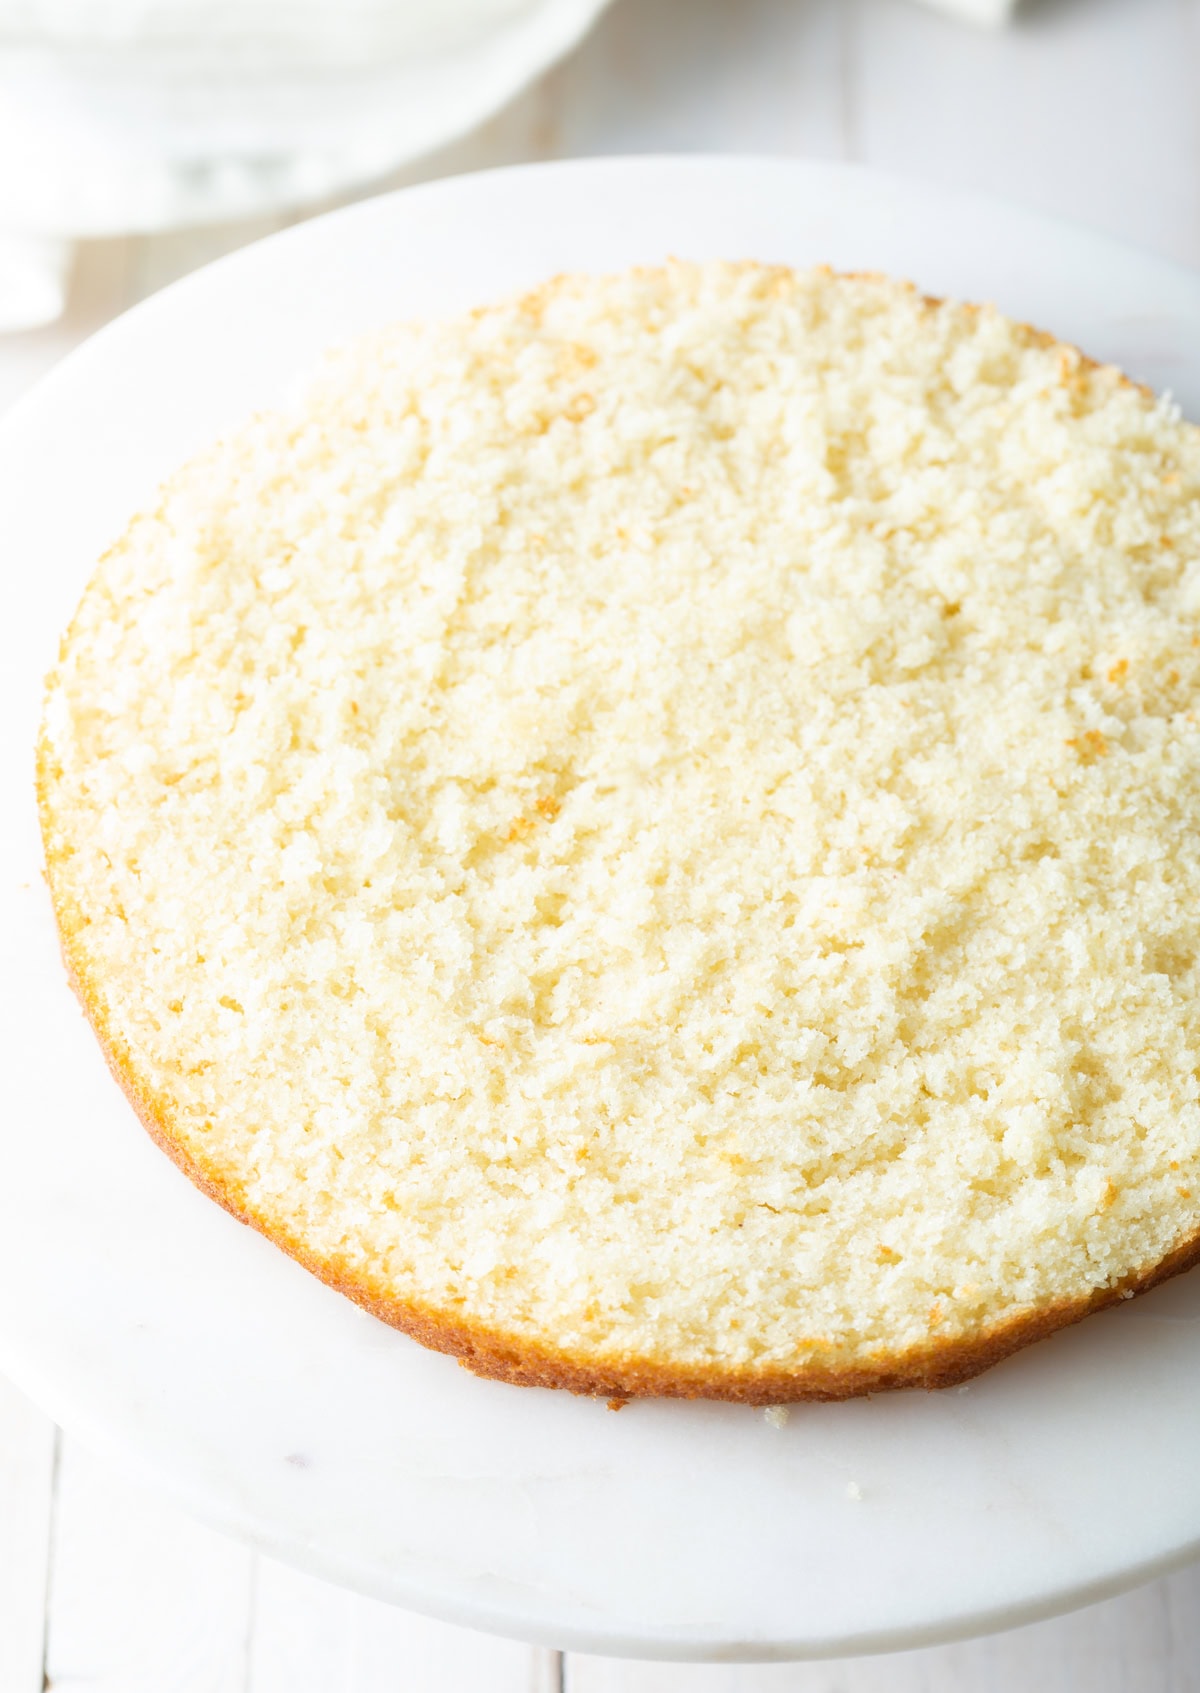
Wrap and freeze – Then, I wrap each cake layer tightly in saran wrap and I pop them in the freezer until they’re rock solid. Now, I move onto the frosting!
Boil – As the cake layers freeze, I place all of the ingredients for the frosting (minus the vanilla extract) into a pot. Don’t forget to attach a candy thermometer onto the side of your pot because it’s imperative that you reach a specific temperature here! This frosting is more of a candy coating than a fluffy butter concoction! I let the ingredients boil, and then watch them settle down so that they begin to caramelize. I always make sure to keep stirring.
Wait – Once the mixture is medium-brown in color and it’s reached that ideal 235 degrees Fahrenheit, I pull the pot off the burner. Usually, it takes me about half an hour to get to this stage.
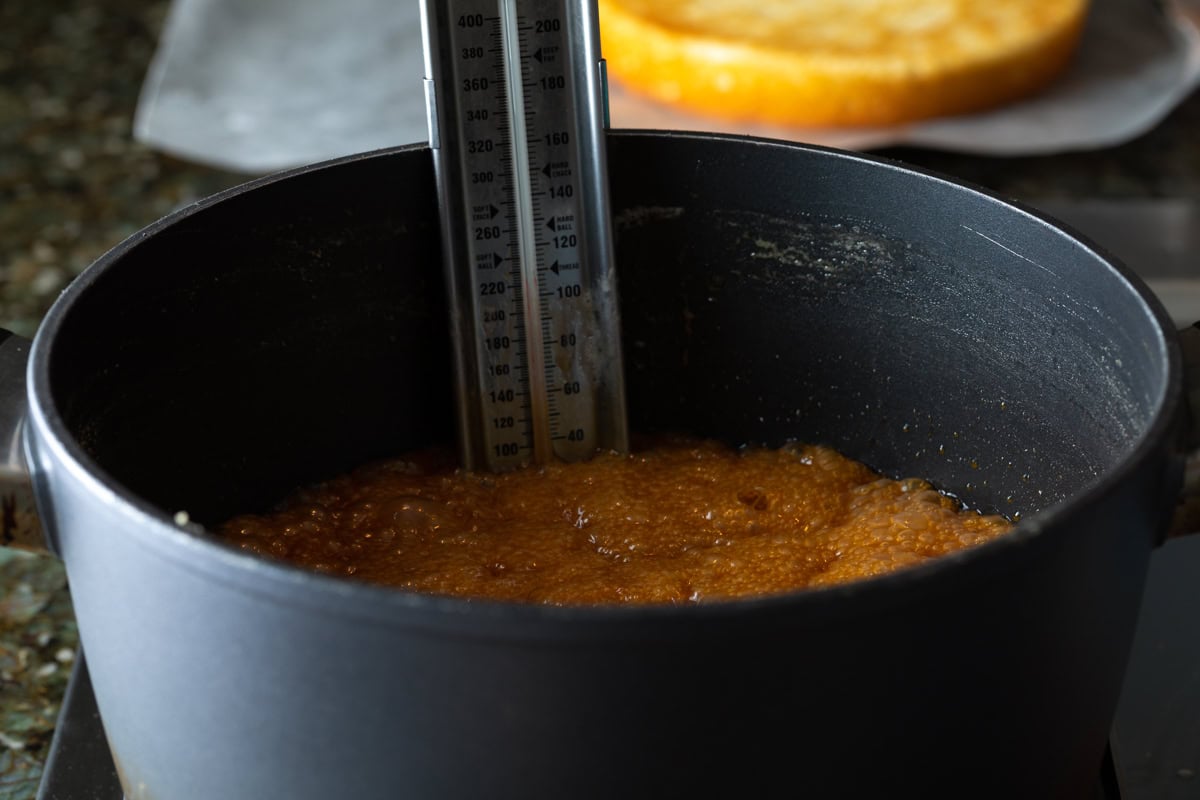
Add the vanilla – Then, I pour in a splash of that aromatic vanilla extract and I stir again. I let the caramelized frosting mixture cool down for a couple of minutes.
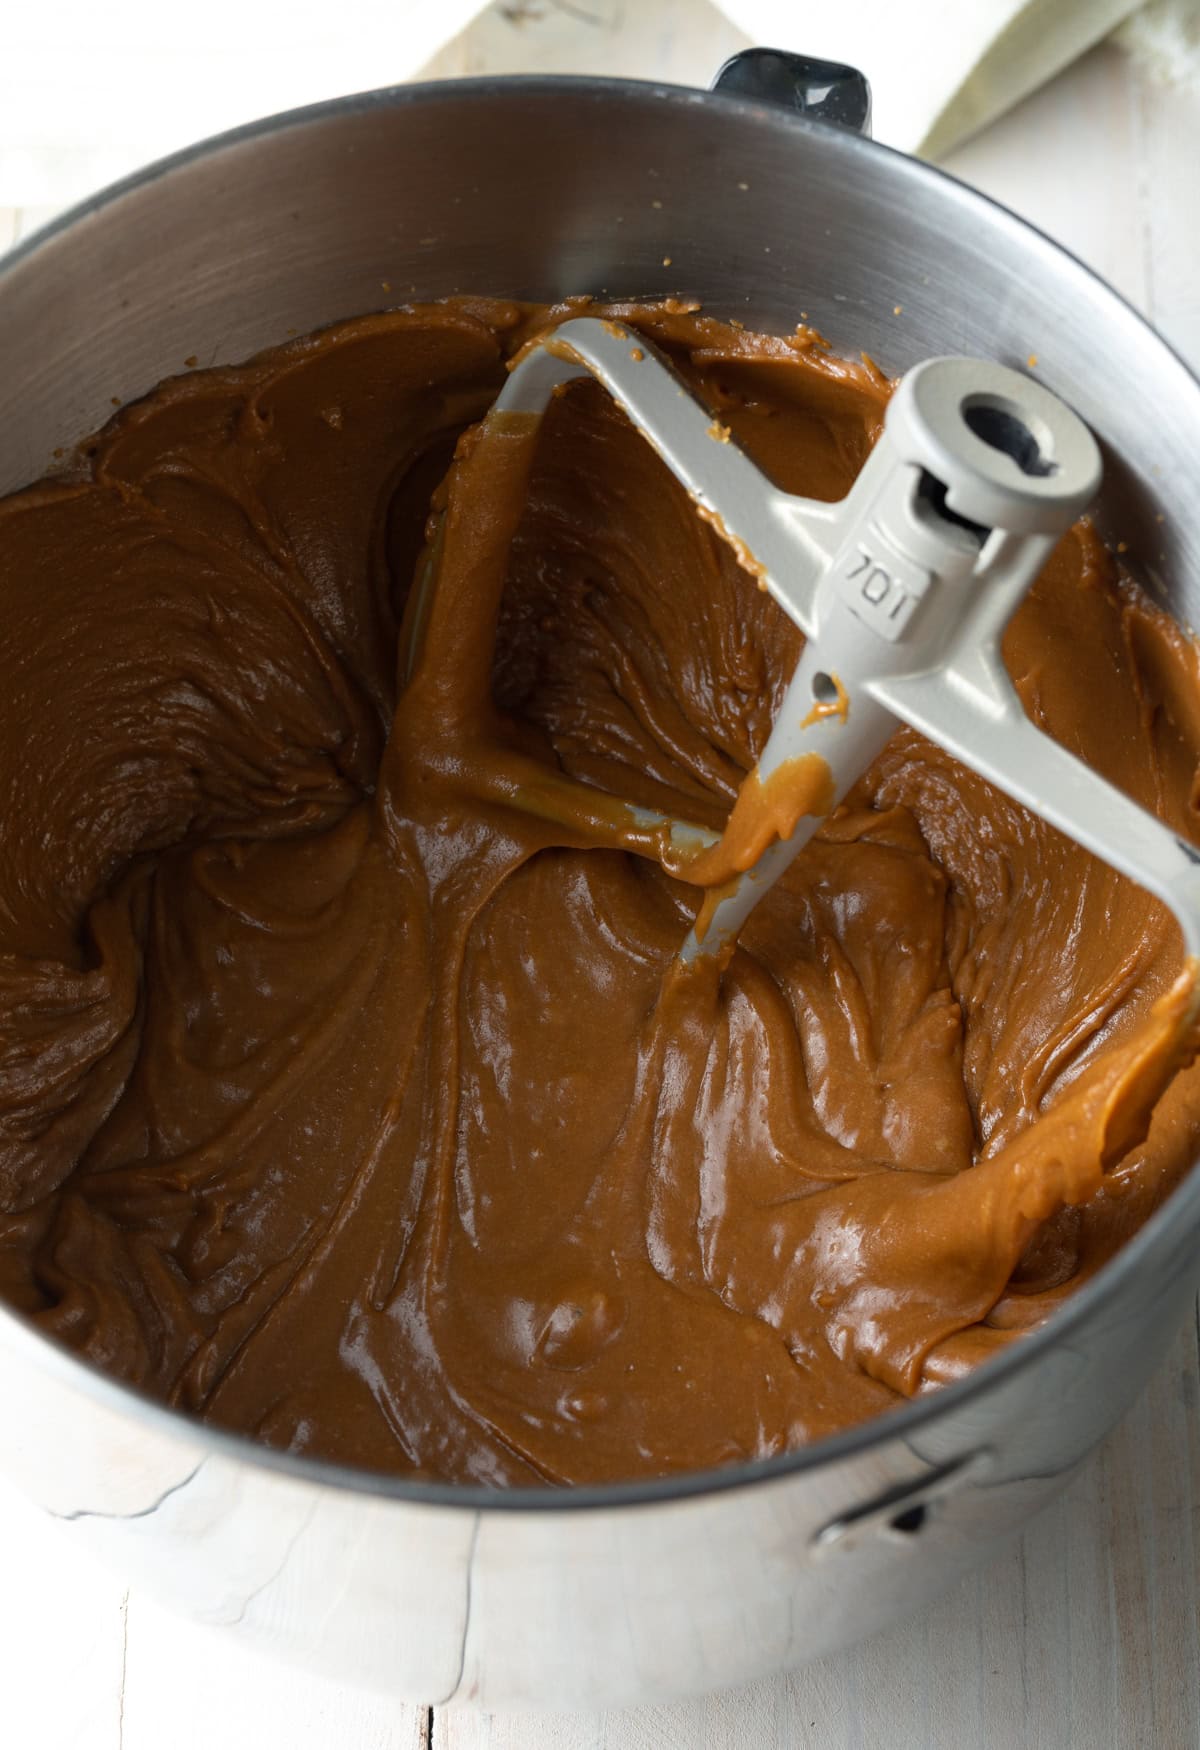
Mix – Once it’s cooled down, I mix the caramel mixture for a couple of minutes so that it gets that awesome mud-like spreadable texture.
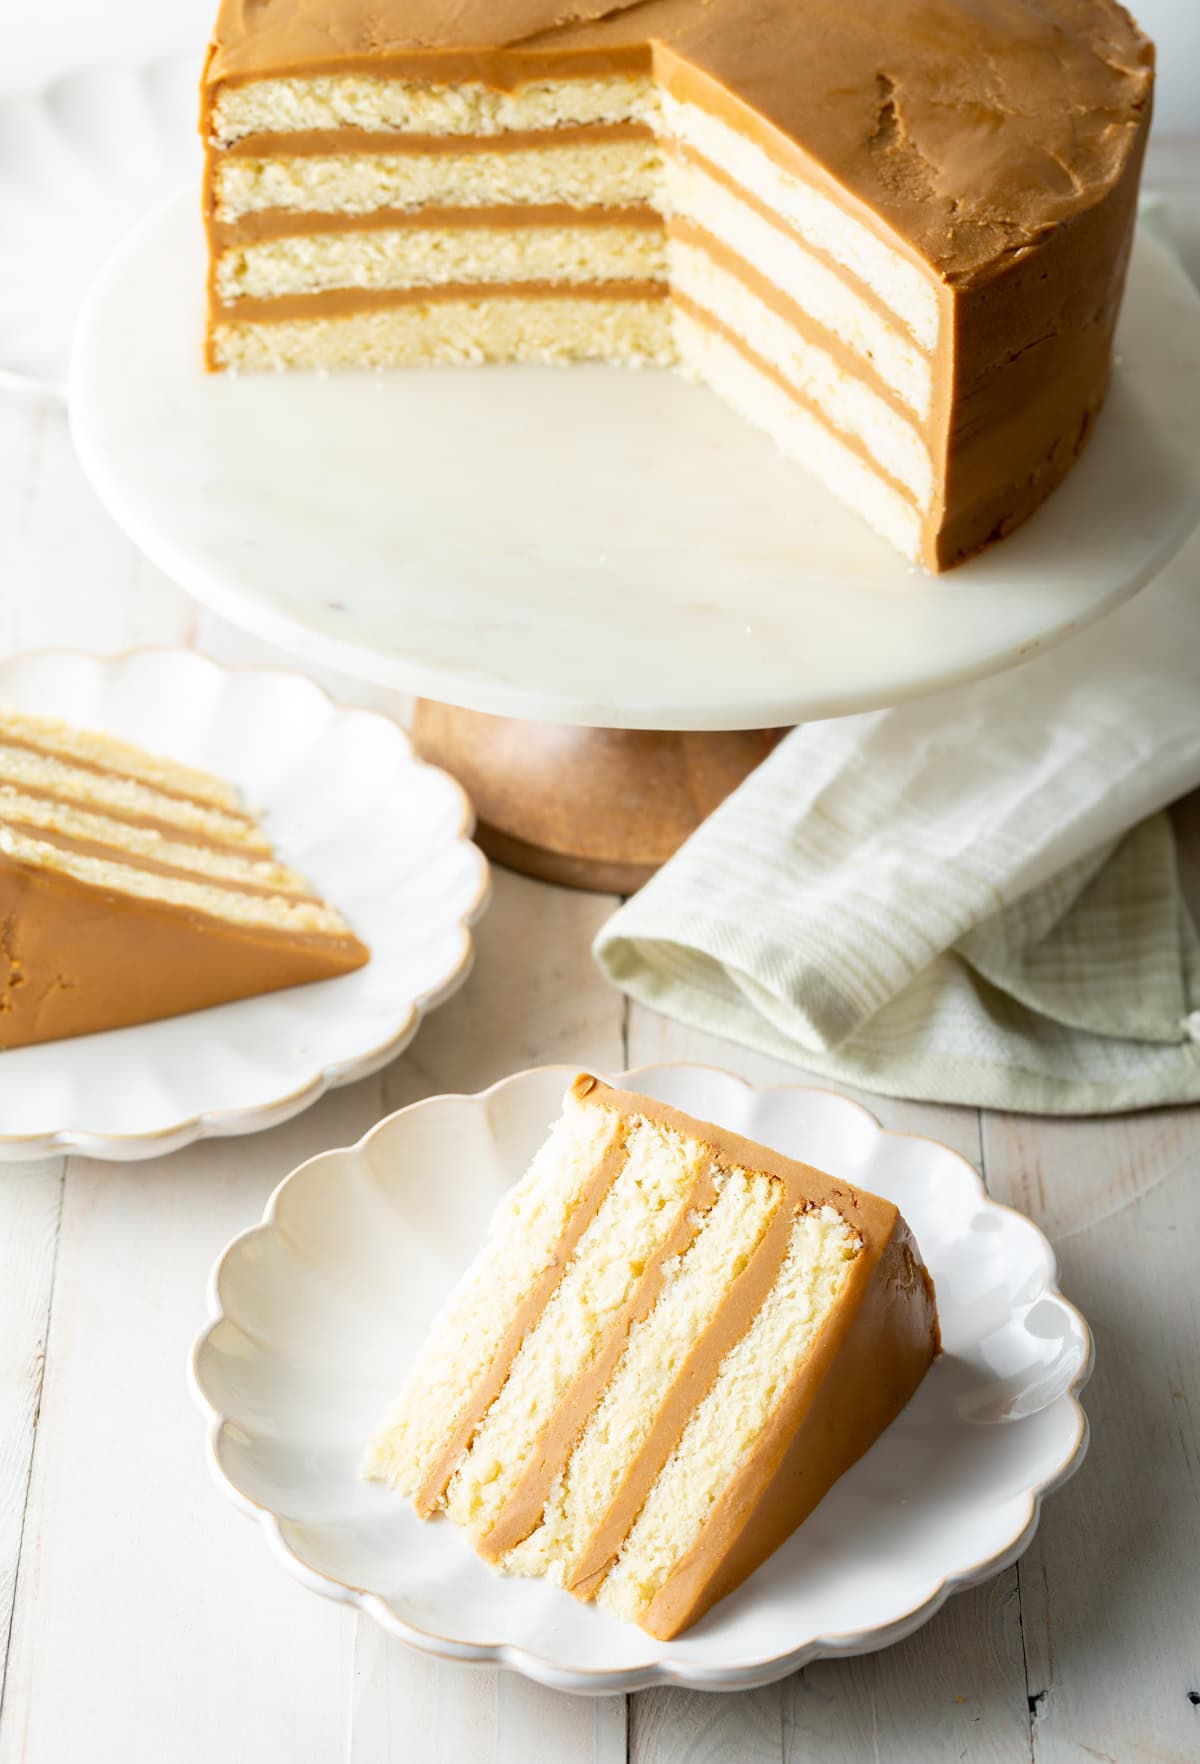
Unwrap – To start the assembly process, I remove the frozen cake layers from the freezer and I unwrap them. I set the first layer onto a cake plate, and I spread on a serious dollop of my homemade caramel frosting. I spread that out and then I top it off with another cake layer.
Spread and stack – I keep spreading the frosting and stacking the cake layers until I have no more left!
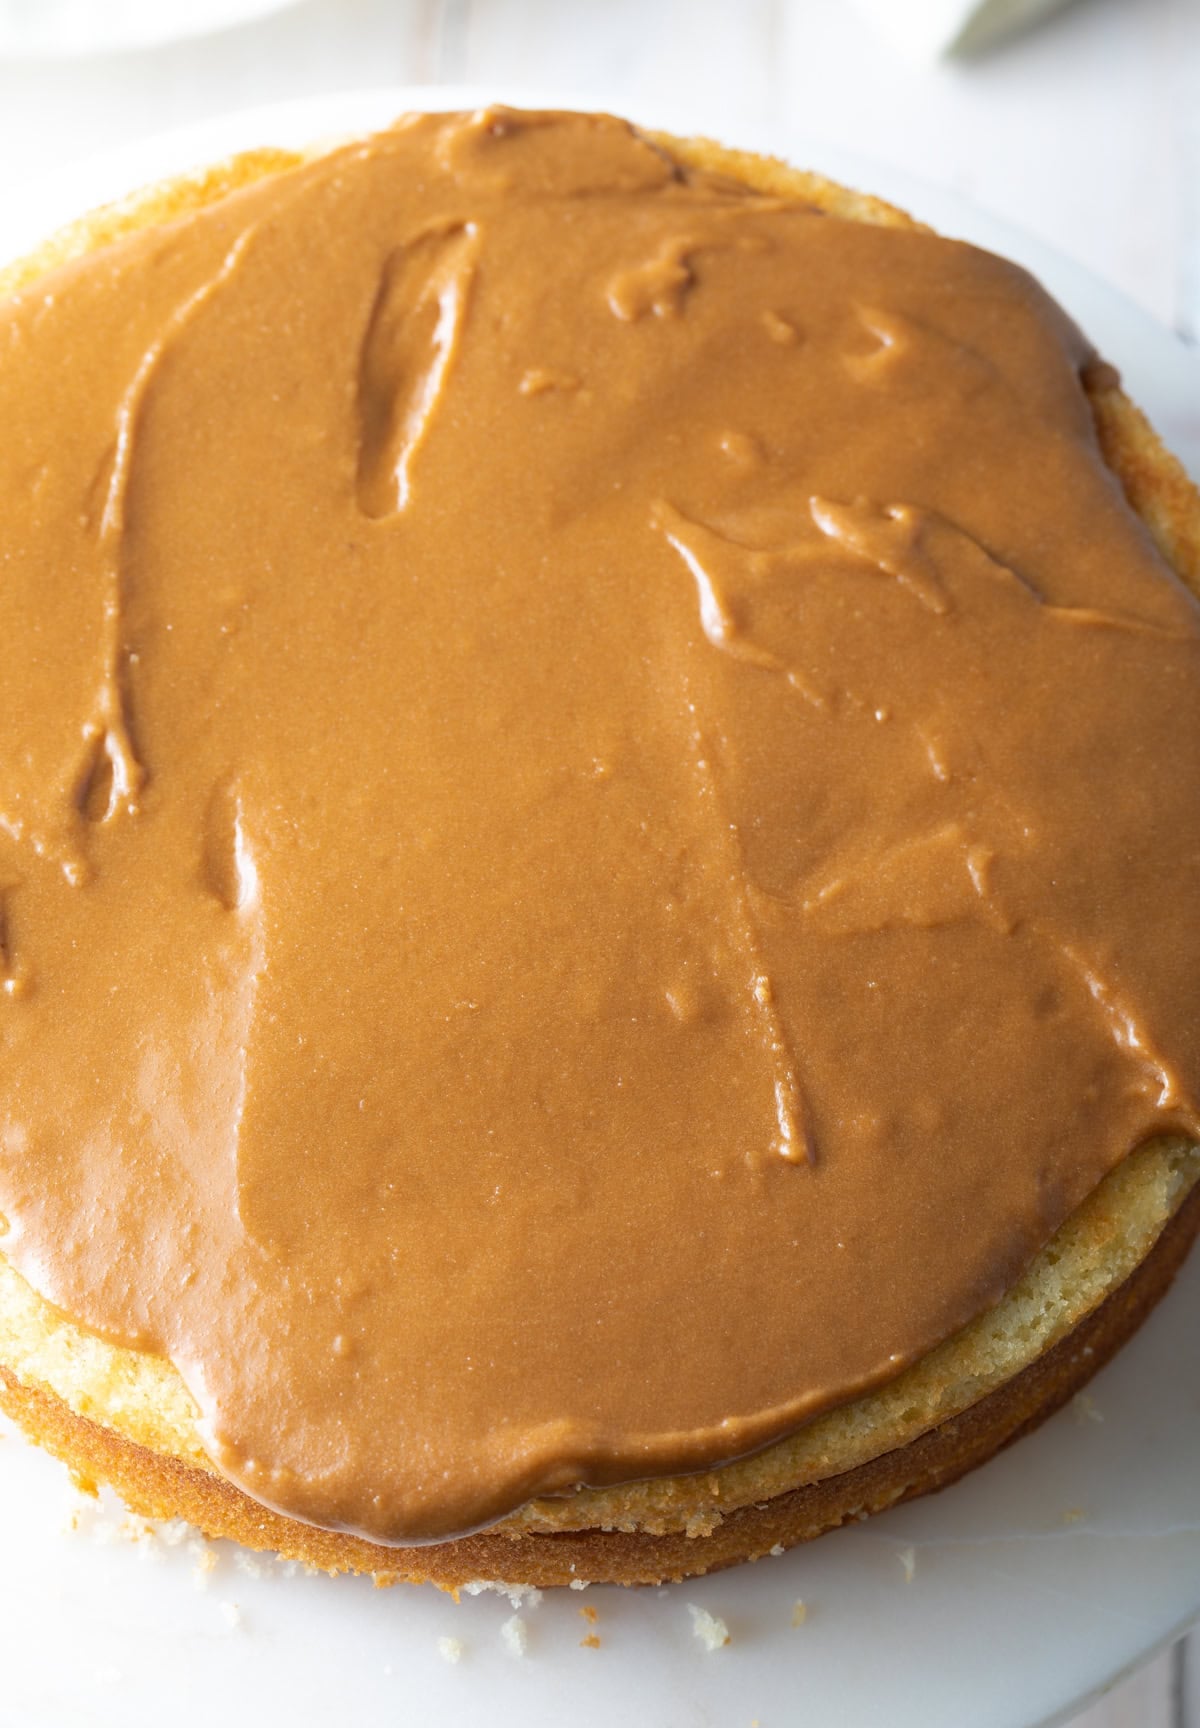
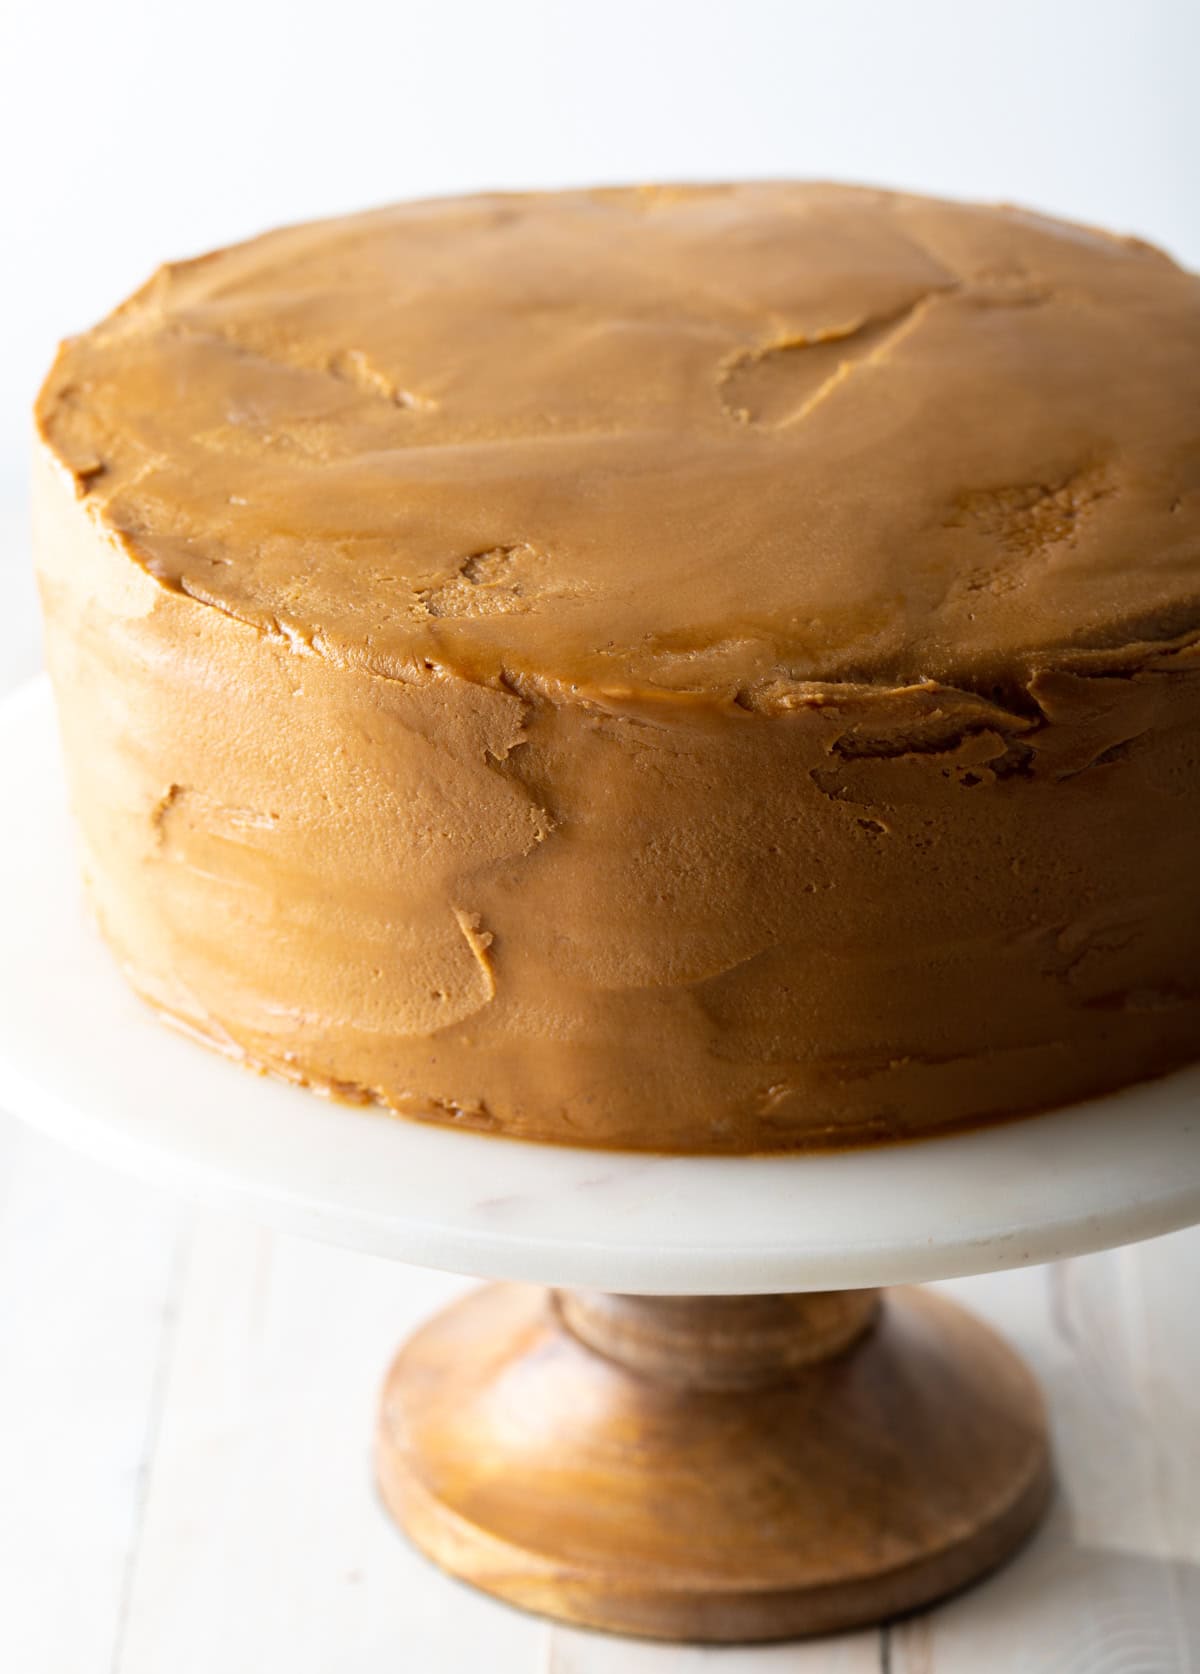
Decorate – Using the remaining frosting, I cover the cake on all sides from top to bottom and then all around.
Expert Tips
Since you are slathering dense frosting over a very soft moist cake, the cake layers must be frozen before layering and frosting. This step ensures leveled delicate cake layers, that are nestled between decadent frosting. Freeze, frost, then thaw for the best texture.
Also, it’s very important to measure the flour correctly. Stir the flour in the bag to lighten it up before spooning the flour into measuring cups. Then be sure to level off the top.
Recipe Variations
- Pecans – I like to sprinkle some toasted pecans into the cake batter or fold them into the frosting for a nutty and crunchy surprise to every bite.
- Coconut – Add some shredded coconut into the cake batter for a tropical twist on this southern classic.
- Banana – Is there a better combination than banana and caramel?! I think not, which is why I also like to top each cake layer with some thinly sliced bananas before adding on the frosting.
- Chocolate – You can also make chocolate cake layers instead of vanilla versions!
Serving Suggestions
This fantastically rich frosting is the perfect balance to a light, airy vanilla cake. Together they create a luscious, decadent dessert that is the perfect finisher to any authentic southern meal. I love to serve this as a special treat after a celebratory dinner and pair it with:
- A warm cup of coffee or a Mexican mocha
- A dollop of fresh homemade whipped cream and a sprinkle of cinnamon
- A scoop of vanilla ice cream on the side
- A light sprinkling of flaky sea salt to enhance the caramel flavors
- Toasted pecans for some extra crunchiness
Storing
Loosely cover leftover cake with plastic wrap, and keep it in the fridge for up to 4 days. You can also wrap the cake well in plastic wrap, then a layer of foil, and freeze it for up to 3 months.
Frequently Asked Questions
Sure you can! The baking time will change to 30-35 minutes.
The pot in the image is 7.4 quarts. You will want to use a large pot because caramel tends to boil up at first when it starts to cook. Molten sugar is not only dangerous, it’s very hard to clean up, so a large pot protects you on both levels.
Southern-style caramel icing has a strange spreadable consistency until it sets up. (It should be a similar texture to soft mud.) If you cooked it to the right temperature, do not worry about the texture. Just trust, that southern bakers have been making caramel frosting this way for generations, and although it is different than working with classic frosting it will set over time. This odd icing sets into a luscious Mexican caramel-like texture.
Help Me Spread the Word about this Fabulous Free Recipe! Sharing this recipe link on Pinterest and Facebook is super impactful, and I greatly appreciate it! Find the share buttons below the recipe form.
More Decadent Southern Desserts



7 Layer Caramel Cake Recipe
Video
Ingredients
For the Vanilla Cake:
- 3 cups cake flour (or 2 ¾ cups all-purpose flour + ¼ cup cornstarch)
- 2 teaspoons baking powder
- ½ teaspoon baking soda
- 1 teaspoon salt
- 1 ¾ cups granulated sugar
- ¾ cup unsalted butter softened (1 ½ sticks)
- 2 large eggs + 1 egg white
- 1 2/3 cup buttermilk
- 1 tablespoon vanilla extract
For the Caramel Frosting:
- 4 cups granulated sugar
- 2 cups buttermilk
- 2 cups unsalted butter (4 sticks)
- 2 teaspoons baking soda
- 1 teaspoon salt
- 2 teaspoons vanilla extract
Instructions
For the Cake:
- Preheat the oven to 350 degrees F. Set out two 9-inch cake pans. Trace the bottom of the pans onto parchment paper and cut the circles out to fit the bottom of the pans exactly. Then once the parchment paper is down in the bottom, grease and flour the pans.
- In the bowl of a stand mixer, cream the butter and sugar on high speed, until ultra light and fluffy. (about 3-5 minutes) Then scrape the bowl with a rubber spatula.
- In a separate bowl, mix the cake flour, baking powder, baking soda, and salt.
- Pour the buttermilk in a large measuring pitcher. Then whisk in the eggs, egg white, and vanilla extract.
- Turn the mixer on low and alternate adding in the flour mixture and the buttermilk, until all is combined. Scrape the bowl again. Then beat again for 15-30 seconds, just until the batter is smooth. Do not over-mix the batter.
- Divide and pour the cake batter equally in the prepared pans and place on the center rack in the oven. Bake 9-inch pans for 23-27 minutes. Test the cake by inserting a toothpick into the center. If it comes out clean, remove from the oven.
- Cool the cake in the pans for 15 minutes, then carefully flip out onto a cooling rack and peel off the parchment paper. Cool completely.
- Once cooled, use a serrated knife to cut both cakes in half to create 4 even cake layers.
- Carefully wrap each cake layer in plastic. Move them onto a baking sheet and place in the freezer. Freeze the cakes for at least one hour, or until rock-hard. Once the cakes have been in the freezer for at least 30 minutes, start the frosting.
For the Frosting:
- Set a large 7-8 quart sauce pot over medium heat. Clip a candy thermometer into the side of the pot. Place all the frosting ingredients, except the vanilla extract, into the saucepot. Bring to a simmer. The mixture will boil up high at first, but will settle down as it starts to caramelize. Stir regularly.
- Watch the candy thermometer and continue to stir. Once the caramel mixture is medium-brown in color and reaches 235 degrees F, remove from heat. (This can take anywhere from 25-40 minutes depending on your stovetop.)
- Stir in the vanilla extract. Then allow the mixture to cool for at least 15 minutes.
- Use a hand mixer (or pour into a stand mixer) to beat the caramel frosting for 3-5 minutes to loosen the texture. The frosting should have a spreadable mud-like texture.
For Assembly:
- Pull the hardened cake layers out of the freezer. Unwrap and set one cake layer on a cake plate. Use a long flat spreading knife to spread approximately ½ cup of frosting over the cake layer. Unwrap and set the second cake layer on top. Press to level the cake, making sure the edges are aligned.
- Spread another ½ cup of frosting over the cake. Continue stacking and frosting the remaining cakes layers until all four cake layers are stacked and leveled.
- Scoop the remaining frosting over the top of the cake. Spread the frosting over the top and down the sides of the cake. Because the frosting is so dense, it can be a little tricky to cover the edges and get smooth coverage. If needed, dip the spreader in warm water to smooth out the final coating.
- Chill the cake for at least 30 minutes to set the frosting.
- When ready to serve, let the cake sit out at room temperature for 30-60 minutes to fully thaw, so the interior cake layers are soft and delicate. Cut and serve.


White cake has always been my favorite, but this amazing caramel frosting took it over the top! And while the four layers made this cake feel fancy, it was so simple to make. Thanks for a recipe that I can’t wait to make time and time again! :)
This caramel cake is delicious! The cake is so soft and the layers of cream is amazing! The perfect Easter dessert.
My frosting is runny. What did I do wrong??
Hi Meredith,
It will have a strange spreadable consistency until it sets up. (It should be a similar texture to soft mud. LOL!)
Is the butter amount correct?
Hi There! Yes, there is a lot of butter in the caramel frosting. :)
Would it be possible to use 8″ pans instead?
Hi Chris,
Sure you can! The baking time will change to 30-35 minutes. :)
I’m planning to make this cark for Easter. The part I question is the 7-8 quart sauce pot for the frosting. That’s huge. I would have to use my stock pot. Is it really necessary to use a pot that large? The one in your photo seems smaller.
Hi Diane!
The pot in the images is 7.4 quarts. You will want to use a large pot because caramel has a tendency to boil up a lot when it first starts to cook. Molten sugar is not only dangerous, it’s very hard to clean up, so a large pot protects you on both levels. :)
There is so much to be said about homemade cakes- better than cake mixes by far! The buttery flavors in this cake are divine!
lovely cake recipe, thank you, another new Southern recipe thank to you, much appreciated!
I love caramel, this is the perfect cake.
This is so good and delish! My kids couldn’t stop eating it!
This cake was a huge success! This cake will be a go to during the holidays from now on!
such a great cake with an even better frosting!