

Raspberry Thumbprint Cookies
 by Sommer Collier — last updated on Jun 27, 2025

My raspberry thumbprint cookies are buttery, tender and lightly crumbly, filled with fruity jam, and dusted with just the right amount of powdered sugar. I love to bake up these delightful sweet treats to share with family and friends, especially around the holidays! They are surprisingly simple to make and even easy to customize with your favorite preserves and toppings.

Making my raspberry thumbprint cookies is a favorite holiday tradition in our house, when everyone works together to pitch in a hand… Er, thumb. The recipe starts with my sugar cookie recipe as the base, which creates a fabulous buttery shortbread texture. Then I press a thumb in to the dough (as the name suggests), before loading them up with raspberry preserves and sprinkling on the perfect dusting of powdered sugar. Even with a few different components, the shortbread cookies are so perfectly simple! These classic treats are easy to prepare and perfect to serve for holiday gatherings and parties, and include in Christmas cookie tins. Take it from me, they are sure to impress your family and friends!
Ellie – ⭐️⭐️⭐️⭐️⭐️ I highly recommend these cookies! They are perfect for an after school snack! These cookies were so easy to make too!
Table of Contents


Sommer’s Recipe Highlights
Simple Ingredients – One thing I truly appreciate about these thumbprint cookies is that they do not require a fancy ingredient list! Especially if I am making these around the holidays, that saves me an extra trip to the grocery store since most of the ingredients I use are pantry staples.
Beginner-Friendly Baking – These cookies not only look impressive, but the process is super simple. I roll the dough into balls, make an indentation with my…thumb…(wink wink) and then add a little raspberry preserves before baking. No complicated shaping or decorating skills required!
Easy to Make Your Own – Maybe the best feature of these cookies is that they use the same cookie dough, but you can try all kinds of different fillings and toppings. Anything from strawberry jam or lemon curd, like I use in my lemon drop cookies, to a drizzle of chocolate ganache over the finished cookies. You can get as complex or as simple as you would like with these.

Key Ingredients and Tips
- Unsalted butter – I use softened and unsalted butter to help make that rich buttery cookie base. The softened butter also makes it easy to cream with the sugar, creating a light and fluffy mix.
- Granulated sugar – Regular white sugar adds sweetness to the cookie dough and helps create that tender texture.
- Vanilla extract – A little vanilla goes a long way with adding warmth and flavor to the dough. I recommend using pure vanilla extract for the best and most authentic vanilla taste.
- Sea salt – A pinch of salt helps balance the sweetness that these cookies pack, and also enhances the butter and vanilla flavors.
- All-purpose flour – This is the cookie base right here. I add in the flour gradually and mix just until combined so that I don’t overwork the dough.
- Raspberry preserves – The star of the show is the sweet and fruity center. I recommend using seedless raspberry preserves for a smooth center.
- Powdered sugar – Also called confectioner’s sugar, a light dusting over the cooled cookies adds a pretty finishing touch and a little extra sweetness.
How to Make
Find the full Easy Raspberry Thumbprint Cookies recipe with ingredient proportions, detailed instructions, video tutorial, and storage tips in the printable form at the bottom of the post.
Prep and Prepare the Cookie Dough – I preheat my oven to 350 degrees Fahrenheit and line a few baking sheets with parchment paper. Using my electric mixer, I cream together the softened butter, sugar, and pure vanilla extract for about 3-5 minutes, until light and fluffy. I then scrape down the sides of the mixing bowl with a spatula to make sure I get all the butter, sugar, and vanilla mix that may have splattered on the side of the mixing bowl. I turn the mixer down low and add in salt, and mix until well combined.
Next, I add in the flour a little at a time, mixing until everything is combined. But don’t over mix!

Shape the Thumbprint Cookies – Now the fun part! I take small 1-ounce clumps of dough and roll them into balls with my hands. I place them on the baking sheets about 2 inches apart from each other. Using my thumb, I press a small indent into the center of each dough ball, creating a divot for the raspberry preserves. It helps to gently hold the edges of the dough balls together with one hand as I press the thumb on my other hand into the dough… This makes sure your thumb doesn’t slip and keeps the dough from cracking.

Add the Raspberry Preserves – Once the cookies are all shaped and have a small divot, I
spoon ¼-½ teaspoon of raspberry preserves into each thumb indentation. I recommend starting with a 1/4 teaspoon to make sure they don’t overflow.

Bake the Cookies- I bake the cookies for about 15-20 minutes. One way I know they are done, or very close, is that I can see the edges of my cookies start to show a hint of golden color. I recommend keeping an eye on the cookies toward the end of the baking so they don’t overbake!
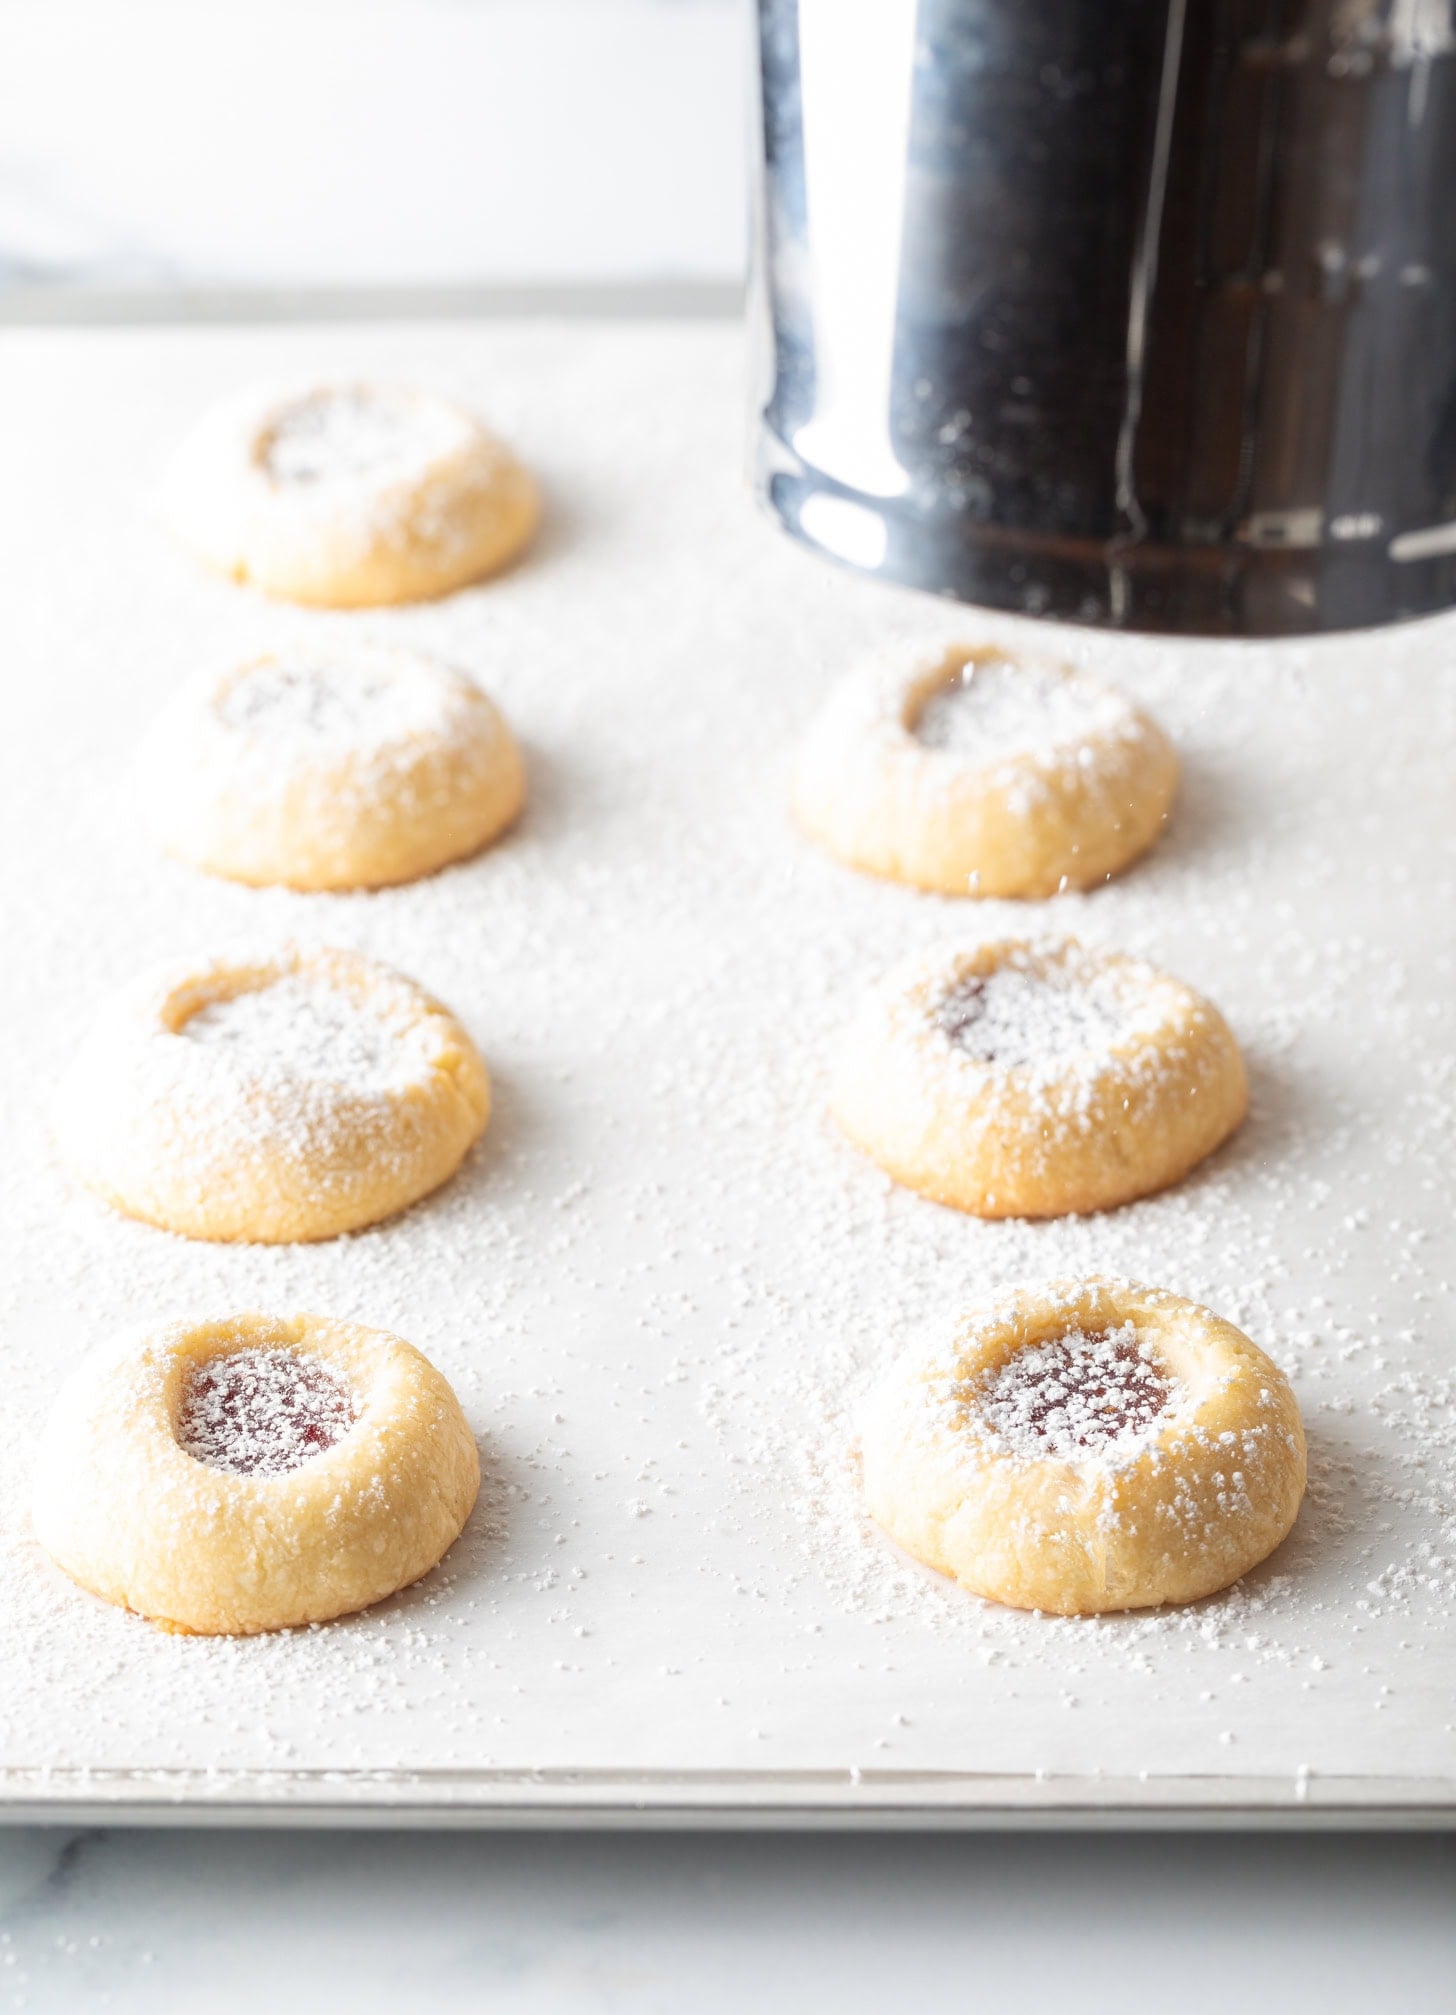
Cool and Finish – Now I remove them from the oven and let them cool completely before moving them to a serving dish and dusting them with powdered sugar.
Recipe Variations
- Preserves – Fill the thumbprint cookies with whatever jam is your jam! Try my strawberry or strawberry rhubarb jam, peach preserves, or orange curd.
- Caramel – Want to really change things up? Swap preserves with caramel to make fantastic dulce de leche thumbprint cookies!
- Toppings – Feel free to leave off the powdered sugar for a less sweet treat. You can also drizzle them with a vanilla glaze instead!
- Quantity – As-is, this recipe makes 36 cookies. Halve the ingredients for a small gathering or to have around the house… Or double the recipe to make your Christmas cookie boxes or holiday cookie platter.
Expert Tips
- Don’t over mix the dough. I turn off the mixer as soon as the last of the flour has been worked into the smooth dough. Mixing too much will cause the buttery cookies to be overly crumbly!
- Don’t push down too hard. I carefully push my thumb only about halfway into the balls of cookie dough. Any deeper and the cookies are more likely to crack and/or the jam will leak out of the bottom.
- Don’t overfill. I’ve mentioned this, but it’s that important to repeat! The shape of the cookies will change drastically as they go from raw balls of dough to flatter, firm discs… If you add too much jam it will pool out of the divots.
- Cool completely. I practice patience and leave the cookies sit undisturbed on the baking sheet for several minutes, until they are cool to the touch, before moving to a plate. This allows the raspberry thumbprint cookies dough and preserves time to firm up so the jam don’t slosh around.
- Ready for powdered sugar? I will dust the cookies shortly before serving or packaging as gifts. However, if plan to freeze them, I hold off sprinkling on the sugar until they are thawed.

Storage Notes
A big bonus is how well these cookies keep, making them a great option for preparing them ahead of a celebration or simply enjoying throughout the week. I let the cookies cool completely before placing them in an airtight container on the countertop (a dangerous place ;)), away from moisture, where they keep well for at least one week.
If I need them to keep longer, I freeze the fully baked cookies with the raspberry preserves already in the center. I place them in an airtight bag or freezer-safe container and freeze for up to 6 months. When I am ready to enjoy the little morsels, I let the frozen cookies thaw on the countertop for at least an hour before serving.
Frequently Asked Questions
Add the raspberry jam to the indentation in the raw dough before baking. The dough bakes around the preserves so they become one sweet, tender, melty cookie.
Dough can crack around the edges as I make the indentation, and to prevent this, I hold the sides of the cookie with one hand while pressing my thumb into the center with the other, oh so gently. If I do notice any cracks, I press the dough back together before adding any preserves.
Nope! Once I mix the dough, I roll the dough into balls, make my indentations, add the preserves, and bake. There is no need to chill it beforehand.

Help Me Spread the Word about this Fabulous Free Recipe! Sharing this recipe link on Pinterest and Facebook is super impactful, and I greatly appreciate it! Find the share buttons below the recipe form.
More Cookie Recipes


Raspberry Thumbprint Cookies
Ingredients
- 1 ½ cup unsalted butter softened
- 1 cup granulated sugar
- 2 teaspoons vanilla extract
- 1 teaspoon sea salt
- 3 ¼ cups all-purpose flour
- ¼ cup seedless raspberry preserves
- Powder sugar for dusting
Instructions
- Preheat the oven to 350 degrees F. With an electric mixer, cream the butter, sugar, and vanilla extract, for 3-5 minutes, until light and fluffy. Scrape the bowl with a spatula. Turn the mixer on low and add the salt. Add the flour a little at a time, until it is just combined.
- Line several cookie sheets with parchment paper. Roll the dough into 1-ounce balls, about 1 ½ tablespoons per ball.
- Place the dough balls on the cookie sheets about 2 inches apart. Press the center of each ball with your thumb to create a cavity. Hold the sides of the cookie with the other hand to help keep the dough from cracking. Press any cracks back into place.
- Fill each indentation with ¼-½ teaspoon of raspberry preserves. (Any more and they will overflow while baking.) Bake for 15-20 minutes, until the edges are just barely golden.
- Remove the cookies from the oven and cool completely before moving. Then sprinkle with powdered sugar and serve!


I made these cookies but as w all my thumbprint cookies the filling spills over the top. I don’t think I make a deeper well for the jelly
Anne,
It sounds like you are a little heavy-handed with the filling. Thumbprints cookies are one of those cases where less really is more. ;)
Raspberry Thumbprint Cookies look so delicious and easy to make! Perfect for sharing at parties or enjoying with family. Thanks for the detailed recipe and tips!
I highly recommend these cookies! They are perfect for an after school snack! These cookies were so easy to make too!
Love this fruity treat! I’m addicted to it. Kids also loved this for their after school snack.
These turned out so perfect. Jammy and sweet and gorgeous too!